Today it's Sunday and time for this week's new challenge over at The Paper Players! It's my turn to host this week and I have my favourite, a sketch challenge for you to work with:
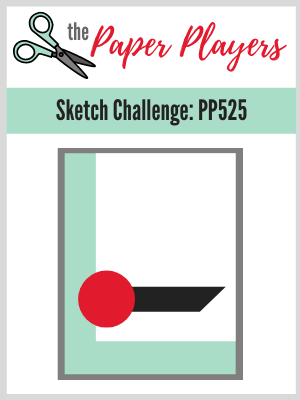
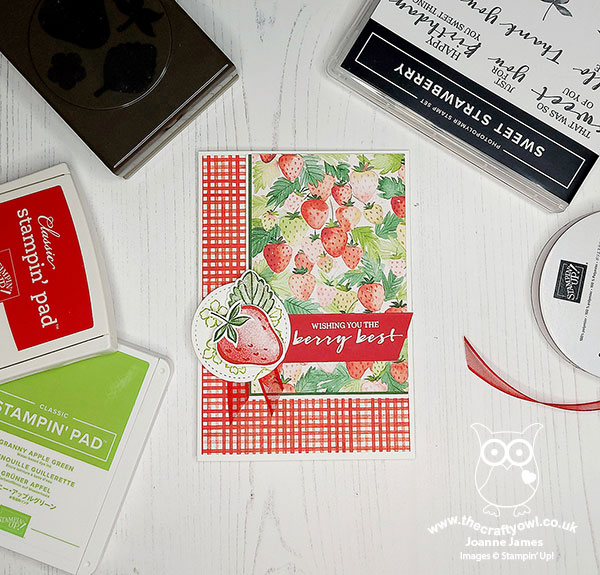
I chose a simple layout for my sketch so that it give lots of creative licence. I decided to take the opportunity to break out another new bundle, or two bundles in fact. Today's card is all about the berries - take a look:
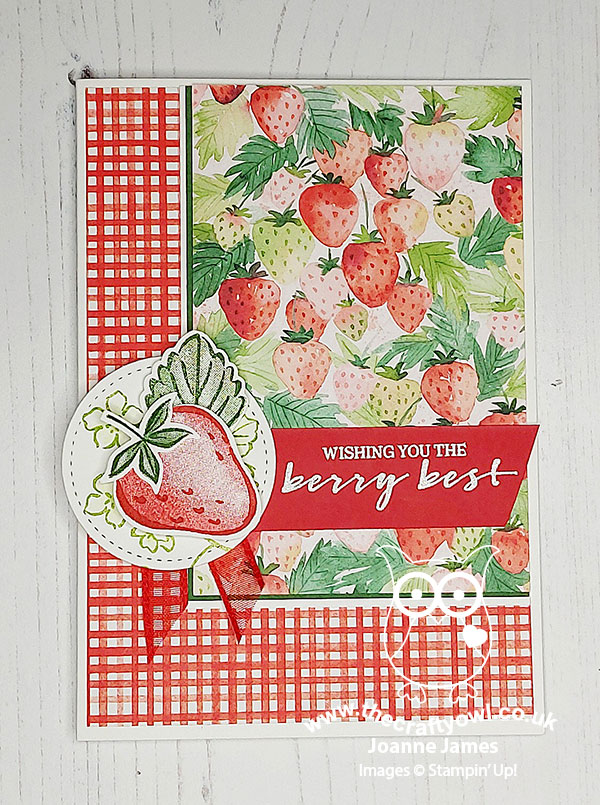
Here's the low-down on today's card:
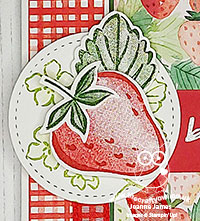
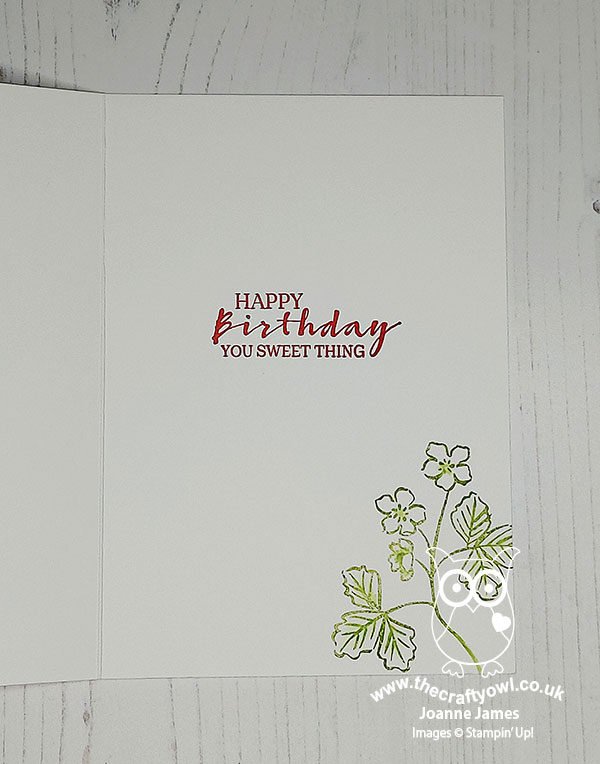
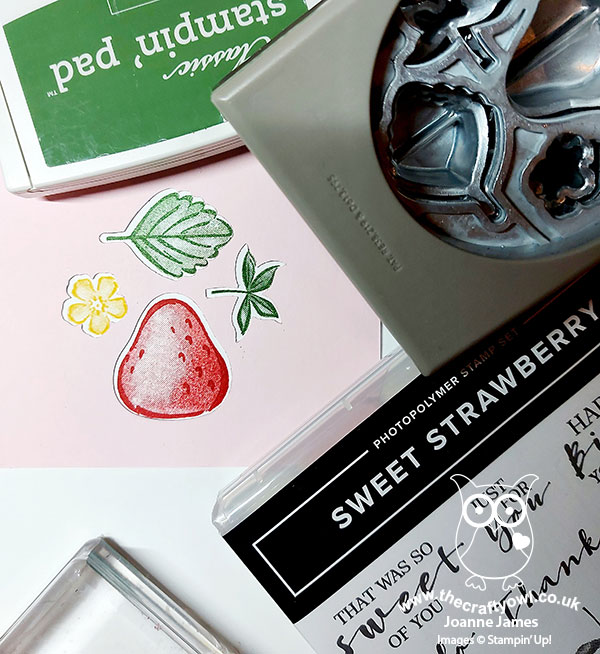
Sweet Strawberry - Today's starting point was the strawberry that I used to anchor my sentiment - courtesy of the Sweet Strawberry stamp set. The set comes complete with two-step stamps for a berry, flower, leaf and stem, in addition to a selection of varied sentiments. Interesting fact for you: did you know that technically, a strawberry is not actually a berry at all? Botanists call the strawberry a "false fruit," or a pseudocarp. A strawberry is actually a multiple fruit which consists of many tiny individual fruits embedded in a fleshy receptacle. Who knew?! I also used the stamps to decorate the inside of my card:
Strawberry Builder Punch Tip - A stamp set with a co-ordinating punch is always great for quick embellishments and whilst I've shared this tip with you before, I thought it worth reminding you of a great way to save even more time with a builder-type punch. Create a mask using a piece of cardstock with all of the pieces punched out as a guide to stamp the individual pieces. This way, when you put the stamped cardstock into the punch, all of the images are aligned and punch out perfectly - check out the photo below to see what I mean:
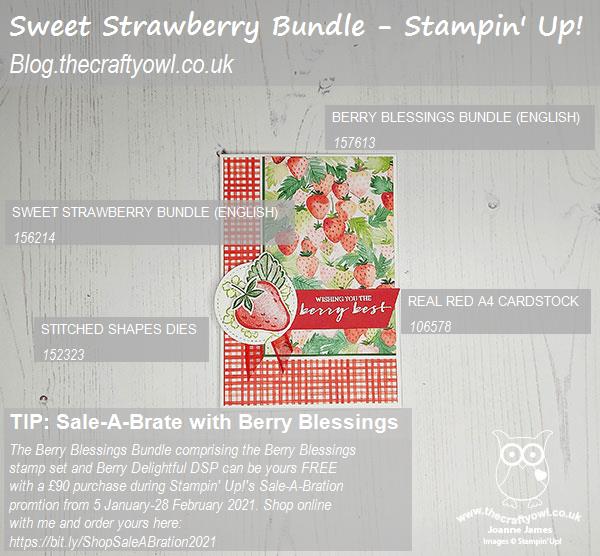
Berry Blessings - What could be better than one berry bundle? Well, two of course! One of this year's Sale-A-Bration freebies with a £90 purchase is the Berry Blessings bundle, comprising the Berry Blessings stamp set that features the sentiment on the front of my card along with the Berry Delightful DSP, full of great berry patterns and coloured ginghams and plaids. These bundles co-ordinate perfectly with each other and if you have one, you are probably going to want the other too - check out the hand-painted look below:

This is the first card I've made with these bundles, but they won't be the last - there lots more berries, patterns and colours to choose from!
Here is the visual summary of the key products used on today's project for you to pin for easy reference:
You can see all of my Product and 'How To' summaries on my 'How To - Tips and Techniques' Pinterest board in case you've missed any.
Before you reach for your ink and papers, check out what our amazing team has created to inspire you this week:
The Paper Players Design Team
Here's a quick recap of our challenge rules:
1. Create a new paper project
2. Upload your creation to your blog with a link back to us and provide a direct link to the post featuring your challenge submission.
3. Please link your card to no more than four challenges, TOTAL.
4. Have FUN!
You can see all of my 'How To' summaries on my 'How To - Tips and Techniques' Pinterest board in case you've missed any.
IEnjoy your day; we are forecast snow here in the UK today; the James Juniors are very excited, although I'm not sure it will be enough to build a snowman - I'll update you tomorrow! I'll be back then with another project. Until then, happy stampin'!
Stampin' Up! Supplies Used: