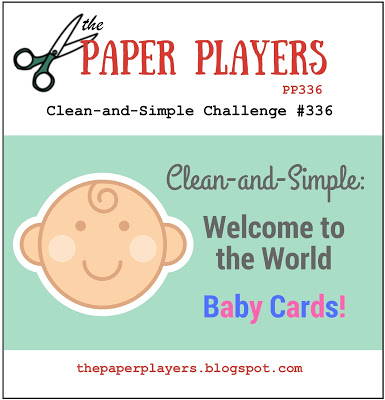
It's Sunday and time for this week's new challenge over at The Paper Players! It's my turn to host again this week and I have a clean and simple challenge for us to work with:
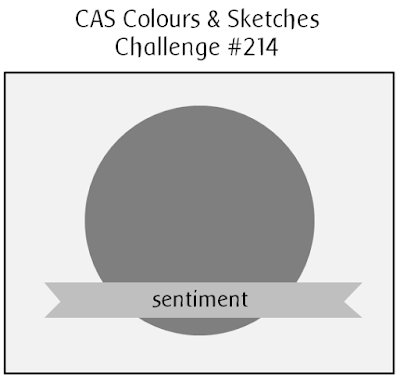
I've had the need for a few baby cards recently - all girls, funnily enough, whereas the last time I had a run on baby cards it was all boys, funny how that happens! So I decided that this week's challenge would be a great opportunity to replenish my stock, especially as we have some great new Stampin' Up! baby sets in the Spring-Summer Catalogue. I decided to create two cards today, identical in design but one each in a boy and girl colour scheme, using this week's sketch over at CAS Colours and Sketches - I'm also linking up with the team over at TGIF Challenges where their challenge this week is also all things baby:

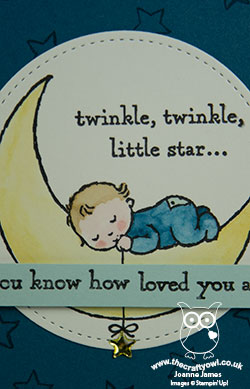
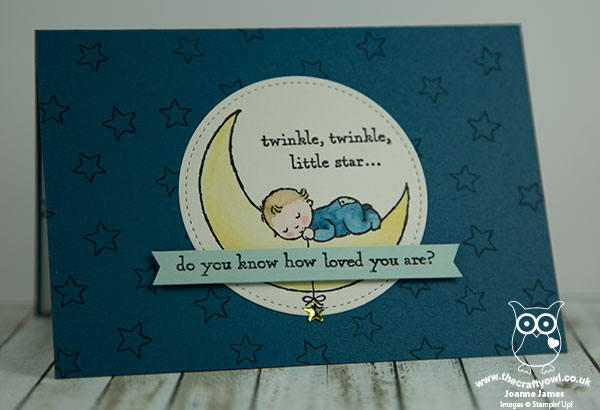
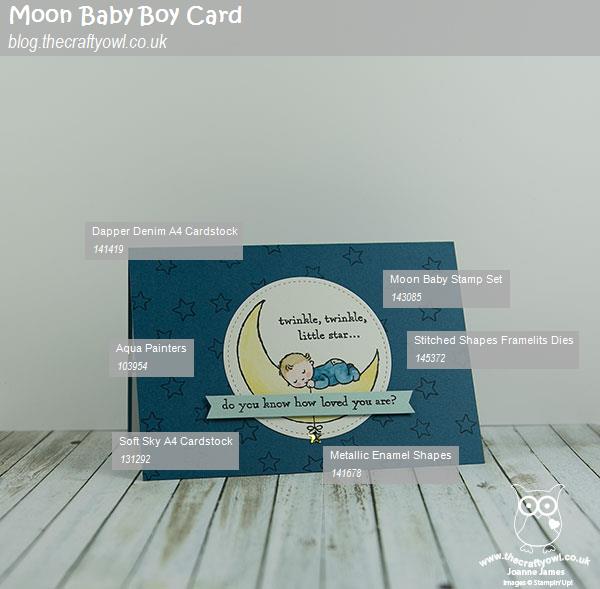
I couldn't wait to ink up my 'Moon Baby' stamp set again for my cards today - take a look, here's the baby boy card:
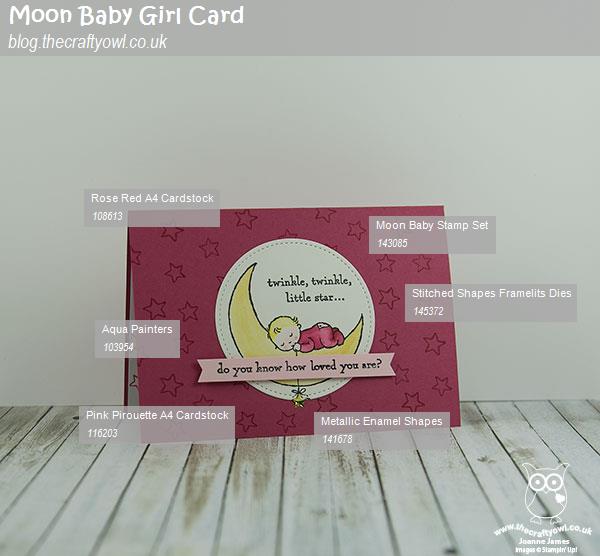
And here is the baby girl card:
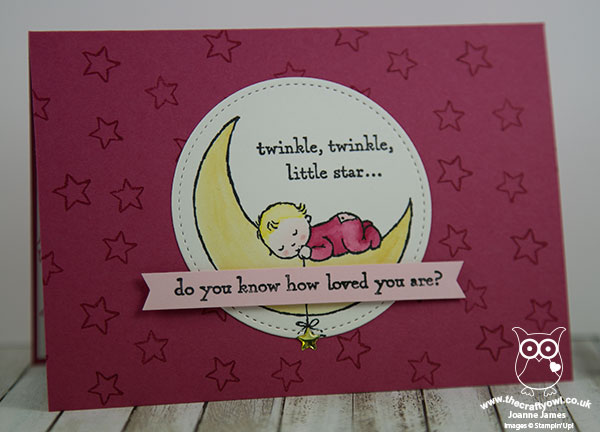
Here's the low-down on today's cards:
Twinkle, Twinkle Little Star - I stamped the moon baby onto Shimmery White cardstock and watercoloured them using my inks and aquapainters. I used my Stitched Shape Framelits to cut out my circle and added a layer of Clear Wink of Stella for added sparkle to my moon. I also added a gold metallic shape star to each of my cards for a fun detail.
Tone on Tone - To add interest to my background, I stamped the trio of stars randomly in the same colour ink as my cardstock base. This is a great way to add extra detail and interest whilst still keep your card clean and simple.
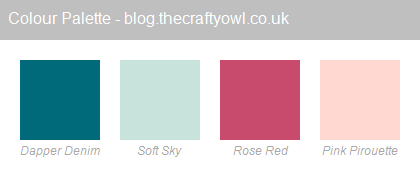
Blue For A Boy, Pink For A Girl - I used a duo of light and dark colours for each of my cards, with the darker colour for my card base and the lighter colour picked up in the banner. Here is my colour combination if you would like to save it:
Here is the visual summary of the key products used on today's project for you to pin for easy reference:
You can see all of my Product and 'How To' summaries on my 'How To - Tips and Techniques' Pinterest board in case you've missed any.
I just love the images in the 'Moon Baby' stamp set - it makes for such cute baby cards! I can't decide which of these colour combinations I like the most - if you have a preference, why not let me know in the comments below - I love to hear your thoughts!
Before you reach for your ink and papers, check out what our amazing team has created to inspire you this week:
The Paper Players Design Team
Here's a quick recap of our challenge rules:
1. Create a new paper project
2. Upload your creation to your blog with a link back to us and provide a direct link to the post featuring your challenge submission.
3. Please link your card to no more than four challenges, TOTAL.
4. Have FUN!
I look forward to seeing your clean and simple creations in the gallery this week. Enjoy the rest of your weekend - the James household is busy today with one of the James Juniors playing in a hockey tournament, whilst the other is attending a skills day in connection with school which will see him learning shooting and fencing (I think I'll be taking cover!!)
I'll be back tomorrow with another project; until then, happy stampin'!
Stampin' Up! Supplies Used: