by Joanne James14. April 2017 18:10
Today I'm sharing a card using this week's colours over at Color Throwdown:

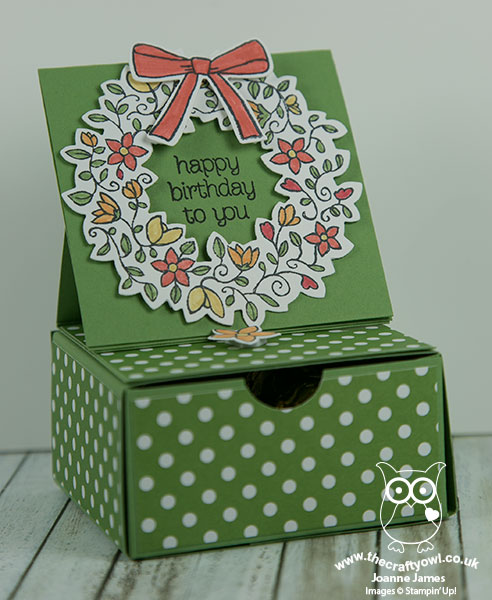
These colours are so very pretty and I was also inspired by the florals to create a 3D easel drawer card today using the retiring stamp set 'Circle of Spring' - take a look:

Here's the low-down on today's card:
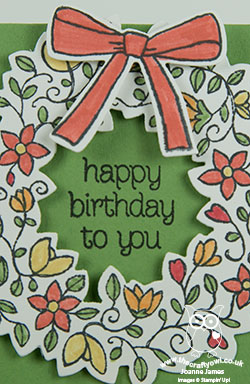
Circle Of Spring - I stamped the floral wreath from Circle of Spring and coloured it in with my Calypso Coral, Peekaboo Peach, So Saffron and Wild Wasabi Stampin' Write markers. I then cut it out with my Wondrous Wreath framelits and added a diecut bow too. Both the stamp set and framelits that I've used on my card today are retiring from the annual catalogue at the end of May and are available only whilst stocks last. The Circle of Spring stamp set is currently showing as low inventory, so if this is on your 'must have' list then do order as soon as possible to avoid disappointment.
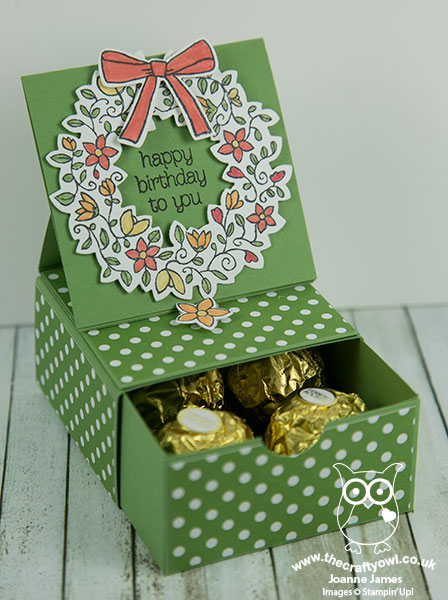
A Card And Gift In One - I recently made some easel drawer cards similar to this one for Mother's Day with a group of 21 Girl Guides - this stamp set also contains a 'happy Mother's Day' greeting - who had a lot of fun colouring their stamped images. They used a variety of pastel colours and they all looked so pretty when complete (it's a shame I was too busy to take a photograph of them all together - you'll have to take my word for it!) We made our cards on top so that they would open to enable a personal message to be written inside. The most exciting part though for the girls was the fact that this is a gift and card in one - the drawer pulls open to reveal 4 chocolates fitting perfectly inside:

The hardest thing for the girls was to not eat a chocolate or two whilst they were crafting!
All You Need Is A Sheet of 12" x 12" - The easel drawer card is really easy to make using just one sheet of 12" x 12". It needs to be cut as follows:
- One piece of 6" x 6", scored at 1.5" on each side for the drawer itself
- One piece of 3" x 10", scored at 2", 3.5", 6.5" and 8" on the long side, to form the wrap for the drawer
- One piece of 3" x 6", scored at 3" and 4.5" on the long side, with the 3" section adhered to the top of the drawer wrap at the front and the 1.5" scored sections folded towards you like a mountain.
- One piece of 3" x 6", scored at 3" on the long side for the card - this is adhered to the front section of the 1.5" x 3" section above (see the photo).
I hope that all makes sense - a video tutorial for another time, I think! To finish, I decorated the drawer section with co-ordinating paper from the Subtles DSP stack.
These little boxes would also make nice wedding favours - you can get two box cards out of 3 sheets of 12" x 12" cardstock so they would be pretty economical too.
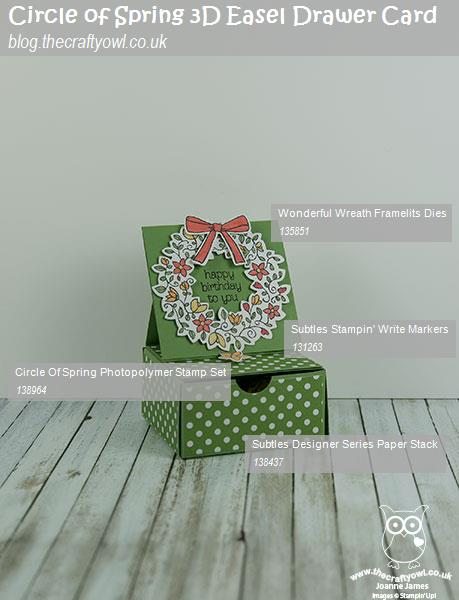
Here is the visual summary of the key products used on today's project for you to pin for easy reference:

You can see all of my 'How To' summaries on my 'How To - Tips and Techniques' Pinterest board in case you've missed any.
Enjoy your day and I'll be back tomorrow with another project. Until then, happy stampin'!
Stampin' Up! Supplies Used:
e2242370-b8b4-4fbe-8308-5d6a7521def9|0|.0|96d5b379-7e1d-4dac-a6ba-1e50db561b04
Tags: Birthday, Circle of Spring, Wonderful Wreath Framelits, Stampin' Up, Stampin' Up Card, Stampin' Up Card ideas, Stampin' Up Supplies, Shop online, Shop Stampin' Up online, Shop Stampin' Up! Online, retiring stamps
3D Projects | Boxes | Cards | Shop Online | Shop Stampin' Up! Online | Stamping