It's Thursday and time for a new challenge over at TicTacToe! It's the turn of Team X to host this week and our leader, the lovely Felicita, is our featured designer this week. This is the fun board that we are playing along with:
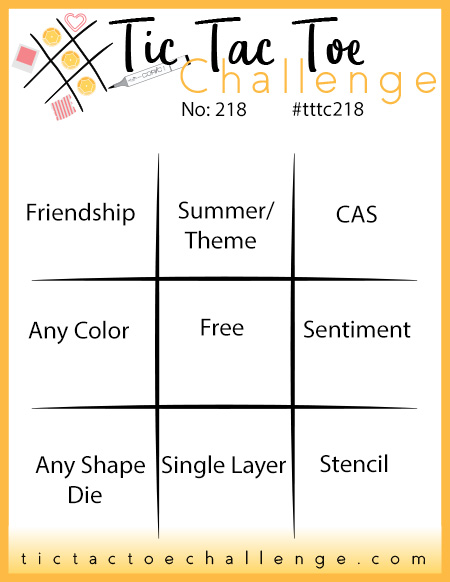
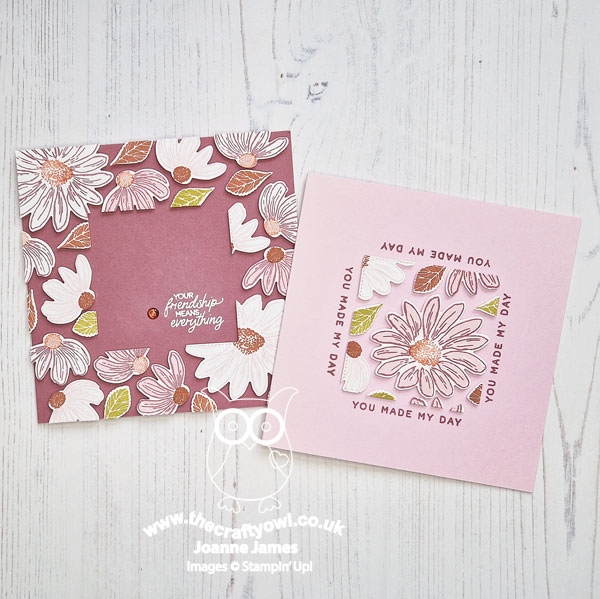
I went down the first column with Friendship/Any Colour/Any Shape Die and actually made two cards today, the fist one of which is for our challenge - take a look:
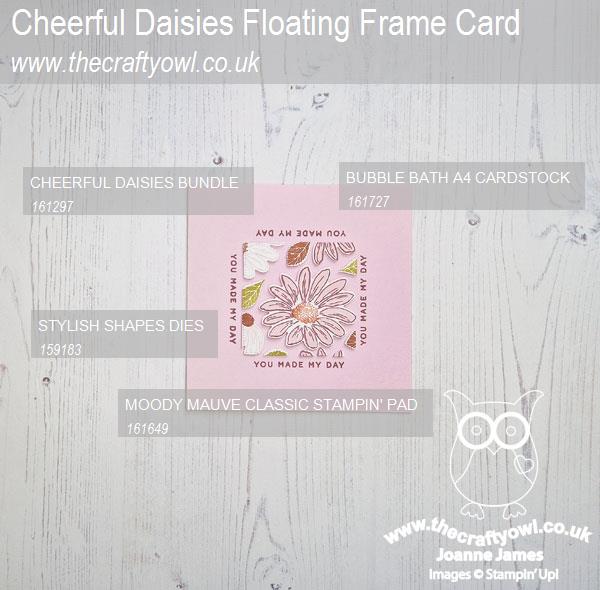
Here's the low-down on today's card:
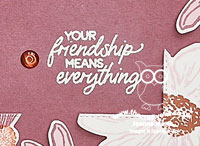
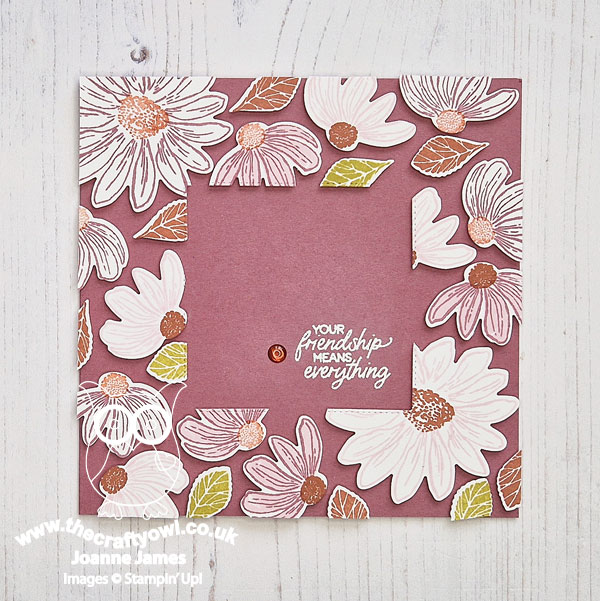
Floating Frame - I haven't made a floating frame card in ages and I thought the new Cheerful Daisies bundle, with lots of differently shaped and sized pieces, would be perfect to showcase this technique. I decide to make two square cards (more on that in a moment) and stamped lots of daisies and leaves in my chosen colours, before diecutting and laying out on my craft mat to a cover a space slightly larger than my 6" card front. When I was happy that the whole area was covered with no large gaps, I adhered a sheet of Press 'n' Seal over them and ran through my diecutting machine with the largest of the square Stylish Shapes Dies, to cut out my central square. I set this to one side, then flipped over my frame and added dimensionals to each of the pieces, before flipping back over, centering and adhering to my cardfront. Once all elements were stuck down, I removed the Press 'n' Seal and trimmed any pieces that were overhanging the edge. I then added my heat-embossed sentiment and a single enamel dot to the square inside the frame I created to finish:
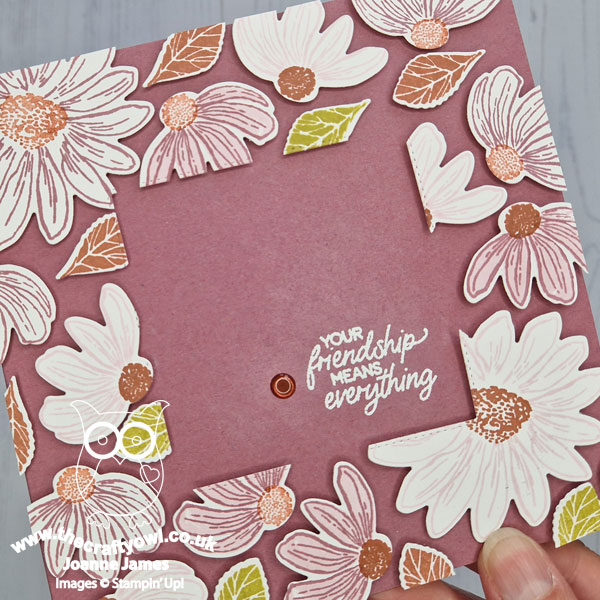
Isn't that something?! I love the effect of this technique.
Sentiment Style - I still had my central square so I made a second card, this time using Bubble Bath cardstock as my card base. Here's that finished card:
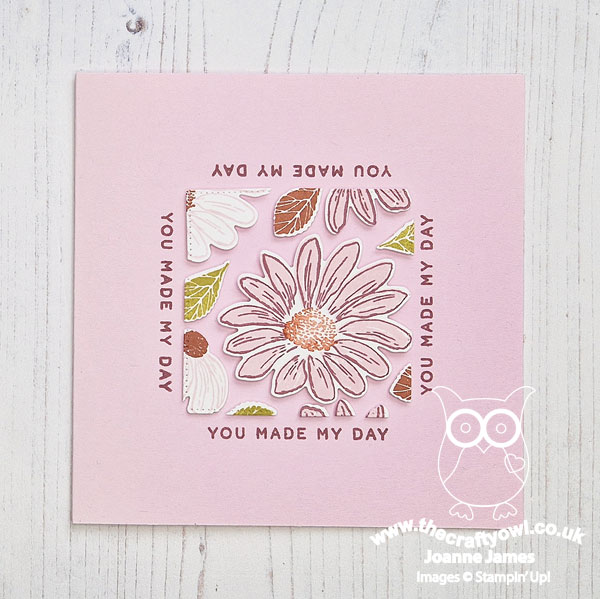
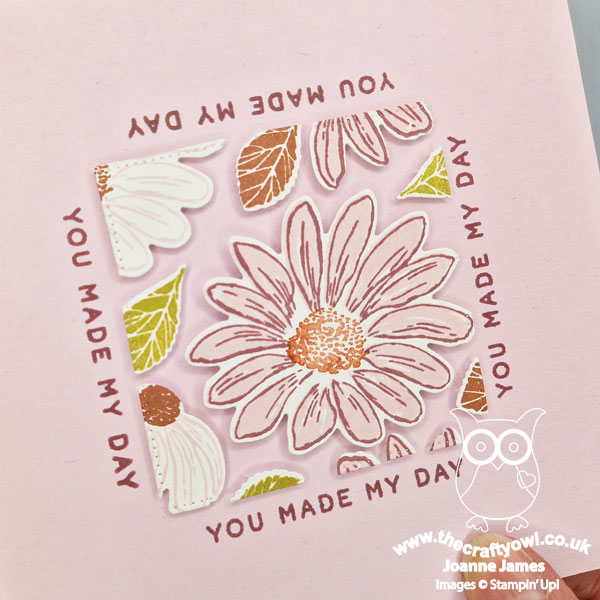
I followed the same process, adding dimensionals to the reverse and centering the square panel before removing the Press 'n' Seal. This time, I decided to make a feature of another of the sentiments in the Cheerful Daisies set and repeat it four times along each edge of my square panel - I really like this effect. If you look closely at the close up below, you can also see the stitched detail of the square die around the edges of the diecut pieces too:
So what do you think? Do you like this style of card - is it something you've tried, either with this set or others? If you do a search on my blog you will find several other examples where I've used this technique. Do let me know what sets you've used - I'd love to know in the comments below!
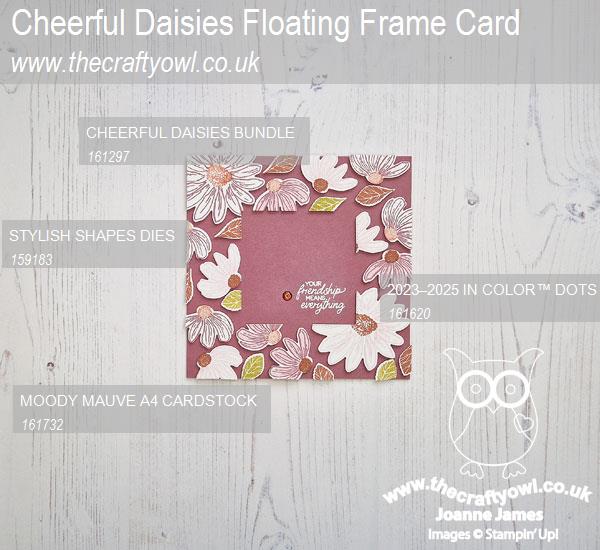
Here is the visual summary of the key products used on today's project for you to pin for easy reference:
You can see all of my Product and 'How To' summaries on my 'How To - Tips and Techniques' Pinterest board in case you've missed any.
A tictactoe board offers so many creative possibilities - how does this week's board inspire you? Why not have a go? We would love to see you in the gallery and who knows - you might be selected for Designer's Choice and be eligible to be a guest designer on a future challenge.
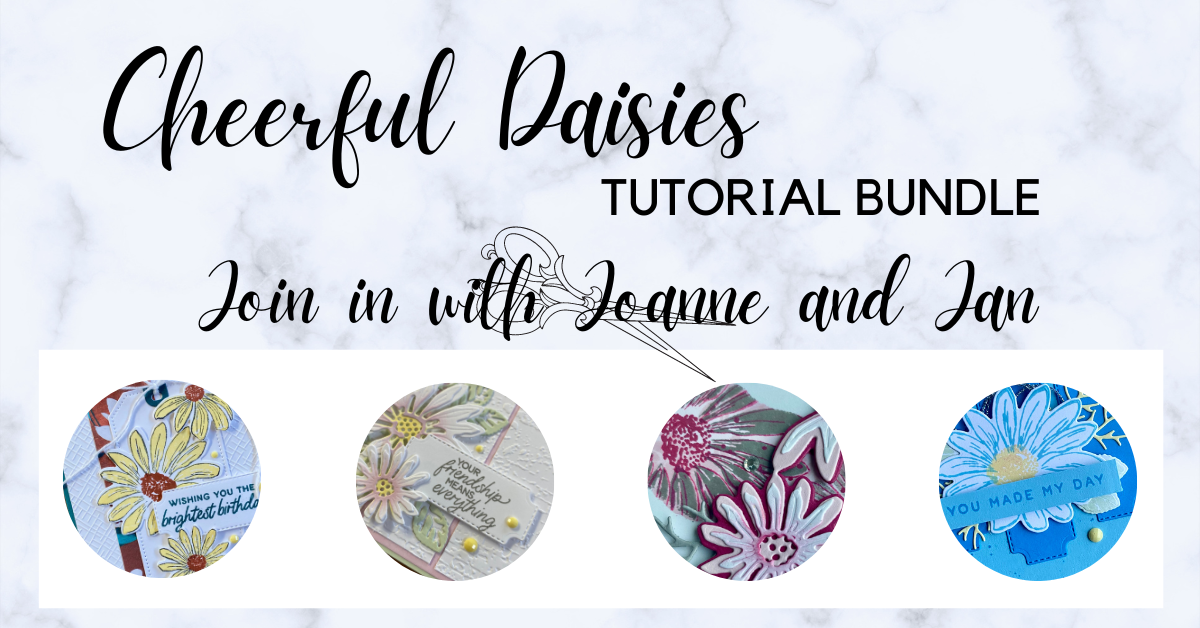
Another reminder too that for more great ideas on how to make the most of the Cheerful Daisies bundle, if you purchase it from me before the end of the month (or place an order of equivalent value) you will receive a copy of the tutorial I've created with my friend Jan Clothier and access to our private Facebook group.
Enjoy your day; I'll be back tomorrow with another project. Until then, happy stampin'!
Stampin' Up! Supplies Used: