Today it's Sunday and time for this week's new challenge over at The Paper Players! It's the turn of the fabulous LeAnne to host this week and she has a pretty colour challenge for us to work with:
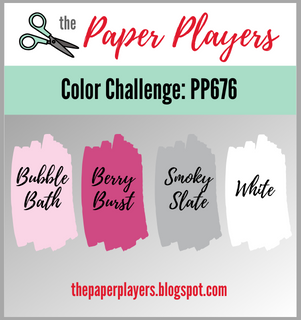

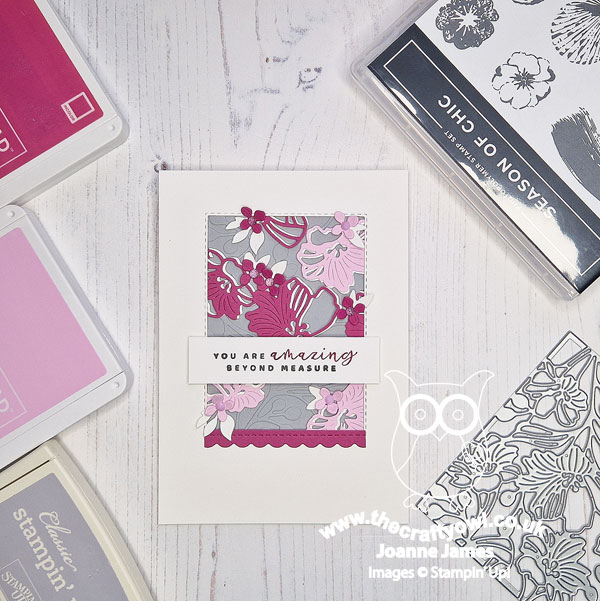
I love this colour combo! I used Jen M's great layout over at Freshly Made Sketches for my card and set to work to create another card using my Gorgeous Garden Dies - take a look:
Here's the low-down on today's card:
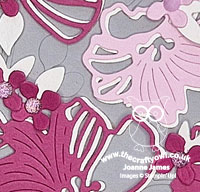
Gorgeous Garden Dies - I would usually use this type of layout to create a popped-up panel, but I decided instead to create a frame to highlight just part of the floral Gorgeous Garden Die. I layered up my die as I've done on previous cards and added a few additional flowers and leaves to highlight the pinks. This is quite a neat way to use only part of the die; depending on the size of the aperture you use, you can get two cards out of one Gorgeous Garden panel too.
Did Someone Say FREE? - Love the Gorgeous Garden Dies? Today's post is a great opportunity to remind you that they feature in one of the current 'Join In With Joanne and Jan' tutorials that I have designed in collaboration with my good friend Jan Clothier:
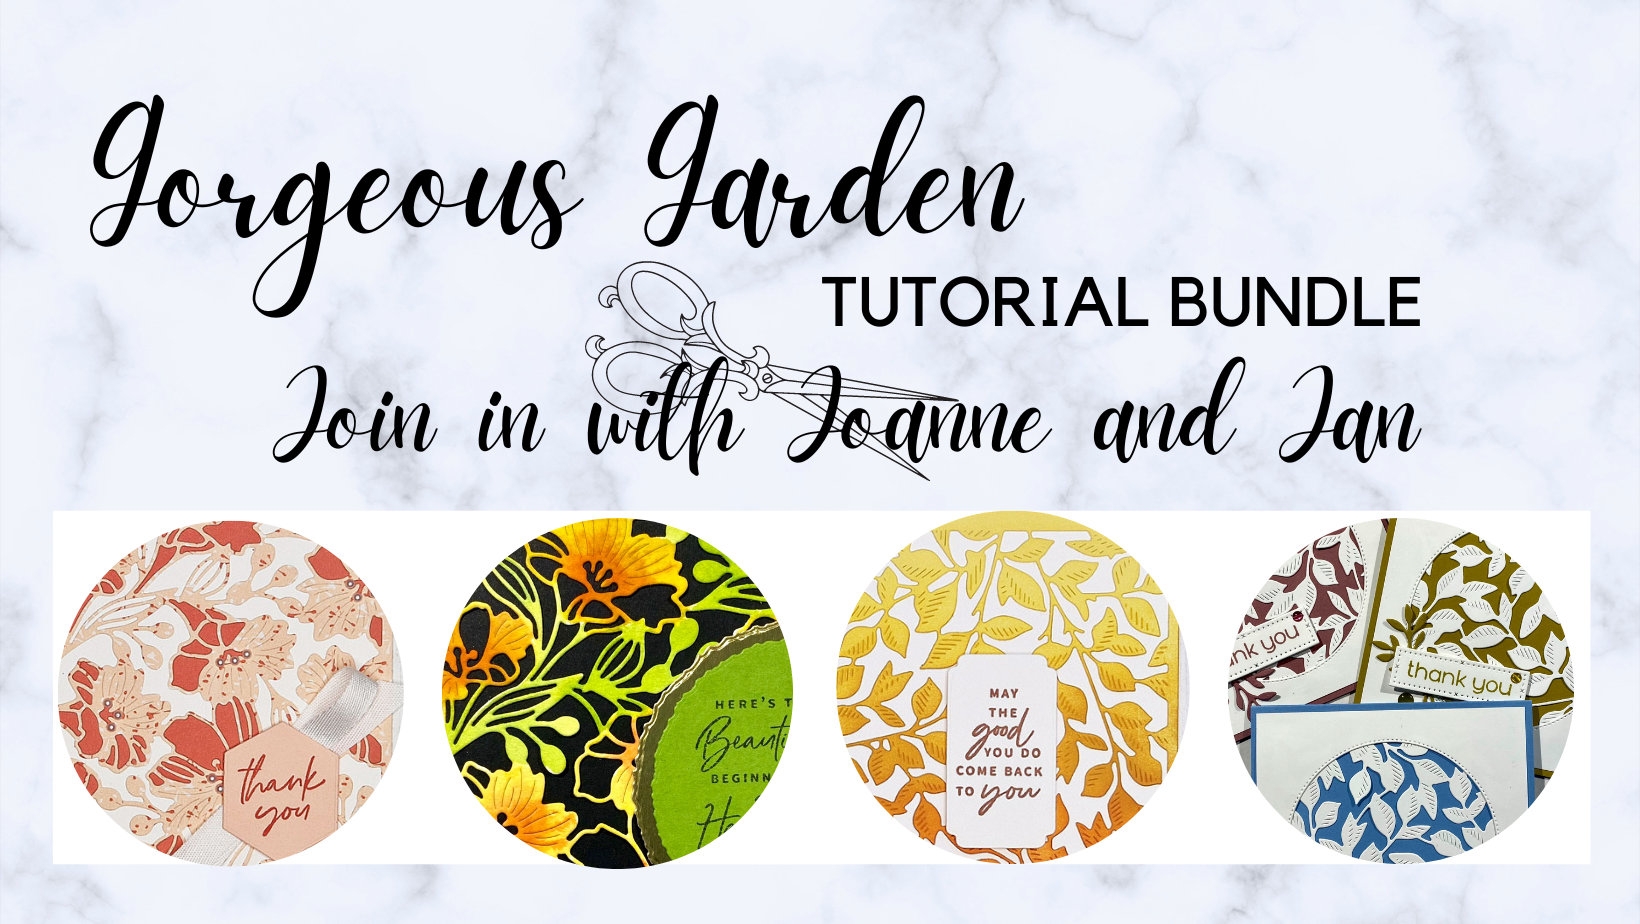
This tutorial features 4 main projects with a couple of extras thrown in too featuring a range of techniques and of course the Gorgeous Garden Dies. The projects that feature in the tutorial are exclusive to the tutorial itself and you won't find them on our blogs or anywhere else. How can you get it? Well, if you purchase the Gorgeous Garden Dies from either Jan or myself, then the tutorial with photos and full detailed instructions will be yours FREE - it's as simple as that.
Season Of Chic - The sentiment on my card is from the 'Seasons of Chic' stamp set; I inked it in two stages using my stamping platform so that I could highlight the word 'amazing'. This technique works really well with this stamp set - you can see the detail more closely below:
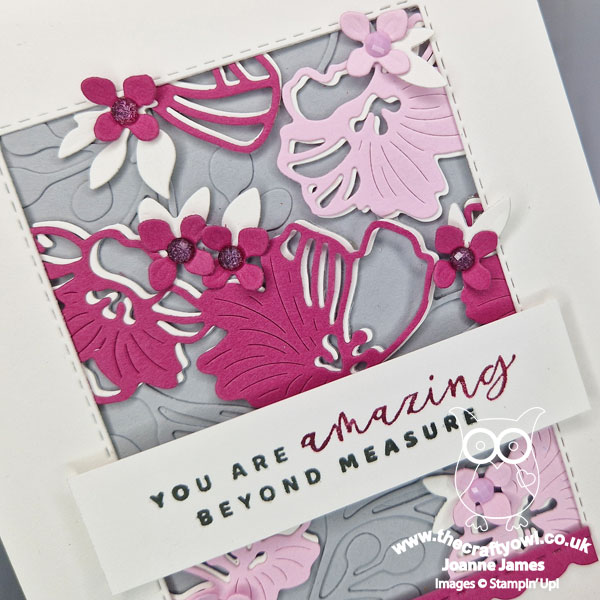
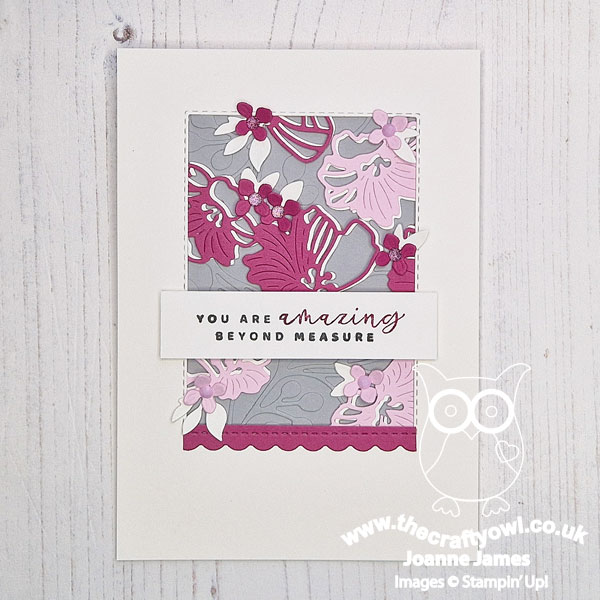
So pretty, right? I made this card for someone special who has been achieving great things of late and I wanted to let her know how amazing I think she is, so I'll be popping it in the post today.
Here is the visual summary of the key products used on today's project for you to pin for easy reference:
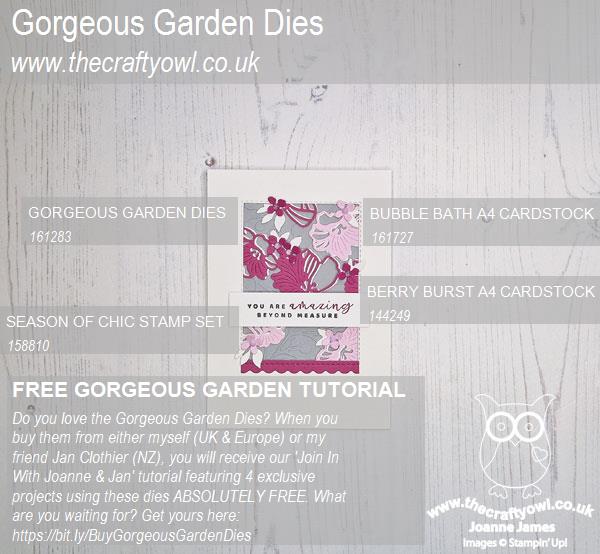
You can see all of my Product and 'How To' summaries on my 'How To - Tips and Techniques' Pinterest board in case you've missed any.
Before you reach for your ink and papers, check out what our amazing team has created to inspire you this week:
The Paper Players Design Team
Here's a quick recap of our challenge rules:
1. Create a new paper project
2. Upload your creation to your blog with a link back to us and provide a direct link to the post featuring your challenge submission.
3. Please link your card to no more than four challenges, TOTAL.
4. Have FUN!
Enjoy your day; I'll be back tomorrow with another project. Until then, happy stampin'!
Stampin' Up! Supplies Used: