by Joanne James26. March 2024 20:27
Today I've a quick post to share a clean and simple card that was inspired by the cute daisy in the photo over at Inspired By this week and the code word over at Addicted to CAS - Bloom:


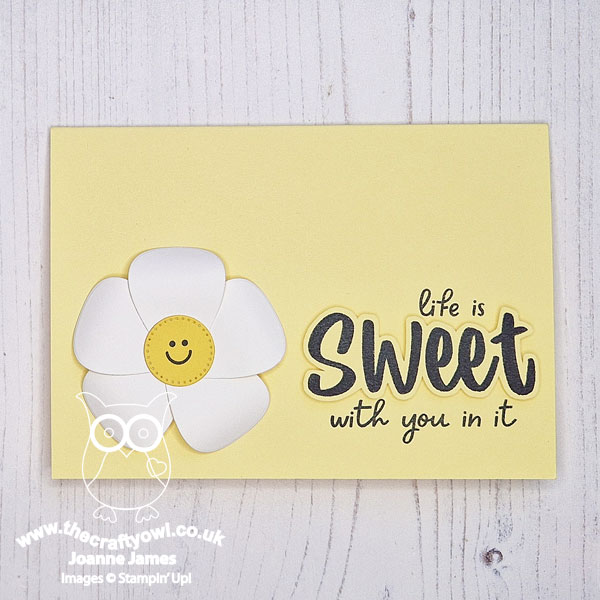
There's something about that smiley daisy that made me want to recreate it for a sunny notecard - this is what I came up with:
Here's the low-down on today's card:
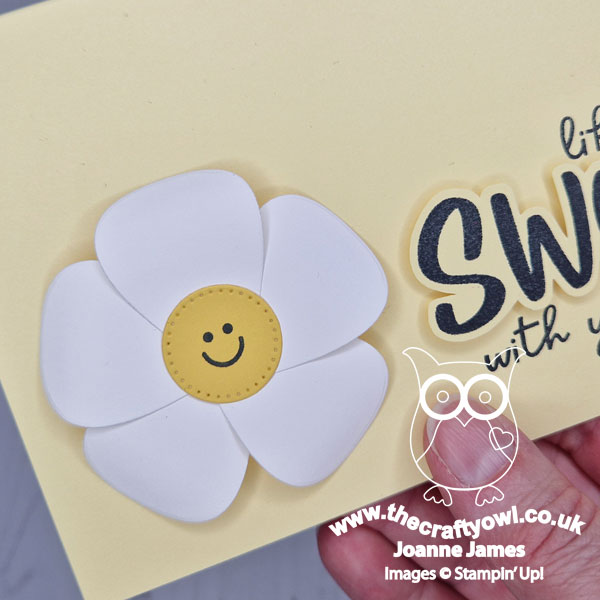
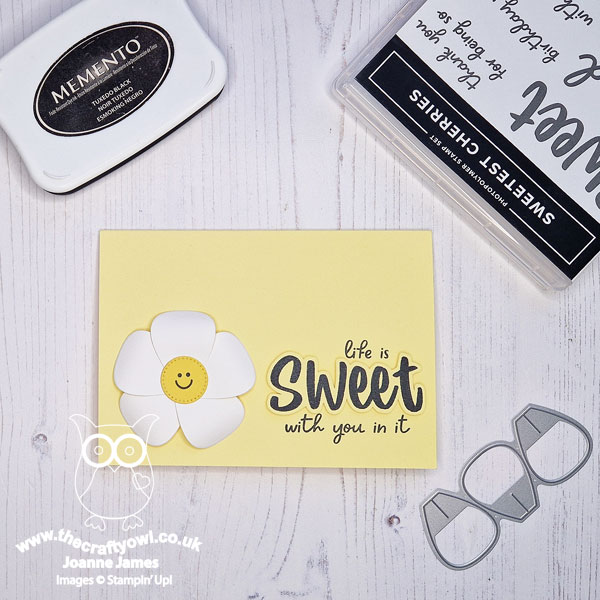
I chose a pale Lemon Lolly background inspired by the background cushion in the photo, then set about recreating my daisy using a petal from the Paper Florist Dies set and a flower centre using a circle from the Stylish Shapes Dies. My smiley face is courtesy of the (retired) 'Cute Fruit' stamp set and my sentiment is from the 'Sweetest Cherries' stamp set. I fussy cut the word 'sweet' and popped it up on dimensionals:
Super simple but so cute and I know just the person to send it to!
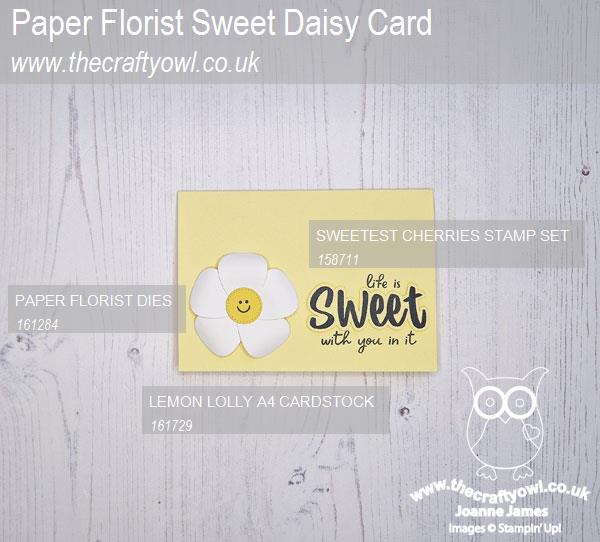
Here is the visual summary of the key products used on today's project for you to pin for easy reference:
You can see all of my 'How To' summaries on my 'How To - Tips and Techniques' Pinterest board in case you've missed any.
Enjoy your evening and I'll be back tomorrow with another project. Until then, happy stampin'!
Stampin' Up! Supplies Used:
5cd5e9db-3581-4b6e-84e0-44a562df53d3|0|.0|96d5b379-7e1d-4dac-a6ba-1e50db561b04
Tags: Shop Stampin' Up! Online, Stamping Shop Stampin' Up online, Shop online, Stampin' Up, Stampin' Up Card ideas, Stampin' Up Supplies, Stampin' Up Card, Paper Florist Dies, Sweetest Cherries, Cute Fruit, Stylish Shapes Dies
Cards | Shop Online | Shop Stampin' Up! Online | Stamping
by Joanne James1. August 2020 20:00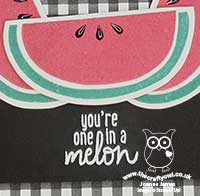
Today I'm sharing a card that uses the current Colour Inkspiration challenge colour palette and the photo and sketch inspiration over at Fusion:


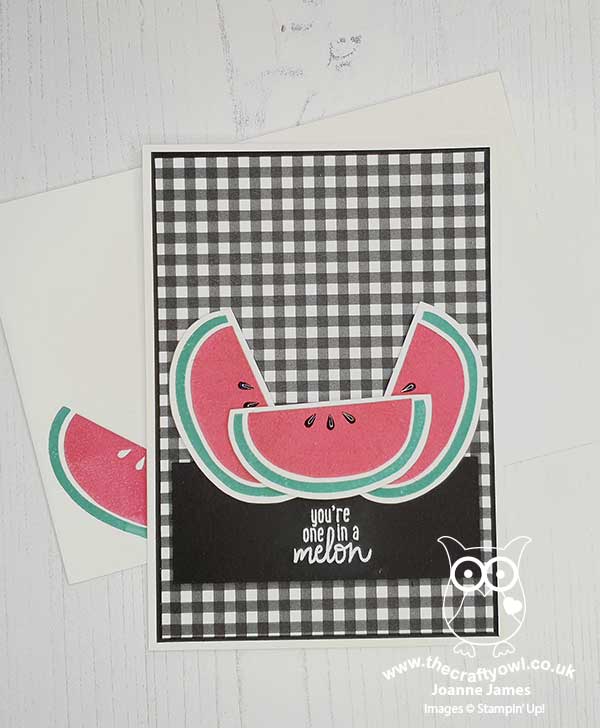
I spotted that cute little melon in the Fusion photo and immediately thought of the Colour Inkspiration colours and how combining the two could make a fun fruity card:
Here's the low-down on today's card:
Cute Fruit - I used my 'Cute Fruit' stamp set again to create my melon slices and stamped that fun punny sentiment in white on my horizontal black panel. I fussy cut the melon segments to allow them to be popped up on dimensionals.
#SimpleStamping - The 'Cute Fruit' stamp set features in the Stampin' Up! beginner's brochure and is great for those new to stamping. It makes easy one layer cards, but can also be easily 'stepped up' with some designer series paper and a little fussy cutting as I've done here. And everyone knows someone who is 'one in a melon', right?!
A Little Extra Detail - I could have stopped there, but I found some retired raindrop epoxy shapes in my stash that I thought would be great to highlight the melon seeds. I coloured them black with my Blends marker and added them to the spaces outlined on the stamped image - I think the added shine and detail adds a nice extra little 'something':
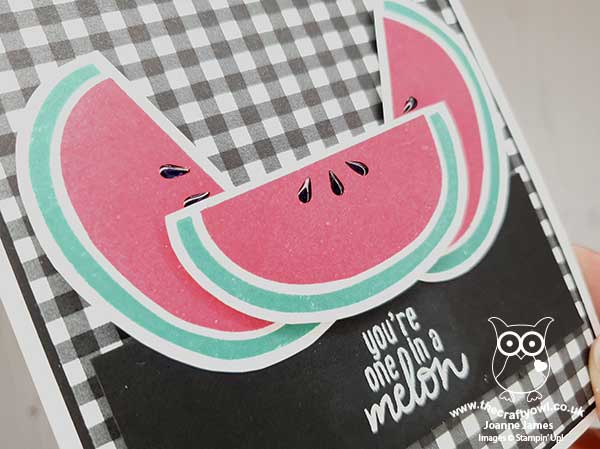
If you don't have any of these in your stash you could always make some with a fine tip glue pen.
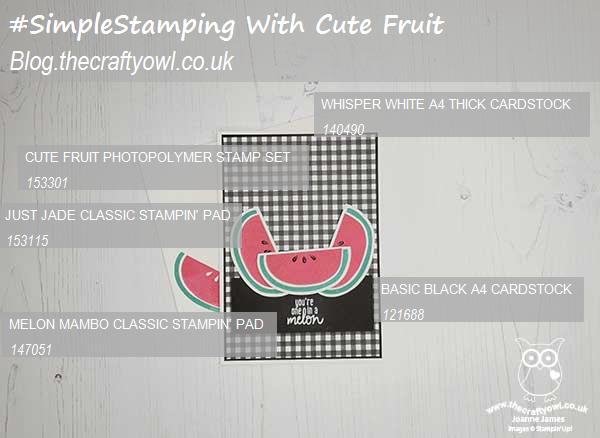
Here is the visual summary of the key products used on today's project for you to pin for easy reference:
You can see all of my 'How To' summaries on my 'How To - Tips and Techniques' Pinterest board in case you've missed any.
Yesterday was a scorcher here in the UK and thankfully today was a little cooler so enabled me to run without flaking out in the heat first thing and then get a few gardening jobs done. It was even cool enough for me to spend a little time in my craft room! Following brunch, young Master James spent the day at the lake with one of his friends, waterskiing, jetski riding and bouncing on inflatables. He had a ball and will I'm sure sleep well tonight! I hope you have enjoyed your day and I'll be back tomorrow with my card for our new challenge at The Paper Players. Until then, happy stampin'!
Stampin' Up! Supplies Used:
by Joanne James24. July 2020 20:56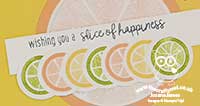
I had some new goodies arrive yesterday and finally got some time to play this afternoon so I'm just popping by to share a quick card that I made for this week's Freshly Made Sketches challenge with the current colour palette over at Color Throwdown:
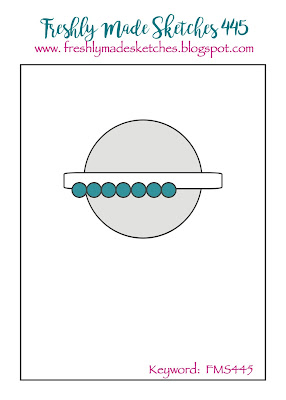

I was intrigued by those circles on Jen's sketch and I had an idea that I thought might work with one of my new stamp sets - take a look:
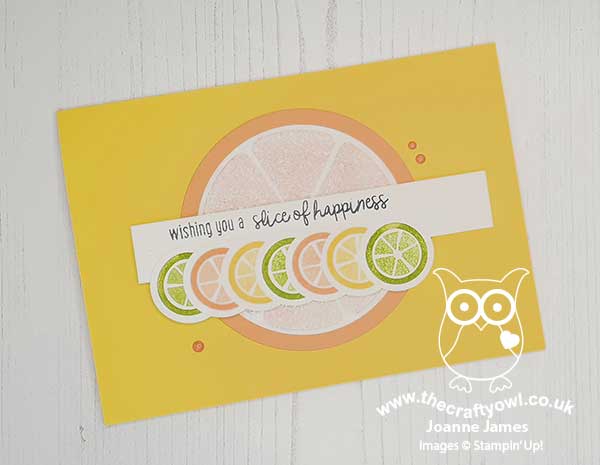
Here's the low-down on today's card:
Cute Fruit - The 'Cute Fruit' stamp set is so fun! The set includes lots of different fruit and in addition to the fruit and some great punny sentiments, there are also a selection of cute faces - I mean, what's better than a banana? Well, a banana with a face of course!! I haven't used the faces on today's card, but rest assured they will make an appearance at some point.
Let's Talk Sketch - I was musing over how to represent those little circles when it occurred to me they could be slices of oranges, lemons and limes. I decided to try out my idea, but this necessitated me altering my card base to a horizontal rather than vertical one, to allow me to scale my fruit accordingly and still keep the elements of the sketch in proportion. You can still see the sketch layout though and how it inspired my card. I would never have thought about using this set in this way so the sketch was a great way to stretch my creative thinking.
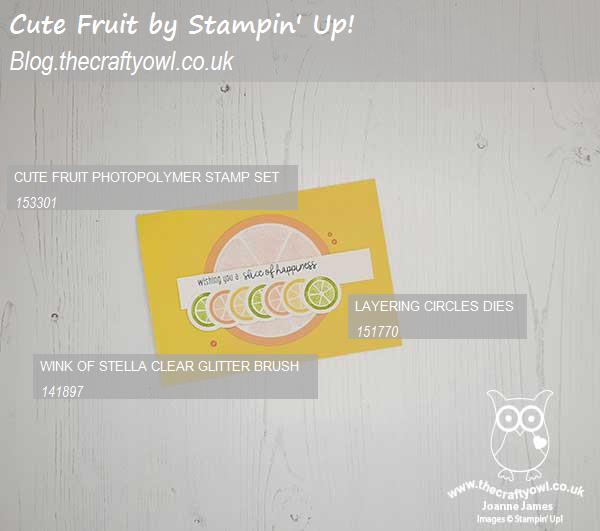
Citrus Sparkle - I stamped each of my small citrus slices in Granny Apple Green and retired Pineapple Punch and Grapefruit Grove and punched them out with my retired 1" punch. I decided to create a large orange slice for the larger circle in the sketch and did this by layering some circles of cardstock and adding some segments cut from retired glimmer paper that I coloured orange with some ink and a sponge dauber for some extra sparkle which you can see better on the photo below:
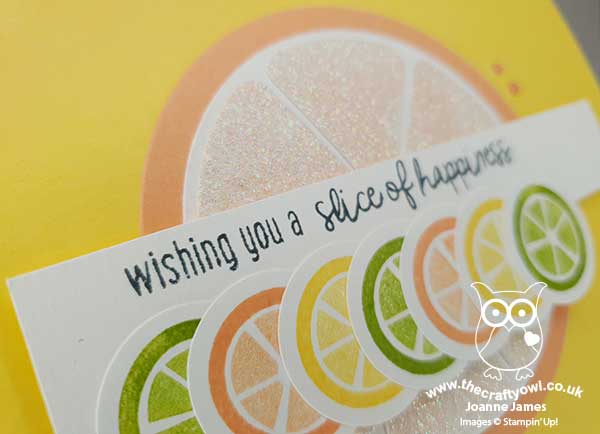
I added some clear Wink of Stella to my stamped citrus slices too for some added lustre and my card was complete. So what do you think of today's citrus-y card? Does it work for you? Do leave me a comment - I'd love to hear your thoughts.
Here is the visual summary of the key products used on today's project for you to pin for easy reference:
You can see all of my 'How To' summaries on my 'How To - Tips and Techniques' Pinterest board in case you've missed any.
Enjoy your evening and I'll be back tomorrow with another project. Until then, happy stampin'!
Stampin' Up! Supplies Used: