A midweek post for you before I head out on today's activities with the James Juniors! Today I'm sharing a card that is perfect (and just in time!) for the current challenge over at As You See It:
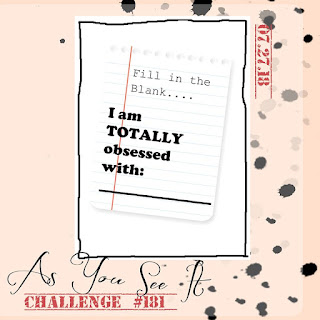
This was an easy one for me! There are lots of things that fall in and out of love with as I craft, but there is one thing that I will always be obsessed with - and that's designer series paper! I have boxes and boxes of the stuff, old and new (about 25 12"x12" storage boxes at the last count!!). I use it - but I hoard it too! One of my team jokingly shared the attached image on our team page recently saying 'I wonder if you know anyone like this?'

Of course, she knew it was perfect for me :-) I know that some of you reading this will also share my passion for patterned paper, so if you would like to see a fun project that showcases all those lovely patterns, read on!
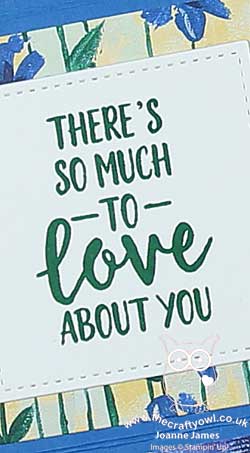
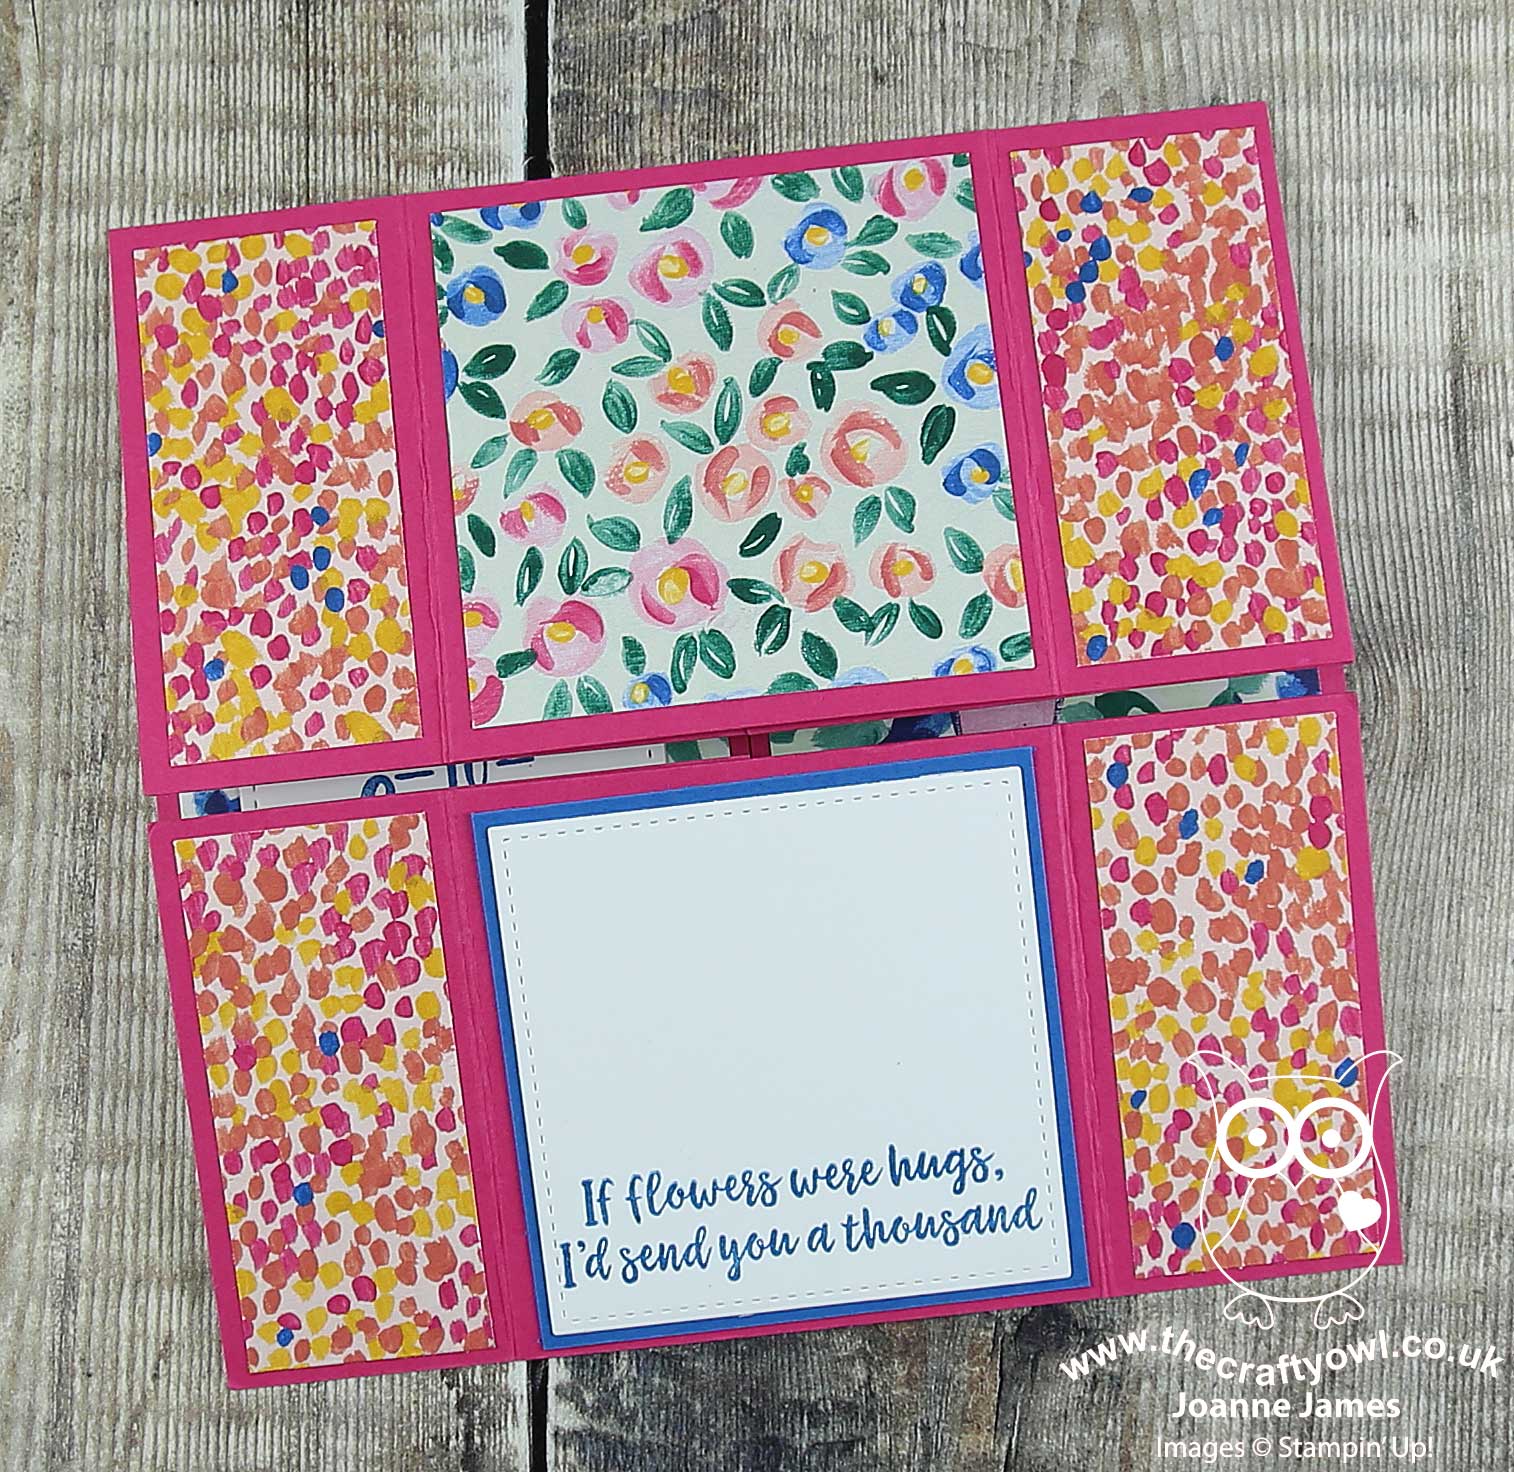
In my recent technique class featuring the Garden Impressions Suite, we made a never-ending card featuring the gorgeous Garden Impressions papers. This is a photo-heavy post, so that you can see each of the sides of these fun-fold cards. So first up, here is the version we made in class:
This is the front:

The card then opens from the centre to reveal the next 'side':
Followed by a third fold:
And then the final 'side', with space above the sentiment to write a personal message:
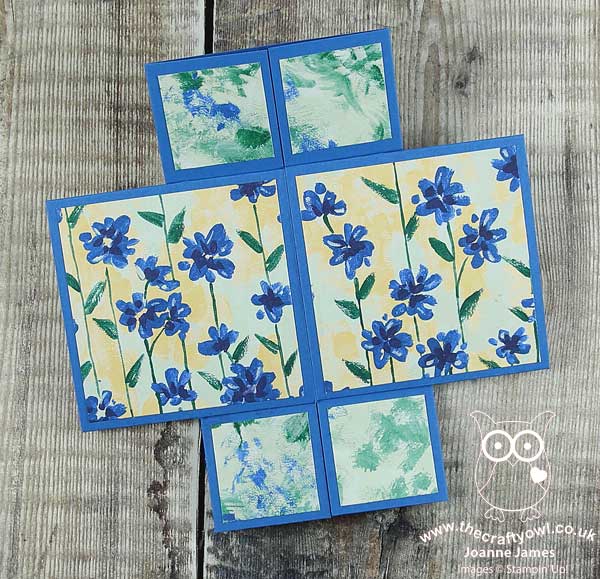
The next fold then takes you back to the beginning. Whilst the still photos show you each of the sides, they don't really highlight the mechanism; I shot a short video of one of the ladies at my class demonstrating how hers worked which will give you a much better idea of why it's called a never-ending card -you can see this over on my Facebook page below:.
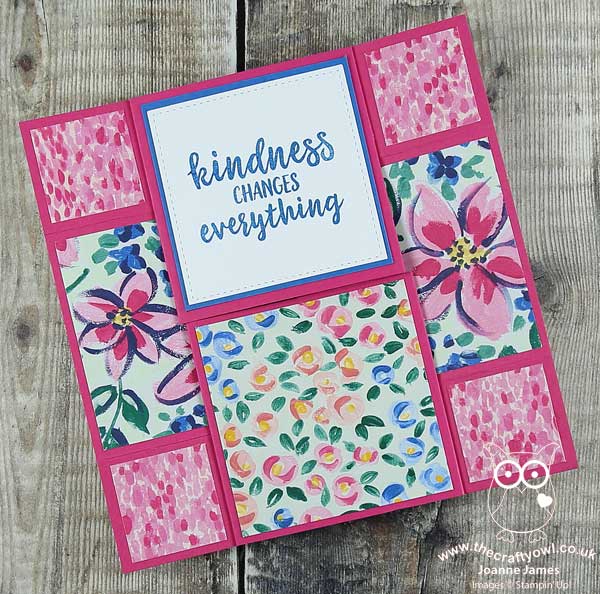
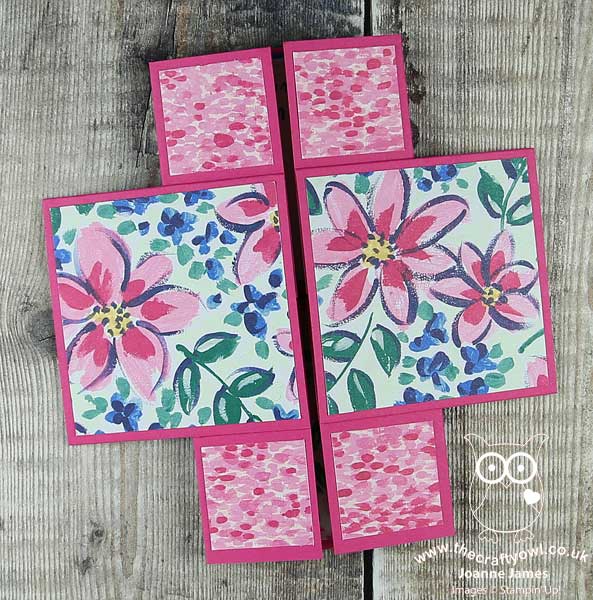
After the class I also made another one using the same papers in an alternative colourway, and decorated it with some of the diecut pieces from the Springtime Impressions thinlits dies set - take a look:
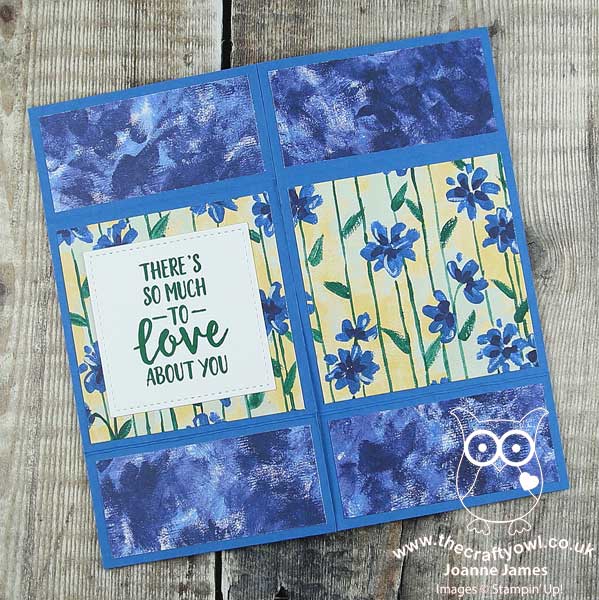
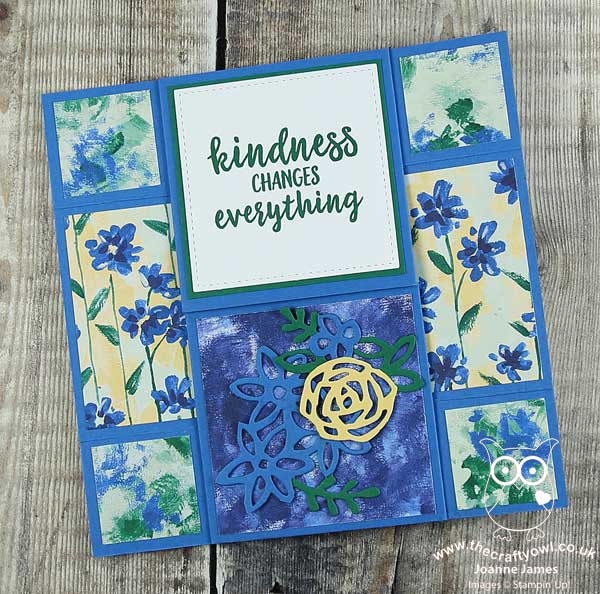
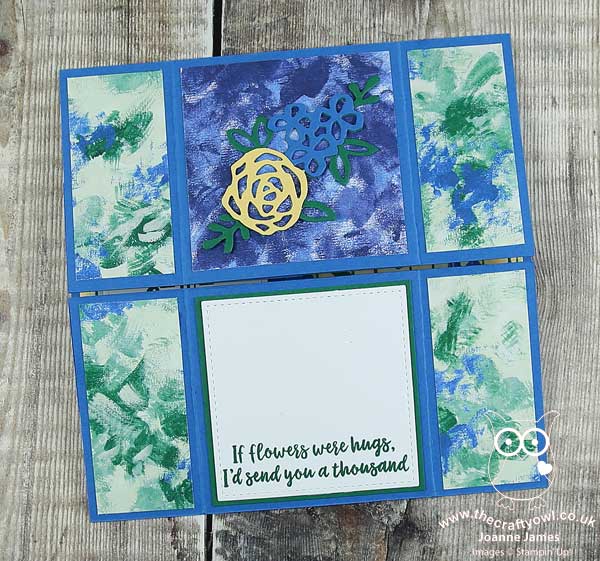
The basic mechanism for these cards, which measure 6" x 6" finished size, is fairly straightforward; it's choosing how to decorate them and which papers to use that takes the thought - especially when your collection is as vast as mine!
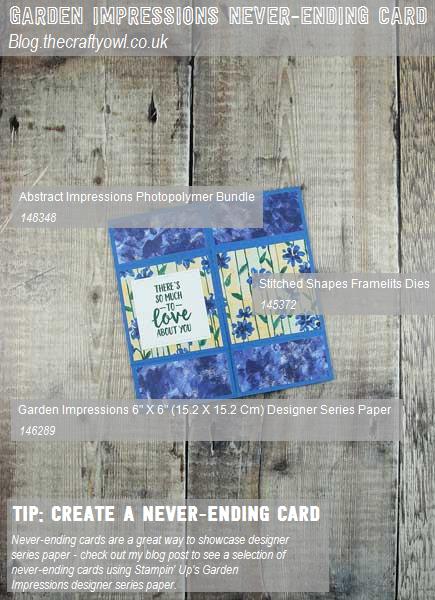
Here is the visual summary of the key products used on today's project for you to pin for easy reference:
You can see all of my 'How To' summaries on my 'How To - Tips and Techniques' Pinterest board in case you've missed any.
Enjoy your day and I'll be back tomorrow with another project. Until then, happy stampin'!
Stampin' Up! Supplies Used: