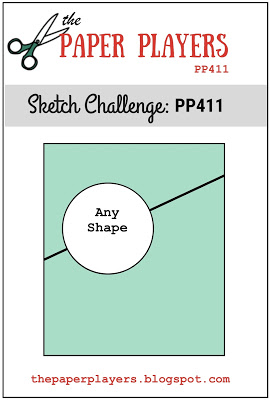
Today it's Sunday and time for this week's new challenge over at The Paper Players! It's the turn of the fabulously creative Jaydee to host this week and she has my favourite, a sketch challenge, for you to work with:
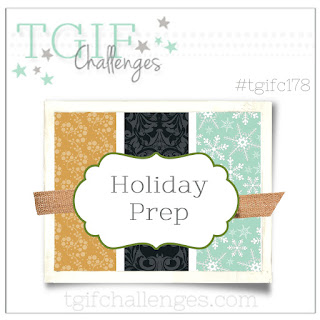
I decided to continue getting a headstart on my Christmas card making preparations (so my projects are perfect for the challenge over at TGIF Challenges too this week) and spent a few hours making a more involved boxed Christmas card with a matching gift box too. First things first - here's my card:
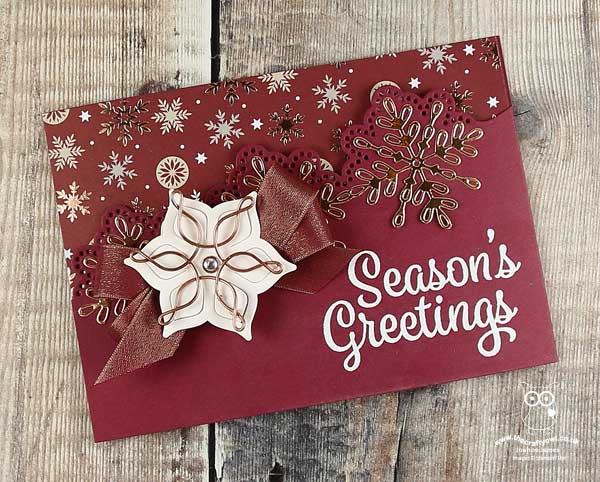
Here's the low-down on today's card:
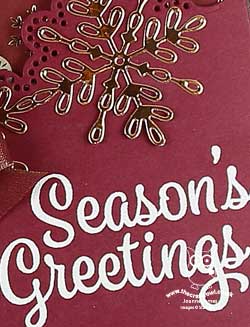
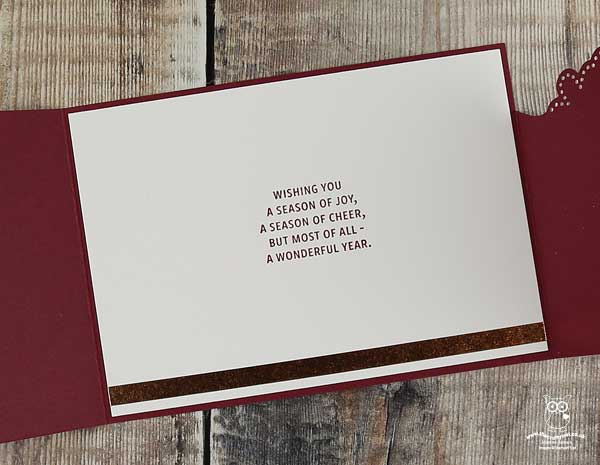
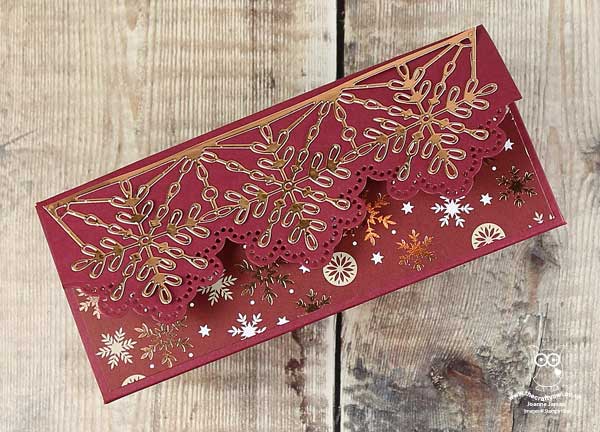
Diagonal Swirly Snowflake Border - Whilst I love a good sketch, I often struggle with the concept of a diagonal. I decided to alter the dimensions of Jaydee's sketch and create a horizontal fold out card as I wanted to use my Swirly Snowflakes Thinlits Dies to create a layered diagonal edge and I needed the extra width to balance my card and fit the entire border in (I'm sure she will allow me this liberty ;-) ). I snipped away the straight edge of my copper foil snowflakes and added a sentiment embossed in white, before adding my embellishment (more on that below). My card opens from the right to reveal a complete panel of my favourite copper-embossed Joyous Noel Specialty Designer Series Paper, then the left hand side lifts to reveal the sentiment inside, embellished with a narrow strip of copper washi tape:
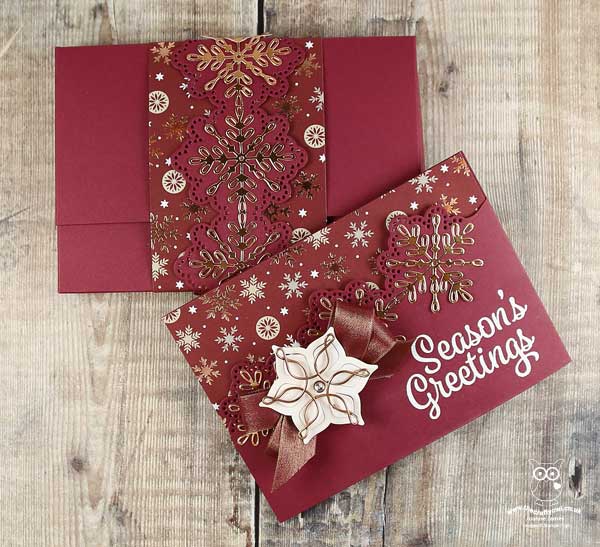
Christmas Copper Snowflakes - I created a layered embellishment on the front of my card, using one of the copper snowflake wire elements as the centrepiece. I layered this with a Shimmery White diecut from the Eastern Medallions Thinlits set, with a centre of a clear epoxy droplet on a copper sequin, all layered up on a fancy double bow in the gorgeous Merry Merlot and Copper Reversible Ribbon. This showy embellishment adds a lot of dimension to the front of my card, so much so that it wouldn't fit in a standard envelope. Instead, I made a box with a co-ordinating belly band closure:
A Gift Box To Match - This kind of card takes a little while to make and is destined for someone who I know will appreciate the effort and time taken to create it. Whilst I was fully 'in the zone', I decided to create a co-ordinating gift box with a magnetic closure. The box measures approx. 15cm x 6cm x 5cm, so not huge but large enough for a small gift to accompany my card. I created a triangular box with a decorative flap created using the Swirly Snowflakes Thinlits for the border detail, based on this one I'd seen on Pinterest. I decorated the front panel of my box with more of that gorgeous Joyous Noel DSP too:
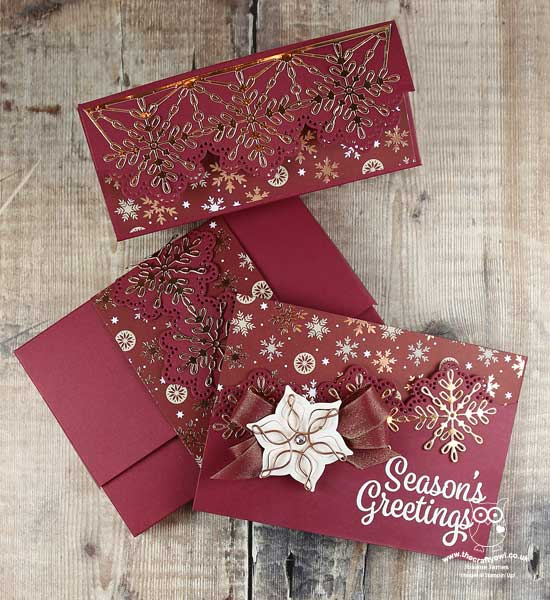
And here's one last photo of all three of my project elements together - I hope you will agree, a lovely Christmas set in rich, festive colours:
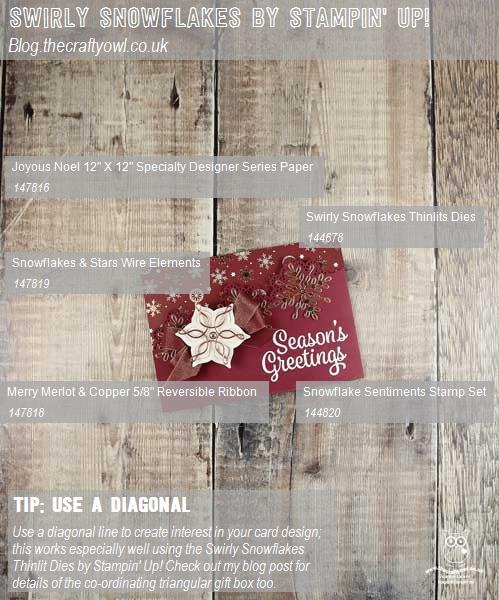
Here is the visual summary of the key products used on today's project for you to pin for easy reference:
You can see all of my Product and 'How To' summaries on my 'How To - Tips and Techniques' Pinterest board in case you've missed any.
Before you reach for your ink and papers, check out what our amazing team has created to inspire you this week:
The Paper Players Design Team
Here's a quick recap of our challenge rules:
1. Create a new paper project
2. Upload your creation to your blog with a link back to us and provide a direct link to the post featuring your challenge submission.
3. Please link your card to no more than four challenges, TOTAL.
4. Have FUN!
You can see all of my 'How To' summaries on my 'How To - Tips and Techniques' Pinterest board in case you've missed any.
Thank you Jaydee for a great sketch - who would have thought that it would have resulted in 3 projects in one go!
Enjoy your day; the weather has been dreadful here the past couple of days so I'm hoping I get the longer straw and get to stay home and craft whilst hubby takes the James Juniors to hockey trials this afternoon. I'll be back tomorrow with another project. Until then, happy stampin'!
Stampin' Up! Supplies Used: