It's Sunday and time for a new challenge over at The Paper Players! It's the turn of the talented Sandy to host this week and she has a fun sketch challenge for you to work with:
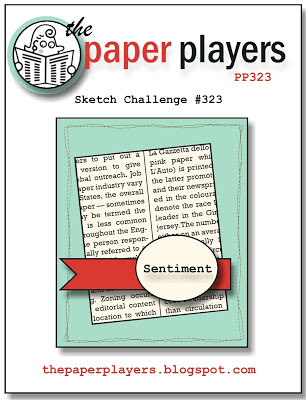
You all know me well enough by now to know how much I love a good sketch and this one is no exception - so many possibilities! I could have stamped the offset panel or featured a designer series paper; unusually for me though, I decided to showcase an embossing folder. Take a look:
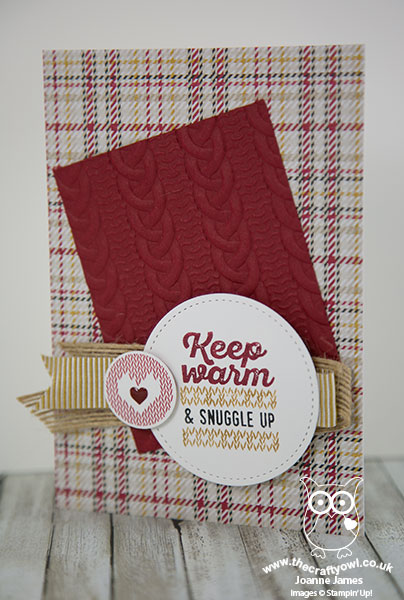
Doesn't that look all warm and cosy and remind you of nights in by the fire?! Here's the low-down on today's card:
Create An Impression With Cable Knit - For my central panel I embossed a rectangle of Cherry Cobbler cardstock with the Cable Knit Dynamic Textured Impressions Embossing Folder. This is one of Stampin' Up!'s new Dynamic folders, made to create deep, dimensional embossed impressions and it really does - you can almost feel the knitted stitches in that would-be sweater, the grooves are so deep.
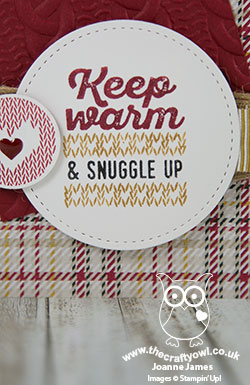
Stitched Wrapped in Warmth - I inked my sentiment, from the Wrapped in Warmth stamp set, using Cherry Cobbler, Delightful Dijon and Basic Black Stampin' Write Markers and added a stitched border using the new Stitched Shape Framelit Dies, before adding a little enamel heart embellishment too. I just love the stitched edging, so effective.
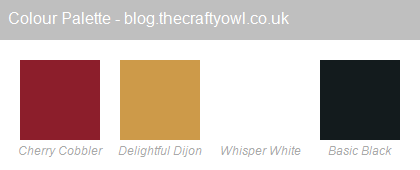
Warmth and Cheer Colour Combo - The colour combination for my card came right out of the plaid background paper from the Warmth and Cheer paper stack, with its warm red, mustard yellow and basic black. Feel free to save it if it's a favourite of yours too:
A little ribbon and burlap to finish completes my festive, warm and cosy Christmas card.
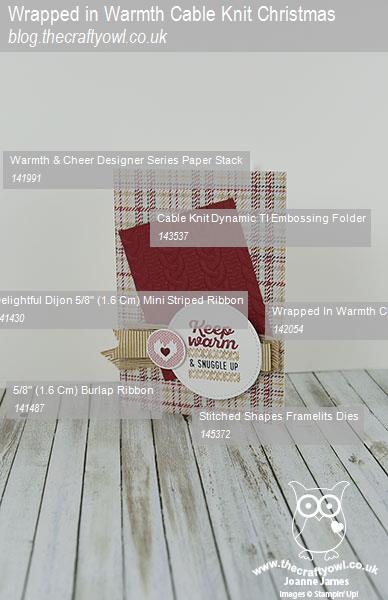
Here is the visual summary of the key products used on today's project for you to pin for easy reference:
You can see all of my 'How To' summaries on my 'How To - Tips and Techniques' Pinterest board in case you've missed any.
Before you reach for your ink and papers, check out what our amazing team has created to inspire you this week:
The Paper Players Design Team
Here's a quick recap of our challenge rules:
1. Create a new paper project
2. Upload your creation to your blog with a link back to us and provide a direct link to the post featuring your challenge submission.
3. Please link your card to no more than four challenges, TOTAL.
4. Have FUN!
I look forward to seeing what you create with Sandy's sketch this week. We are off for our usual Sunday morning of sport, followed by an afternoon of Christmas crafting preparations.
Enjoy the rest of your weekend as it will be over all too quickly; I'll be back soon with another project; until then, happy stampin'!
Stampin' Up! Supplies Used: