by Joanne James10. April 2020 12:00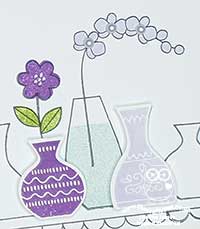
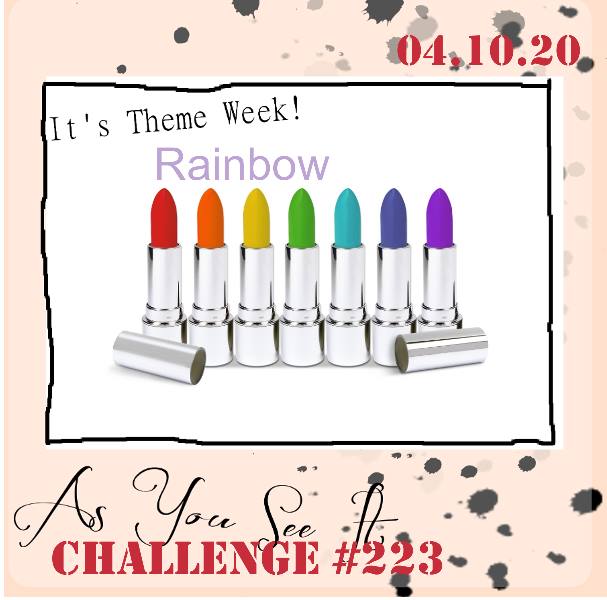
Today I'm sharing my design team card for our new challenge over at As you See It where it's time for a theme challenge:
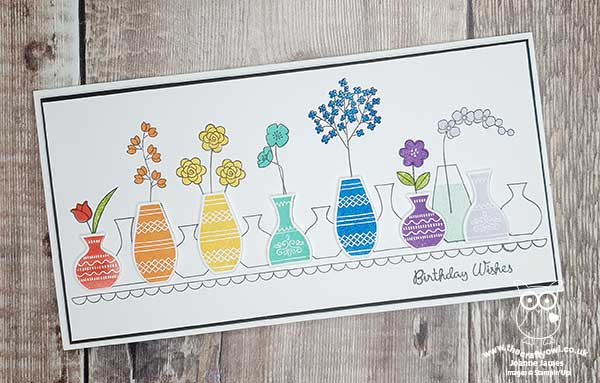
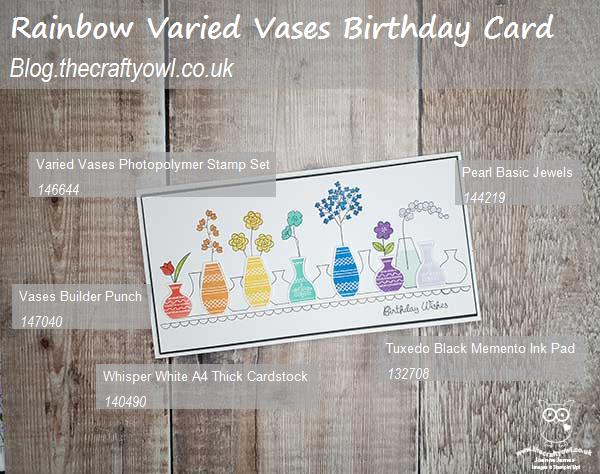
As promised, I've another rainbow card for you today! I decided that 'Varied Vases' would be the perfect way to incorporate my rainbow colours - take a look:
Here's the low-down on today's card:
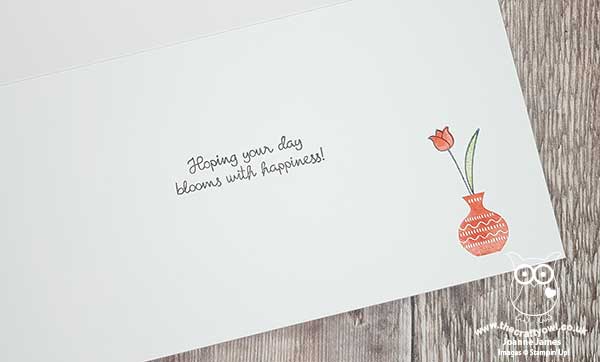
I'm a big fan of the Varied Vases stamp set - I love the simple outline detailing and it has some lovely birthday sentiments too. My card is larger than usual (21cm x 11cm) which was necessary to accommodate all of my vases. I stamped a row of 14 overlapping vases in varying sizes, then added flowers to 7 of them and stamped the infills, before then stamping 7 vases in the same colours and punching them out with my Vases Builder Punch and popping them over some of the outlines on dimensionals for a little extra lift. I stamped water into the vase holding my violet flower stem and added a few pearls to finish. I stamped my shelf and sentiment and then finished this on the inside of my card with another flower vase:
Here is the visual summary of the key products used on today's project for you to pin for easy reference:
You can see all of my 'How To' summaries on my 'How To - Tips and Techniques' Pinterest board in case you've missed any.
Before you put your creative thinking caps on, why not check out the blogs of the other As You See It team members:
Amy Jasper
Heather Cooper
Jan Clothier
Jane Knudsen
LeAnne Pugliese
Here's a summary of our challenge rules:
- Create any card, scrapbooking page, 3D project or packaging project that fits the challenge.
- Please include the challenge graphic and link back to the challenge in your blog post. Turn off word verification so we can leave you lots of lovely comments. Make sure you link the post not the whole blog to the Linky. Use #AYSIXXX when uploading to a public gallery.
- If you’re unsure about ‘the rules’, check the details under the Challenge Guidelines tab on the As You See It Challenge homepage.
We look forward to seeing your creations in the AYSI gallery.
What are your plans for this Good Friday? I will be spending some time in the garden enjoying the warm weather and planting some new raspberry canes whilst reluctantly also continuing to plough through my ironing pile. The National Theatre is one of the many companies that are streaming live performances for free whilst we are all under lockdown and this week it's the turn of 'Jane Eyre', one of my most favourite books of all time, so I might watch this at the same time for some welcome distraction! There may well be some baking too - Easter cupcakes, perhaps?!
Enjoy your day and I'll be back tomorrow with another project. Until then, happy stampin'!
Stampin' Up! Supplies Used:
by Joanne James2. April 2020 10:00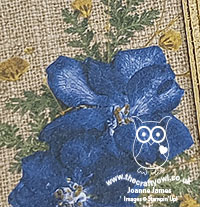
It's Thursday and time for a new challenge over at TicTacToe! It's the turn of Team X to host this week and Felicita is our featured designer this week. This is the fun board that we are playing along with:
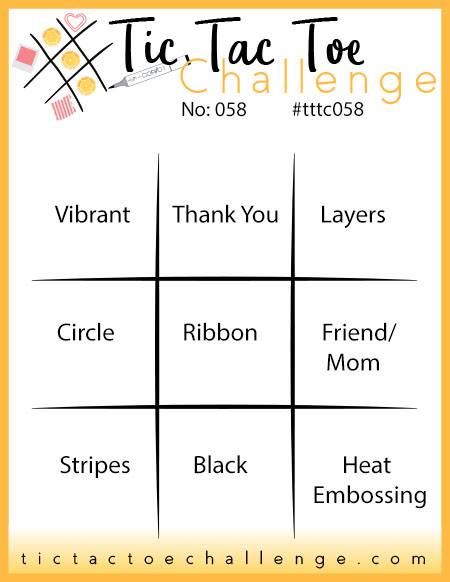

I went with the vertical column layers/friend/heat embossing this week! I had some of the panels of Pressed Petals designer series paper out on my desk leftover from the cards I shared with you last week and wanted to use them up and thought I would combine it with this week's challenge over at TGIF Challenges (thanks for the pick last week ladies!) where they are looking for projects that are gold-dipped, something I've been wanting to try with my Heirloom Frames 3D embossing folders for a while. So I pulled out my Positive Thoughts stamp set for my sentiment and some background detail on my first card and this is what I came up with:
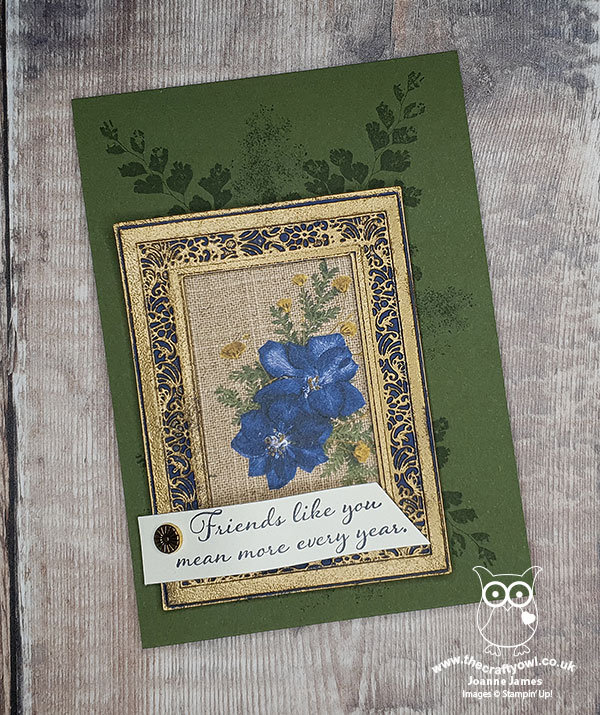
On this card I used a Night of Navy embossed frame. To achieve the antique-dipped effect, you simply rub the embossed frame with your Versamark pad then sprinkle with gold embossing powder and heat - in some places it sticks and in others the base colour is exposed. For my second card, I used a few more layers on my base instead of background stamping, and used an oval frame heat embossing gold onto Mossy Meadow:
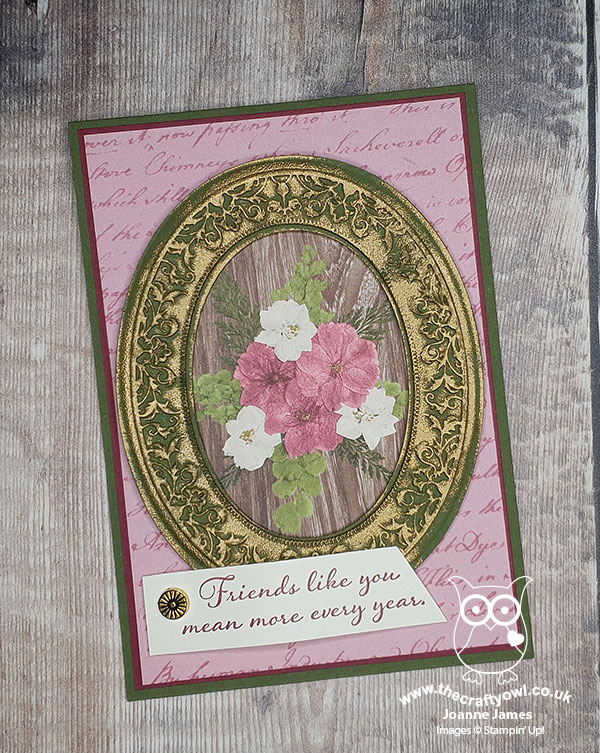
I used the same sentiment and anchored with a Designer Element accent on each. And here's one last photo of both my cards together:
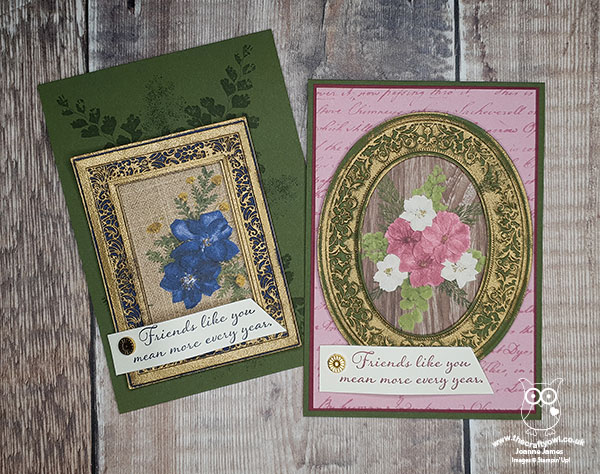
So what do you think? This style of card is quite different for me so whilst I like them, I'm not sure I love them - but it's always good to try something different once in a while! I would love your comments and if vintage is your thing and you think these cards can be improved in any way, I'd love to hear!
Here is the visual summary of the key products used on today's project for you to pin for easy reference:
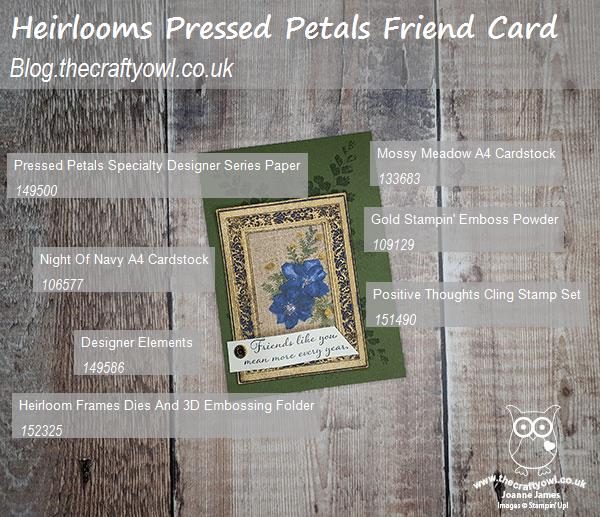
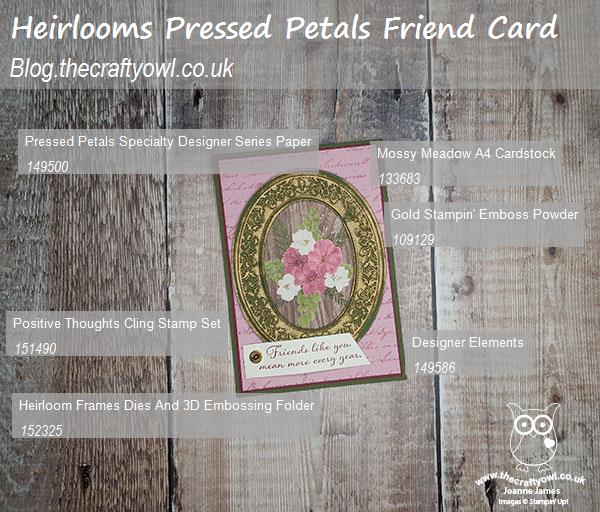
You can see all of my Product and 'How To' summaries on my 'How To - Tips and Techniques' Pinterest board in case you've missed any.
A tictactoe board offers so many creative possibilities - how does this week's board inspire you? Why not have a go? We would love to see you in the gallery and who knows - you might be selected for Designer's Choice and be eligible to be a guest designer on a future challenge.
Enjoy your day; on Tuesday I finally took delivery of a new washing machine, having had mine break down completely 10 days ago - what great timing! I knew it was on its way out so I ordered a new one before it went completely, however with the whole country going into lockdown I was afraid that my new machine wouldn't arrive at all. Fortunately the lovely people at John Lewis made it happen and I have spent the last 2 days washing non-stop! I have another 4 loads to do today and then I should be caught up - just the ironing to get stuck into then! At least the weather has been fine enough for me to line dry and no school has meant that the Juniors could wear anything as we had run out of school uniform! It's probably a good job that none of us have had to leave the house though - our outfits were starting to look a little eclectic! I am hoping to get some crafting in today before tackling my ironing mountain (hubby has suggested since no-one can see us we should just go with the crumpled look, but I'm not sure if my standards will allow it!).
I'll be back tomorrow with another project. Until then, happy stampin'!
Stampin' Up! Supplies Used:
To be updated.
ce7a0623-180d-4a75-b108-cc588ff5a4d0|0|.0|96d5b379-7e1d-4dac-a6ba-1e50db561b04
Tags: Stampin' Up, Stampin' Up Card, Stampin' Up Card ideas, Stampin' Up Supplies, Shop online, Shop Stampin' Up online, Shop Stampin' Up! Online, TicTacToe Challenge, Pressed Petals, Heirloom Frames, Positive Thoughts
Cards | Shop Online | Shop Stampin' Up! Online | Stamping
by Joanne James27. March 2020 22:48 
Just popping by with a quick update post for you all; you all know that this year's Sale-A-Bration promotion will end on 31st March and in addition to hosting and joining benefits (you can read about those here) you also earn a free product for every £45/90 spend - you can see the existing items here and here. Please note the Kerchief Card Kit and the Golden Honey Specialty Designer Series Paper are both sold out and no longer available.
Plenty of good news though: from now until the 31st March, you will also be able to choose from a number of other catalogue items (you must use the special code as detailed as opposed to the usual item code to get one of these items free with a £45/90 spend):

As you can see, this new selection includes some gorgeous Designer Series Paper packs, embellishments, Blends and more that can be yours free with a spend of £45/£90 or more.
To make things easier for you, I've created a table linking each of the products directly to the promotional item in my online store - just click on the links below:
If you would like more information or to place an order, either go here to purchase from my online store (don't forget to add this month's hostess code RDJNFTTJ) or you can email or telephone me if you would prefer. Please note there will be no local pickups or deliveries at the present time, due to the countrywide lockdown restrictions, but product is shipping as normal and can be posted as usual.
Back tomorrow with a new creative project; until then, happy shopping!
0c479313-73d3-49c7-8798-9865b26301a2|0|.0|96d5b379-7e1d-4dac-a6ba-1e50db561b04
Tags: Promotions, Shop online, Shop Stampin' Up! Online, Shop Stampin' Up online, Stampin' Up, Stampin' Up Card, Stampin' Up Supplies, join Stampin' Up, join my team, join Stampin' Up UK, joining offer, Host a Party, Earn Extra income, Earn Free Product, Earn Free Products, Sale-A-Bration 2020Promotions | Sale-a-bration | Shop Online | Shop Stampin' Up! Online | Stamping
Submit to DotNetKicks...Edit | Delete | Permalink | Comments (
Catalogues | Host a Party | hosting | Join My Team | Promotions | Sale-a-bration | Shop Online | Shop Stampin' Up! Online | Stamping
by Joanne James27. March 2020 12:00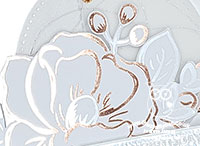
Today I'm sharing my design team card for our new challenge over at As you See It where for this fortnight we have a fun recipe challenge for you:
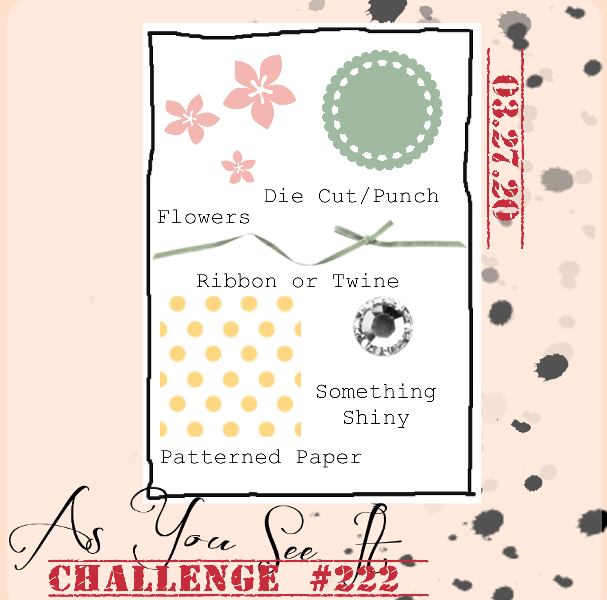
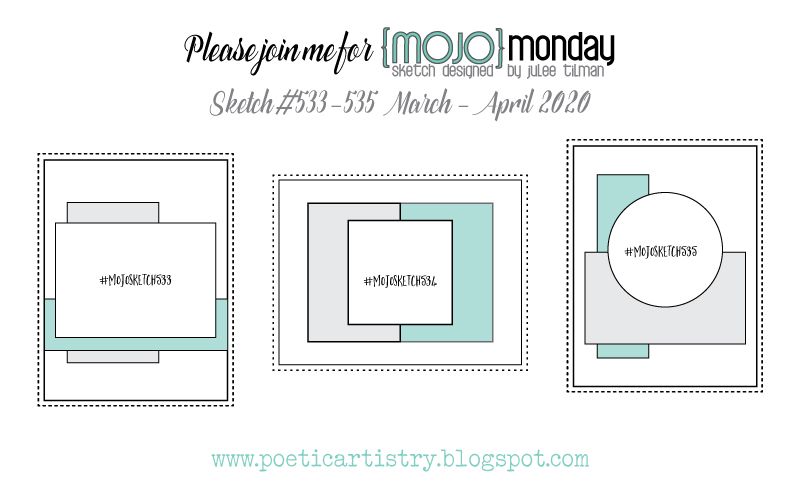
I often struggle with this kind of recipe challenge, but must confess that along with Julee's Mojo Monday sketch for my layout (sketch 3) today's card came together quite easily - take a look:
Here's the low-down on today's card:
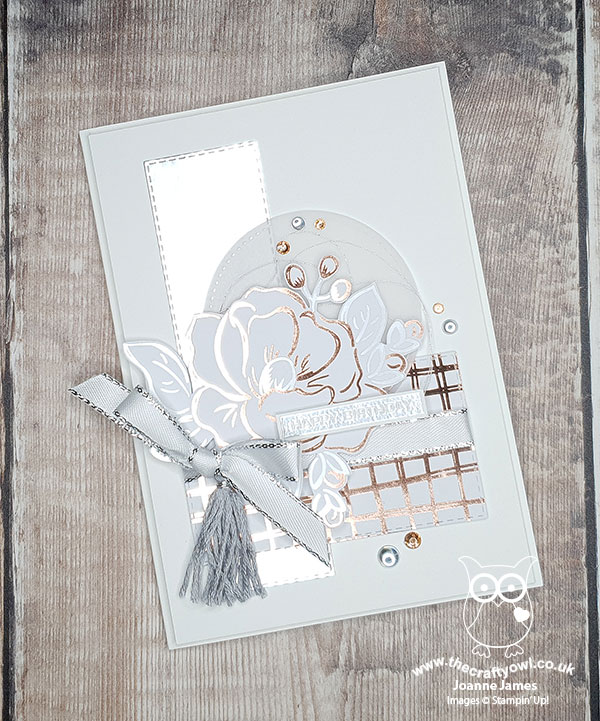
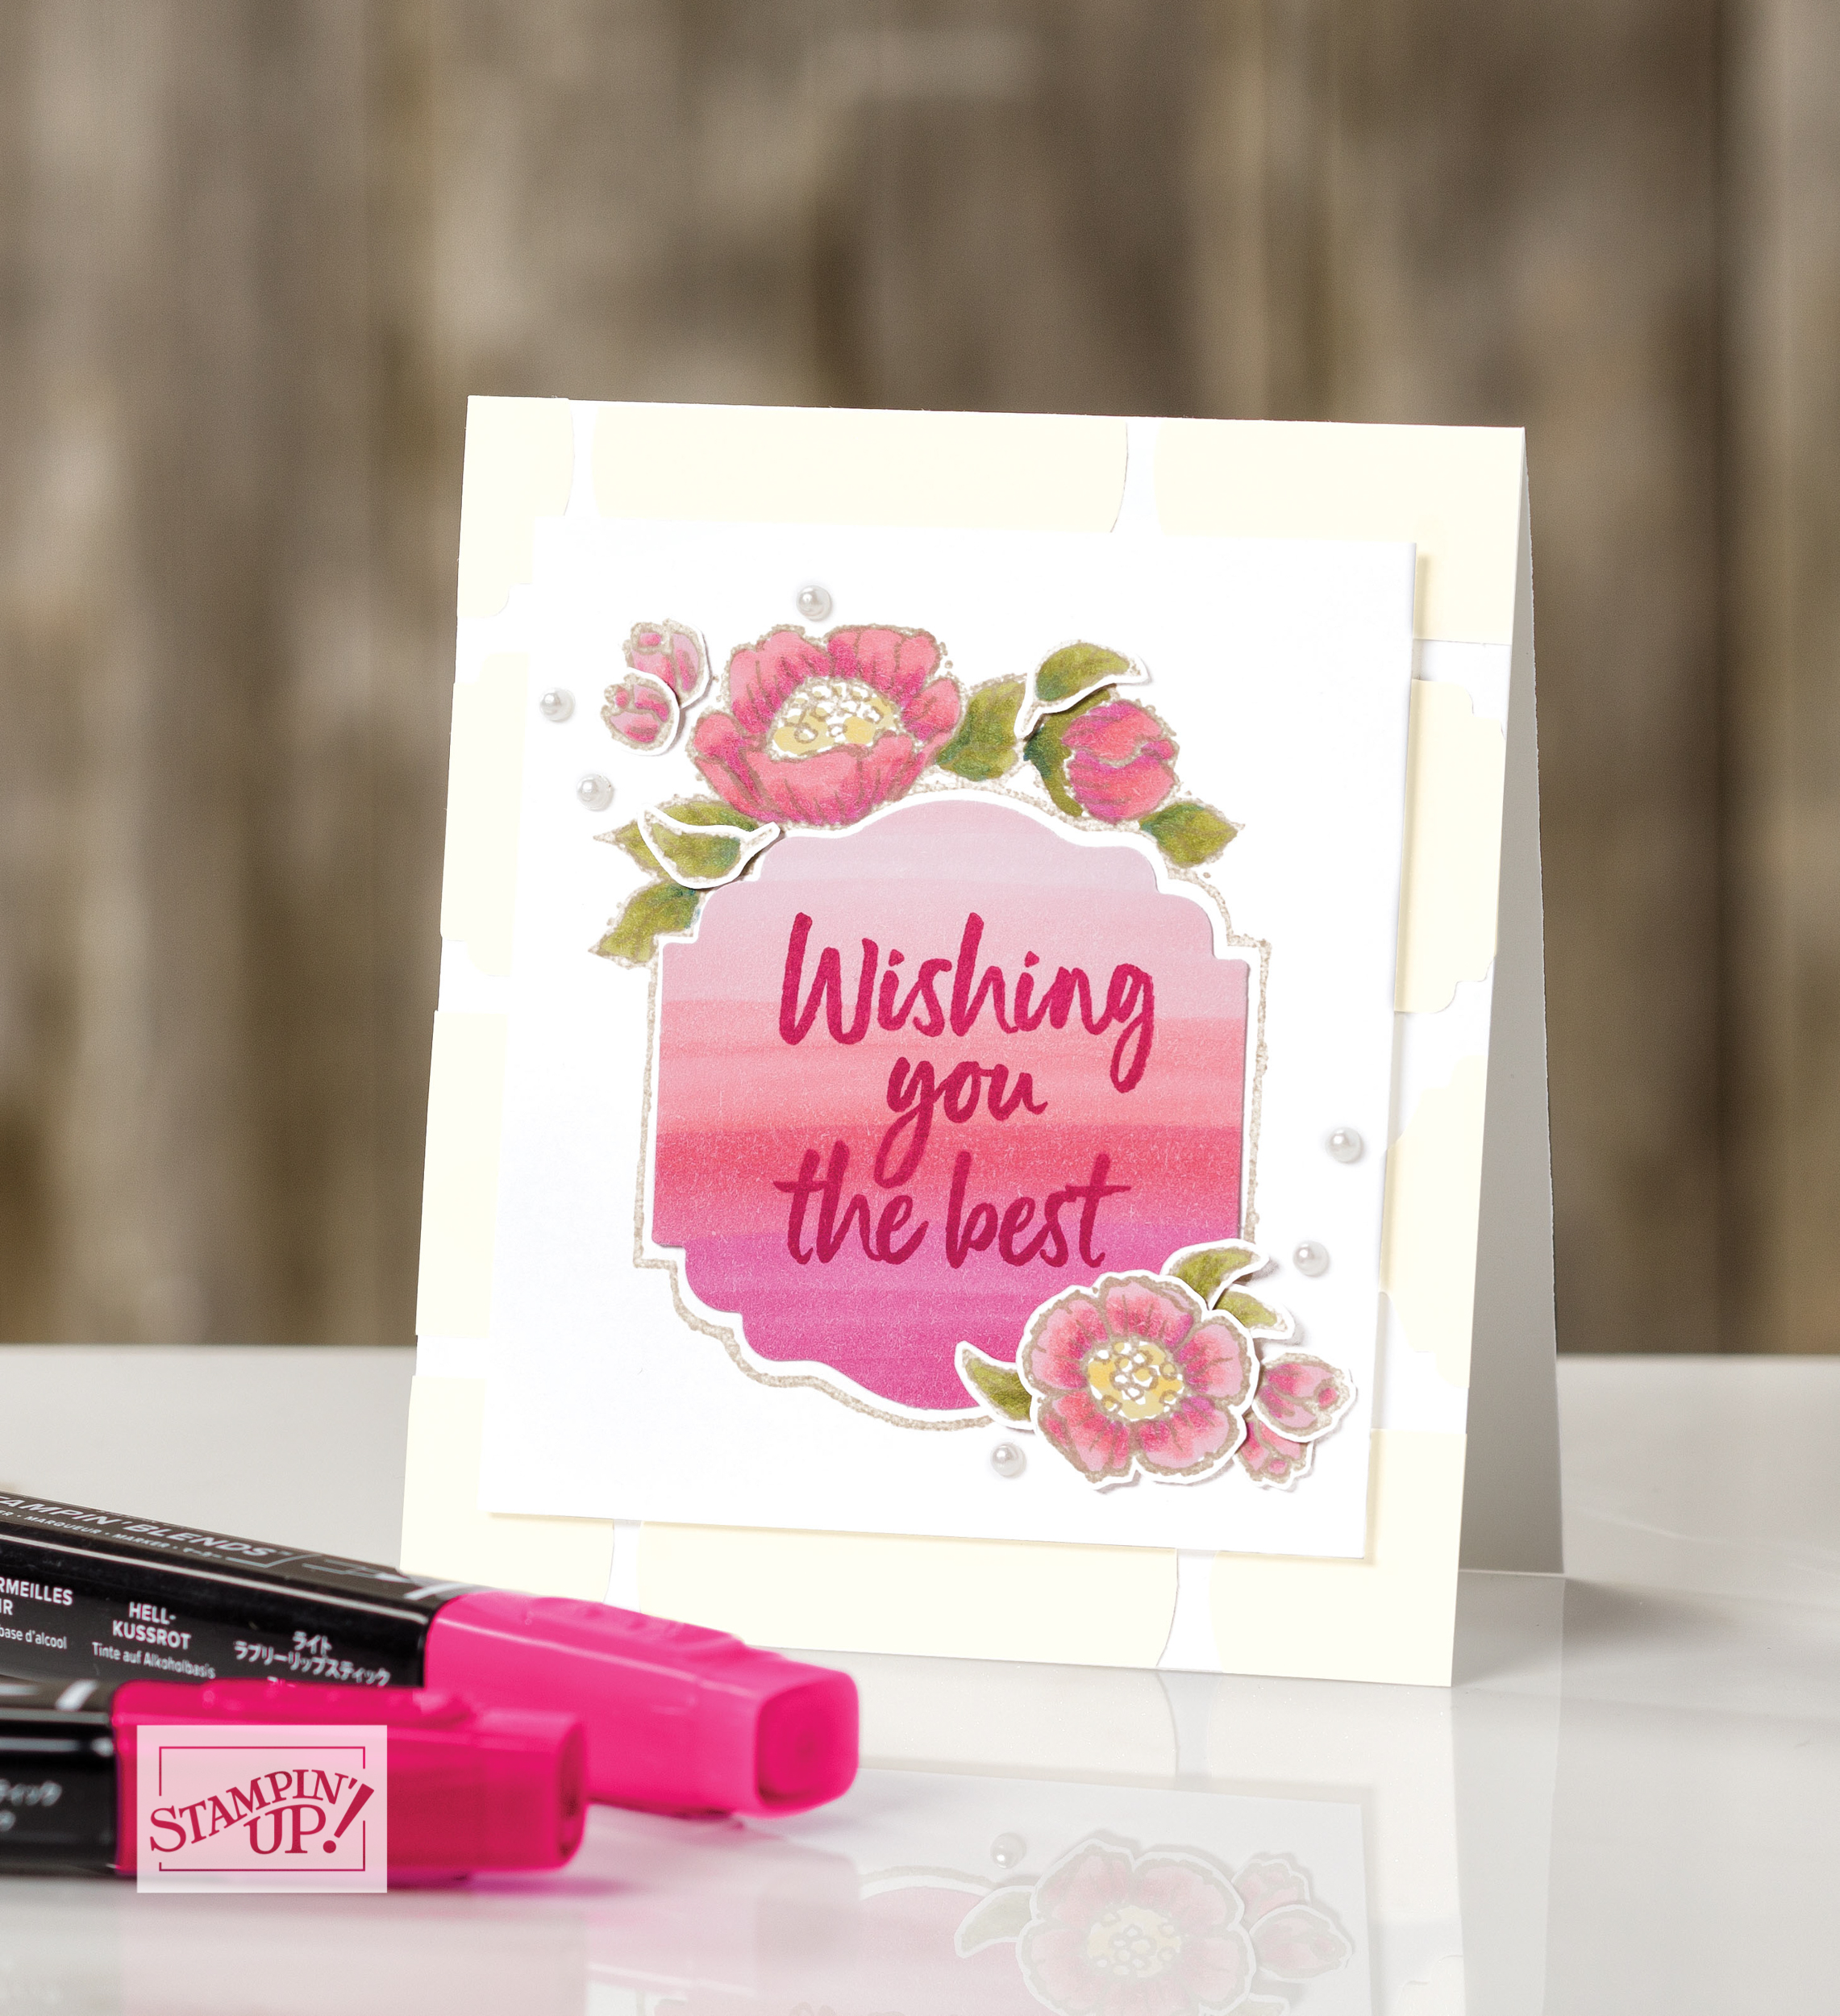
Flowering Foils - I decided to use the Flowering Foils Specialty Designer Series Paper as the basis for today's card. This is one of the second-release items that can be yours FREE with a purchase of £45 or more during the current Sale-A-Bration promotion and has been super popular with my customers, so I was keen to show them how they could use it. I used a rose-gold hatch patterned piece along with a piece of silver foil cut using my Stitched Rectangle Framelits for two of my layers, then fussy cut one of the flowers from another sheet to form the centrepiece of my card. I backed my flower with a stitched vellum circle to preserve the shape of the sketch but not detract from the detail of the bloom itself. These papers are so, so pretty and the photographs in today's post really don't do them justice - it is so difficult to photograph foil!
Sparkle, Sparkle - To compliment the foiled papers, I decided to add lots of sparkle and shine. I used some white ribbon with a silver metallic edge for my bow, along with some silver twine behind my flower and a sprinkling of champagne rhinestone jewels and clear epoxy droplets for extra sparkle. I even added a silver (retired) tassle - then had to stop myself before I went really overboard!!
Label Me Bold - Whilst this card would make a lovely wedding card, I have no need for one so decided instead that it would work equally well as a special birthday card. I inked up my 'Label Me Bold' stamp set for the first time to add a simple silver heat-embossed sentiment to my card. You can see that better on the photo below:
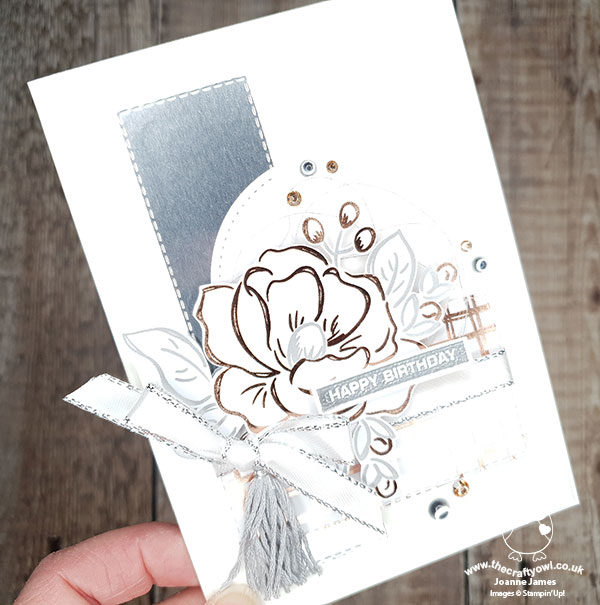
This sentiment stamp set was one of the first I bought from the new seasonal catalogue as I've been wanting a set like this for ages, but this is the first time I've inked it up. I love the clean, block font which is perfect to cut through the detail on a card like this.
So what do you think? Do you love these Flowering Foils as much as me?
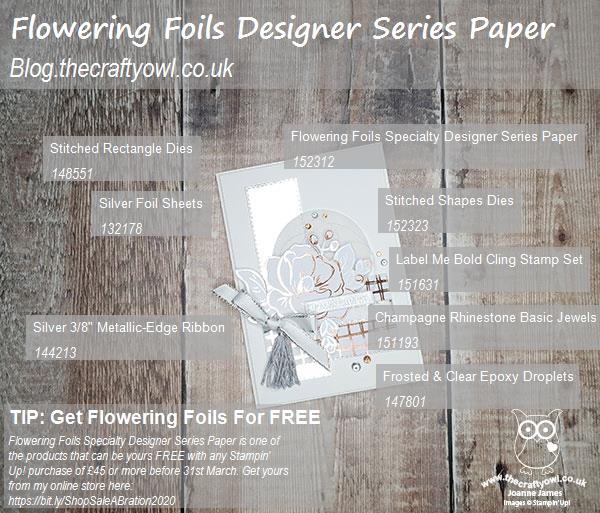
Here is the visual summary of the key products used on today's project for you to pin for easy reference:
You can see all of my 'How To' summaries on my 'How To - Tips and Techniques' Pinterest board in case you've missed any.
Before you put your creative thinking caps on, why not check out the blogs of the other As You See It team members:
Amy Jasper
Heather Cooper
Jan Clothier
Jane Knudsen
LeAnne Pugliese
Here's a summary of our challenge rules:
- Create any card, scrapbooking page, 3D project or packaging project that fits the challenge.
- Please include the challenge graphic and link back to the challenge in your blog post. Turn off word verification so we can leave you lots of lovely comments. Make sure you link the post not the whole blog to the Linky. Use #AYSIXXX when uploading to a public gallery.
- If you’re unsure about ‘the rules’, check the details under the Challenge Guidelines tab on the As You See It Challenge homepage.
We look forward to seeing your creations in the AYSI gallery.
Enjoy your day and I'll be back tomorrow with another project. Until then, happy stampin'!
Stampin' Up! Supplies Used:
594740ba-ca52-4a60-8cd1-7cef0ffcb532|0|.0|96d5b379-7e1d-4dac-a6ba-1e50db561b04
Tags: Label Me Bold, Flowering Foils, Stampin' Up, Stampin' Up Card, Stampin' Up Card ideas, Stampin' Up Supplies, Shop online, Shop Stampin' Up online, Shop Stampin' Up! Online, As You See It Challenge, Sale-A-Bration 2020, Earn Free Products, Earn Free Product, Stitched Shapes Framelits, Rectangle Stitched Framelits Dies
Cards | Sale-a-bration | Shop Stampin' Up! Online | Stamping
by Joanne James26. March 2020 17:02
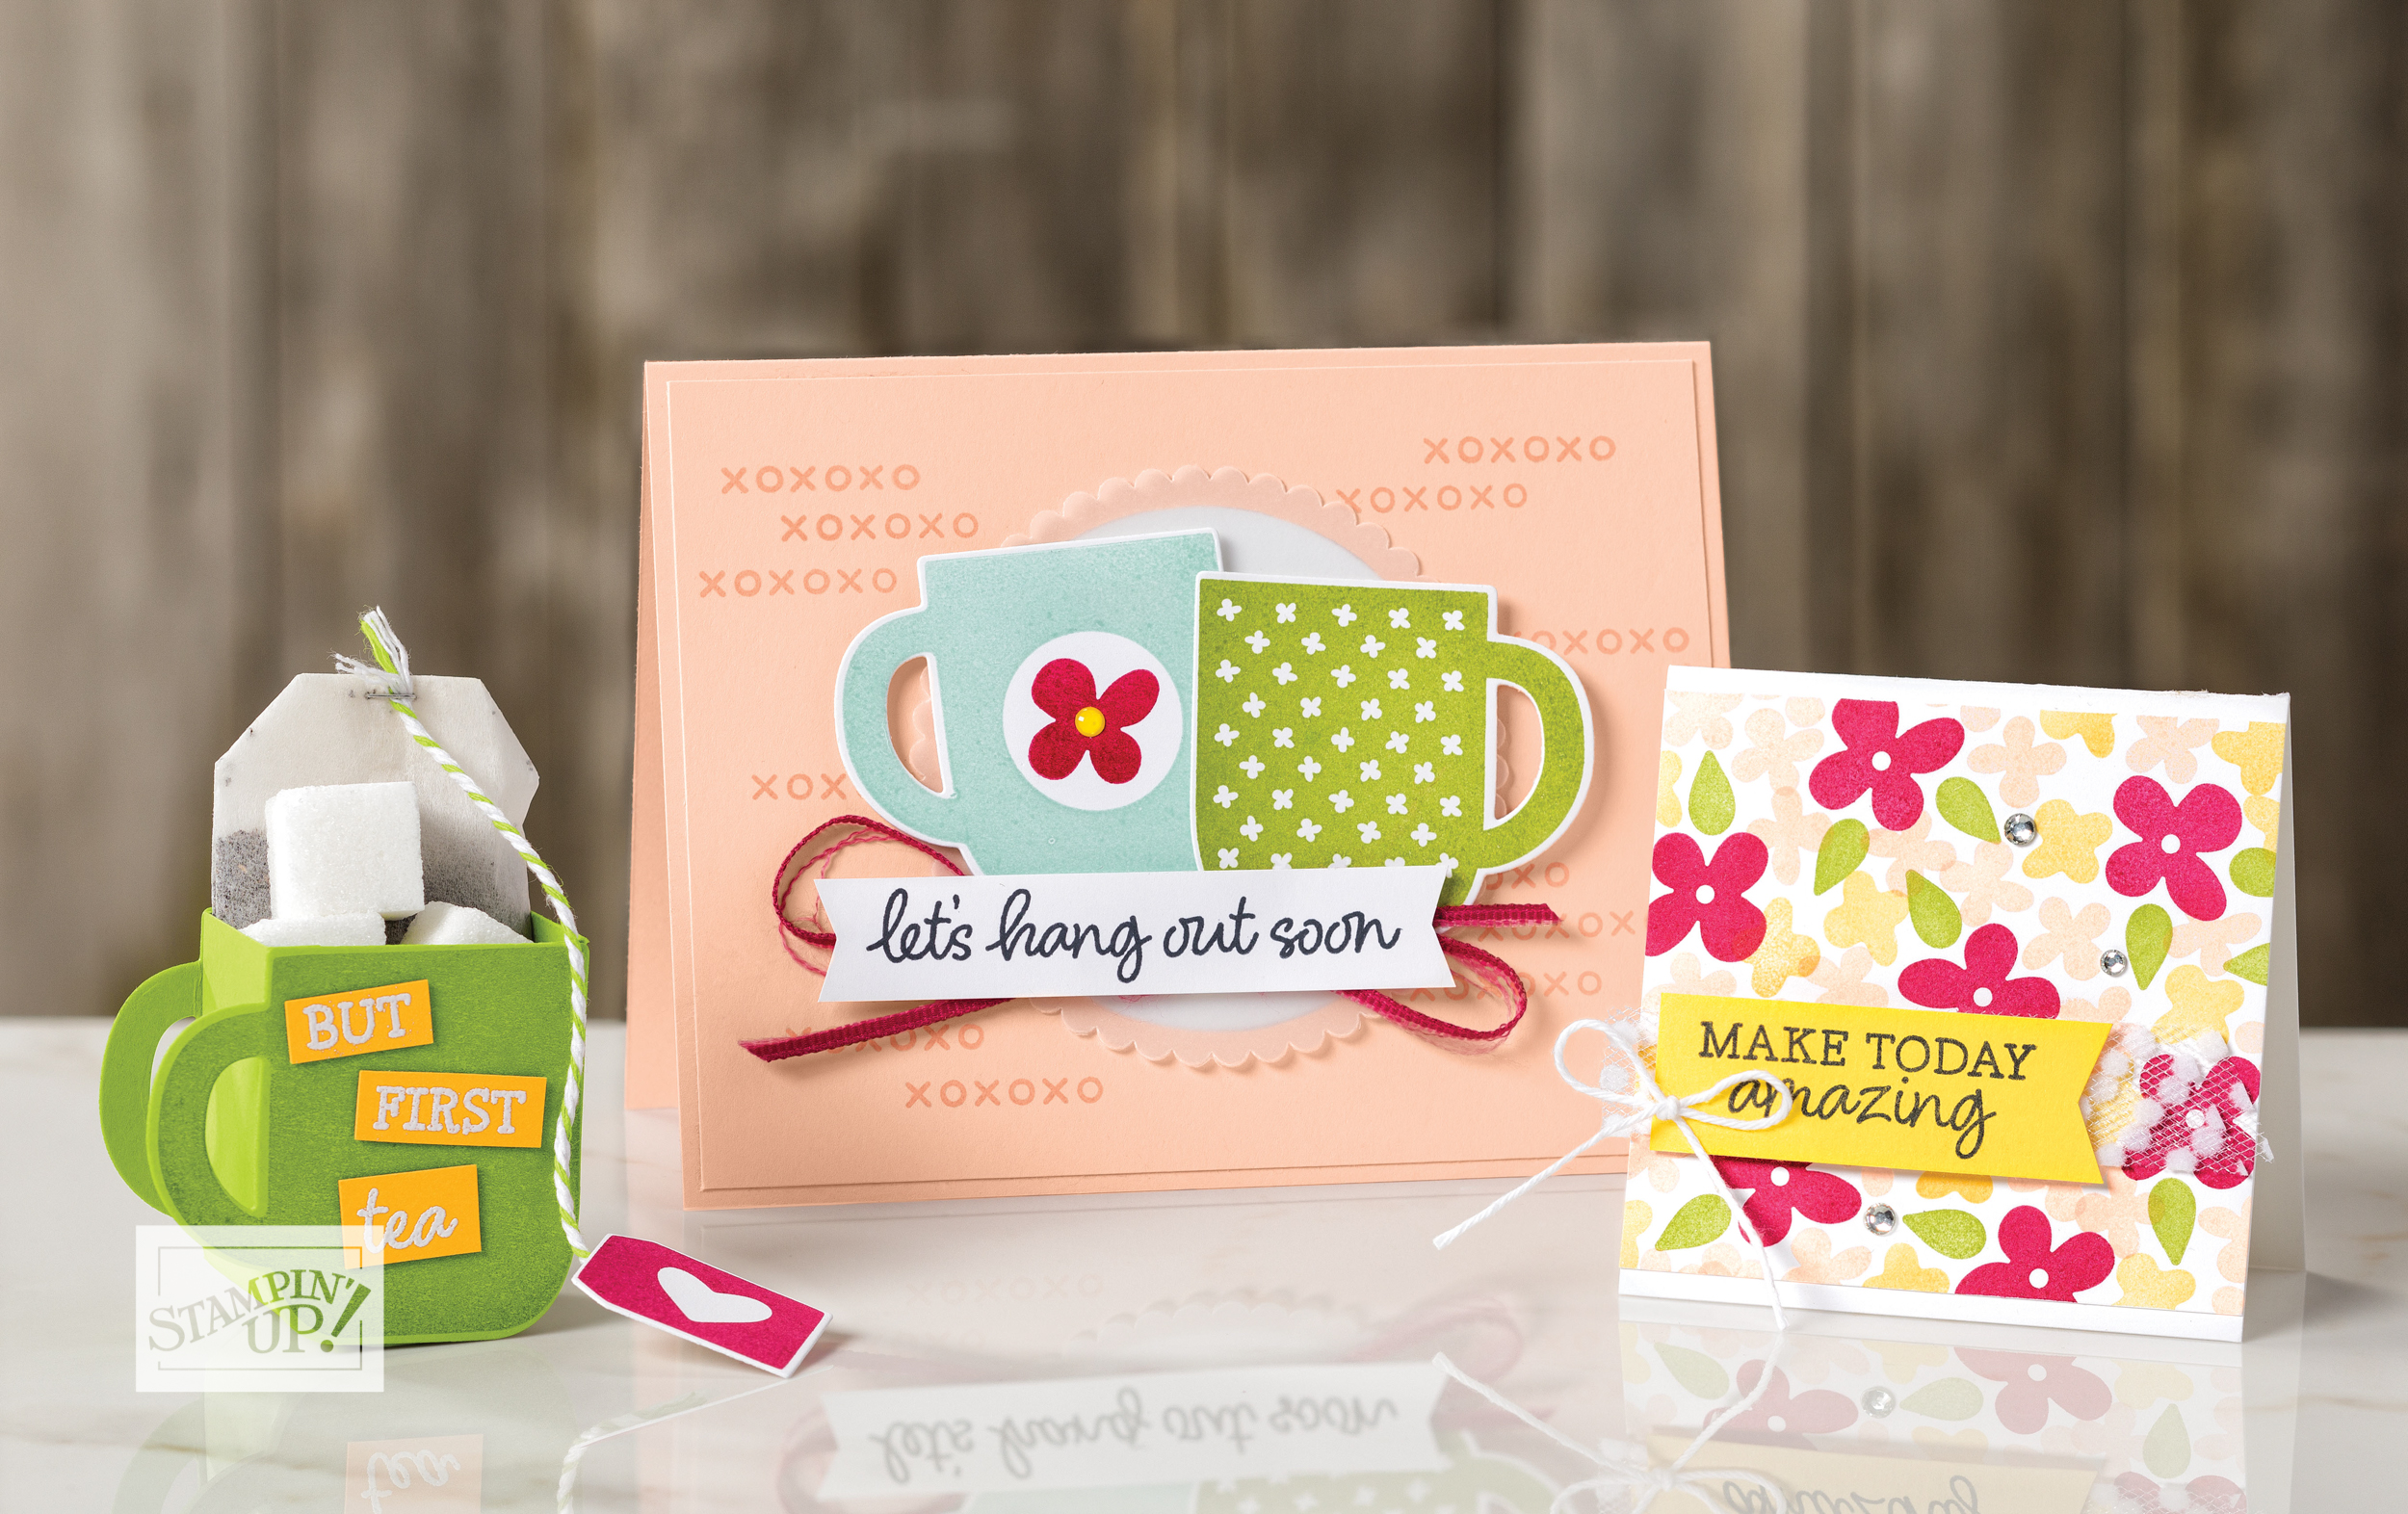
As promised I have another quick make to share with the lovely team over at TGIF Challenges as they are featuring the Best Dressed Suite this week:
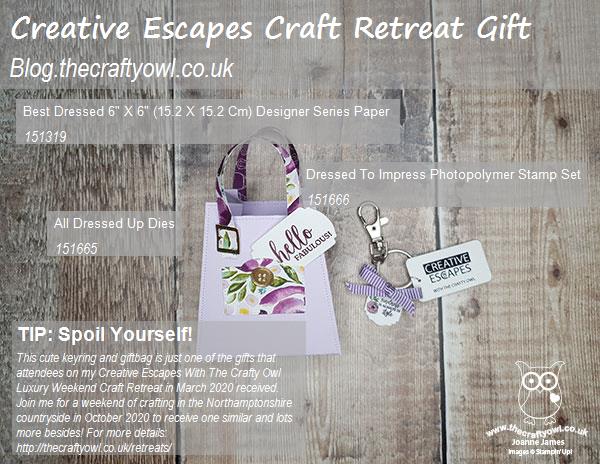
This time a fun gift bag using the papers from the Best Dressed suite along with some Purple Posy cardstock and a fun keyring made from shrinky plastic - take a look:
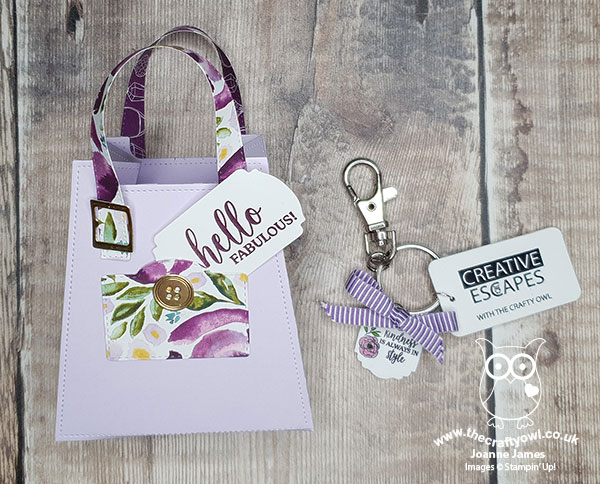
The sweet little bag was easy to create using the All Dressed Up Dies - just diecut everything and put together. I used some scraps of gold foil for the button and buckle clasps - I just love that added detail! - and added a tag stamped and punched with the new Label Me Fancy Punch and just tucked it into the pocket. My little bag houses this cute keyring that I also stamped using the 'Dressed To Impress' stamp set then coloured with Blends and punched out using the other new label punch, the Label Me Lovely punch, before putting into the oven to shrink and adding to my keychain with a co-ordinating ribbon - here's a closeup of my keyring:
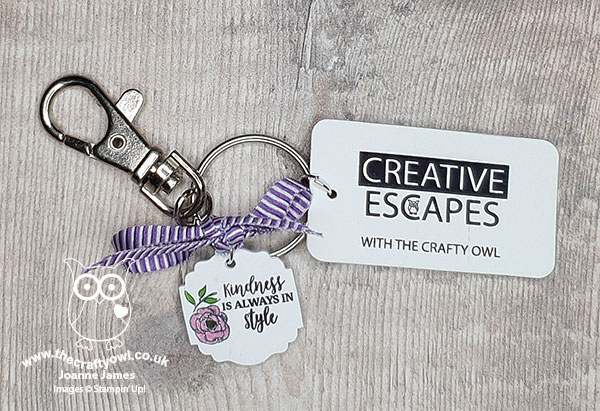
In hindsight I should have taken a 'before' they went into the oven photo too so you can see how much smaller they are - I will try and remember to take one next time! I love that sentiment - I thought it would be perfect for a little keyring embellishment. It has become customary for the ladies attending my Creative Escapes Weekend Craft Retreats to receive a keychain like this at the end of the weekend - the regular attendees have quite the collection now! Here's a photo of all of them jumbled before packing:
- to be updated -
And one last one of both the bag and keychain together:
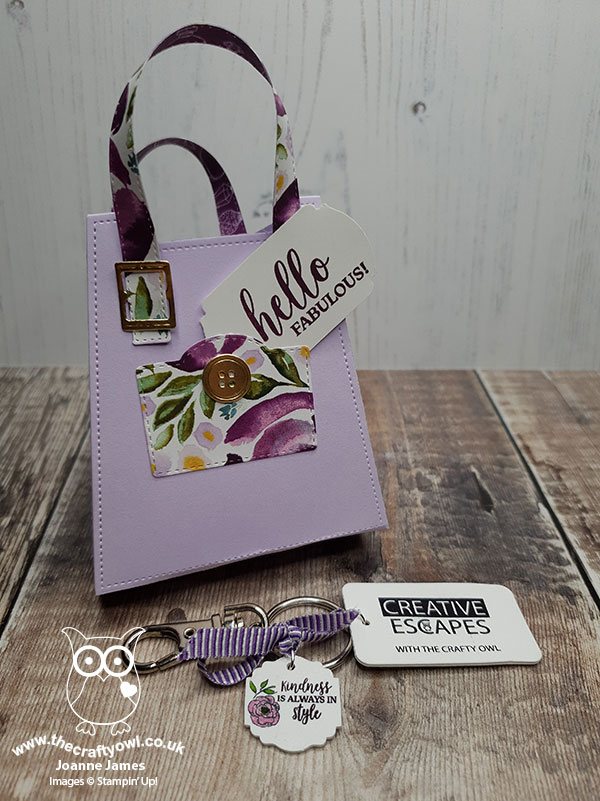
So what do you think - have you ever used shrink plastic in any of your projects? Better still, would you like to receive a keyring just like this one, or to be more precise the one that I will be designing for my next residential weekend craft retreat? If you need something to look forward to (and right now, I'm thinking we could all do with a little of that!) my October retreat, to be held 3-4th October 2020, is now open for booking and I'd love you to join me! You can see full details on my website here or just get in touch with any questions.
Here is the visual summary of the key products used on today's project for you to pin for easy reference:
You can see all of my 'How To' summaries on my 'How To - Tips and Techniques' Pinterest board in case you've missed any.
Back tomorrow with another project for our new challenge over at As You See It; Until then, happy stampin'!
Stampin' Up! Supplies Used:
f71302d2-4175-40e4-9d4c-f3ee086d3f7e|0|.0|96d5b379-7e1d-4dac-a6ba-1e50db561b04
Tags: Best Dressed, All Dressed Up Dies, Shop online, Shop Stampin' Up online, Shop Stampin' Up! Online, Stampin' Up, Stampin' Up Card, Stampin' Up Card ideas, Stampin' Up Supplies, Creative Escapes, Creative Escapes With The Crafty Owl, Craft Retreat
3D Projects | Classes | Craft Retreats
by Joanne James26. March 2020 11:12 
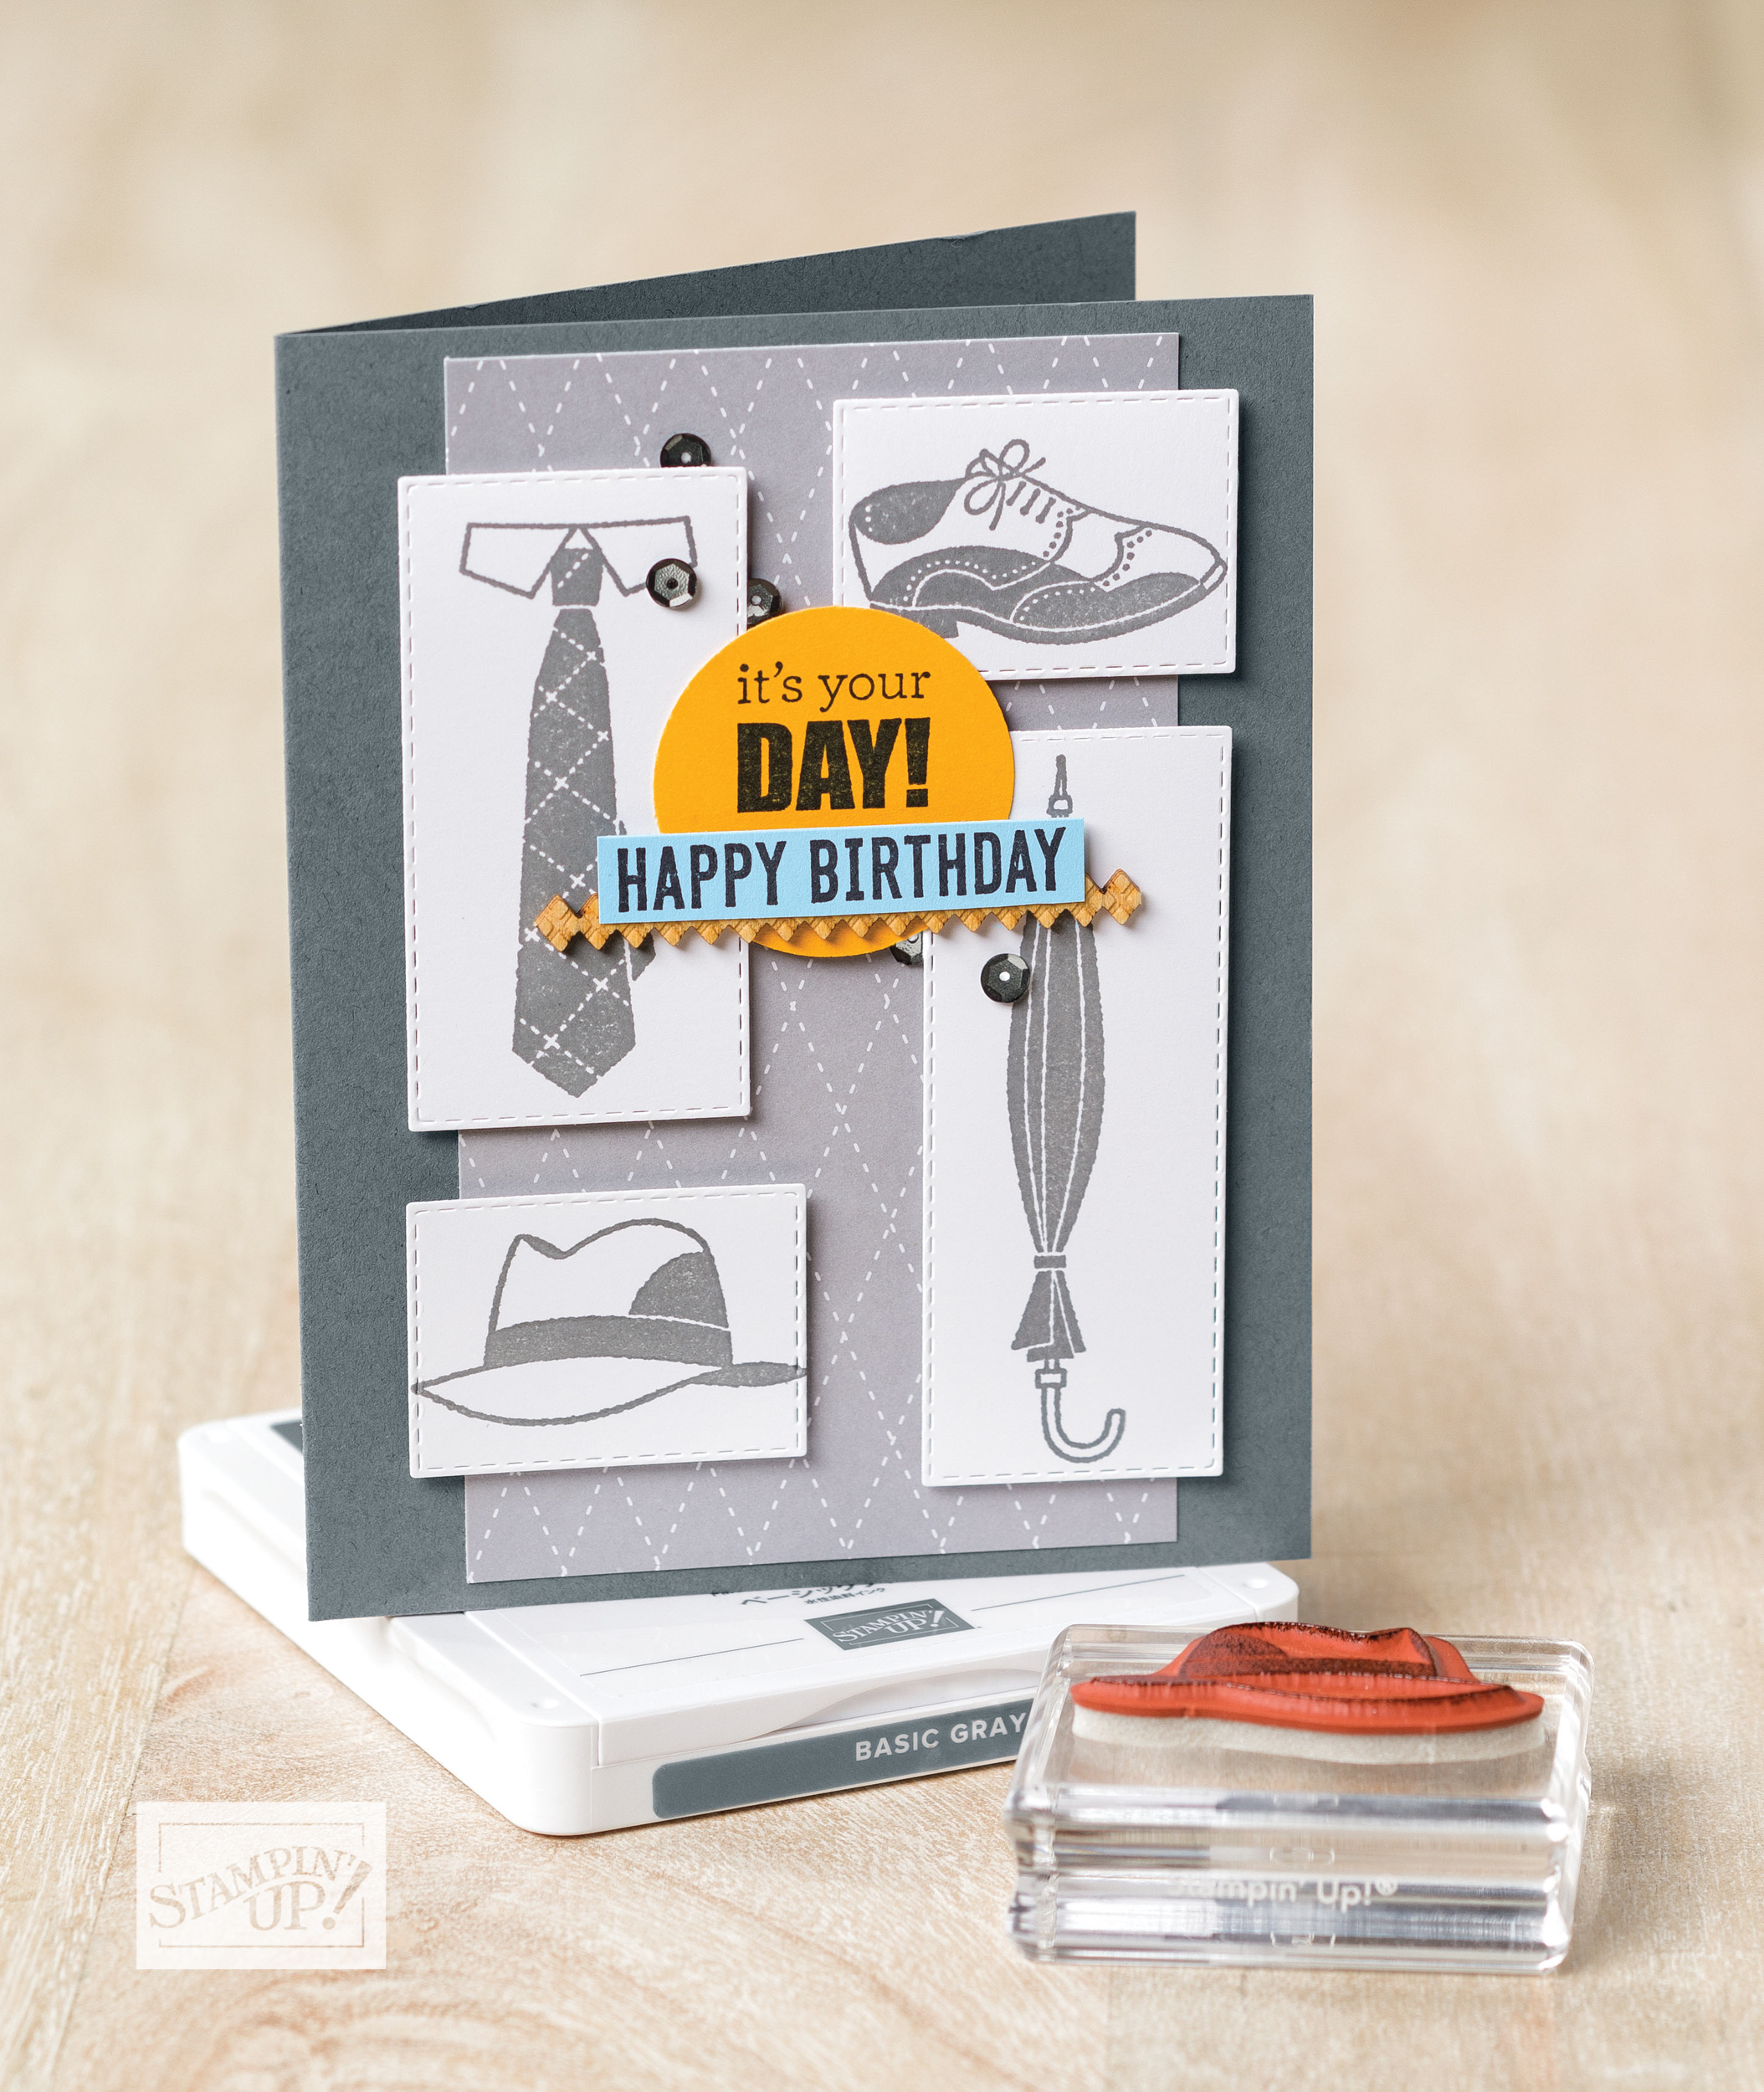
Hi all! Apologies for the lack of posting (again!) I have been rather under the weather for a week or so and have just not managed to muster enthusiasm for crafting (I know - shocker!) - it has been all I could do to keep the James Juniors 'on task'. I was feeling a little better yesterday though so decided to spend a few hours giving my craft room a much-needed spring clean and then I sat down and made a card for this week's CAS(E) This Sketch challenge - a retro sketch of their first ever sketch! I didn't play then but I can just squeeze in under the wire if I'm quick! Here's the sketch:

I had a few ideas as to how I could use this sketch (love this sketch - it's so versatile!) and I debated whether or not to use the circles literally. I decided not and came up with this using what has turned out to be my favourite sets and sentiments in the Spring catalogue - take a look:
Here's the low-down on today's card:
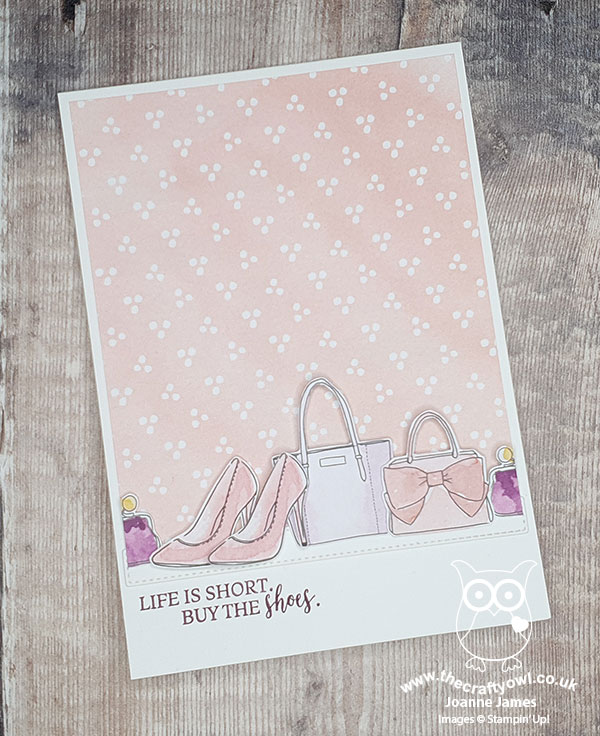
I must confess I had a little packet of shoes and handbags that I had fussy cut previously from the Best Dressed DSP, with a view to CASEing the card on page 54 of the catalogue, but I hadn't got around to it (please tell me I'm not the only one who does that!) The sketch was perfect to create my little shelf of purses, handbags and shoes; I used a piece of DSP for some 'wallpaper' backing on my white cardbase, then added my shelf (I used the die in the set but shortened it to fit my card) and added my bags and purses, popping my pink shoes up on dimensionals since they are the item I wanted to highlight. I finished with my sentiment stamped below in Blackberry Bliss - I also rather inadvertently created an entry for Color Throwdown this week too, where they are featuring pink, purple and white as their colours of choice this week. I'm also linking up with TGIF Challenges as they are featuring the Best Dressed Suite this week; I actually have another project to share with those lovely ladies too, so come back later if you would like to see that.
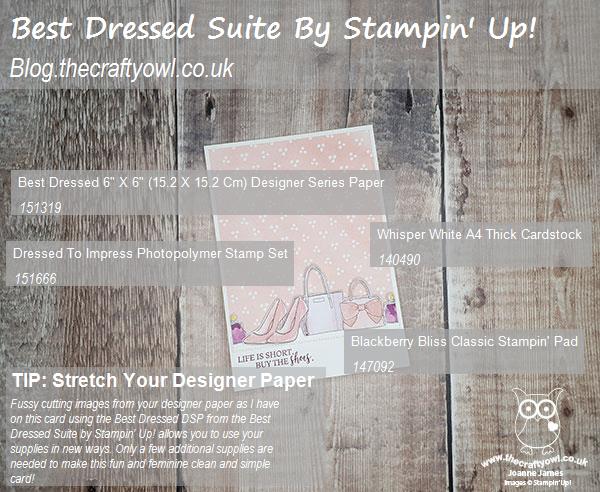
Here is the visual summary of the key products used on today's project for you to pin for easy reference:
You can see all of my 'How To' summaries on my 'How To - Tips and Techniques' Pinterest board in case you've missed any.
This card actually uses very little in the way of supplies - all it requires is a little patience for the fussy cutting!
How are you finding your days of lockdown and social isolation? The James Juniors have adapted quite well with their distance learning and only seeing their friends online. I count myself lucky at times like this that they remain each other's best friends so at least can enjoy each other's company and make their own fun. Enjoy your day and I'll be back later with a Sale-Bration update and another project. Until then, happy stampin'!
Stampin' Up! Supplies Used:
by Joanne James19. March 2020 11:00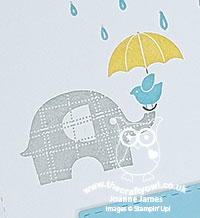
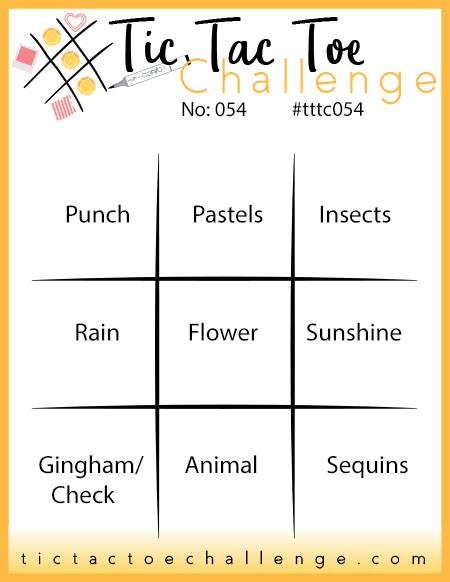
Apologies for my blog-free days so far this week; as I'm sure is the same for you, things have been anything but normal this past couple of weeks and I seem to have been pulled every which way and not once in the direction of my craft room. Far from being excited at the prospect of no school until September, both of the James Juniors are finding that an unwelcome concept and combined with the enforced closure of all of their sporting activities, they have needed much encouragement to find an upside to the current state we find ourselves in. I'm sure we will work it all out; meanwhile it's Thursday and time for a new challenge over at TicTacToe! It's the turn of Team X to host this week and the lovely LeAnne is our featured designer this week. This is the fun board that we are playing along with:
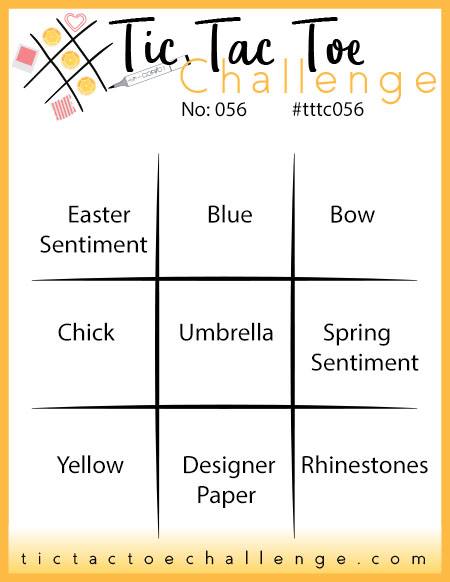

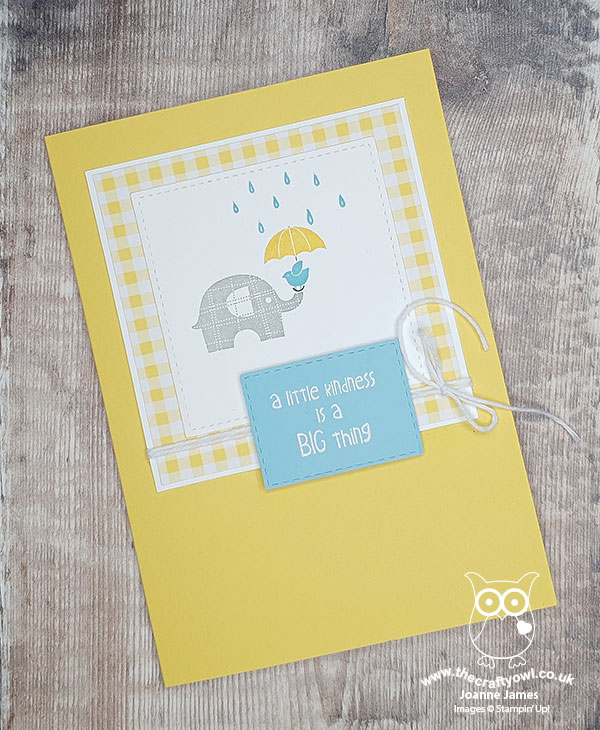
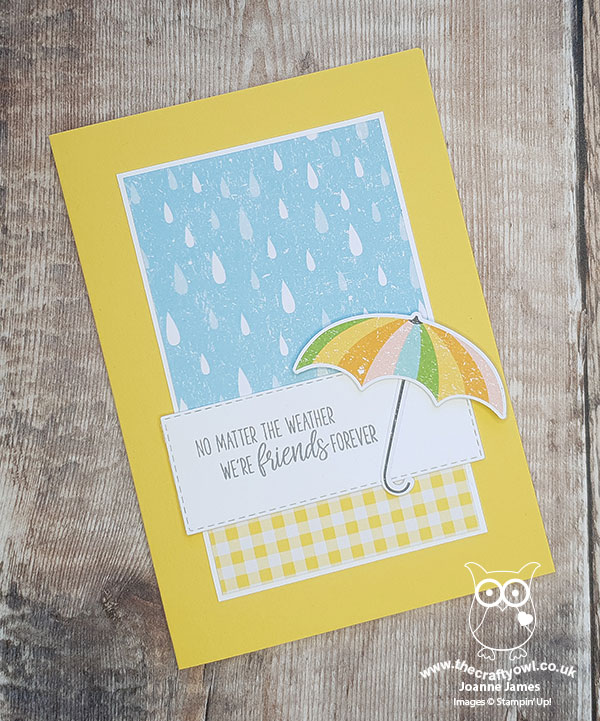
I went down the middle with Blue-Umbrella-Designer Paper but my card also works for the diagonal Yellow-Umbrella-Bow. I used the current Fab Friday sketch for my layout (although I inadvertently centred my squares - I was distracted by the gingham!) along with an 'oldie but goodie' stamp set from the annual catalogue - take a look:
Here's the low-down on today's card:
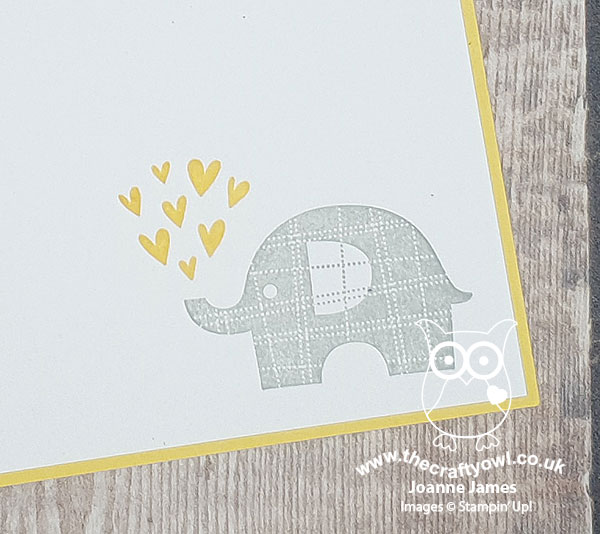
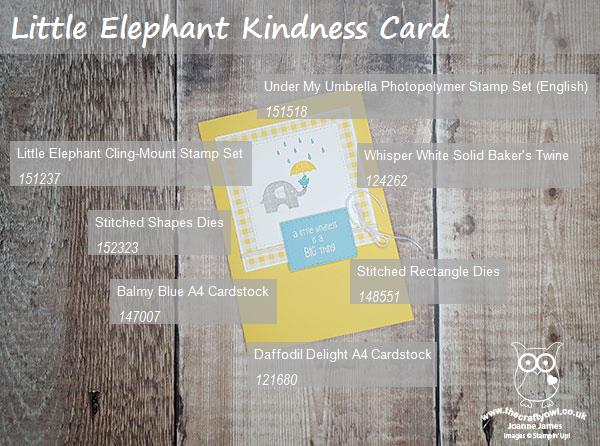
Little Elephant - When I was considering what to work with today, I pulled out both the 'Under My Umbrella' set and the 'Little Elephant' stamp set as both feature umbrellas. I made a card with each, but preferred this one - such a long time since I've used this set! - and I don't think I've ever used the little umbrella before, so this was a good opportunity. I did a little masking on the front to make it look as if the elephant was holding the umbrella over the bluebird and also stamped the larger elephant with some hearts on the inside too:
In Stitches - I used both a stitched square for my main image and a stitched rectangle for my heat embossed sentiment panel for a little subtle extra detail. I wouldn't be without my Stitched Shapes Framelits and love that extra something they add to a shape.
Raindrops Keep Falling On My Head - I decided to add a few raindrops from the 'Under My Umbrella' set above the umbrella to add to my little scene and some white twine tied in a bow completes my card.
A sweet and cheery little card with all that yellow and a sentiment that seems so appropriate given the unprecedented times we find ourselves in at the moment. I encourage you to show someone a little kindness today, because yes, it is a big thing and for some can make all the difference.
Here is the visual summary of the key products used on today's project for you to pin for easy reference:
You can see all of my Product and 'How To' summaries on my 'How To - Tips and Techniques' Pinterest board in case you've missed any.
A tictactoe board offers so many creative possibilities - how does this week's board inspire you? Why not have a go? We would love to see you in the gallery and who knows - you might be selected for Designer's Choice and be eligible to be a guest designer on a future challenge.
Enjoy your day; I am hoping to regain my creative mojo and spend some time crafting once I've tackled my ironing pile, since it will be all too soon before I am home-schooling the James Juniors from next week, when I suspect my crafting time might be further squeezed. I'll definitely be back tomorrow with another project - I might even share my alternative umbrella project! Until then, happy stampin'!
Stampin' Up! Supplies Used:
1b70b4cd-5130-4863-a933-df875d71770c|0|.0|96d5b379-7e1d-4dac-a6ba-1e50db561b04
Tags: Stampin' Up, Stampin' Up Card, Stampin' Up Card ideas, Stampin' Up Supplies, Shop online, Shop Stampin' Up online, Shop Stampin' Up! Online, TicTacToe Challenge, Little Elephant, Stitched Shapes Framelits, Rectangle Stitched Framelits Dies
Cards | Shop Online | Shop Stampin' Up! Online | Stamping
by Joanne James5. March 2020 09:00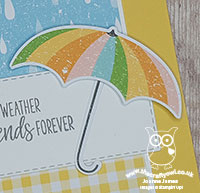
It's Thursday and time for a new challenge over at TicTacToe! It's the turn of Team X to host this week and I have the honour of being our featured designer this week. This is the fun board that I designed for your inspiration:

I took the first column and used the sketch at CAS(E) This Sketch layout - this time for a much better attempt at clean and simple than my card earlier this week - take a look:
Here's the low-down on today's card:
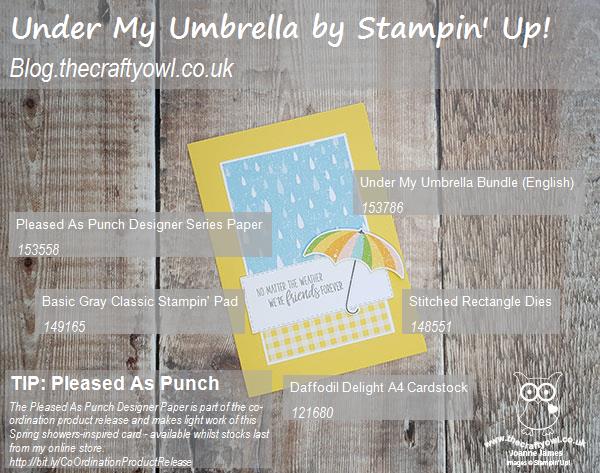
I paired some retired sunny yellow gingham check paper with a raindrop background and a bright umbrella punched from the Pleased As Punch designer series paper - I do love a paper that can be punched into lots of bits and pieces with a co-ordinating punch - and a sentiment from the 'Under My Umbrella' stamp set on a stitched rectangle. The weather here is mostly rain of late, but occasionally we get a glimpse of spring sunshine so it was nice to capture that in today's card!
Here is the visual summary of the key products used on today's project for you to pin for easy reference:
You can see all of my Product and 'How To' summaries on my 'How To - Tips and Techniques' Pinterest board in case you've missed any.
A tictactoe board offers so many creative possibilities - how does this week's board inspire you? Why not have a go? We would love to see you in the gallery and who knows - you might be selected for Designer's Choice and be eligible to be a guest designer on a future challenge.
Enjoy your day; I'll be back tomorrow with another project. Until then, happy stampin'!
Stampin' Up! Supplies Used:
89b027ac-69f3-4354-8cb7-8e9f22afe762|0|.0|96d5b379-7e1d-4dac-a6ba-1e50db561b04
Tags: Umbrella Builder Punch, Under My Umbrella, Pleased As Punch, Stampin' Up, Stampin' Up Card, Stampin' Up Card ideas, Stampin' Up Supplies, Shop online, Shop Stampin' Up online, Shop Stampin' Up! Online, TicTacToe Challenge
Cards | Shop Online | Shop Stampin' Up! Online | Stamping
by Joanne James4. March 2020 09:00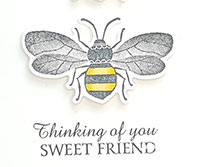
I've been working lots with the honey bee bundle lately as it's one of the sets that will feature at my luxury residential craft retreat this weekend and whilst it was out on my desk I made a quick card for the current theme challenge over at Addicted to CAS that also uses this great sketch from the Inkspire-Me team (they have an optional colour element too but I opted out):
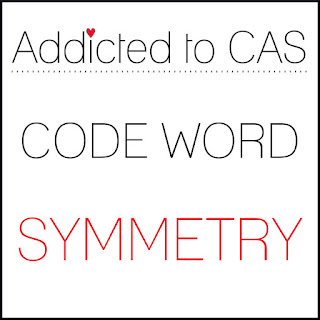

I thought this bee would be a good thing to use for the code word of 'symmetry' since it is pretty symmetrical and the trio of bees as per the sketch further emphasises this I think - take a look:

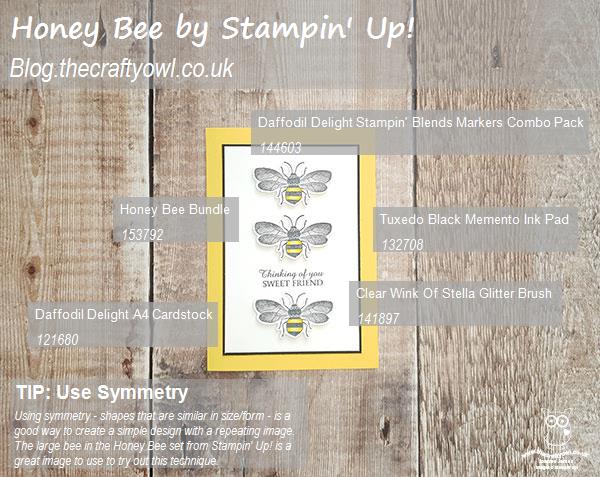
No real explanation required on this one, other than I stamped and diecut three bees, added some yellow to them with my Daffodil Delight Blends markers and then finished with some clear Wink of Stella on their wings - which looks so sparkly in real life, but try as I might I could not capture in my photo. A simple sentiment and bee-inspired base and mat complete my card.
Here is the visual summary of the key products used on today's project for you to pin for easy reference:
You can see all of my 'How To' summaries on my 'How To - Tips and Techniques' Pinterest board in case you've missed any.
Enjoy your day and I'll be back tomorrow with another project. Until then, happy stampin'!
Stampin' Up! Supplies Used:
by Joanne James3. March 2020 08:00
As promised, today I have Sale-A-Bration news for you! I know how much you've all been enjoying the benefits of the Sale-A-Bration promotion; as if it couldn't get any better I just wanted to let you know that from today there are some new items being added to the selection of products that can be earned free, both with a £45 order and two stamp sets that can be yours with a purchase of £90 or more. You can click on the image below to download the flyer:

So what's new? There is the silver and rose-gold foiled Flowering Foils Specialty papers - you can check them out in this video here from the Stampin' Up! Home Office:
Aren't they gorgeous? These papers are sure to be popular!
There is a great masculine stamp set called 'Well Dressed', perfect for easy masculine projects:
There is some coloured and embossed vellum 'So Very Vellum' that is perfect for dressing up your projects:

Each of the above products can be yours FREE with a £45 product purchase.
In addition, there are two stamp sets that are available with a £90 spend. The first is a stamp that coordinates with the Label Me Fancy and Label Me Lovely punches called 'Tags in Bloom':
Finally, there is the 'Rise and Shine' stamp set that co-ordinates with the carryover Cup of Cheer Dies:
As with the other items in the Sale-A-Bration catalogue (with the exception of the Kerchief Card Kit which is now sold out), these items will be available from now until the end of the Sale-A-Bration period, 31st March whilst stocks last. You can see full details for each of the new product on the new Sale-A-Bration flyer via the link above and there will be more samples made with each of them over on my Facebook page today.
If you would like more information or to place an order, either go here to purchase from my online store (don't forget to add this month's hostess code C3HMK9CP) or click on the links below. Alternatively or you can email me or telephone me if you would prefer. Back shortly with a new creative project; until then, happy shopping!
Links to the new Sale-A-Bration items in the online store: