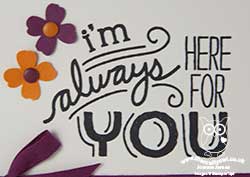
Friendly Wishes Onstage Swap Cards

by Joanne James27. April 2016 19:00

Mid-week already! I spent a pleasant morning at my Coffee and Card Session at Bell's in Kingsthorpe, Northampton making birthday cards and the afternoon at my desk. Today I'm sharing the card that was my swap at the Stampin' Up! UK Onstage Local event that I attended with some of my team the weekend before last. The event itself was a blast! I thought it was about time I shared some photos with you, so here goes!

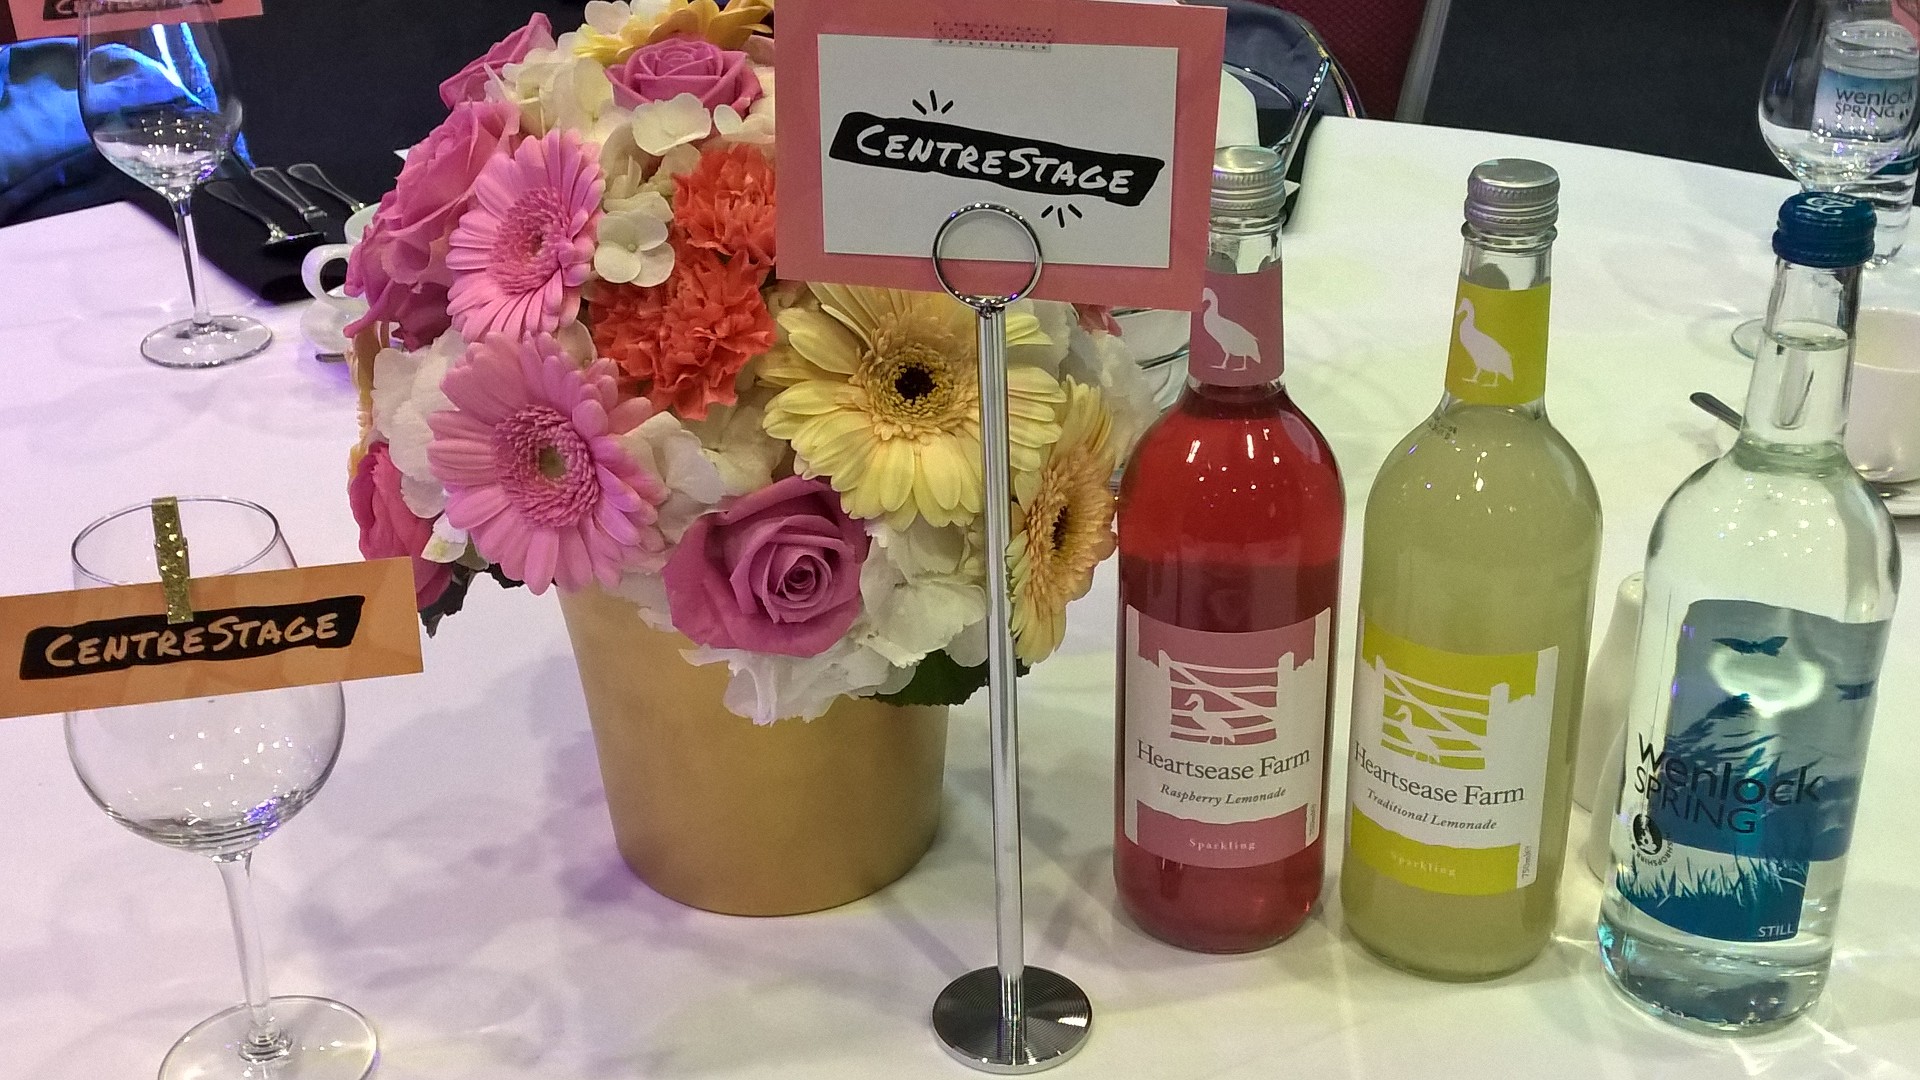
I was treated to a wonderful Centre Stage reception the evening before the main event with other Stampin' Up! leaders - here's a picture of the beautiful table settings:
 

I managed a quick selfie with my good friend Louise Sims, only to be right royally photo-bombed by the equally charming if mischievous Natalie O'Shea:
 

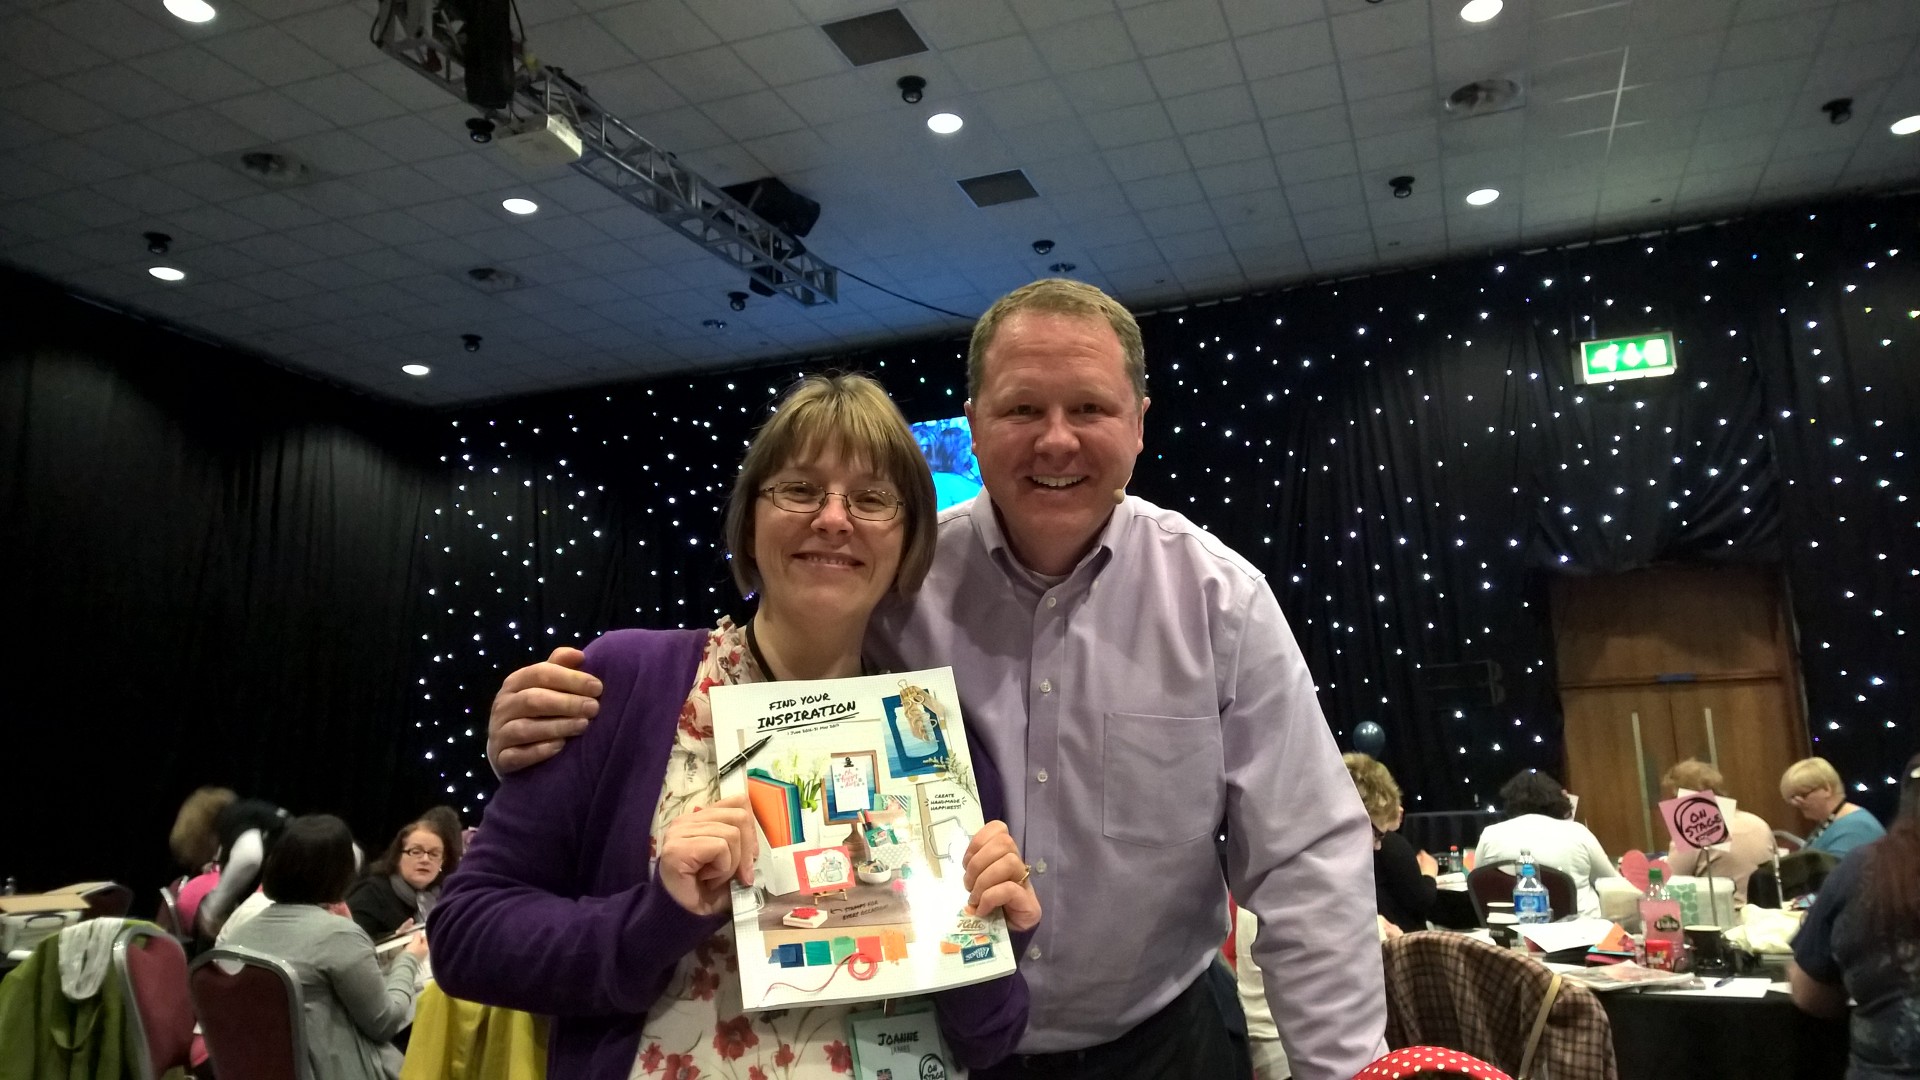
We got our hands on the new catalogue - here's me with mine courtesy of the lovely Dave Baugh, Stampin' Up!'s Vice President of Global Operations who came all the way from Utah to join us for the event:
 

It really is a good one! Here's also a photo of some of my team enjoying the day of presentations and new product reveals:
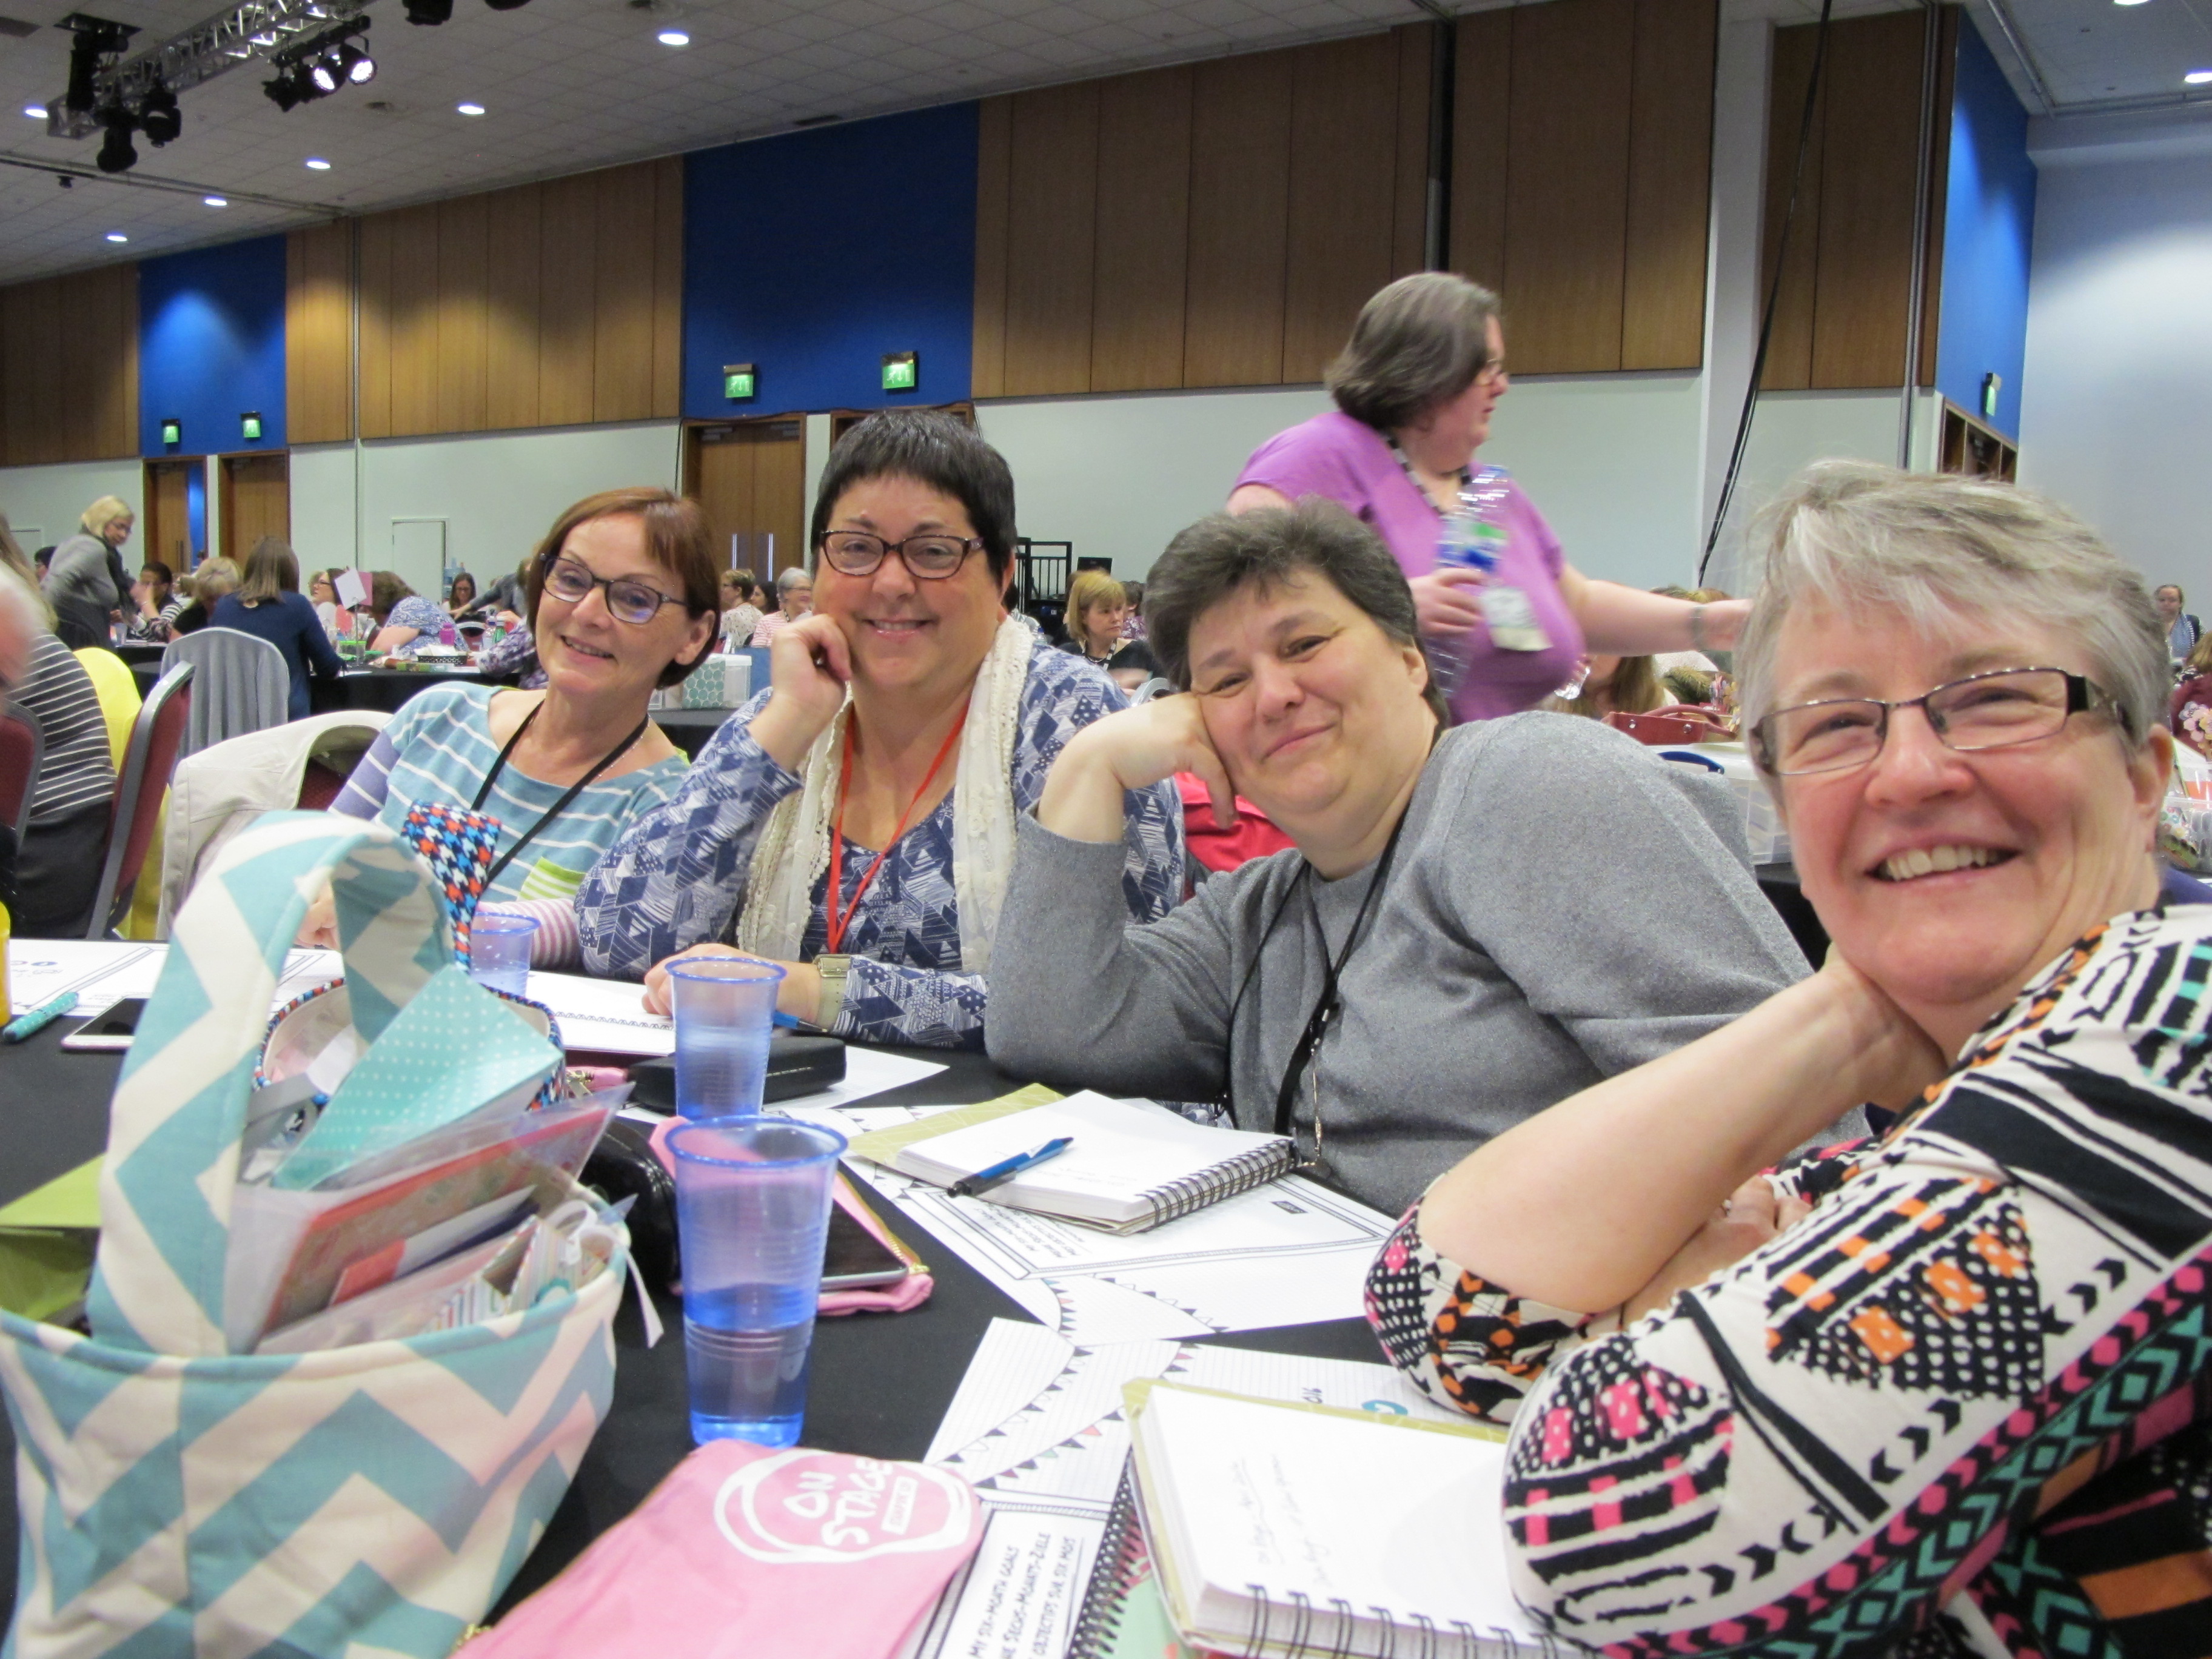
 

I could share a ton of new product 'spoilers' too, but with more than a month to go still until the new catalogue is officially released, I think I'll save those for nearer the time!

Anyway, onto today's creative make - my swap for this event, using some retiring accessories but featuring the 'Friendly Wishes' stamp set that I'm pleased to say will be carrying over to the new catalogue: 
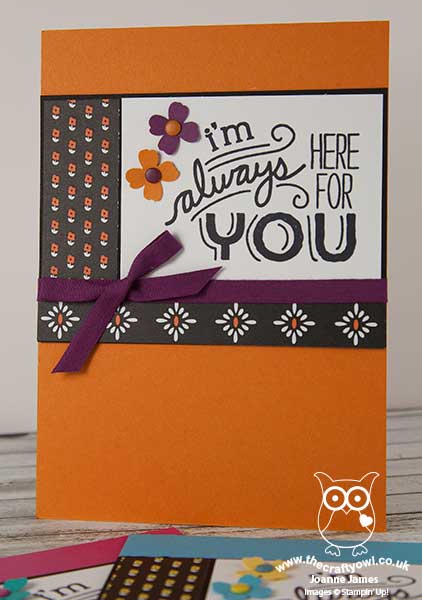
I made these in a range of colourways - the one I've featured here is in Pumpkin Pie and Rich Razzleberry - read on for the low-down on this card:

Brights - I love the Brights colour collection and as I wanted my swap to be bright and colourful this family was the natural choice. I actually chose my colour combinations based on ... the candy dots I had most of in my part-used packets! I use lots of these, but find myself using some colours way more than others. I used a card base of Pumpkin Pie, then used accents in this colour and the contrasting Rich Razzleberry to highlight my black and white stamping, including a cotton seam binding ribbon bow.

Black and White Everyday Chic - I stamped my sentiment from the 'Friendly Wishes' stamp set in Archival Black on Whisper White cardstock, to give a clean, crisp design that was easy to replicate - an important consideration when you are mass-producing a design. To compliment this, I used two different patterns of the black and white Everyday Chic Designer Series Paper to border my focal sentiment, elements of which I highlighted with my Stampin' Write marker. This is a great way to add interest and makes this designer series paper very versatile.

Itty Bitty Flowers - My final embellishment was a pair of Itty Bitty Accents Punch Pack punched flowers, each finished with a contrasting candy dot. I can't quite believe that this punch pack is retiring - I've used all three of these little punches on many, many projects but I think it's this itty bitty flower I will miss the most.

Here is the visual summary of the key products used on today's project for you to pin for easy reference:
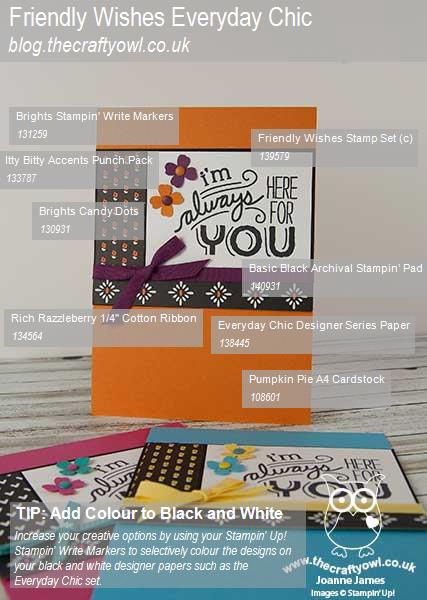
 

You can see all of my 'How To' summaries on my 'How To - Tips and Techniques' Pinterest board in case you've missed any. 

I had some lovely swaps in return which the ladies in my classes have 'ooh'd and ahh'd' over this week. I'll be back tomorrow with my card for this week's new challenge over at Create With Connie and Mary; until then, happy stampin'!


Stampin' Up! Supplies Used: 

Table built using Product Table Builder by The Crafty Owl - Independent Stampin' Up! Demonstrator.

Love You Hearts Border Card

by Joanne James3. February 2016 18:00

I had a great day of classes yesterday, with my second 'Love Blossoms' technique class of the month and my Project Life memory keeping class - lots of fun layouts of babies, toddlers, wartime Cairo and sightseeing in New York to name a few! I so enjoy my Project Life class and feel privileged to have my ladies share and document their precious memories with me. 

Today I'm sharing a Valentine's card that uses this week sketch over at As you See It that also fits the colour palette over at Can You Case It: black, reds and white or neutrals. I was also inspired by the photo of the ombre repeated heart biscuits over at The Card Concept to create my 'Clean and Layered' card today:

AYSIChallenge121  CYCI#105

I decided on some layered heart borders for the striped/border elements of my card using a trio of reds and a sentiment stamp I don't use very often - take a look:


A trio of Watermelon Wonder, Real Red and Cherry Cobbler panels, layered so that the alternating colours show through, and the hearts that I punched out using my Hearts border punch I randomly adhered, spilling from the sentiment, taken from the 'Friendly Wishes'  stamp set. A Basic Black mat for definition and a double bow of black and white baker's twine finish my card. Hearts and reds - what more do you need for the perfect Valentine?

That's all from me today; back tomorrow with a card for this week's new challenge over at Create With Connie and Mary. Until then, happy stampin'!


Stampin' Up! Supplies Used:

Table built using Product Table Builder by The Crafty Owl - Independent Stampin' Up! Demonstrator.


I'm Always There For You In Red, White and Blue

by Joanne James6. July 2015 13:19

Happy Monday everyone! I have had my first of this week's technique card classes this month and spent a pleasant morning catching up with my ladies, who all left very pleased with their cards. I will share these cards in due course once all my classes are complete (I don't want to spoil the surprise for the next group of ladies!). Meanwhile, today I have a card made with this week's sketch over at Freshly Made Sketches:

I'm also linking this card up with the ladies over at Less Is More this week, where the challenge is to use red, white and blue on your card, which I most certainly have - take a look: 

I decided to pair my bright Real Red with the softer tones on Sky Blue for today's card and added some detail to my main panel using some retired 'Back To Black' DSP although the new Everyday Chic paper would work just as well. I coloured both pieces with my retired Soft Sky Blendabilities pens. My sentiment is from the new 'Friendly Wishes' stamp set and I finished my caard with a few pops of Real Red: some cotton ribbon, an Itty Bitty Accents punched flower (or two!) and a retired button from my storecupboard, tied with some white baker's twine.

I really love the way the combination of bright red with the pale blue, and I think the set off the black and white of the DSP and sentiment beautifully. 

That's all from me today; a basket of ironing awaits, although hopefully I'll catch another match at Wimbledon on the TV as I go, so much less of a hardship than usual! Back tomorrow with another card and a new product share! until then, happy stampin'!


Stampin' Up! Supplies Used:

Table built using Product Table Builder by The Crafty Owl - Independent Stampin' Up! Demonstrator.


Bohemian Petite Cafe Gift Bag

by Joanne James6. June 2015 21:51

Just time to squeeze in a quick post from me today to share a really quick and easy packaging idea using the Stampin' Up! Petite Cafe gift bags and some lovely new product from the 2015-16 Stampin' Up! Annual Catalogue:

Isn't the little shopping trolley so cute?! This was a gift to me from my wonderful upline Monica recently and I wanted to share the lovely bag with you. It is decorated with the new Bohemian DSP and a stamped scallop circle with one of the stamps from the new 'Friendly Wishes' stamp set. The banners were punched in seconds using the new Triple Banner Punch and the bag was finished off with some Venetian Crochet Trim and Metallic Gold Baker's Twine. What was inside? Well, that would be telling...but it was yummy!

With packaging so quick and easy to recreate there really is no excuse not to add the handmade touch to your sweet treats!

Back tomorrow with a special project for the new challenge over at The Paper Players where I am the hostess this week. Come back then - I guarantee you won't want to miss it! Until then, happy stampin'! 


Stampin' Up! Supplies Used:

Table built using Product Table Builder by The Crafty Owl - Independent Stampin' Up! Demonstrator.


Mini Catalogue

BROWSE THE CATALOGUE

The mini catalogue is now live! Read and download your copy here.

Shop Online

Access my online shop 24 x 7, 365 days of the year:

Current April hostess code:

VDKNV7BH

Shop Online

Join My Team

It's always a great time to join Stampin’ Up! New team members can get £130 worth of products for only £99 + free business supplies + free shipping + all the fun being a part of Stampin’ Up! Stampin' Up! has something for everyone: join my growing team and benefit from my support to enjoy Stampin' Up! however you choose.

If you're interested, call me for a chat to understand how I can help you realise your goals. Alternatively, if you have already decided to sign up and you just can't wait, please click here for the link to the online form where you can sign up and order your starter kit right away! 

Latest Kit!

Stampin Cut and Emboss

The Rock Legend Kit has all you need to make 8 cards with coordinating envelopes. Along with the new Panda Friends Kit, both are available from January 4th for just £14 each - get yours here!

2023-24 Annual Catalogue

BROWSE THE CATALOGUE

Click on the catalogue for a full list of current SU! supplies - if you would like to order any of the items featured, please drop me a line at [email protected] or give me a call on 07773 421446 - I'd be happy to help.

New Online Exclusives

There are new products available exclusively in the online store from 5 March - check them out here.

About Me

Hi I'm Joanne and live in Northampton and when I'm not looking after my husband and two beautiful children, am an avid crafter with a passion for all things Stampin' Up!

I must confess that I have never been a big rubber stamper - until I discovered Stampin' Up! that is. I love the fact that I can get such great results with co-ordinating stamps, inks, papers and punches - the possibilities are endless! Join me on my stamping journey as I share the things I love and be inspired to create amazing things yourself!

Follow Me

Monthly Newsletter

Box Builder

Click the button above to use Box Buster to create your custom box design using the Envelope Punch Board!

Kits Collection Now Available!

Stampin Cut and Emboss

The new Kits Collection from Stampin' Up! is now available!

Click here to see the current kits available and order yours online today.

I Design For


Stampin' Up Stuff

This is my personal blog and is not endorsed by Stampin’ Up! I hope you find it a plentiful source of ideas and personal inspiration but please don't copy my designs for contest submission or use for classes, publication or sale without express permission.