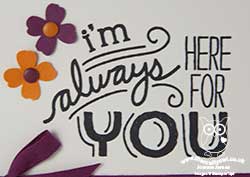
Friendly Wishes Onstage Swap Cards

by Joanne James27. April 2016 19:00

Mid-week already! I spent a pleasant morning at my Coffee and Card Session at Bell's in Kingsthorpe, Northampton making birthday cards and the afternoon at my desk. Today I'm sharing the card that was my swap at the Stampin' Up! UK Onstage Local event that I attended with some of my team the weekend before last. The event itself was a blast! I thought it was about time I shared some photos with you, so here goes!

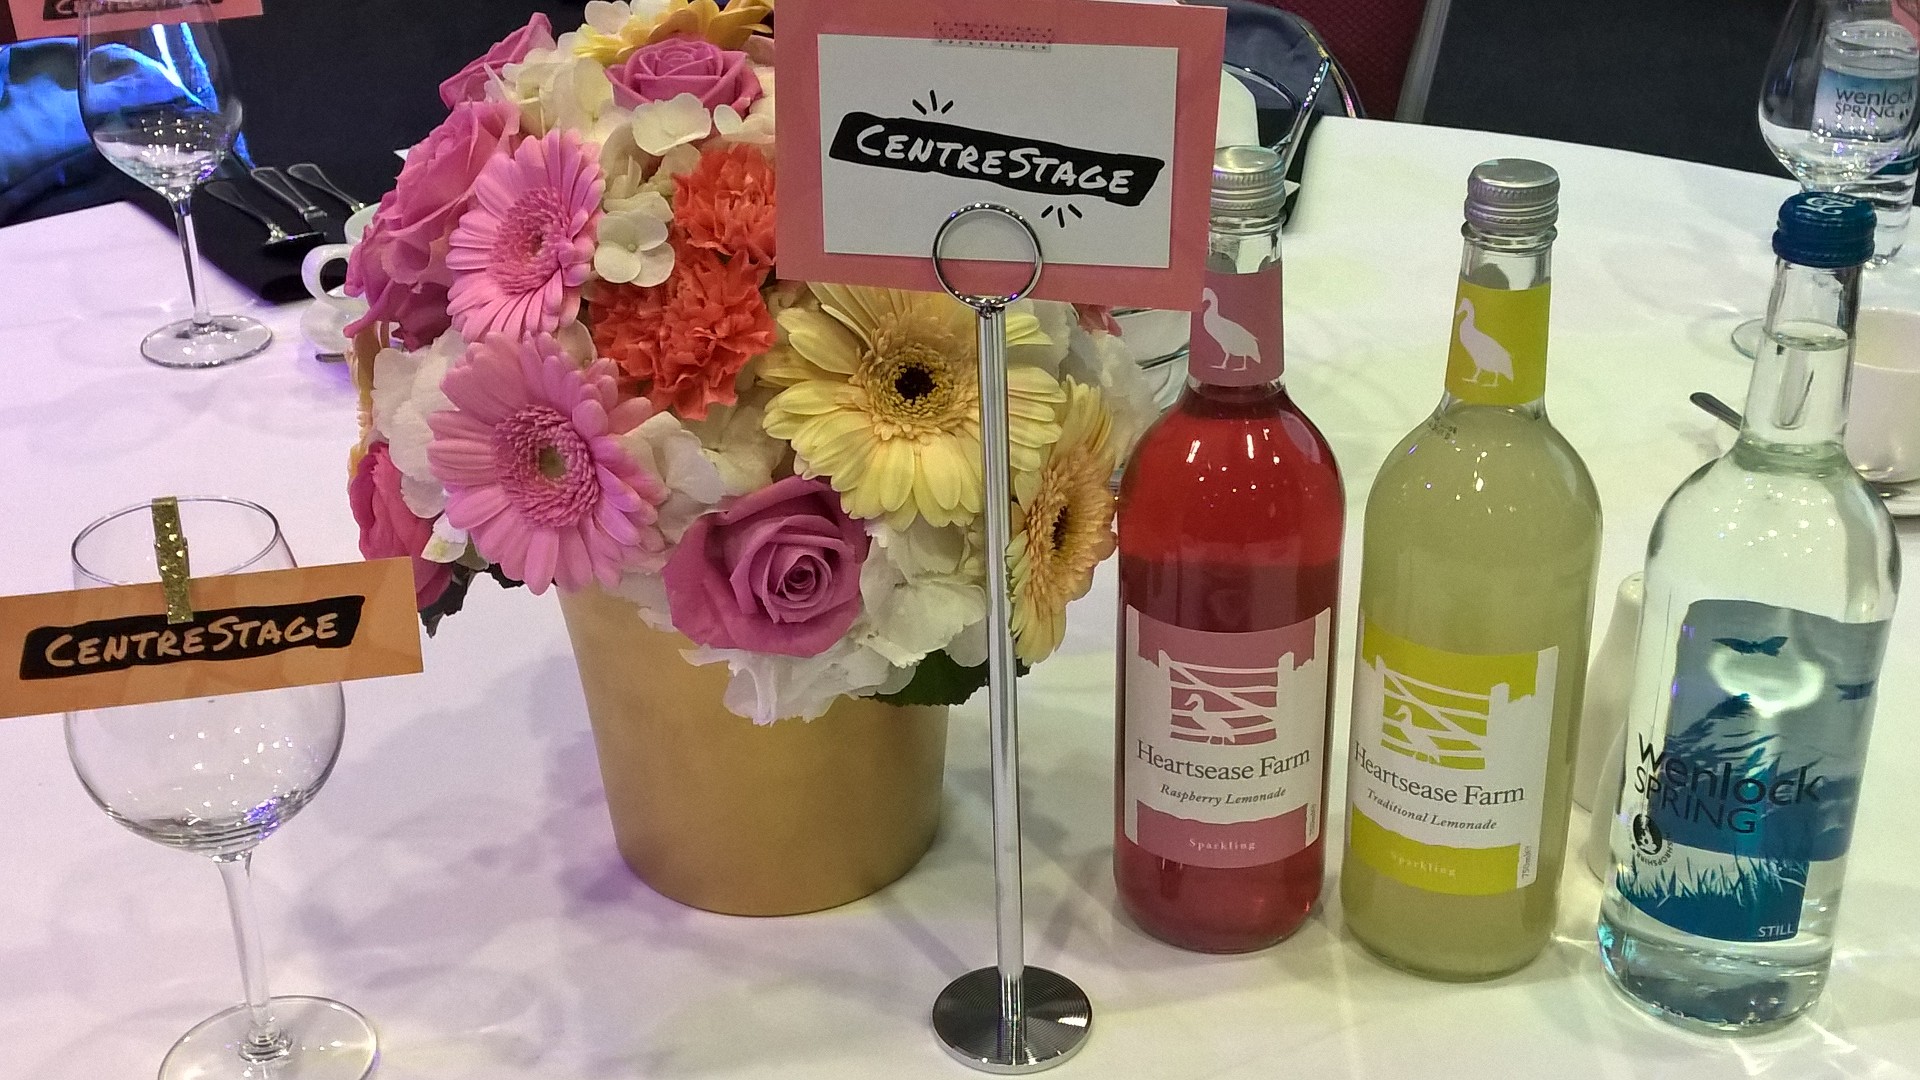
I was treated to a wonderful Centre Stage reception the evening before the main event with other Stampin' Up! leaders - here's a picture of the beautiful table settings:
 

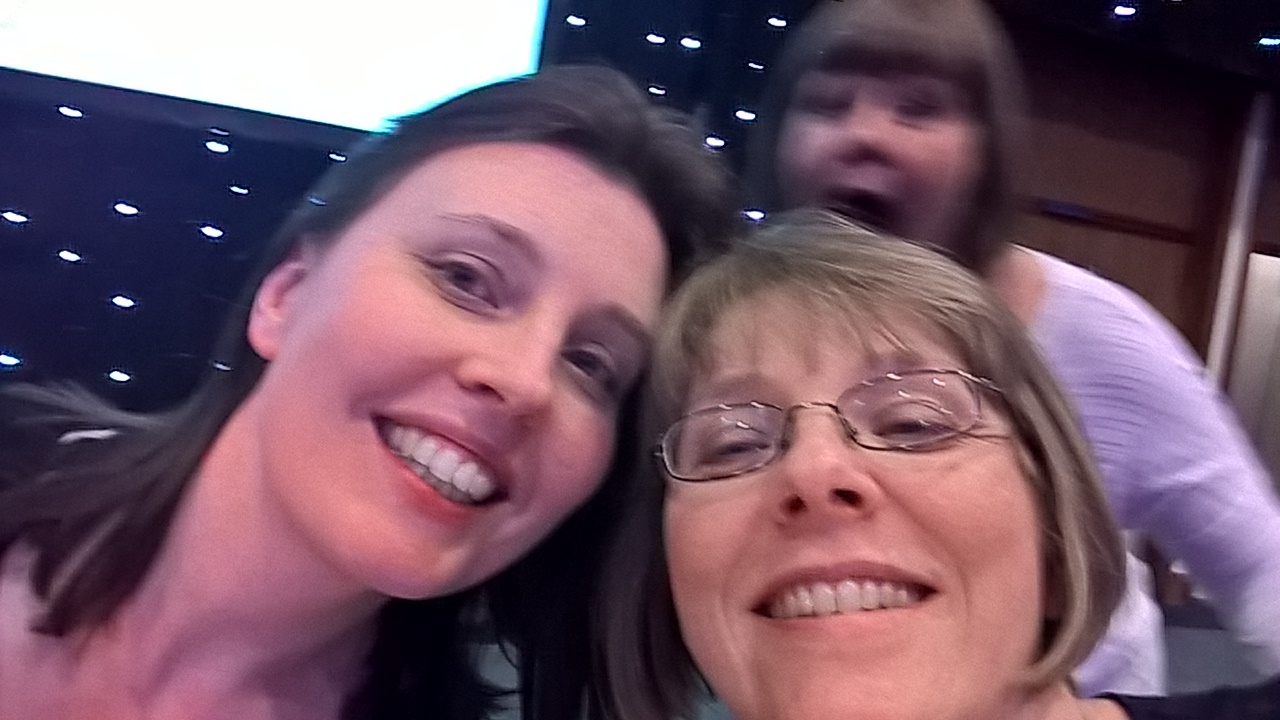
I managed a quick selfie with my good friend Louise Sims, only to be right royally photo-bombed by the equally charming if mischievous Natalie O'Shea:
 

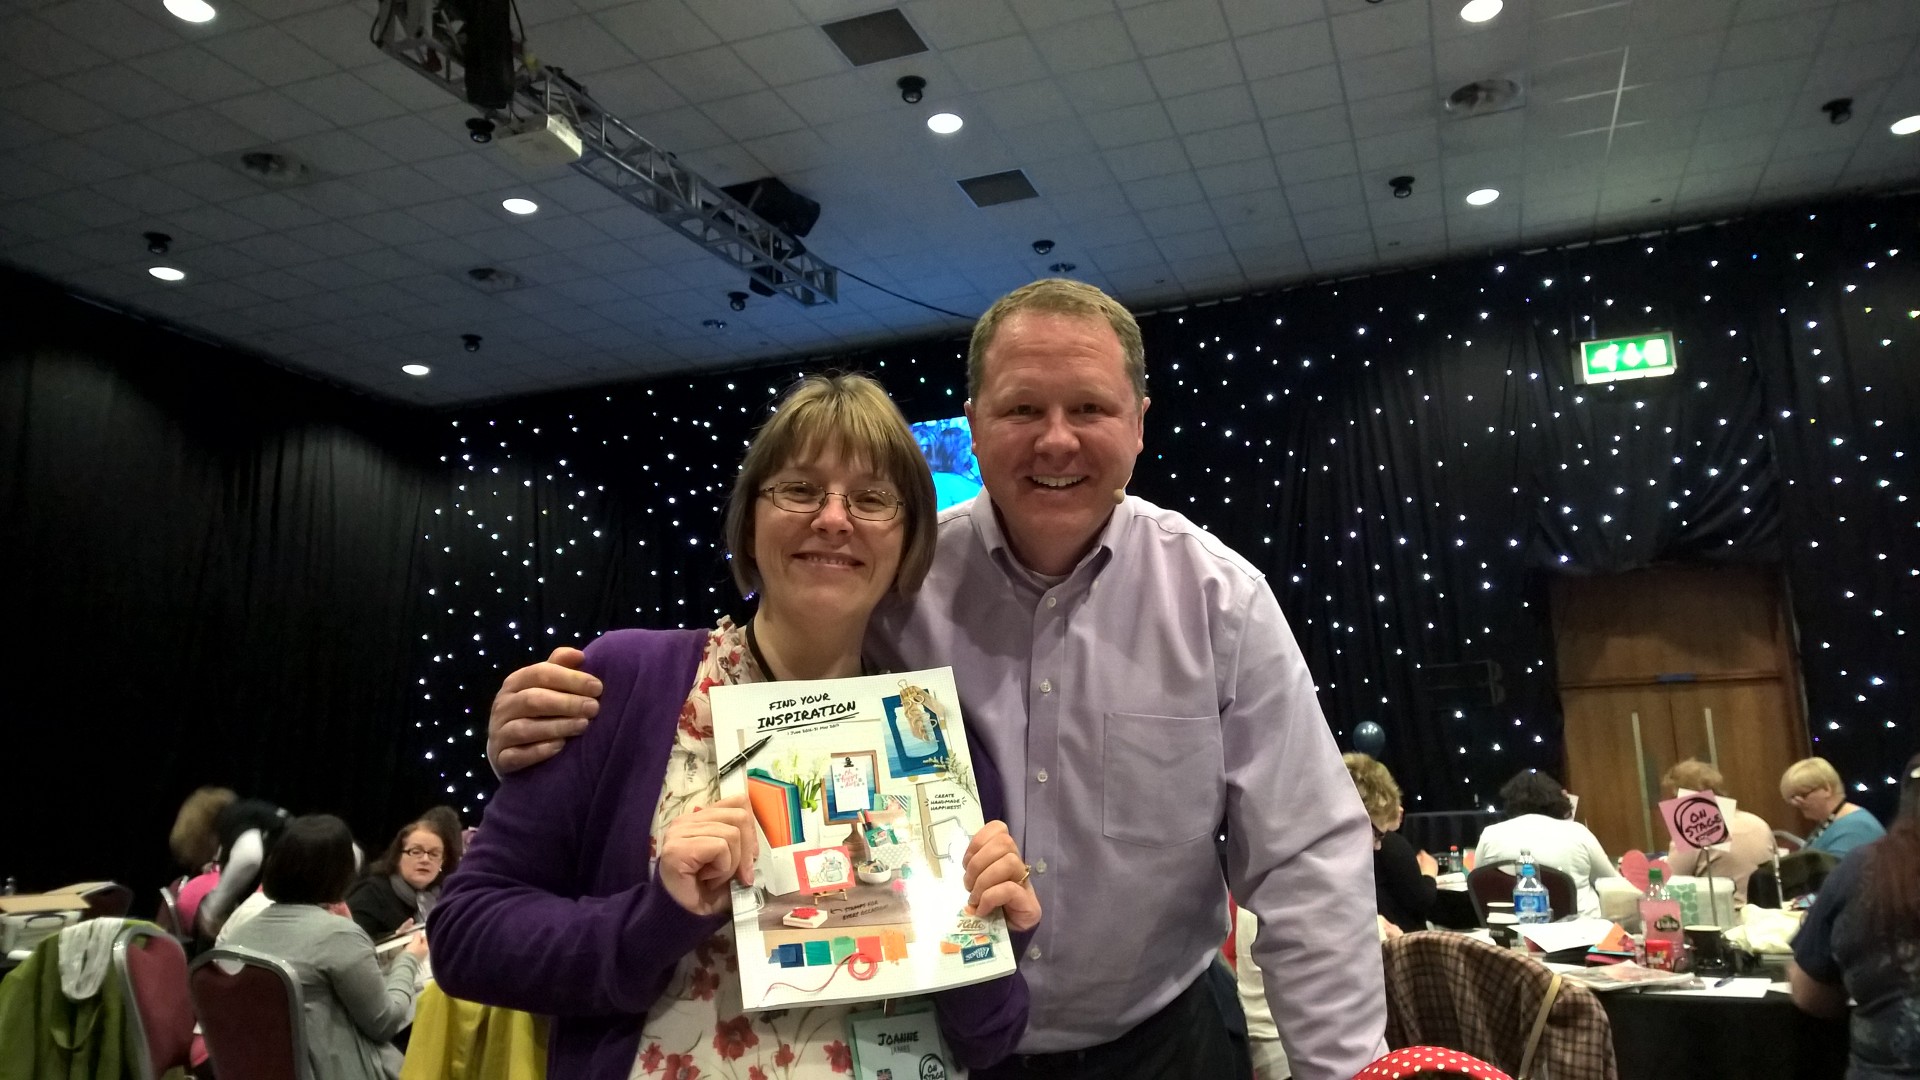
We got our hands on the new catalogue - here's me with mine courtesy of the lovely Dave Baugh, Stampin' Up!'s Vice President of Global Operations who came all the way from Utah to join us for the event:
 

It really is a good one! Here's also a photo of some of my team enjoying the day of presentations and new product reveals:
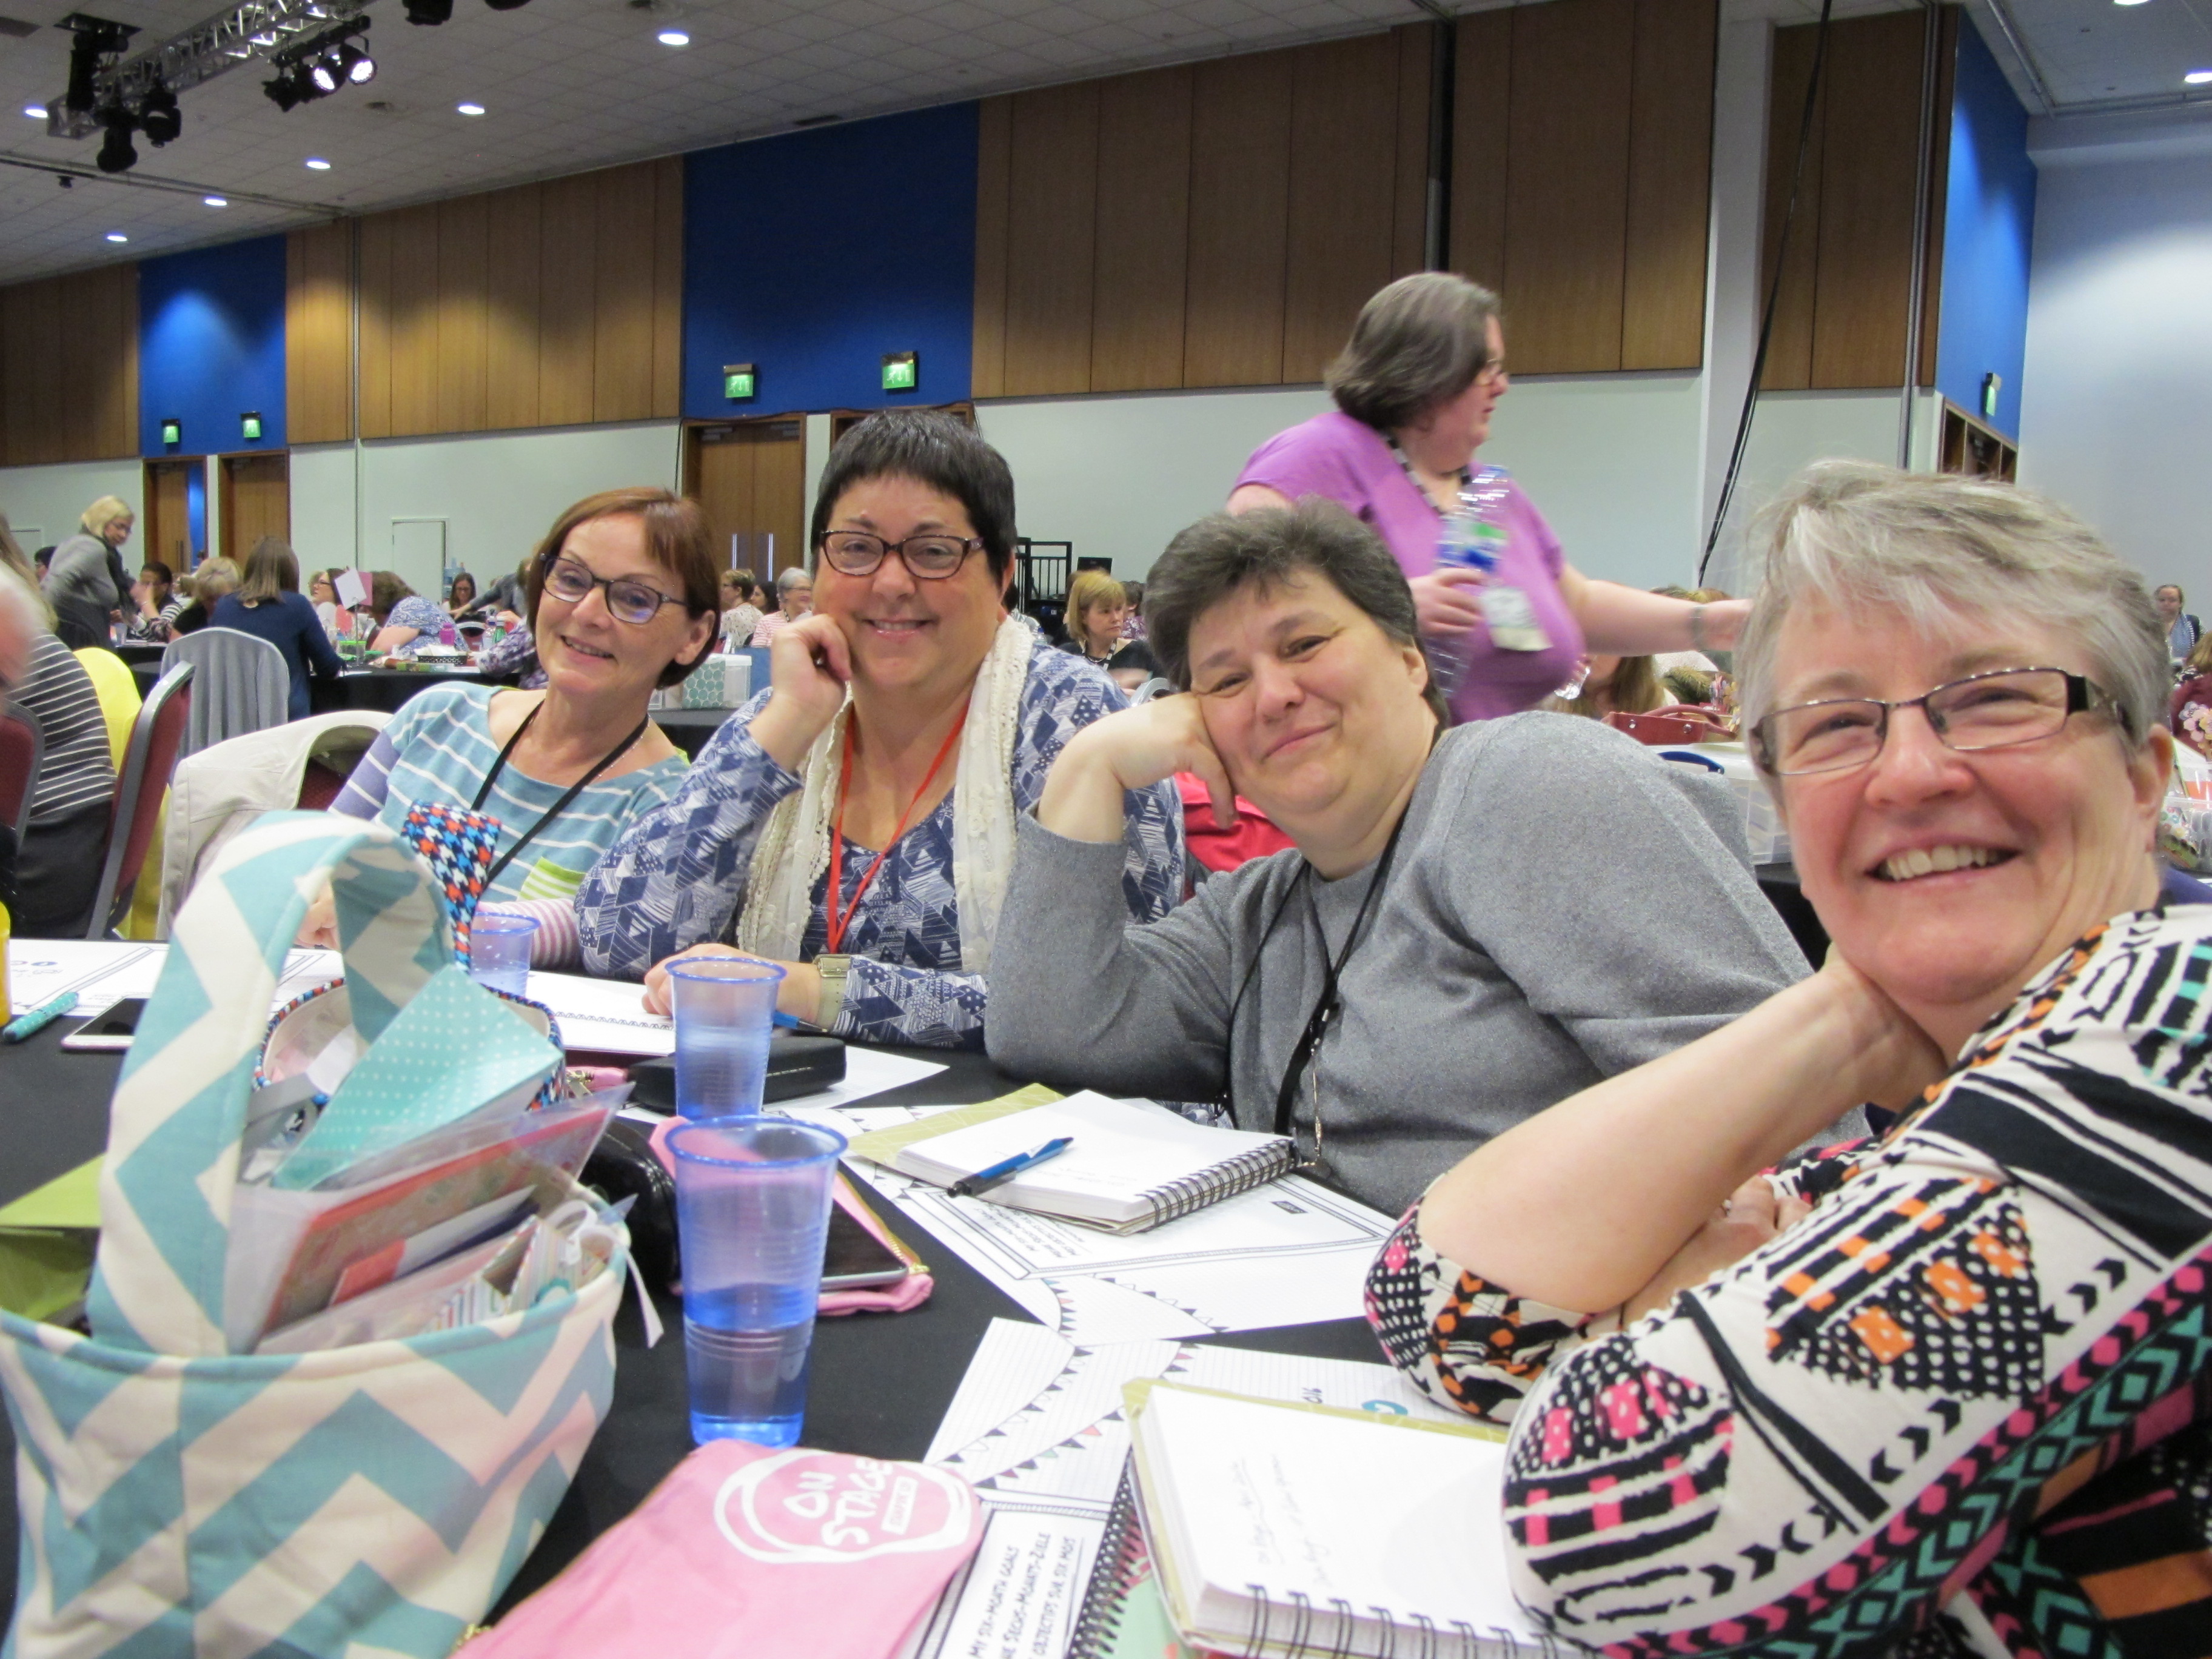
 

I could share a ton of new product 'spoilers' too, but with more than a month to go still until the new catalogue is officially released, I think I'll save those for nearer the time!

Anyway, onto today's creative make - my swap for this event, using some retiring accessories but featuring the 'Friendly Wishes' stamp set that I'm pleased to say will be carrying over to the new catalogue: 
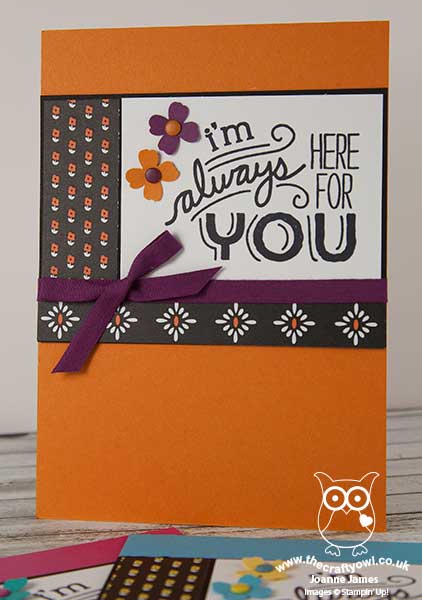
I made these in a range of colourways - the one I've featured here is in Pumpkin Pie and Rich Razzleberry - read on for the low-down on this card:

Brights - I love the Brights colour collection and as I wanted my swap to be bright and colourful this family was the natural choice. I actually chose my colour combinations based on ... the candy dots I had most of in my part-used packets! I use lots of these, but find myself using some colours way more than others. I used a card base of Pumpkin Pie, then used accents in this colour and the contrasting Rich Razzleberry to highlight my black and white stamping, including a cotton seam binding ribbon bow.

Black and White Everyday Chic - I stamped my sentiment from the 'Friendly Wishes' stamp set in Archival Black on Whisper White cardstock, to give a clean, crisp design that was easy to replicate - an important consideration when you are mass-producing a design. To compliment this, I used two different patterns of the black and white Everyday Chic Designer Series Paper to border my focal sentiment, elements of which I highlighted with my Stampin' Write marker. This is a great way to add interest and makes this designer series paper very versatile.

Itty Bitty Flowers - My final embellishment was a pair of Itty Bitty Accents Punch Pack punched flowers, each finished with a contrasting candy dot. I can't quite believe that this punch pack is retiring - I've used all three of these little punches on many, many projects but I think it's this itty bitty flower I will miss the most.

Here is the visual summary of the key products used on today's project for you to pin for easy reference:
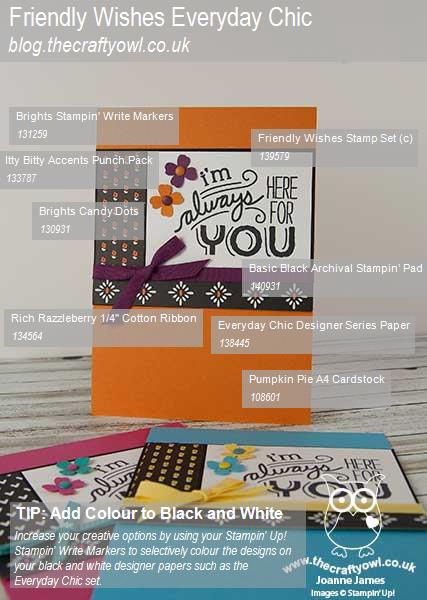
 

You can see all of my 'How To' summaries on my 'How To - Tips and Techniques' Pinterest board in case you've missed any. 

I had some lovely swaps in return which the ladies in my classes have 'ooh'd and ahh'd' over this week. I'll be back tomorrow with my card for this week's new challenge over at Create With Connie and Mary; until then, happy stampin'!


Stampin' Up! Supplies Used: 

Table built using Product Table Builder by The Crafty Owl - Independent Stampin' Up! Demonstrator.

Botanicals For You Flower Wreath Card

by Joanne James27. March 2016 20:29

I had a little time this afternoon so I had a go at the challenge over at Global Design Project, where this week they are case-ing the designer Jessica Williams:


I don't get the opportunity to play along at GDP as much as I'd like but they do have some great challenges and I particularly like the CASE The Designer ones. Inspiration can strike in many ways and I think this type of challenge is a great way to create something that is clearly inspired by one person's work yet is wholly your own. It also makes for an interesting blog post (hopefully!) that explains where the inspiration for your own take on the original work came from. So, without further ado, here is my card:

So how did Jessica's card inspire me? Read on to find out:

Layout - Whilst I love the layout of Jessica's card, I decided this was one of the things that I was going to change. I used this week's sketch over at Mojo Monday for my card.

Colours - Jessica's colour combination is not one I would ordinarily have chosen, so I decided to work with it to see where it took me. I kept Sahara Sand for my base, although I did major on Watercolour Wonder as opposed to Calypso Coral though, largely on account of my choice of ribbon. Whilst this ribbon is rather wide for a card bow, I liked the rather fancy bow that Jessica used on her card and decided to use my ribbon to make a similar statement. Likewise, whilst I incorporated the black and white colours of Jessica's washi tape borders, I chose to use some Everyday Chic Designer Series Paper for the twin panels on my card. 

Wreath and Sentiment - I recreated the wreath on my card, but instead of using the 'Timeless Love' stamp set, I created my own using the flowers and leaves from the Sale-A-Bration set 'Botanicals For You'. I was also inspired by the sentiment of Jessica's card - I chose one from the 'Suite Sayings' stamp set that has a similar tone. 

Here is the visual summary of the supplies used to make today's card for you to save for easy future reference:


I hope you like my card and found the explanation of my creative process insightful. I'd love to know what you think of my CASE of Jessica's card; do leave me a comment below - I read and appreciate them all!

I'll be back tomorrow with another couple of projects; until then, happy stampin'!


Stampin' Up! Supplies Used:

Table built using Product Table Builder by The Crafty Owl - Independent Stampin' Up! Demonstrator.


Honeycomb Happiness Hello Chick

by Joanne James22. February 2016 07:30

Happy Monday everyone! I have a card made with a few challenges in mind today:


I was keen to try out an idea I had for this week's challenge over at CASology where the cue card is 'egg' and decided to use the open sketch over at Freshly Made Sketches for my layout. I've seen lots of cards on Pinterest featuring no-line watercolouring this week, so wanted to have a go using the little chick in the 'Honeycomb Happiness' stamp set, one of a number of Sale-A-Bration stamp sets that is free with a £45 spend before 31st March. I will also be linking up to SUO Challenges where the team are featuring Sale-A-Bration products in their challenge this week. Here's my card:

How cute is this little fella? I think he is adorable! I stamped my chick onto watercolour paper in Sahara Sand, then watercoloured him using my aquapainter and So Saffron, Daffodil Delight and Crushed Curry inks. The key to no-line watercolouring is to make sure that when you stamp your initial image you use a light-coloured ink that 'disappears' as you colour in. Having painted his whole self, I then proceeded to cover him up! I fussy cut an eggshell, also from watercolour paper, then coloured it with my Soft Sky ink and adhered it over my chick so that it looked like he was just breaking out of his shell. Some shadow and a sentiment finished this panel. I then added a thin strip of Everyday Chic designer series paper along the edge, having coloured in the pattern with my Daffodil Delight and Crushed Curry Stampin' Write markers, before adhering to my Daffodil Delight card base with dimensionals. I really enjoyed my first attempt at this style of watercolouring and I can see me using this chick in lot of other ways too. He will undoubtedly be useful as Easter approaches, but he would also make a cute addition to a baby card. The one thing I'm not sure about in hindsight is the strip of dsp - I think it's a little bold for the rest of my card. 

Here is today's visual summary for easy reference:


That's all from me today; I'll be back tomorrow with a super cute project for this week's challenge over at Pals Paper Arts. Until then, happy stampin'!


Stampin' Up! Supplies Used:

Table built using Product Table Builder by The Crafty Owl - Independent Stampin' Up! Demonstrator.

Love At First Sight

by Joanne James30. January 2016 20:00

I hope you are all enjoying your weekends. So far mine has been spent doing laundry, assisting the James Juniors with their homework (Ted Hughes poetry and an art project today!) and preparing for my technique classes next week. I did find time to finish a card that I started yesterday though: another Valentine's card, using this week's sketch over at Freshly Made Sketches and the top line of the tic-tac-toe board over at Stamps, Ink, Paper and fitting with the 'love' theme over at Paper Craft Crew too.

   SIP Tic Tac Toe 32 800    Love Theme Challenge 179 for the Paper Craft Crew.

In order to fit in my large sentiment, I went with an unusual 8 1/4" x 5 1/2" sized card - take a look:

I stamped the 'l v e' from the 'Larger Than Life Alphabet and Numbers' stamp set in Versamark and heat embossed them in black, then substituted the 'o' from my 'love' sentiment with the heart from the 'First Sight' set, which I stamped in Real Red on Real Red cardstock, then overstamped again in Versamark and heat embossed with clear embossing powder for additional shine. I used a piece of Everyday Chic designer series paper for my border panel and finished off my sentiment inside the card with one of the 'Hello You' thinlits and an outline stamped red heart:


I even created a custom envelope with some Real Red envelope paper and the help of my trusty Envelope Expert tool, which I also decorated with a stamped red heart.

I love the layers of this card and the letters shine beautifully; I think this may be one of my favourite Valentine's cards that I've ever made. Today's blog title comes from the combination of one of the stamp sets I've used today and the sentiment and it got me thinking - I remember meeting my now husband for the first time and thinking even then he would be the man I would one day marry; I do believe there is such a thing as love at first sight - do you? Do leave me a comment below today's post - I would love to know what you think.  

That's all from me today; back tomorrow with a new card for this week's challenge over at The Paper Players. Until then, happy stampin'!


Stampin' Up! Supplies Used: 

Table built using Product Table Builder by The Crafty Owl - Independent Stampin' Up! Demonstrator.

Scrapbooking

Stampin' Up! has introduced a new range of 12x12" scrapbooking product and kit - the full range is now available to purchase online. To download a copy of the new digital Scrapbooking Catalogue click here.

Mini Catalogue

BROWSE THE CATALOGUE

'Tis The Season - the new Stampin' Up! Mini Catalogue is here! For more details and to download your copy click here

Shop Online

Access my online shop 24 x 7, 365 days of the year:

Current September hostess code:

JQEHTZGK

Shop Online

2024-25 Annual Catalogue

BROWSE THE CATALOGUE

Click on the image to download your copy of the 2024-25 annual catalogue. For a full list of current SU! supplies, go to my online store. If you would like any help or advice, please drop me a line at joanne@thecraftyowl.co.uk or give me a call on 07773 421446 - I'd be happy to help.

Join My Team

It's always a great time to join Stampin’ Up! New team members can get £130 worth of products for only £99 + free business supplies + free shipping + all the fun being a part of Stampin’ Up! Stampin' Up! has something for everyone: join my growing team and benefit from my support to enjoy Stampin' Up! however you choose.

If you're interested, call me for a chat to understand how I can help you realise your goals. Alternatively, if you have already decided to sign up and you just can't wait, please click here for the link to the online form where you can sign up and order your starter kit right away! 

Latest Kits!

Stampin Cut and Emboss

The Christmas Ornaments Kit and Card Keeper Kit are the latest kits that will be arriving in the online store later this month - get yours here!

New Online Exclusives

There are new products available exclusively in the online store from 3 July - check them out here.

About Me

Hi I'm Joanne and live in Northampton and when I'm not looking after my husband and two beautiful children, am an avid crafter with a passion for all things Stampin' Up!

I must confess that I have never been a big rubber stamper - until I discovered Stampin' Up! that is. I love the fact that I can get such great results with co-ordinating stamps, inks, papers and punches - the possibilities are endless! Join me on my stamping journey as I share the things I love and be inspired to create amazing things yourself!

Follow Me

Monthly Newsletter

Box Builder

Click the button above to use Box Buster to create your custom box design using the Envelope Punch Board!

Kits Collection Now Available!

Stampin Cut and Emboss

The new Kits Collection from Stampin' Up! is now available!

Click here to see the current kits available and order yours online today.

I Design For


Stampin' Up Stuff

This is my personal blog and is not endorsed by Stampin’ Up! I hope you find it a plentiful source of ideas and personal inspiration but please don't copy my designs for contest submission or use for classes, publication or sale without express permission.