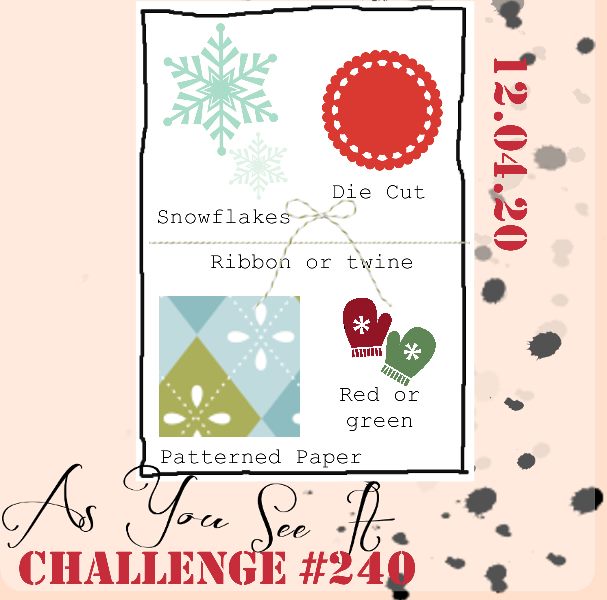
Today I'm sharing my design team card for our new challenge over at As you See It where it's time for a festive recipe challenge:

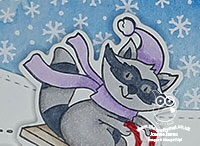
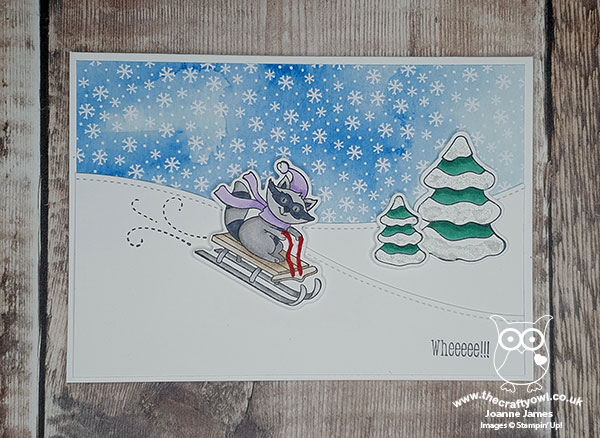
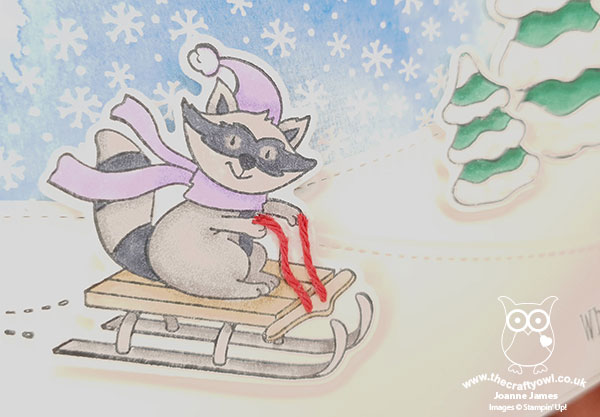
I struggled a little with the recipe this week; not because there was anything wrong with the ingredients, I think I’ve just been so busy that my creative mojo had upped and left the building! I decided to have another play with my Freezin’ Friends stamp set and this is what I came up with:
Here's the low-down on today's card:
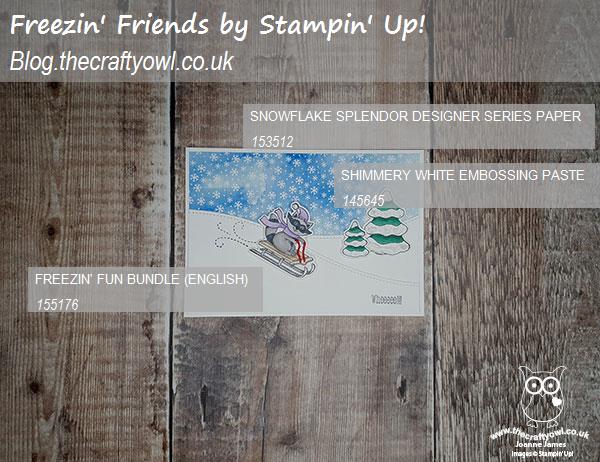
Snowflake Splendor - What can I say that I haven’t already said about this fabulous paper (maybe I’d like the spelling to read ‘splendour’ as a nod to the Queen’s English, but I digress!) Anyway, once again it provided the perfect background and enabled me to tick off ’patterned paper’ and ‘snowflake’ from the recipe, so all good!
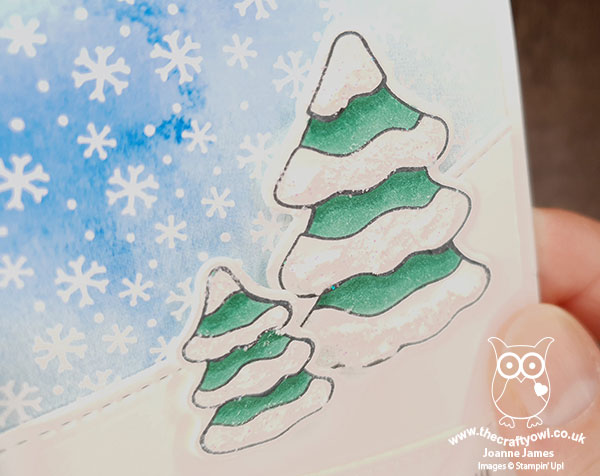
Freezin’ Friends - All diecuts are courtesy of this set and I even managed to tick off ‘green’ with my snowy trees. I also added some shimmer white embossing paste to the snowy parts for some textural interest and sparkle:
A Neat Trick - I was wondering how to add ribbon/twine to my design and having decided to feature the tobogganing raccoon it suddenly came to me! When I was little, I spent many hours tobogganing in the snow with my bestie, on a big slope near where we lived (in mountainous Wales where I’m from, snow was a sure thing at some point each winter) and whilst we often made do with a tin tea tray, one year for Christmas my friend received the most beautiful sled, hand built by her father, with wooden slats and a bright red rope handle. It was a thing of beauty - so I thought I’d create one on paper for my raccoon too! I cut some red baker’s twine and secured it behind my image, then threaded it through and glued it to the stamped lines, finishing at the hands. A small amount of twine, but integral to my design:
So what do you think? Does this added detail work? I really like it - thanks for indulging my trip down memory lane today! I'm also linking up with the team over at Festive Friday since today's card ticks off blue - snowflakes - trees on their inspo list this week.
Here is the visual summary of the key products used on today's project for you to pin for easy reference:
You can see all of my 'How To' summaries on my 'How To - Tips and Techniques' Pinterest board in case you've missed any.
Here's a summary of our challenge rules:
- Create any card, scrapbooking page, 3D project or packaging project that fits the challenge.
- Please include the challenge graphic and link back to the challenge in your blog post. Turn off word verification so we can leave you lots of lovely comments. Make sure you link the post not the whole blog to the Linky. Use #AYSIXXX when uploading to a public gallery.
- If you’re unsure about ‘the rules’, check the details under the Challenge Guidelines tab on the As You See It Challenge homepage.
We look forward to seeing your creations in the AYSI gallery.
Enjoy your day and I'll be back tomorrow with another project. Until then, happy stampin'!
Stampin' Up! Supplies Used: