Today I'm sharing a card that was inspired by quite a few challenges - I started with a couple in mind but my card just kind of snowballed:


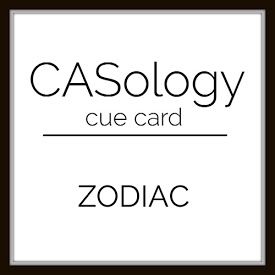
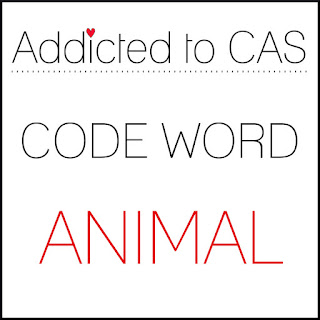
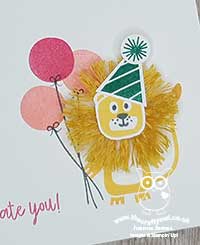
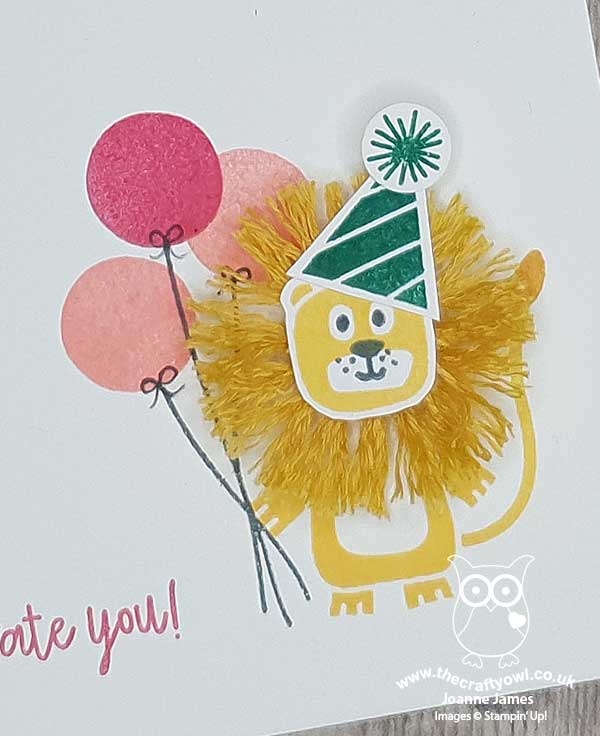
Believe it or not my starting pint was the Just Add Ink challenge and that lovely yellow and pink colour combo, along with the tassels. I had already decided to make a lion birthday card inspired by the Hand Stamped Sentiments photo and I wondered whether I could make a bushy mane from tassels. I used the sketch layout courtesy of AAA cards (no optional twist - this lion doesn't fly!) but given that he is a lion, I am linking up Leo over at CASology where the keyword is 'zodiac' and entering over at Addicted to CAS too! So that's how I got to my card - now to tell you the story of the bushy mane! Firstly, here's my finished card:
Here's the low-down on today's card:
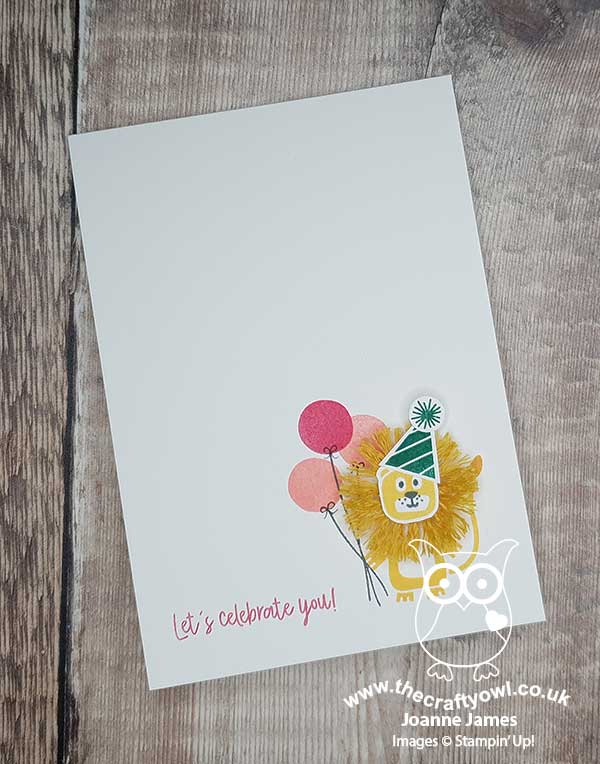
Bonanza Buddies - I used my Bonanza Buddies stamp set for the lion with his balloons, and stamped them and my sentiment directly onto my card base. Then, instead of diecutting the head and mane using the stamp provided and popping it up, I stamped it but fussy cut the face and put my bushy mane behind - here's a close up of that detail:
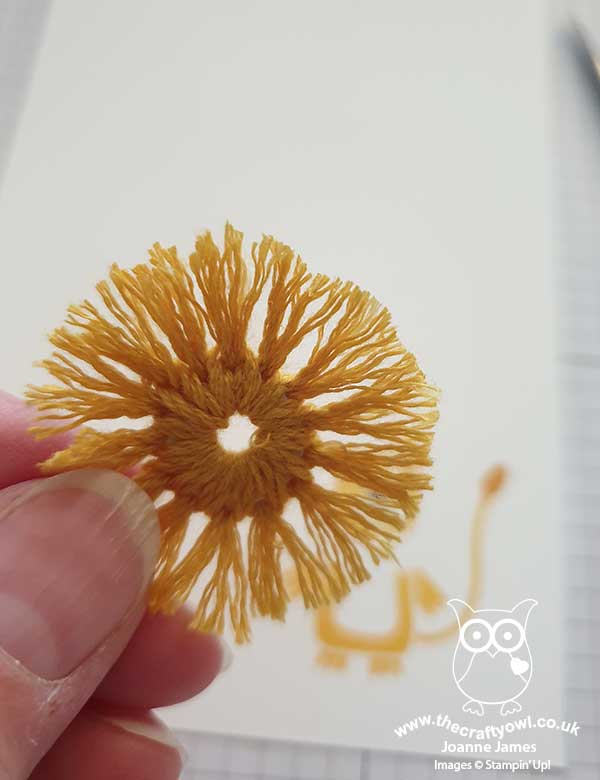
The Mane Event - So how did I create my mane? I knew I had some tassels in my stash, but the closest I had to yellow was gold and it looked a little too 'bling', so I grabbed some retired Crushed Curry baker's twine and created my own by punching a small 1/2" circle of cardstock with a smaller hole in the centre to create a ring, then looped a bunch of 2" pieces of twine around it then trimmed it to fit. Here's a close-up photo so you can see what it looked like before I added it to my card:
I think glued this to my card and glued my lion's face, complete with party hat, to the middle.
Clean And Simple? - Having completed my card, I did have some doubts as to whether my card would pass the 'CAS' test; it does have a single focal point, lots of white space and minimal layers but whilst it only has one embellishment, it is rather a fancy one! I hope I haven't offended anyone in the AAA Cards, Addicted to CAS or CASology camps as I try and hone my CAS skills, but do leave me a comment if you think I've still more to learn on this front - I'm sure my sweet PP teamie and queen of CAS, the lovely Jaydee who is hosting at Addicted to CAS this week will put me right!
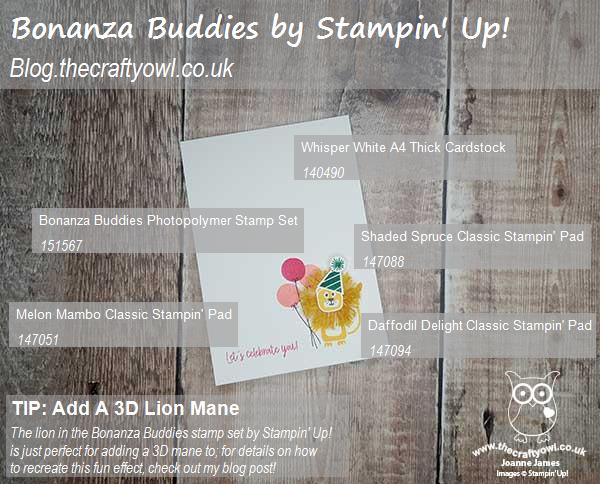
Here is the visual summary of the key products used on today's project for you to pin for easy reference:
You can see all of my 'How To' summaries on my 'How To - Tips and Techniques' Pinterest board in case you've missed any.
As I trimmed my lion's mane, it reminded me of cutting both Mr James and the James Juniors' hair last week. We are all missing our regular trims during lockdown, and the boys in particular decided we should take matters into our own hands. Having purchased some clippers, I set to work and surprised myself at what a good job I did. So much so I bought a pair of hairdressing scissors and cut Rebecca's hair too! It appears I have found a new skill - it's just a shame I can't practise it on myself and I certainly don't trust anyone else if the James household to cut my hair, so the ladies that see me on my online classes at the moment will have to witness my increasingly unruly mop for a while longer yet!! So have you discovered any new skills you didn't know you had whilst you've been in lockdown? Do share - I would love to hear about them!
I have lots to share with you today so will be back later with a couple more posts, so be sure to stay tuned or depending on when you are reading this scroll forwards to catch up on everything that 's happening! Enjoy your day and I'll be back later. Until then, happy stampin'!
Stampin' Up! Supplies Used: