by Joanne James30. November 2015 11:56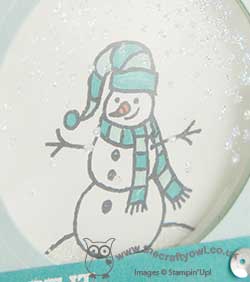
Happy Monday everyone! Happier for some than others - I'm working from home with one James Junior off school today fighting the seasonal lurgy - but for everyone reading this, your day is about to get better! I have a double post for you today (to make up for Saturday's lack of post!) with cards for a couple of challenges. The first is my card for this week's challenge over at Freshly Made Sketches where they have a great sketch - I combined with the theme inspiration of 'Blue Christmas' over at Fusion:

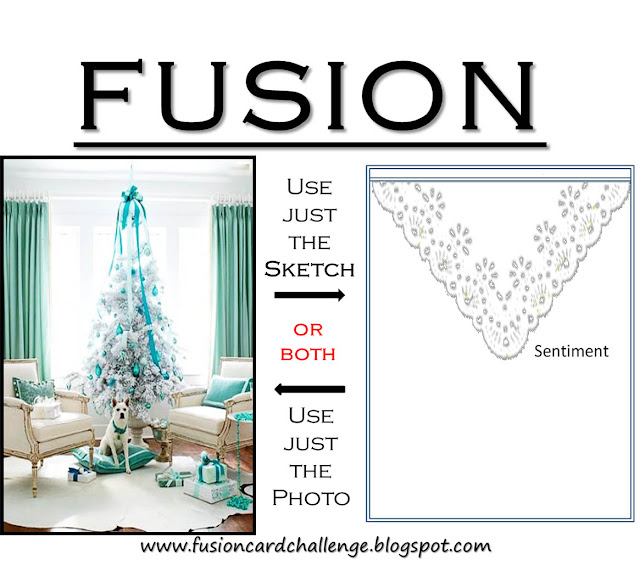
I love the simplicity of Jen T's sketch this week, although by the time I finished my card I wondered if I'd got just a little bit carried away - take a look:
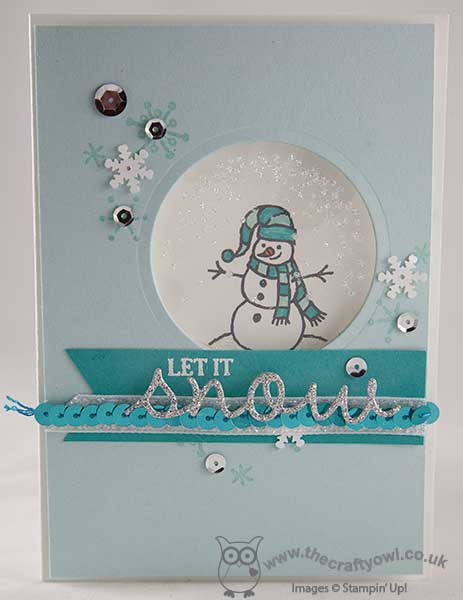
I made a cute 'faux shaker' card using the snowman image from the 'Sparkly Season' stamp set, stamping him in Memento Black and colouring him in with my Pool Party and Bermuda Bay markers, with Pumpkin Pie for his nose, then used my two-way glue pen to adhere some Dazzling Diamonds to the snow mound that the snowman is sat on. I then stamped the snowfall stamp in Versamark to my window sheet and applied Heat & Stick and Iridescent Ice to give it a lovely sparkle, before adhering behind the hole that I'd cut in my Pool Party top layer. On this layer I stamped a few clusters of snowflakes in Pool Party using the snowflake stamp in the Snow Place stamp set and highlighted these with some silver sequins along with a few retired snowflake sequins from last year's stash. To finish, I added a layered banner that contains a little of everything: white glitter ribbon, Bermuda Bay sequins and a dash of silver glimmer paper to boot! I just love the sparkle and shine of this card and the shades of blue - so very pretty!
Back shortly with another quick and easy card for today; I must be on a roll! Until then, happy stampin'!
Stampin' Up! Supplies Used:

7198e06d-39ee-451a-8225-93ee239c6905|0|.0|96d5b379-7e1d-4dac-a6ba-1e50db561b04
Tags: Big Shot, Christmas, Shop online, Shop Stampin' Up online, Stampin' Up, Stampin' Up Supplies, Stampin' Up Card ideas, Stampin' Up Card, Sparkly Season, Snow Place, Seasonal Frame Thinlits Dies, Shaker cards
Cards | Shop Online | Stamping
by Joanne James27. November 2015 21:48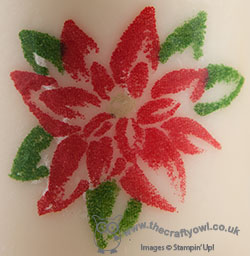
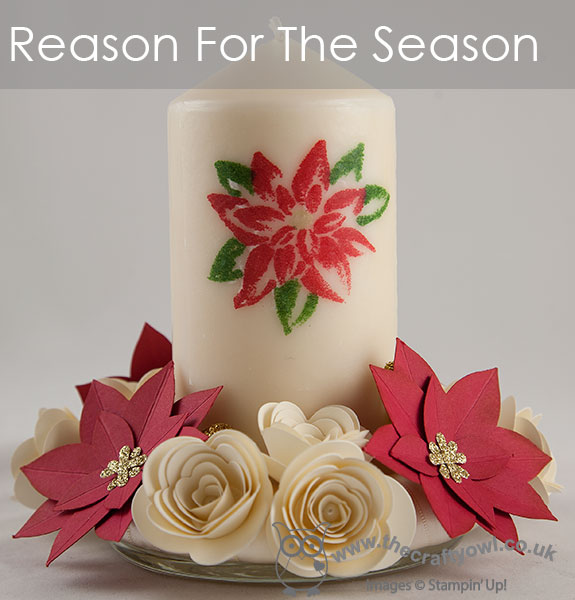
Yay - it's Friday - always a good day! I've had a busy one with a few errands, appointments and a pleasant afternoon watching Ben play rugby. Not much time for crafting today (I did help a friend make good progress on some Christmas bunting, but we still have a few finishing touches to make so I'll share that another time!) so I'm sharing a home decor project I made in a class with a lovely group of ladies last week. We decided to decorate a pillar candle and make a table centre, using the Festive Flower Punch and the Spiral Flower Originals Die to make a wreath of flowers around the base.
Here's my finished project, in Real Red with Very Vanilla roses:

I stamped the flower from 'Reason to the Season' on filter paper and melted it into the candle to set it, then covered a small polystyrene wreath with Very Vanilla satin ribbon before adhering my flower to it. A few gold glimmer and pearl flower centres and some loops of gold glitter ribbon interspersed in between completes the project.
The ladies in my class made their arrangements in a variety of colours; you can see their creations on my Facebook page here (feel free to give me a 'like' whilst your there!) for more colour inspiration. This was such a fun project to make and another way to show the versatility of the 'Reason for The Season' stamp set and co-ordinating Festive Flower Punch - this is one bundle that just keeps on giving, so many creative possibilities! The new Spring-Summer catalogue also offers another stamp set that co-ordinates with this useful punch - watch this space!
I'm linking up with the lovely ladies over at SUO Challenges too who are working with your favourite holiday colours - my traditional colour scheme remains a favourite, even though it's sometimes nice to step out of the creative comfort zone (see next Sunday's post for an example of that!) That's all from me today; back tomorrow with another project. Until then, happy stampin'!
Stampin' Up! Supplies Used:
1538a919-9b29-4077-8406-ebb92874c7f2|1|5.0|96d5b379-7e1d-4dac-a6ba-1e50db561b04
Tags: 3D Projects, Big Shot, Reason For the Season, Festive Flower Builder Punch, Shop Stampin' Up online, Shop online, Stampin' Up Supplies, Stampin' Up Card ideas, Stampin' Up Card, Stampin' Up, Spiral Flower Originals Die
3D Projects | Shop Online | Stamping
by Joanne James26. November 2015 08:05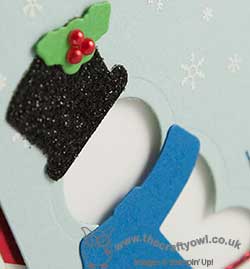
Today it's time for a new challenge over at Create With Connie and Mary and this week we have a great sketch for you:
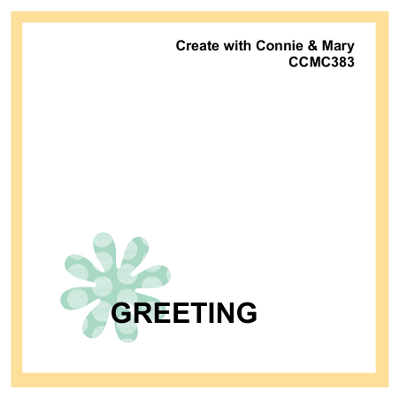
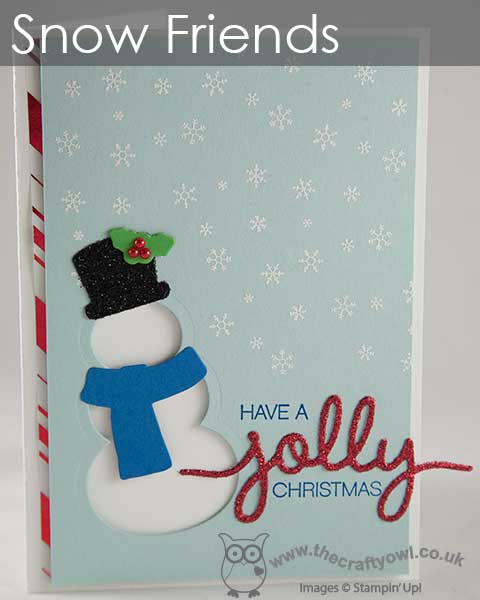
I had lots of ideas about ways to use this sketch; I eventually settled on this fun card featuring a snowman with a difference:
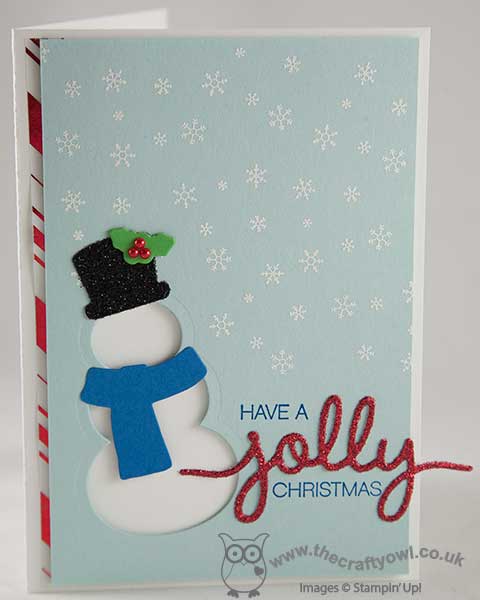
Instead of stamping a snowman on my card, I decided to create a graphic snowman using my Big Shot and the Snow Friends framelits. I used a card base of extra-thick white cardstock and tucked a strip of red striped Holidays Fancy Foil Vellum don the left hand side. I then added a panel of Soft Sky, onto which I stamped the snowflakes from the Wonderland stamp set in Versamark and heat embossed them in white, before cutting out the snowman shape and scarf and hat, which adhered across the negative space for dimension. I then stamped part of the sentiment from Holly Jolly Greetings directly onto the cardbase in Pacific Point, adding a red glimmer 'jolly' cut from the co-ordinating Christmas Greetings Framelits dies to finish. I also used black glimmer paper for the snowman's hat - both add great sparkle to this card. To finish, I added a few pearls coloured with a red Sharpie as the holly berries for the leaves on the hat.
I love the subtle textures and layering on this card - and it's fun to look at framelits and dies to see how else they can be used beyond the straightforward cutting out of shapes.
Do visit the other Design Team members to see how they interpreted this week's sketch; there's lots of inspiration over on their blogs too!
Enjoy your day and I'll be back tomorrow with another project; until then, happy stampin'!
Stampin' Up! Supplies Used:
- Snow Friends Framelits Dies
- Holly Jolly Greetings Clear-Mount Bundle
- Wonderland Wood-Mount Stamp Set
- Embossing Buddy
- Versamark Pad
- Heat Tool (Uk)
- White Stampin' Emboss Powder
- Big Shot
- Whisper White A4 Thick Cardstock
- Holidays Fancy Foil Designer Vellum
- Soft Sky A4 Cardstock
- Pacific Point Classic Stampin' Pad
- Pacific Point A4 Cardstock
- Cucumber Crush A4 Cardstock
- Pearl Basic Jewels
- Red Glimmer Paper
- Black Glimmer Paper
f1729a10-d793-4de2-b586-a56e2bfae032|1|5.0|96d5b379-7e1d-4dac-a6ba-1e50db561b04
Tags: Create With Connie And Mary, Stampin' Up, Stampin' Up Card, Stampin' Up Card ideas, Stampin' Up Supplies, Big Shot, Snow Friends Framelits, Wonderland, Holly Jolly Greetings, Christmas, Christmas Greetings thinlits
Cards | Shop Online | Stamping
by Joanne James24. November 2015 08:00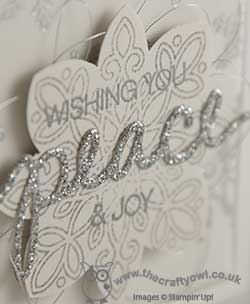
Today I'm sharing a card that I made for a couple of challenges this week, initially inspired by the intriguing sketch over at Pals Paper Arts but also with the theme over at TGIF Challenges in mind:


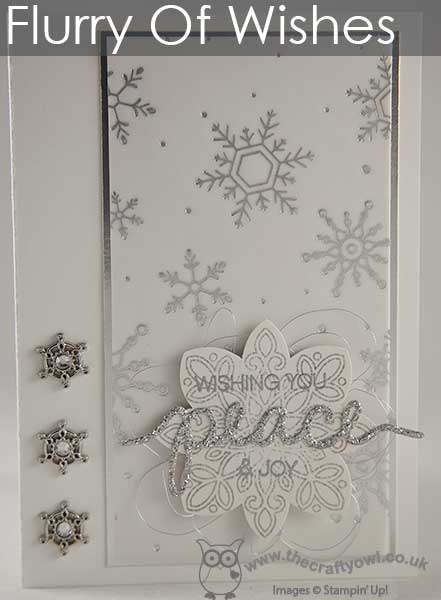
I'm also linking up with the talented team over at The Challenge - my card is definitely more contemporary than traditional, but it has snowflakes as per the inspiration photo; I might have to do another one for this challenge too with a little more red and green! Anyway - my card today is another of those so-difficult-to-photograph-yet-so-beautiful white and silver Christmas cards that I'm so fond of! here it is:
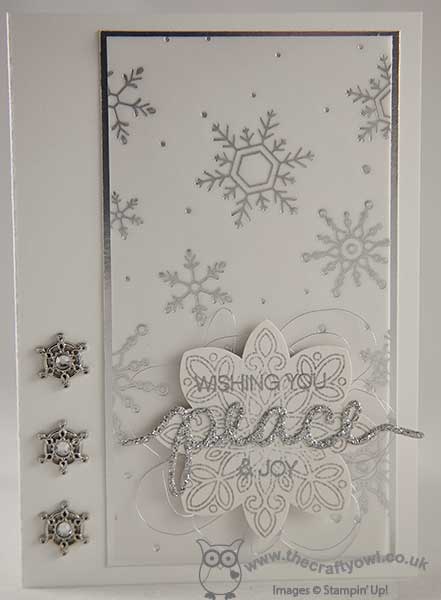
I used a base of extra-thick Whisper White and decided that the three circles in the sketch should be represented by a trio of Winter Wonderland Embellishments and the rest of my design came from there. I created a layered panel of silver foil, Whisper White and then the lovely snowflake patterned Holiday Fancy Foil Vellum. I stamped the medium sized Flurry of Wishes Snowflake in Smoky Slate onto Shimmery White cardstock, then stamped two of the three elements of my sentiment in Versamark and heat embossed in silver, then punched out the shape with my Flower Medallion punch. I added a silver glimmer die cut 'peace' and adhered the whole piece to my card using dimensionals, having added some thin silver metallic thread behind.
This is one of those cards that is so very pretty in real life - it has so much shimmer and sparkle, it's gorgeous! You can see the detail of the snowflake better in this close-up shot:
So many pretty snowflake elements too - embellishments, vellum and stamps!
That's all from me today; I'm looking forward to spending the day having some quality crafting time and a good catch up with a couple of friends.
Back tomorrow with another project; until then, happy stampin'!
Stampin' Up! Supplies Used:
by Joanne James22. November 2015 10:00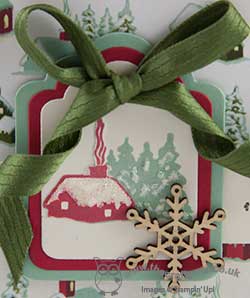
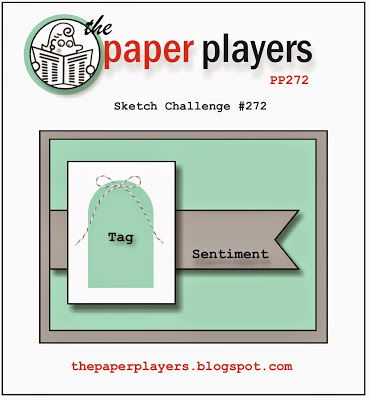
It's Sunday and time for a new challenge over at The Paper Players! This week it is the turn of the lovely Laurie to host and she has a great sketch to get our creative juices flowing this week:
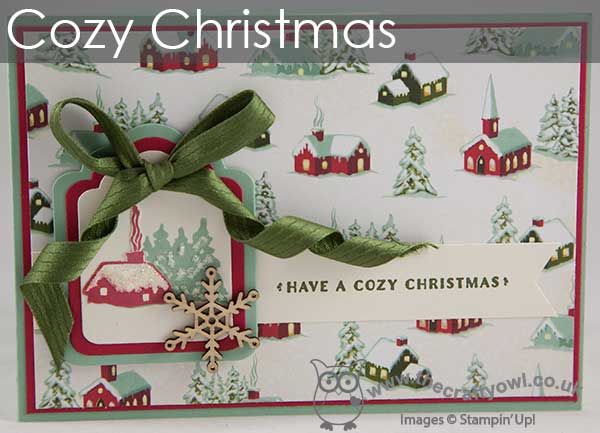
I decided to showcase some of the lovely Home For Christmas designer series paper on my card today along with one of the Cozy Christmas stamps on today's card:
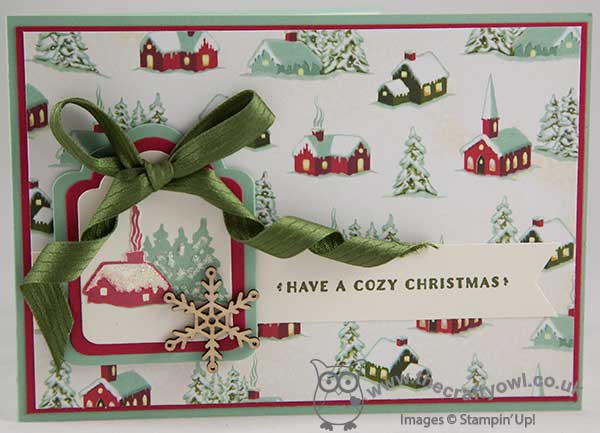
I love this winter village scene paper so I paired it with a sentiment and the little house from the 'Cozy Christmas' stamp set. I stamped the scene in Mint Macaron and then cropped out the tree on the left and paper-pieced the house, which I stamped in Real Red. I added dimension with some puffy snow on the roof and trees and a wooden snowflake embellishment. I created my layered tag using the Tags and Labels framelits and to finish added a twirly bow using some retired in-colour ribbon in Mossy Meadow. Having had a busy week of classes and most of my day yesterday taken up with school projects I struggled to get into the groove with this card, but time was against me so in the end I had to stop fiddling with it and finish up!
Before you reach for your ink and papers, check out what our amazing team has created to inspire you this week:
The Paper Players Design Team
Here's a quick recap of our challenge rules:
1. Create a new paper project
2. Upload your creation to your blog with a link back to us and provide a direct link to the post featuring your challenge submission.
3. Please link your card to no more than three challenges, TOTAL.
4. Have FUN!
I look forward to seeing what you make with Laurie's sketch this week. I'm off for a morning of sport and then both James Juniors are taking part in a basketball tournament this afternoon. Another busy Sunday!
Back tomorrow with another project; until then, happy stampin'!
Stampin' Up! Supplies Used:
27f7666a-d167-4369-bd64-cc4e5be8a87e|1|5.0|96d5b379-7e1d-4dac-a6ba-1e50db561b04
Tags: Stampin' Up, Stampin' Up Card, Stampin' Up Card ideas, Stampin' Up Supplies, The Paper Players, Shop online, Shop Stampin' Up online, Cozy Christmas, Home For Christmas, Christmas, Big Shot, Tags and Labels Framelits
Cards | Shop Online | Stamping
by Joanne James20. November 2015 21:10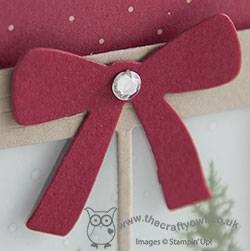
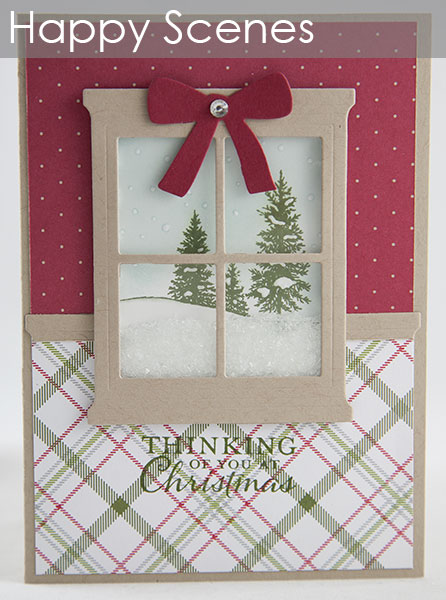
Today I'm sharing another of the cards from this month's technique class - a Christmas shaker card using the 'Happy Scenes' stamp set and some of the paper from the Merry Moments DSP Stack for wallpaper:
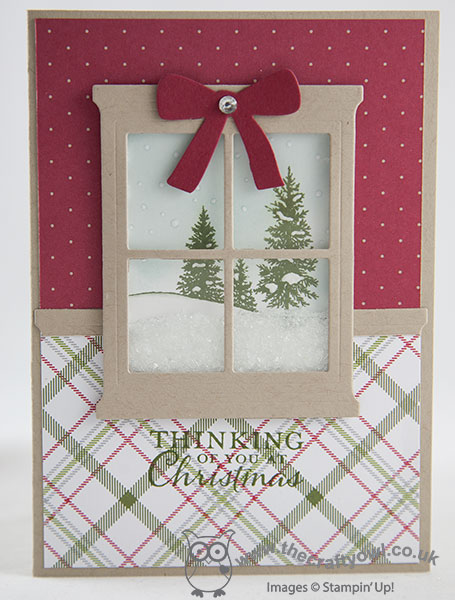
I stamped the scene in Mossy Meadow, sponged in some sky and stamped some snow flakes in Soft Sky, then using my white gel pen I coloured in the snowflakes and the settled snow on the trees - it's amazing what a difference this makes to the finished scene, it adds a subtle yet definite dimension. The shaker is filled with some clear glass glitter and the window itself finished with a Cherry Cobbler bow, made with the Wonderful Wreath framelits. There's one other cute feature of this card - did you see the dado rail? I created it from the edge of a second window, trimming along the crease line and snipping in half. I think it's a nice way to cover the join of the designer series papers, which are incidentally cut from a single sheet and reversed to show both sides.
That's all from me today; back tomorrow with another project. until then, happy stampin'!
Stampin' Up! Supplies Used:
a016a73f-d5c5-4a8c-852d-b5b88c558d8d|0|.0|96d5b379-7e1d-4dac-a6ba-1e50db561b04
Tags: Big Shot, Hearth and Home, Happy Scenes, Christmas, Merry Moments, Shaker cards, Shop online, Stampin' Up, Stampin' Up Card, Stampin' Up Card ideas, Stampin' Up Supplies, Shop Stampin' Up online, Wonderful Wreath Framelits
Cards | Shop Online | Stamping
by Joanne James19. November 2015 08:05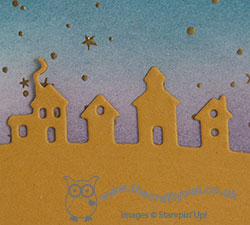
Today it's time for a new challenge over at Create With Connie and Mary and this week we have a great colour challenge for you:
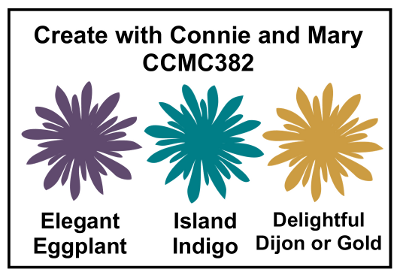
I decided that this week's colours were perfect for a night sky, so decided to indulge in a spot of masking and sponging to create my Bethlehem-inspired scene. here's my card:
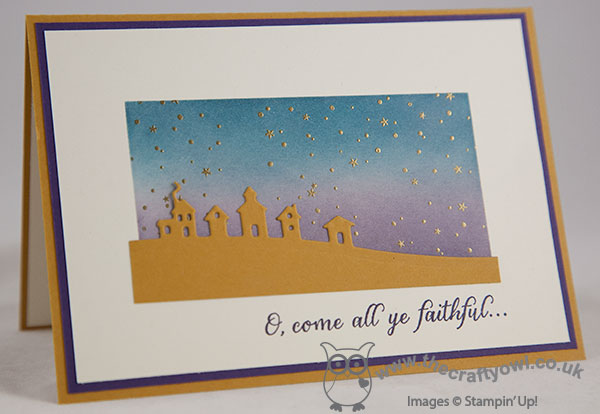
I used a base of Delightful Dijon and a matt of Elegant Eggplant, then on a piece of Whisper White I masked off a rectangle and sponged in my sky, starting at the top with Island Indigo and the bottom with Elegant Eggplant. I stamped the stars from the 'Holly Jolly Greetings' stamp set in the sky in Versamark and heat embossed them in gold, then overlaid my landscape cut from Delightful Dijon using the Sleigh Ride Edgelits. To finish, I added my sentiment from the 'All ye Faithful' stamp set in Elegant Eggplant across the bottom.
A simple design, but I can't begin to tell you how much I love this card! I thought I would find these colours intimidating, but it turns out the opposite is true.
Do visit the other Design Team members to see how they used this week's challenge colours; there's lots of inspiration over on their blogs too!
Enjoy your day and I'll be back tomorrow with another project; until then, happy stampin'!
Stampin' Up! Supplies Used:
- Sleigh Ride Edgelits Dies
- Big Shot
- Holly Jolly Greetings Wood-Mount Stamp Set
- All Ye Faithful Wood-Mount Stamp Set
- Embossing Buddy
- Versamark Pad
- Gold Stampin' Emboss Powder
- Heat Tool (Uk)
- Delightful Dijon A4 Cardstock
- Elegant Eggplant Classic Stampin' Pad
- Elegant Eggplant A4 Cardstock
- Island Indigo Classic Stampin' Pad
- Island Indigo A4 Cardstock
- Whisper White A4 Cardstock
by Joanne James12. November 2015 08:05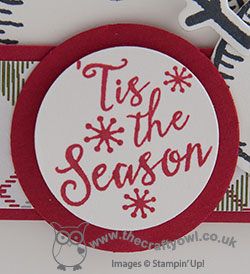
Today it's time for a new challenge over at Create With Connie and Mary and this week we have a great sketch for you:
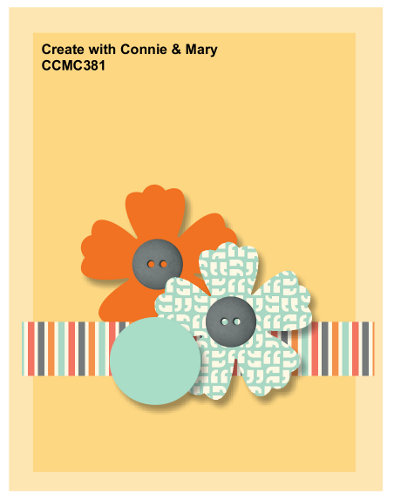
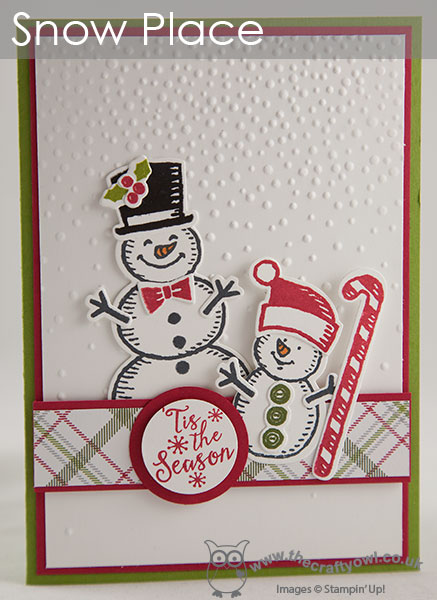
I decided that each of the flowers in teh sketch would become snowmen on my card today and dug out my 'Snow Place' stamp set and Merry Moments DSP stack and set to work:
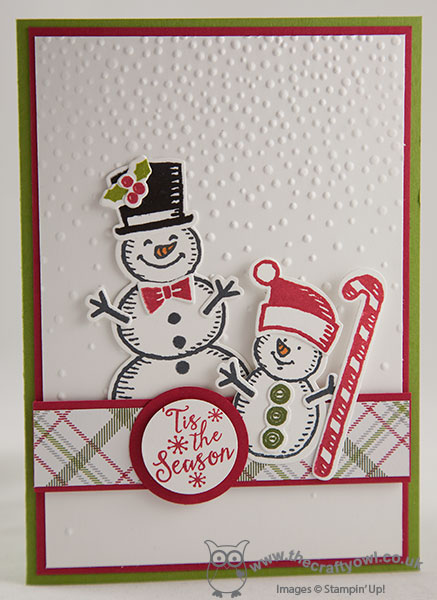
I used the colours of the Merry Moments DSP for the various elements of my card and created a snowy background by embossing my Whisper White layer with the 'Softly Falling' embossing folder. I die cut my little snowmen and their accessories with co-ordinating Snow Friends framelits dies - this makes life so easy, no fussy cutting required! My sentiment is from the 'Peaceful Pines' set - it fitted perfectly in my layered circle.
Do visit the other Design Team members to see how they interpreted this week's sketch; there's lots of inspiration over on their blogs too!
Enjoy your day and I'll be back tomorrow with another project; until then, happy stampin'!
Stampin' Up! Supplies Used:
- Snow Place Photopolymer Bundle
- Merry Moments Designer Series Paper Stack
- Basic Black Archival Stampin’ Pad
- Whisper White A4 Cardstock
- Softly Falling Textured Impressions Embossing Folder
- Peaceful Pines Photopolymer Stamp Set
- Old Olive Classic Stampin' Pad
- Old Olive A4 Cardstock
- Real Red Classic Stampin' Pad
- Real Red A4 Cardstock
- Brights Stampin' Write Markers
by Joanne James10. November 2015 07:00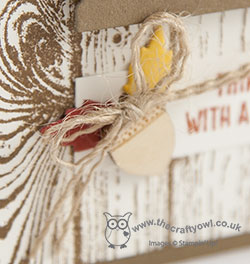
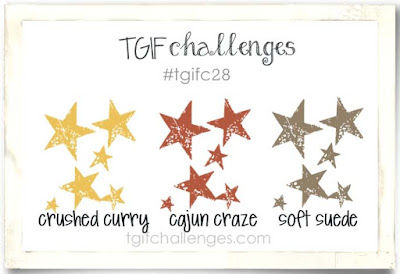
Today I have a card for this week's colour challenge over at TGIF Challenge - here is their colour palette this week:
Before I get to my card though, I would like to give the team over there a big shout out to say thank you for choosing my card as the winner of last week's remix challenge - you can see that card here if you missed it - I love designing for and participating in challenges and it's always nice to be recognised, so thank you!
I used this week's colours to create one of the shaker cards that I will be making in my November technique class, so for any of the ladies booked to attend, today you are getting a sneak peek! Here is my card:
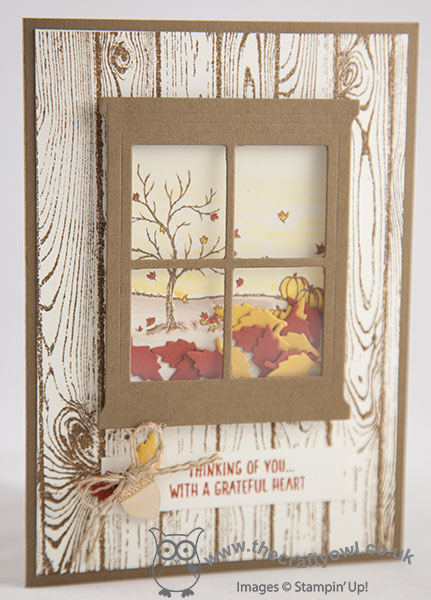
I used Soft Suede for my card base and the window frame that I cut with my Hearth and Home framelits. I stamped my Hardwood and the little autumn scene and sentiment banner from the 'Happy Scenes' stamp set in Soft Suede on Very Vanilla and coloured in the leaves and pumpkins with Cajun Craze and Crushed Curry, given the sky a wash with my aquapainter and a little Crushed Curry ink and some Crumb Cake for the ground (as a permissible neutral). For my shaker element I cut some leaves in the challenge colours using the little die in the Square Pillow Box Framelits set - what a useful little item! I used a couple of these leaves with one of the acorn Wooden Elements and some shredded burlap for an added embellishment to ground my sentiment banner too.
A pretty autumn scene perfectly suited to this week's colours. If you live in or around Northampton and would like to make this and the other shaker cards that I'll be featuring in my November Technique Classes on 16th and 17th November, then do get in touch; I still have a couple of places left if you would like to join us.
That's all from me today; back tomorrow with another project. Until then, happy stampin'!
Stampin' Up! Supplies Used:
5ac121e2-bc6e-449a-931d-2c5a7ecef8b9|0|.0|96d5b379-7e1d-4dac-a6ba-1e50db561b04
Tags: Big Shot, Hearth and Home, Happy Scenes, Hardwood, Shaker cards, Shop online, Shop Stampin' Up online, Stampin' Up, Stampin' Up Card, Stampin' Up Card ideas, Stampin' Up Supplies, Square Pillow Box Thinlits Dies
Cards | Shop Online | Stamping
by Joanne James9. November 2015 13:00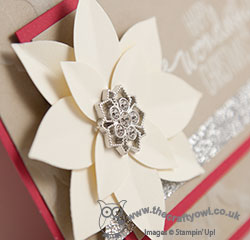
Happy Monday everyone! I was fortunate enough to win over at The Challenge a couple of weeks ago - you can see my winning paper-pieced pumpkin card here if you missed it - so they have kindly asked me to be their guest designer this week:

They have a great colour challenge this week with a wonderful inspiration photo too - take a look:
.jpg)
I used the photo to inspire my card today in both colour and design; my regular blog followers will know what a fan I am of Stampin' Up!'s 'Reason For The Season' stamp set and the co-ordinating Festive Flower Builder punch, which I used for the flower on my card today:

I used Real Red for my card base and mat layer, with a Crumb Cake layer embossed with the Modern Mosaic embossing folder. I sponged this with a little White Kraft ink, then on the top Crumb Cake layer I stamped my sentiment from the Wondrous Wreath set and heat embossed this in white. For my poinsettia flower, I used Very Vanilla cardstock and finished the centre with a retired snowflake embellishment. I also tucked a strip of silver glimmer paper beneath it for some added sparkle.
I hope you like today's card - I think the white poinsettia makes a change from a red one and I love the embossed background; I really should use my embossing folders more often!
Do check out the other designers over at The Challenge - they are a talented bunch and have lots more inspiration for this week's colour palette. I have a busy work day ahead; I'm desperately trying to get things up straight before I leave for Onstage in Brussels on Wednesday - let's hope it's productive. Back tomorrow with another project; until then, happy stampin'!
Stampin' Up! Supplies Used:
224a4ccc-7754-46aa-9774-7b0244fb30a5|0|.0|96d5b379-7e1d-4dac-a6ba-1e50db561b04
Tags: Festive Flower Builder Punch, Wondrous Wreath, Stampin' Up, Stampin' Up Card, Stampin' Up Card ideas, Stampin' Up Supplies, Shop online, Shop Stampin' Up online, Modern Mosaic, Big Shot, Christmas
Cards | Shop Online | Stamping