by Joanne James10. August 2015 08:00Happy Monday everyone! I am starting my week with a fun birth congratulations card for the challenges over at Freshly Made Sketches and Pals Paper Arts this week:


I love the sketch but was initially perplexed when I saw the PPA colours this week as I wasn't sure I could make the Mint Macaron and Pool Party work together; I loved the colour combo though so thought I'd give it a bit more consideration and this is what I came up with:
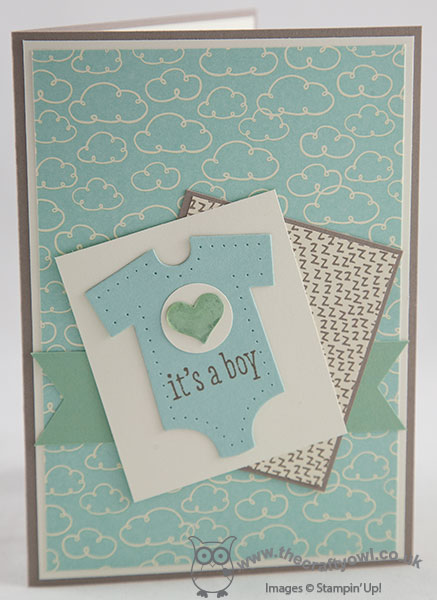
With both Pool Party and Tip Top Taupe featuring in the Sweet L'il Things Designer Series paper pack, I decided to go with a new baby card - a boy of course! I just love the cloud pattern on the DSP sheet (it comes in the alternate colourway of Pool Party cloud outlines on Very Vanilla too) and whilst this is by no means only of use for a baby card, it provided the perfect backdrop for my little panel of 'zzzzz's' and my Very Vanilla panel with cute Pool Party babygro cut using my Baby's First Framelits. I paper-pierced the babygro to add interest and added a 3/4" Very Vanilla circle with a Mint Macaron punched heart, that I covered with one of the heart-shaped Itty Bitty Accents Epoxy Stickers - this looks so lovely in real life! The heart and banner were just enough Mint Macaron I think with the other two colours and I'm so pleased with my final card. It also made me realise just how much I love Tip Top Taupe - this isn't a colour I've used much at all to date, yet its soft tones work so well with pastels and paler colours, I must try and use it more often.
That's all from me; I am expecting a visit from my parents today, which is making Ben very excited since with his birthday tomorrow he is virtually assured of presents! - and I'm also expecting the arrival of my pre-order of SU! goodies from the new seasonal catalogue. I am beyond excited!!!
Back tomorrow with another project; until then, happy stampin'!
Stampin' Up! Supplies Used:
c7626a34-8631-443f-888b-46798e3e44f2|0|.0|96d5b379-7e1d-4dac-a6ba-1e50db561b04
Tags: Baby cards, A Dozen Thoughts, Big Shot, Baby's First, Sweet L'il Things, Triple Banner Punch, Stampin' Up, Stampin' Up Card, Stampin' Up Supplies, Shop online, Shop Stampin' Up online, Eclectic Paper Piercing Template
Cards | Shop Online | Stamping
by Joanne James26. January 2015 09:00Today its Monday and I have a card for this week's Freshly Made Sketches challenge; I am also linking up with the Friday Mashup, where the challenge is to create a baby card, a card in brown aqua and tangerine - or as in my case, a mashup of both:
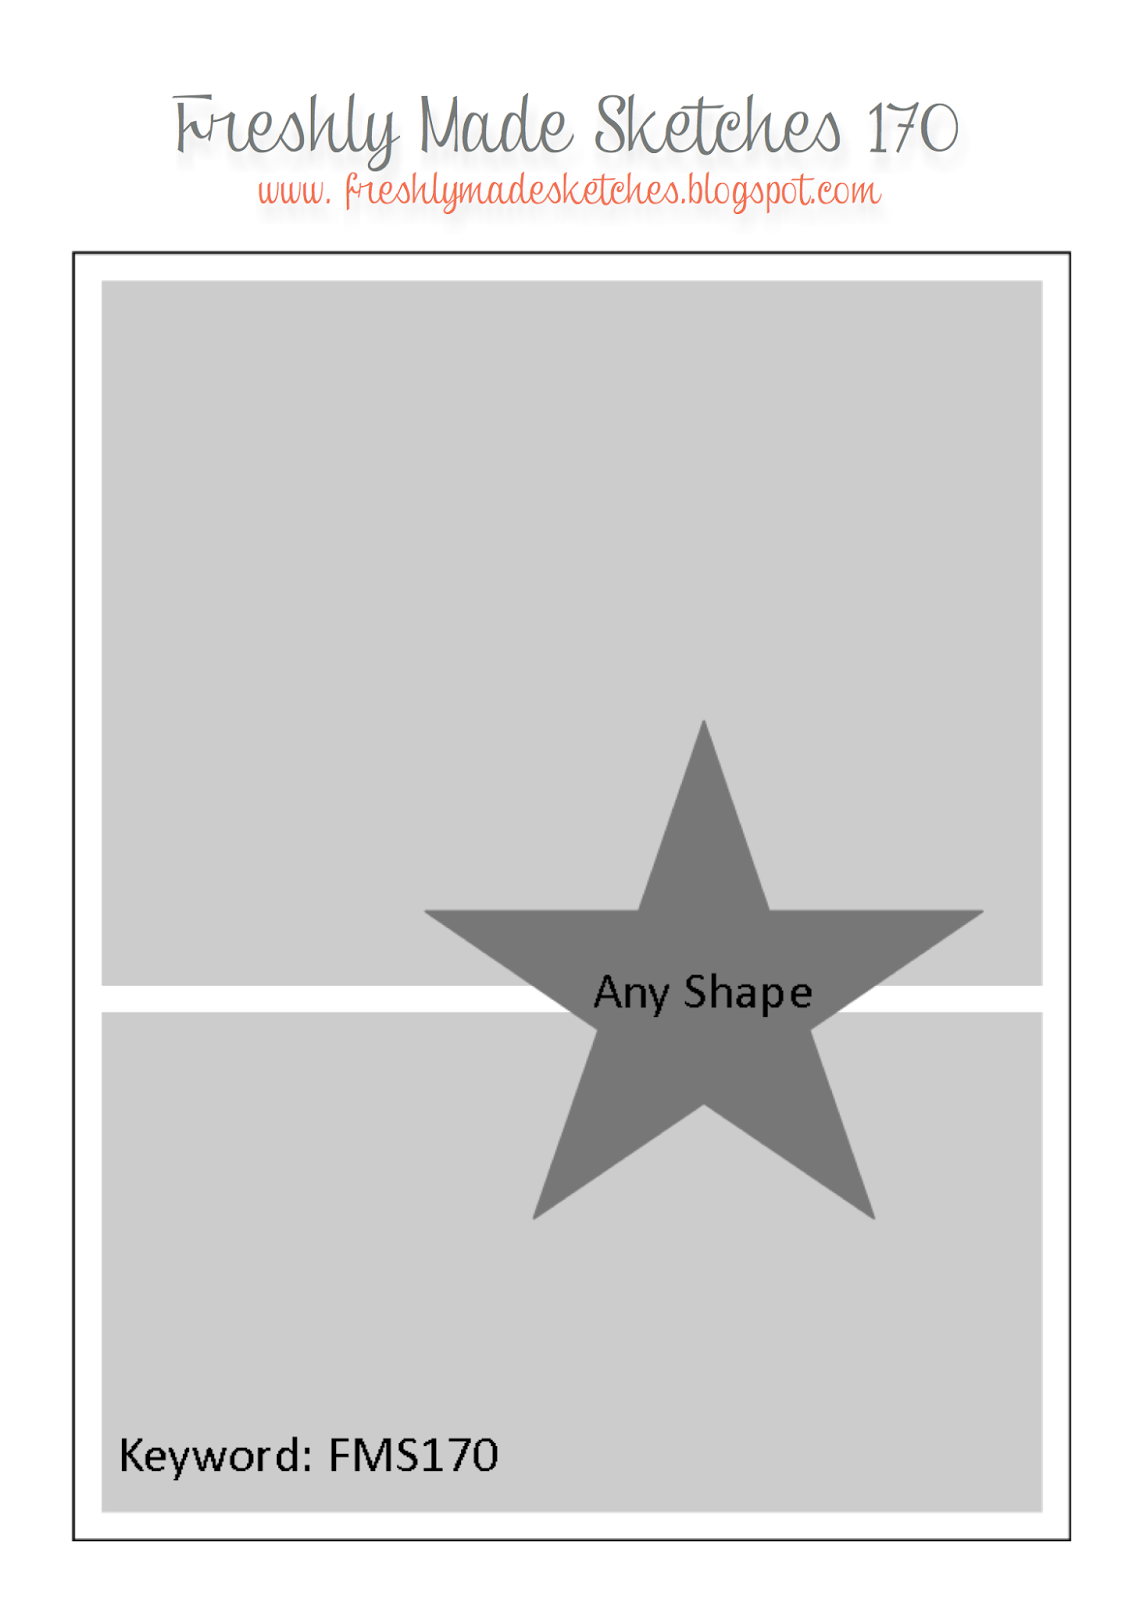

I decided that the 'any shape' allowed in the sketch was a great opportunity for me to use probably the only stamp that has never been inked up in my 'Something for Baby' stamp set - the pram. Here is my card:
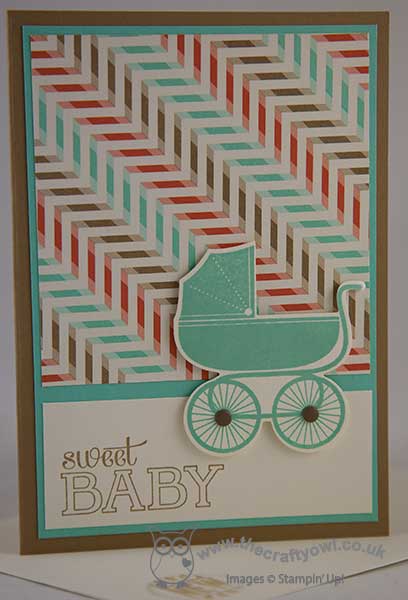
I chose to use some retired 'Retro Fresh' DSP for my card, as it featured the mashup colours. Once I'd decided on my layers, this card came together surprisingly quickly, even leaving time to stamp the inside and decorate the envelope. I've not used this pram stamp previously as it's quite large - this type of sketch layout is just perfect for it though. I finished my pram wheels with a couple of candy dots for added interest and done!
Back tomorrow with another project; until then, happy stampin'!
Stampin' Up! Supplies Used:
fb8b47b5-7740-4871-be75-07cc9ae131b2|0|.0|96d5b379-7e1d-4dac-a6ba-1e50db561b04
Tags: Shop online, Stampin' Up, Stampin' Up Card, Stampin' Up Card ideas, Stampin' Up Supplies, Big Shot, Baby cards, Baby We've Grown, Baby's First, Something For Baby, Retro Fresh
Cards | Stamping
by Joanne James15. October 2014 09:00DON'T FORGET: 9 DAYS LEFT UNTIL THE FREE PACK OF PAPER FOR 6 MONTHS SIGN UP DEAL ENDS - CLICK HERE TO FIND OUT MORE AND JOIN MY STAMPIN' UP! TEAM TODAY!
It's Wednesday and time for this week's challenge over at Colour Me...! where we have a subtle colour palette for you to work with this week:
This colour palette presented me with the perfect opportunity for a card using the 'colour blocking' technique that I've had in my head for a while. Take a look at my card and then I'll explain:
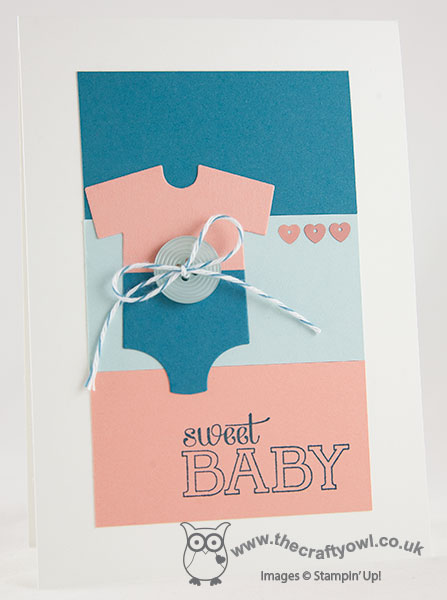
Colour blocking is the technique of using large blocks of colour to create a solid background and works really well as a background for silhouette shapes in black or white or where you have one large image that you can reverse-block on top, as I've done here with the babygro onesie. I created my colour block background out of three equal pieces of cardstock in the challenge colours running horizontally across my card. I stamped my sentiment in the darkest colour, Island Indigo, onto the lightest one, Crisp Cantaloupe, and then picked out each of the colours in the embellishments: a Soft Sky button, some Island indigo baker's twine and a trio of Crisp Cantaloupe hearts.
Deceptively easy but rather effective I think and a technique that could work with lots of different colour combinations. So what do you think? Feel free to leave a comment on today's card, before hopping over to check out the amazing cards by the rest of the Colour Me...! team:
We look forward to seeing your subtle creations.
Back tomorrow with another project; until then, happy stampin'!
Stampin' Up! Supplies Used:
by Joanne James17. September 2014 10:00It's Wednesday and a busy day on my blog today! This is the second of today's posts featuring this week's Colour Me...! Design Team card (please click here for my earlier Colour Throwdown post). This week we have a Subtle colour palette for you to work with:
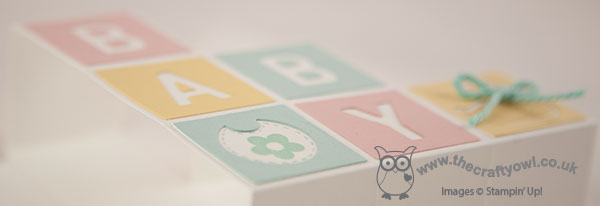
I decided that this week's colour palette would be perfect not only for a baby card, but specifically for a box/stair step card, as whenever I see one of those they remind me of baby blocks all stacked up. So here is my card:
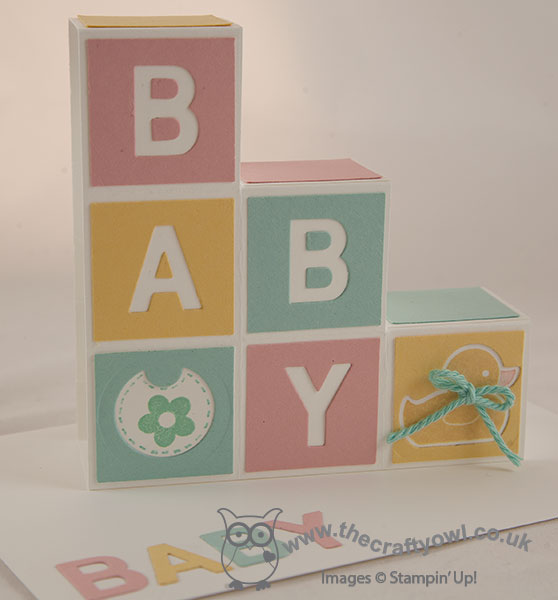
Nicely gender-neutral, with a Whisper White card base and background. I used the Little Letters framelits to cut out the letters for the word 'Baby' and rather than use the actual letters, I used the squares and the negative space to add more colour to my card. The letters didn't go to waste though, as I used them to decorate the envelope. For the remaining two squares, I used the Baby's First Framelits to create the duck and bib shapes, and stamped the co-ordinating stamps on the white layer below. I added some thick Pool Party baker's twine (retired - Sale-A-Bration item from earlier this year) but didn't add anything else as I wanted it to be able to remain post-friendly - despite its dimension, this card folds flat and fits into a standard C6 envelope.
That's my Colour Me...! card for this week - why not visit the other Colour Me...! designers and check out their takes on this week's colour combination:
We look forward to seeing your subtle creations.
Back tomorrow with another project; until then, happy stampin'!
Stampin' Up! Supplies Used:
by Joanne James3. September 2014 09:30Wednesday already? This week is zipping by! Today I'm sharing my card for this week's challenge over at Colour Me...! where we have a monochromatic colour palette to work with:
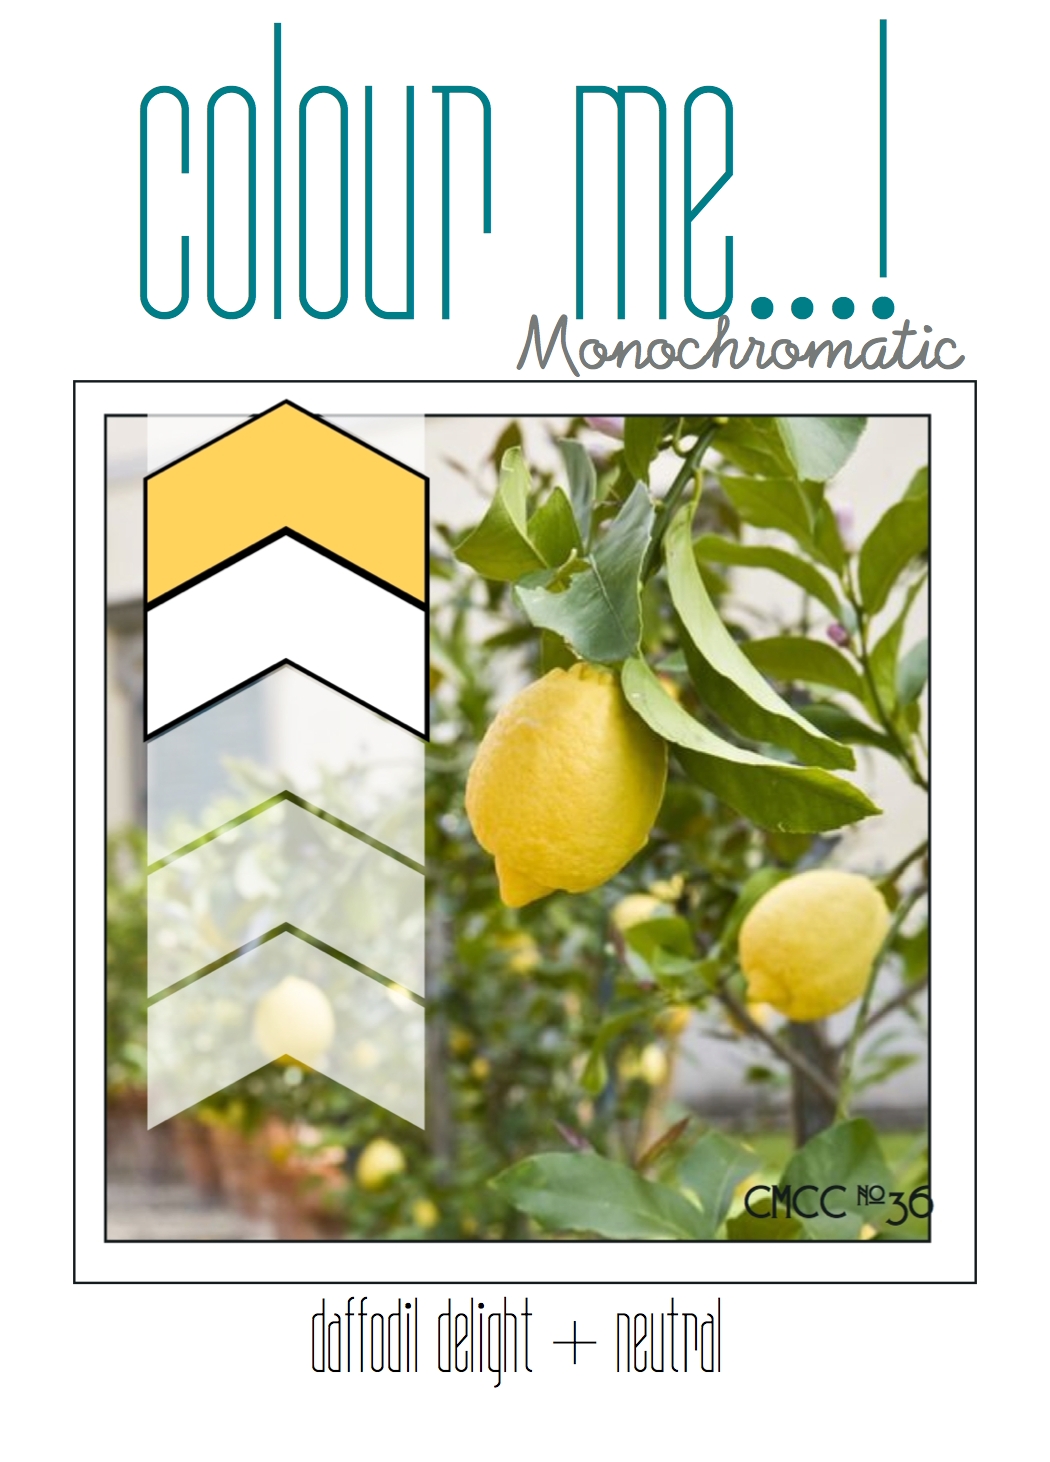
Daffodil Delight yellow - a favourite of mine! - and white. I used this week's sketch over at CAS(E) This Sketch for my layout and this is what I came up with:
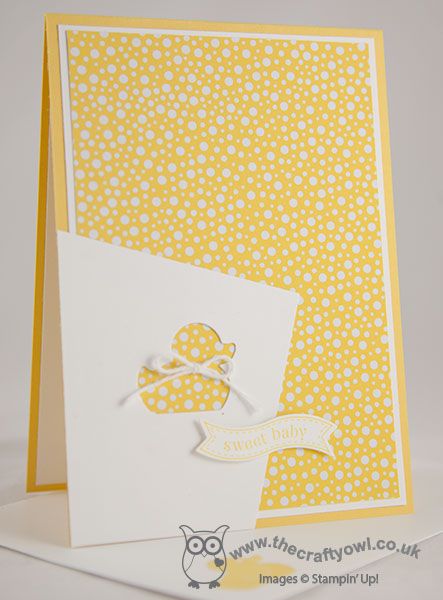
A simple card where the feature is this lovely piece of Daffodil Yellow DSP from the All Abloom DSP paper stack (the little white spots remind me of bubbles!). I overlaid this with my angled panel of Whisper White, having used my Big Shot and Baby's First framelits to cut out the duck shape to allow the DSP to peek through. I finished the duck with a simple white baker's twine bow before adding my Bitty Banner 'Sweet Baby' sentiment on dimensionals for added height.
A great 'welcome baby' card that is the perfect store cupboard standby as it would be suitable for a boy or a girl - I'm also linking up with SUO Challenges as it fits nicely with their 'clean and simple' theme. Why not visit the other Colour Me...! designers and check out their takes on this week's colour combination:
We look forward to seeing your bright monochromatic creations. Back tomorrow with another project; until then, happy stampin'!
Stampin' Up! Supplies Used:
93074b95-88b2-446a-9caa-af020661e148|0|.0|96d5b379-7e1d-4dac-a6ba-1e50db561b04
Tags: Baby cards, Baby's First, Bitty Banners, Big Shot, Itty Bitty Banners, All Abloom, Shop online, Stampin' Up, Stampin' Up Card, Stampin' Up Card ideas, Stampin' Up Supplies, Colour Me...!
Cards | Stamping
by Joanne James7. July 2014 08:00It's Monday and the start of a busy week for me, beginning with sports day for both James juniors today. So a nice early post is in order and today I'm sharing a card inspired by the colours over at Color Throwdown this week:
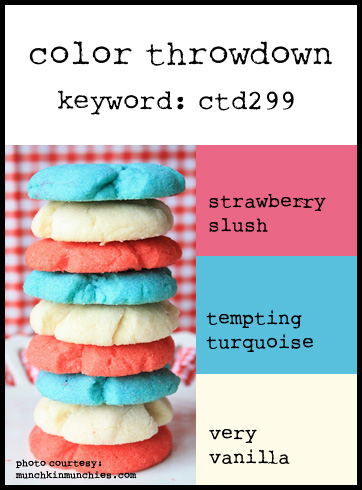
I thought these colour would make a fun baby card, but which way to go - girl or boy? In the end I decided to have some fun and use a little of both - take a look and see what I mean:
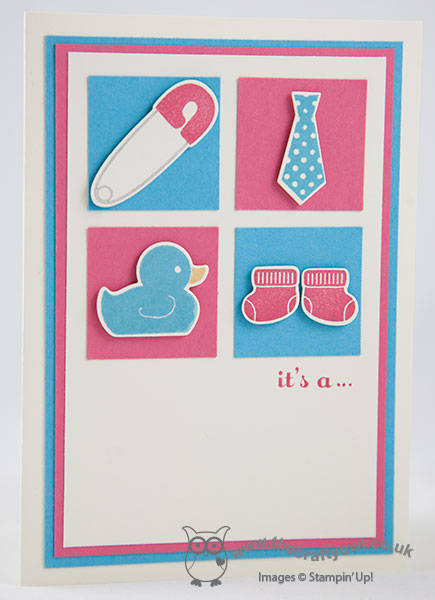
I decided to create a fun 'gender reveal' card that could be handed out to guests at a baby shower or similar, when the baby's gender has been kept a secret but it's time for the big reveal. I used Very Vanilla as my card base and created mats in Tempting Turquoise, Strawberry Slush and Very Vanilla, then punched 4 squares using my retired 1 1/4" square punch (you could cut these by hand), 2 blue and 2 pink, and attached one of the cute images from the 'Something for Baby' set, stamped in alternating pink and blue, and cut out with the co-ordinating framelits and mounted on dimensionals on the coloured squares. I then took one of the baby sentiments from the 'A Dozen Thoughts' stamp sets and partially inked it up so that the start of the sentiment was on the front, with the final 'reveal' on the inside. So what did I choose for my card - well, here's the inside where the truth is out:
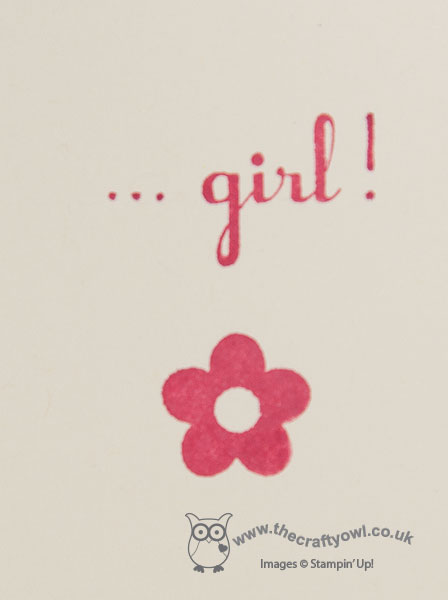
I made mine for a little girl, adding in the leading dots and the exclamation mark with my Strawberry Slush marker pen. You could just as easily create a similar card with alternate wording for a boy - cute, eh?!
We are making a card similar to this one in my monthly card class which is being held this week, which is featuring lots of products from the new Stampin' Up! 2014-15 Annual Catalogue. If you live in Northampton and are interested in attending card, home decor or Project Life classes, do get in touch - new faces are always welcome!
Right, I'm off to avoid being attacked by a javelin or alternative sporting object! Back tomorrow with another project; until then, happy stampin'!
Stampin' Up! Supplies Used: