Today I'm sharing my design team card for our new challenge over at As you See It where it's time for a colour challenge, with this week's colour palette chosen by me:
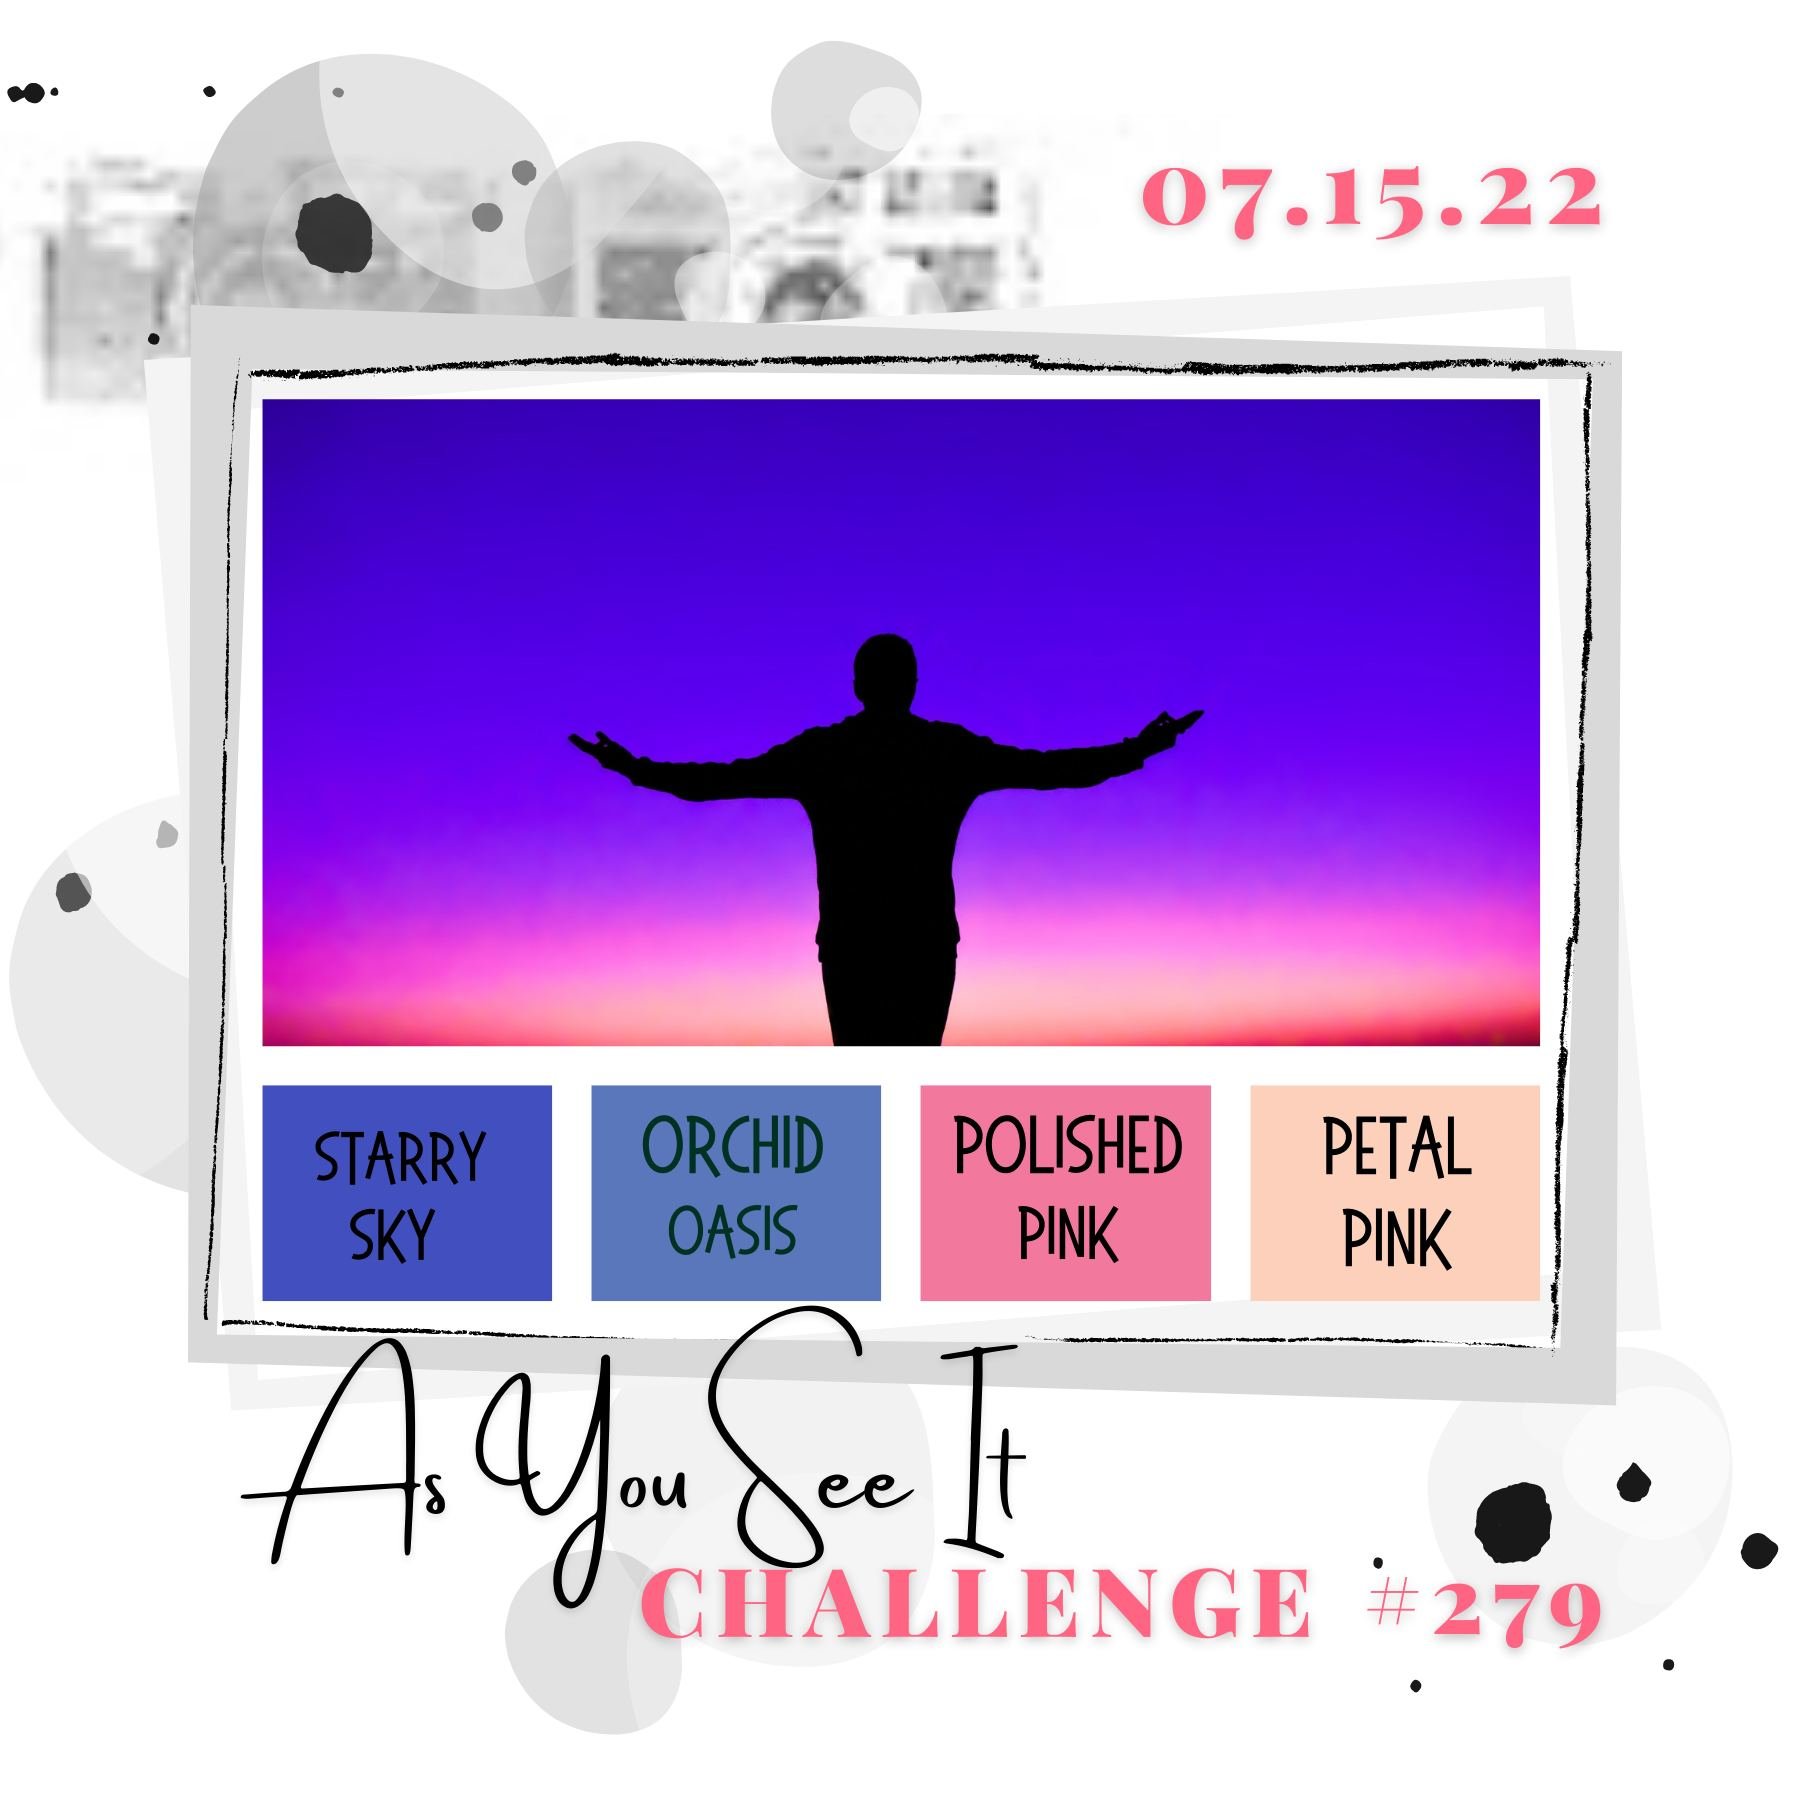
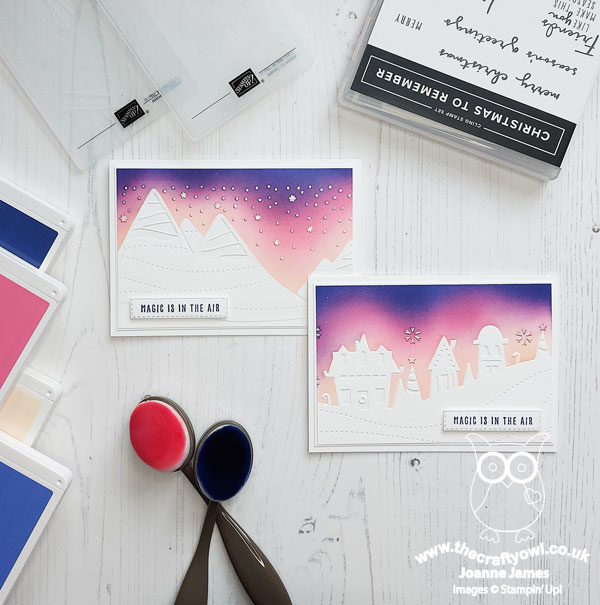
I loved the sky in the inspiration photo, so thought I would try and recreate it on a couple of Christmas cards. I grabbed my ink pads and blending brushes, along with some new embossing folders and this is what I came up with - take a look:
Here's the low-down on today's card:
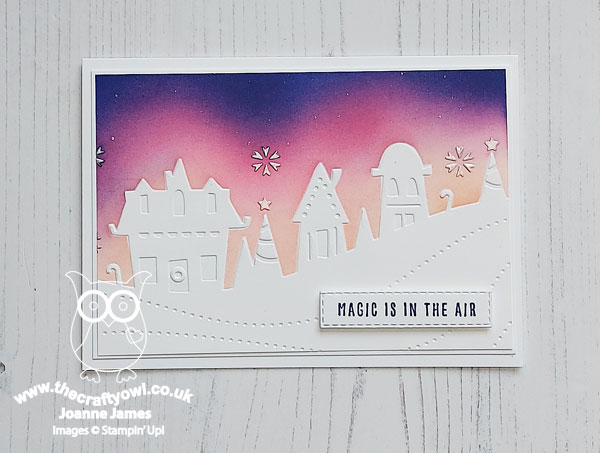
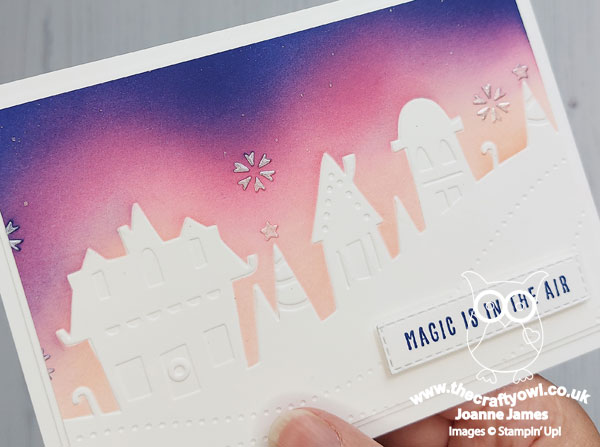
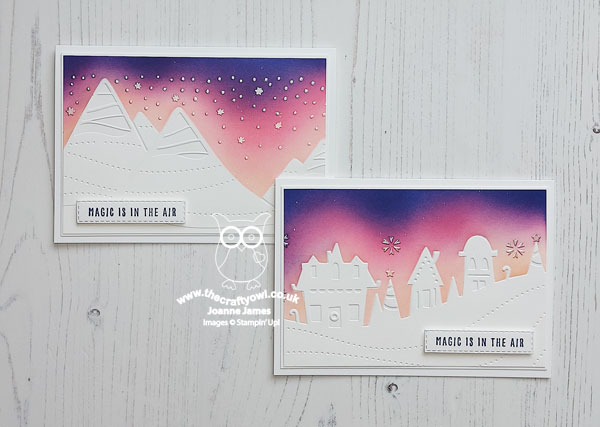
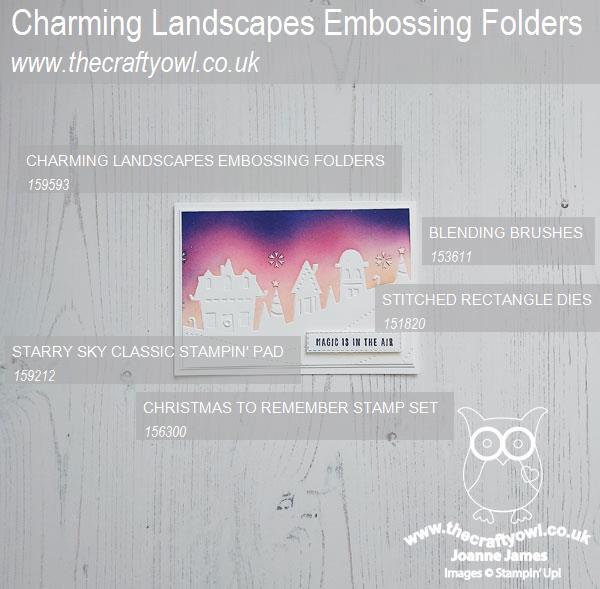
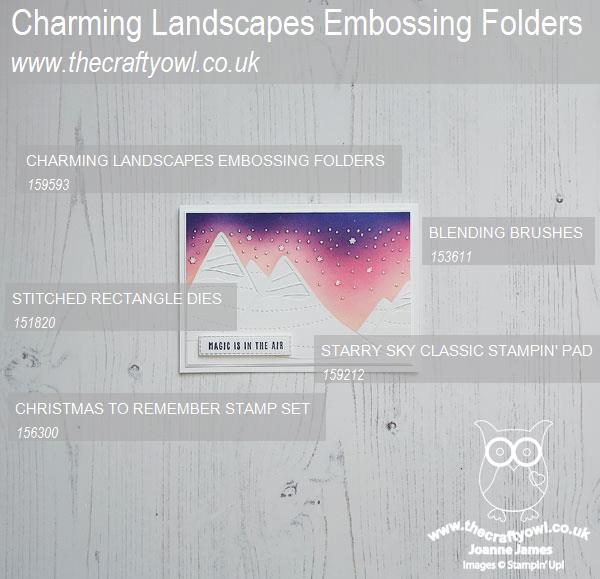
Charming Landscapes - Both of today's cards feature a panel embossed with each of the new Charming Landscapes embossing folders. These folders are great for adding embossed background layers to your cards, but I wanted to pair them with a bold, blended sky and make them the main feature. One includes a mountain scene, the other a village scene - I couldn't decided which one to use so having started with the village scene, I decided to create a second one using the mountain scene too:
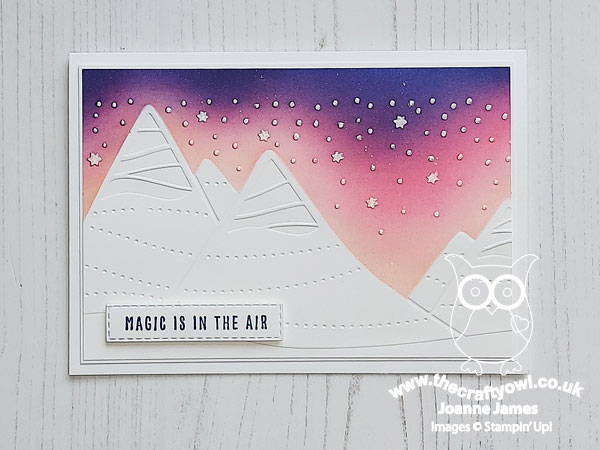
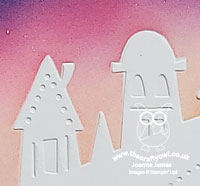
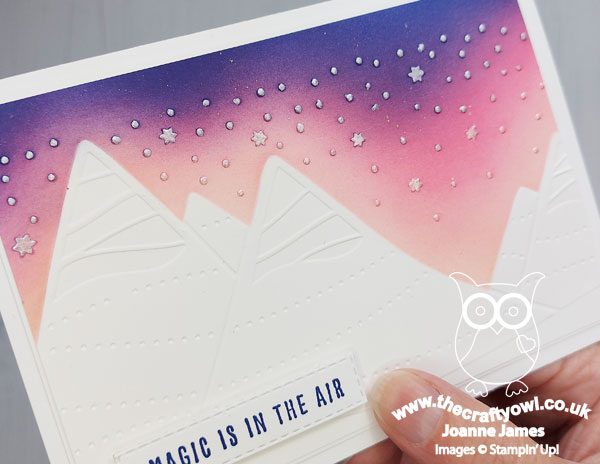
Blended Sky - I used all four of the challenge colours to create my blended sky, starting with the lightest colour pink then progressing to the darkest blues. To pick out the snowy/starry details of the embossing across the sky, I them too a dry aquapainter and painted each of the embossed elements with some (retired) Frost White shimmer paint; if you don't have any of this, you could use a white craft re-inker or even the new pearlised enamel effects on page 59 of the seasonal catalogue. This was a time-consuming process, but so worth it to pick out the detail. I also flicked the sky with my clear Wink of Stella pen for a subtle extra sparkle:
Aren't these skies just so pretty?
Masking Magic - In order to keep my blended colour to the sky portion of my scene only, I created masks for each embossing folder, by running it through my Big Shot with some acetate window sheet and using a scissors to cut around the mountains/houses. I attached each to my white embossed cardstock and held in place before adding my ink colours, then removed when complete. These can be easily cleaned and re-used, which is a good job; I like these cards so much I can't wait to create more using different colour combinations. I added a simple sentiment from the 'Christmas To Remember' stamp set and another to the inside of my card to finish. Here are both of my cards together - which one do you prefer?
Do leave me a comment below - I'd love to hear your thoughts.
Here is the visual summaries of the key products used on today's projects for you to pin for easy reference:
And the second one:
You can see all of my 'How To' summaries on my 'How To - Tips and Techniques' Pinterest board in case you've missed any.
I was a little concerned that the team wouldn't take to my choice of colours this week, but I can honestly say they've outdone themselves - you should definitely check out their cards this week.
Here's a summary of our challenge rules:
- Create any card, scrapbooking page, 3D project or packaging project that fits the challenge.
- Please include the challenge graphic and link back to the challenge in your blog post. Turn off word verification so we can leave you lots of lovely comments. Make sure you link the post not the whole blog to the Linky. Use #AYSIXXX when uploading to a public gallery.
- If you’re unsure about ‘the rules’, check the details under the Challenge Guidelines tab on the As You See It Challenge homepage.
- In a colour challenge, black or other neutral can be used in outlines and sentiments but no other colours should be included. Stampin’ Up colours are used for reference but colours that are a close match are welcome.
We look forward to seeing your creations in the AYSI gallery.
Enjoy your day and I'll be back tomorrow with another project. Until then, happy stampin'!
Stampin' Up! Supplies Used: