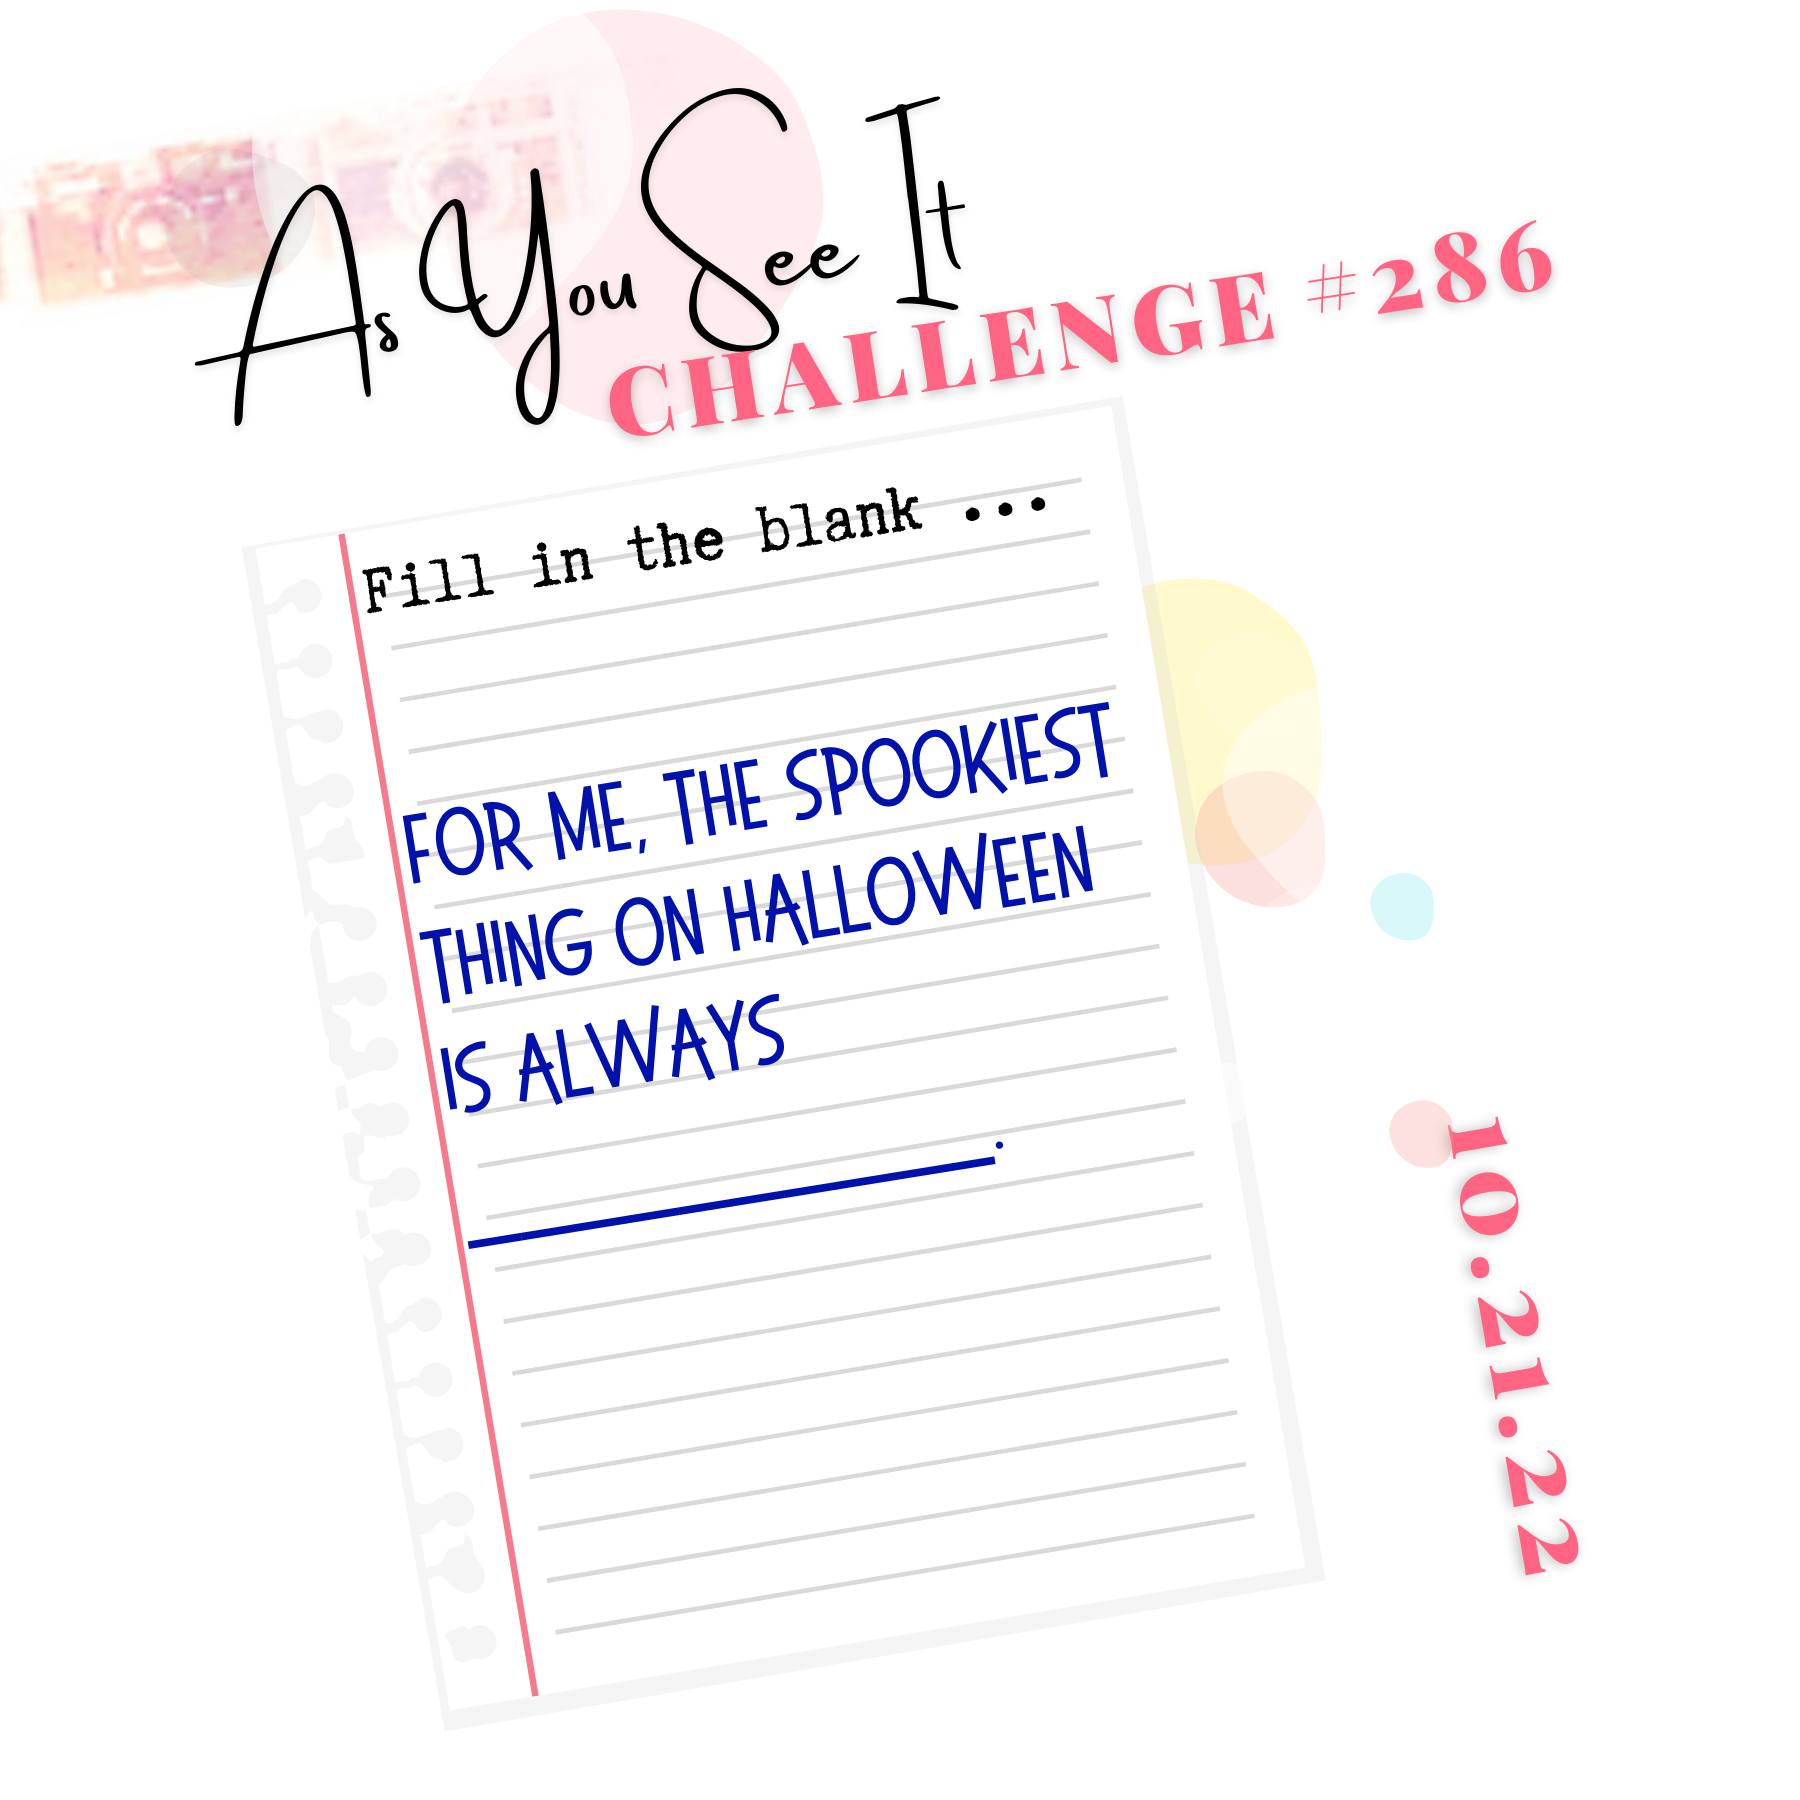
Today I'm sharing my design team card for our new challenge over at As you See It where it's time for a seasonal 'fill in the blank' challenge:
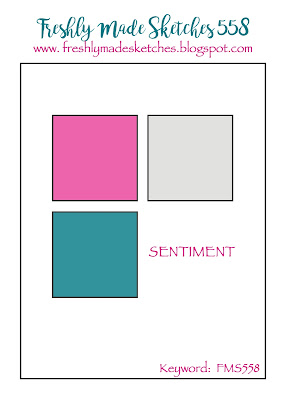
I used Jacqui's sketch over at Freshly Made Sketches for my layout this week - can you guess how I filled in the blank? Here's my card:
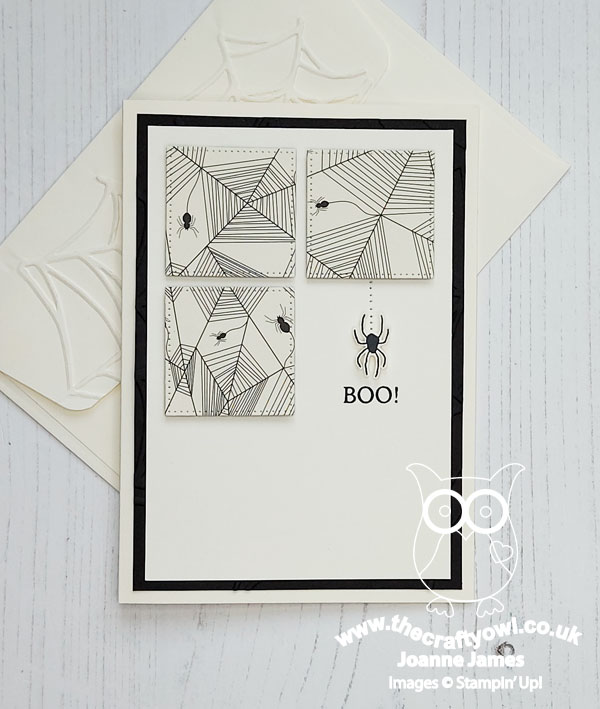
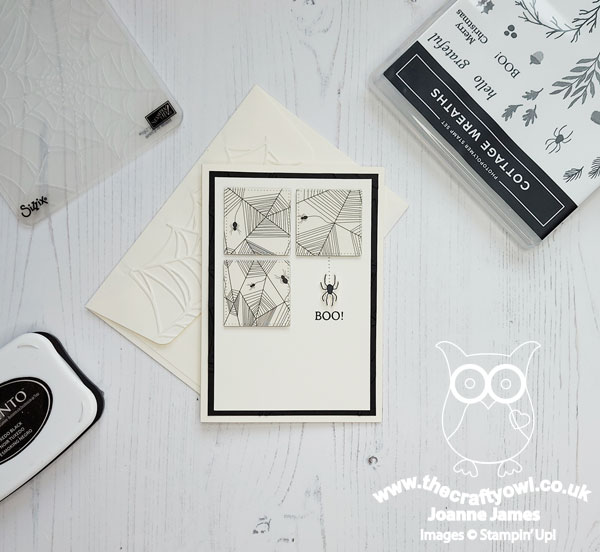
Here's the low-down on today's card:
For Me The Spookiest Thing on Halloween Is Always - .. the fact that there are even more spiders than usual! I'm all for appreciating all creatures great and small, but I draw the line at spiders and wasps! I've been stung by a wasp on three separate occasions - each of them memorable and none of them pleasant and as for spiders, well they just give me the heebie-jeebies, especially furry ones or ones with the long, spindly legs!! So today's card had to feature spiders! It actually started with the stamped one, which comes from the Cottage Wreaths stamp set. Ironically, one of the reasons I bought this set was for the spider and the 'boo' greeting, as it allowed for versatility given that I didn't want to buy lots of Halloween sets but I honestly haven't been able to bring myself to create a Halloween wreath featuring this particular arachnid - every time I go to visit another blog to leave a comment and I see this spider featured on a card, it literally makes my skin creep!
I decided to pair both the spider and greeting with some (retired - Happy Hauntings) designer paper squares, also featuring a similar spider, and create a simple feature where this one looks like he's escaping the paper via his 'web' line of pierced dots courtesy of my Take Your Pick Tool. I also added an embossed spider's web to the black mat layer, although this is difficult to see in the photos and I embossed the envelope flap too for additional spooky effect. Against my better judgement, here's a close-up of the escapee:
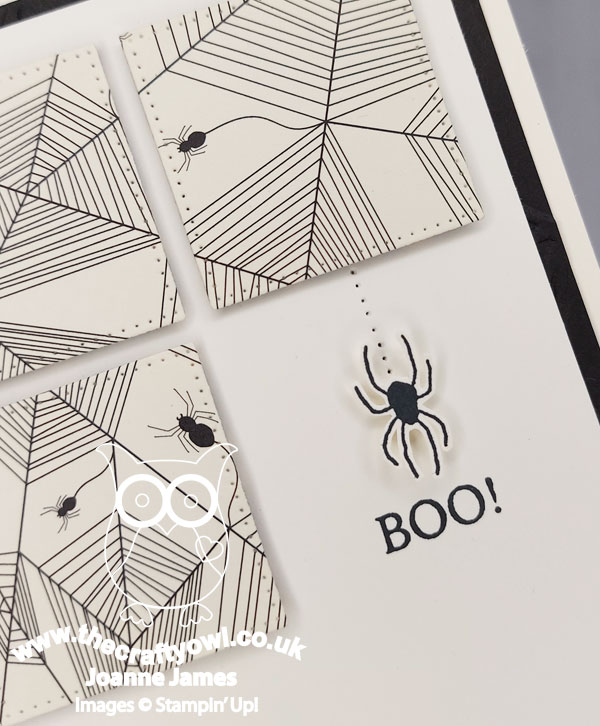
Whilst I actually like the finished card, I have absolutely no idea who to send it too - does anyone out there actually like spiders?! Answers below please - I will happily send this card your way! I am also going to share the loveliness of today's Halloween creation with the ladies over at SUO Challenges where they are all about Halloween for a second entry.
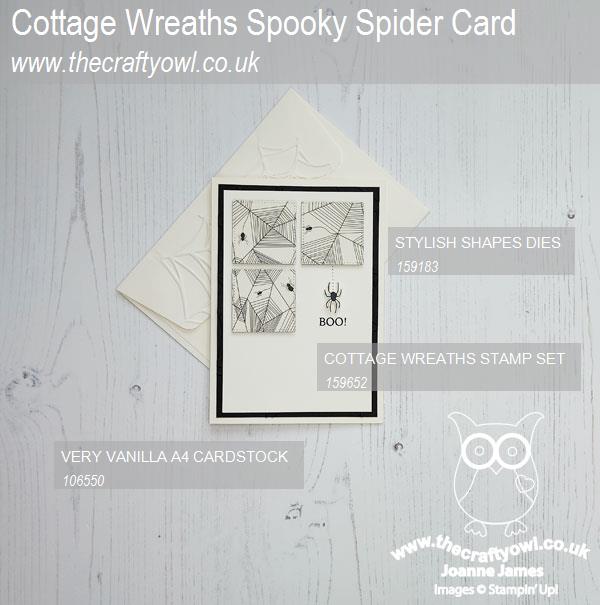
Here is the visual summary of the key products used on today's project for you to pin for easy reference:
You can see all of my 'How To' summaries on my 'How To - Tips and Techniques' Pinterest board in case you've missed any.
Here's a summary of our challenge rules:
- Create any card, scrapbooking page, 3D project or packaging project that fits the challenge.
- Please include the challenge graphic and link back to the challenge in your blog post. Turn off word verification so we can leave you lots of lovely comments. Make sure you link the post not the whole blog to the Linky. Use #AYSIXXX when uploading to a public gallery.
- If you’re unsure about ‘the rules’, check the details under the Challenge Guidelines tab on the As You See It Challenge homepage.
- In a Fill in the Blank challenge, complete the sentence in the Challenge Banner with the phrase that is true for you and create your project using the words you used. Tell us what you said in your blog or on your site.
We look forward to seeing your creations in the AYSI gallery.
Enjoy your day - it's Friday so my cleaning day and the housework beckons - off to do battle with the real-life spiders and their cobwebs, which are always more prevalent at this time of year as they come indoors to escape the chillier autumn weather. Wish me luck! I'll be back tomorrow with another project. Until then, happy stampin'!
Stampin' Up! Supplies Used: