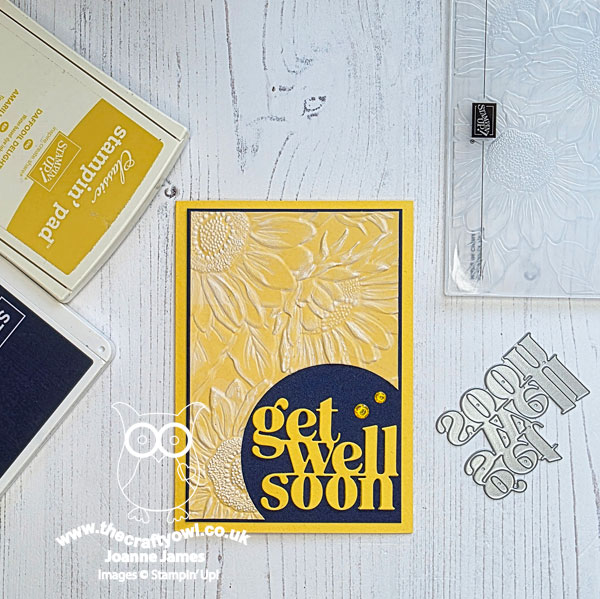
Today I'm sharing my design team card for our new challenge over at As you See It where it's time for a recipe challenge chosen by me:
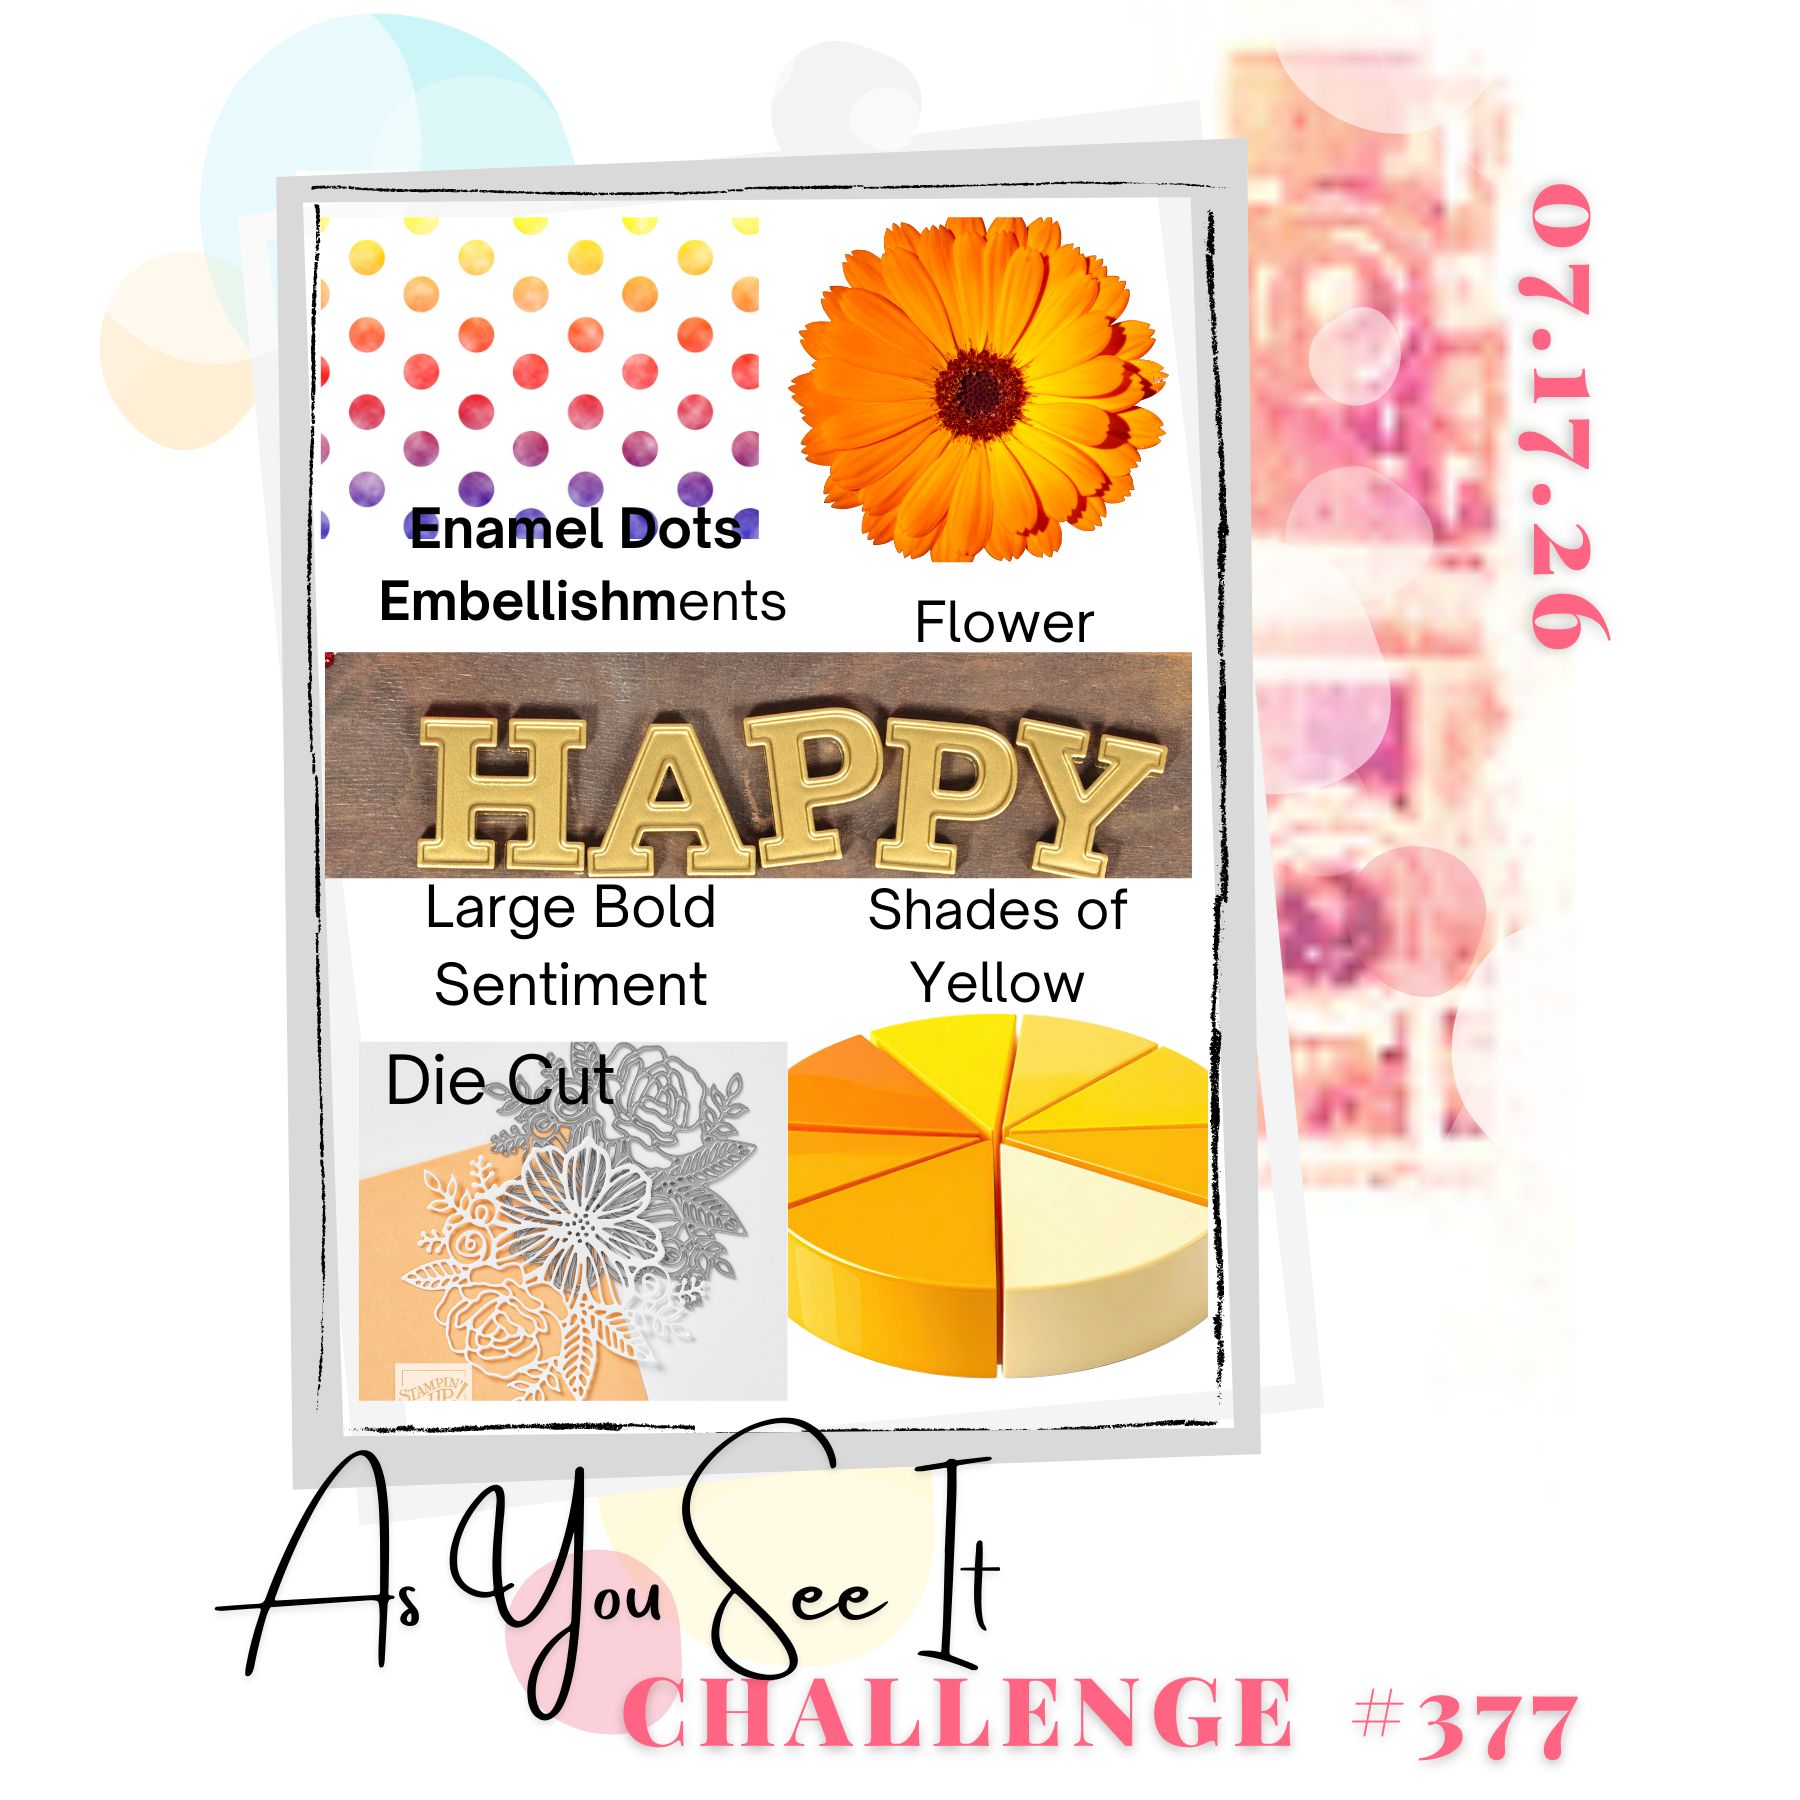
I made a recipe including some of my favourite things, with no particular outcome in mind when I chose them ages ago. When it came to making my card though, I took my inspiration from one of the cards entered into our embossing folder challenge last week! Here's my card - take a look and I'll explain more below:
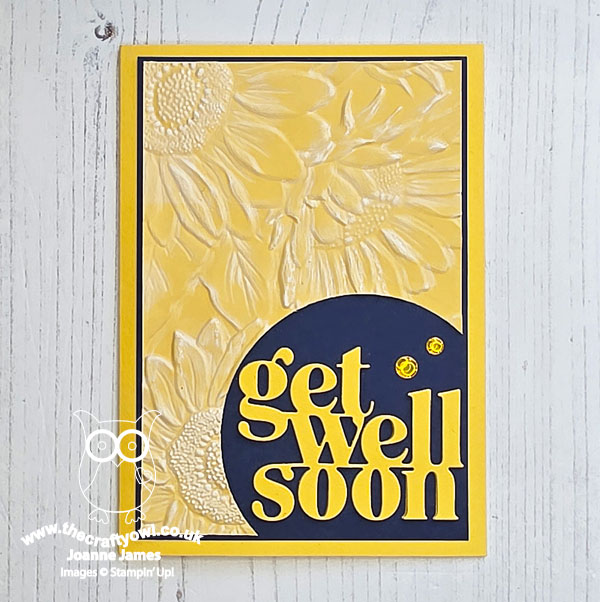
Here's the low-down on today's card:
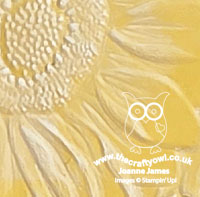
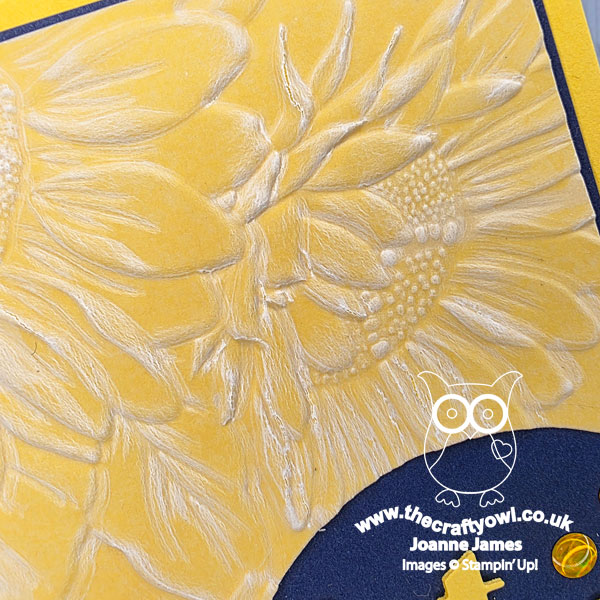
The first entrant into our gallery for our last challenge, Hilary, had made a number of cards using her favourite embossing folders and a technique that involved embossing cardstock with a vellum overlay. You can see Hilary's cards on her blog 'Fiddling About' here if you missed them, but I was so intrigued by the technique, I decided I would take the opportunity to give it a go. And since yellow and flowers were 2 of my recipe ingredients, I decided to use my Sunflowers 3D embossing folder and see what happened. I tried it a few different ways as I wasn't sure how Hilary had attached her vellum and cardstock and found the most effective result to be when I attached a sheet of vellum to my cardstock using an adhesive sheet that covered the whole surface, before putting the combined layers into the embossing folder and running through my Big Shot. By using an adhesive sheet, you get the white detail of the embossed vellum, but you can still see a vibrant yellow beneath; without the whole adhesive sheet, the yellow was more muted and the relief was much whiter because of the vellum. The close up below gives a more detailed view of the finished embossed pattern:
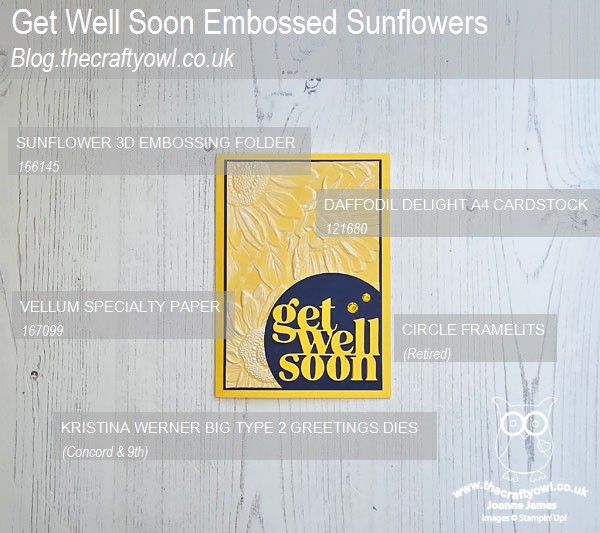
I paired by yellow sunflowers with a bright yellow diecut sentiment, get well soon, from Kristina Werner's Big Type 2 Greetings Dies. I cut 3 of them and stacked them together for added depth and used a retired circle framelit to cut away the corner of the embossed layer and added my greeting to the Night of Navy mat layer below in the negative space created. That accounted for both a diecut and a large, bold sentiment. All that was left still to use from my recipe were some enamel dot embellishments, so I added two glossy yellow ones from my stash to complete my card.
Here is the visual summary of the key products used on today's project for you to pin for easy reference:
You can see all of my 'How To' summaries on my 'How To - Tips and Techniques' Pinterest board in case you've missed any.
Here's a summary of our challenge rules:
- Create any card, scrapbooking page, 3D or packaging project that fits the challenge.
- For a Recipe Challenge use all elements of the recipe - the possibilities within those parameters are endless.
- Please include the challenge graphic and link back to the challenge in your post.
- Make sure you link the specific post and not the whole blog to the Linky. Use AYSI#(insert challenge number) when uploading to a public gallery
- Please turn off word verification so that we can send you lots of feedback.
- You can combine our challenge with up to 3 other compatible challenges.
- We do reserve the right to delete, or not consider for Top Pick and Featured Artist, entries that do not comply with these guidelines.
We look forward to seeing your creations in the AYSI gallery.
Enjoy your day; mine's a busy one with gym, laundry and lunch out and a music concert at a local stately home this evening. I'll be back tomorrow with another project. Until then, happy stampin'!
Stampin' Up! Supplies Used: