by Joanne James17. November 2016 08:05
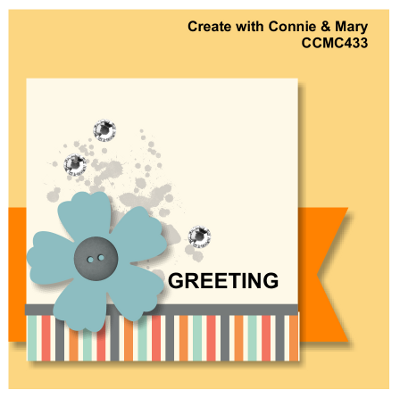
Today it's time for a new challenge over at Create With Connie and Mary and this week we have a sketch for you:

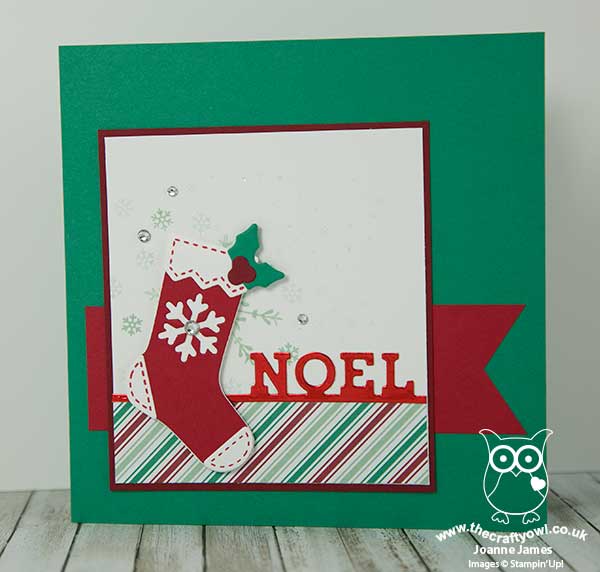
I decided this sketch was perfect to hang my stocking - literally! Take a look:

Here's the low-down on today's card:
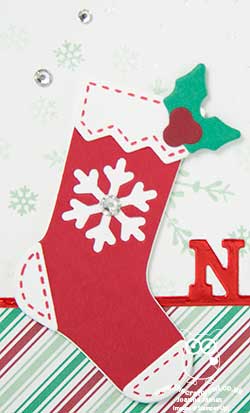
Hang Your Stocking - My diecut stocking is cut using the Christmas Stocking Thinlits Dies. This set has lots of fun pieces to create stockings in three different sizes and add decorative trims - so many creative possibilities! It also comes with this great Noel diecut - perfect for edging a mantlepiece or adding a border trim to patterned paper, as I've done on my card today.
A Trio of Stamp Sets For Less - The diecut stocking is the clear winner on today's card, but this creation is by no means stamp-free; in fact, I used three stamps from three different stamp sets on my holiday card, all of them available this month at 25% off - what a bargain! You can read about the offer in full here along with the details of our new stitched framelit dies (these have been incredibly popular and will only now be orderable until 21st November before orders are put on hold whilst stocks are replenished - so you need to order them in the next few days to be assured of a timely delivery); in the meantime, did you spot them all? They are the stocking heel, toe and cuff detail and mini snowflakes from Hang Your Stocking, the large snowflake from Tin of Tags and the snowflake splatter from Christmas Pines. My stamping is subtle, yet each stamp contributes to the finished card.
Sparkle and Shine - I used Heat and Shine and Dazzling Diamonds along with the snowflake splatter stamp in the Christmas Pines set to add sparkle to the white section of my card. Difficult to photograph, but in real life so pretty! My Noel is also cut from a piece of red foil cardstock that I found in my scrapbox for a little extra shine and I added a sprinkle of rhinestones to finish. I love this festive colour combination, inspired by the Presents and Pinecones Designer Series Paper set - feel free to save it if it's one you like too:

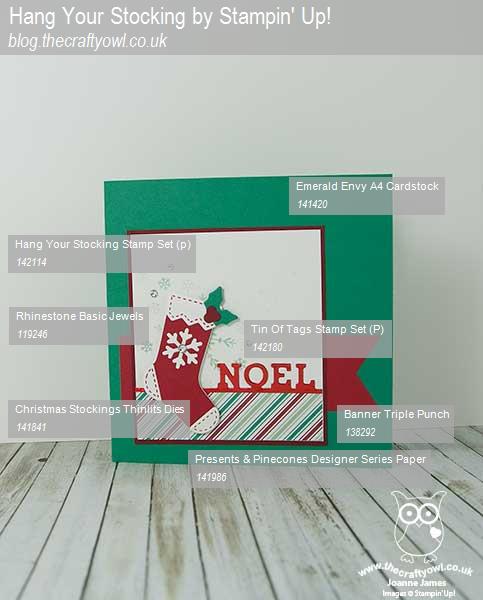
Here is the visual summary of the key products used on today's project for you to pin for easy reference:

You can see all of my 'How To' summaries on my 'How To - Tips and Techniques' Pinterest board in case you've missed any.
Do visit the other Design Team members to see what they did with this week's sketch; there's lots of inspiration over on their blogs too!
Enjoy your day and I'll be back soon with another project; until then, happy stampin'!
Stampin' Up! Supplies Used: