Lovely Words Thinlits Dip Embossed Friend Card

by Joanne James30. June 2017 07:00

Before I share today's project, I just want to give you a reminder that today is the final day for the 'We <3 Hosts' promotion where you can earn an extra £30 of rewards with an order of £300 or more. If you would like to refresh your memory on the details, you can find them here. You can place your order online or alternatively feel free to call me if you'd like to place your order over the phone. It's also the final day for this month's hostess code - if you are placing an order online for between £25 and £150, don't forget to add the code B3C3DUB6 to receive an extra thank you in the post from me.

Today I'm sharing another of the cards I designed for one of my recent team training meetings - you can see one of our other makes hereThis one features probably my favourite of the new in-colours, lemon lime twist:


Here's the low-down on today's card:

Lovely Words For A Friend - I used the Lovely Words Thinlits for the 'friend' diecut on my card, snipping it away from the oval so that I could use it standalone. These are such great thinlits with so many ways they can be used to create interest on your cards. 

CASE The Kit - The design of my card was inspired by one of the cards in the new 'Hello Friend' heat embossing product kit on page 16 of the new annual catalogue. One of the business topics we discussed at team training was how Stampin' Up!'s kits can benefit your business and our make and takes all included opportunities to practice the techniques and skills required to demonstrate with this kit effectively. There's nothing like being prepared and I'm sure my team would agree that team training is great for this kind of thing. Check out this video from the home office team that shows you the Hello Friend Kit in more detail:

Stampin' Up!'s kits are great for a crafty get-together with friends; if you're reading this and would like to arrange one with me to guide you through the fun techniques, then do get in touch. 

Copper Trim - To tie in with the dip-embossed copper of my diecut sentiment, I finished my card with a length of the new copper trim. This is a really versatile trim option for cards, home decor and gifts; silky smooth, you can use it like ribbon as it ties beautiful bows, but you can also split it and unravel it and use it like net, or even stretch it and use it as a cover for small items such as chocolates (a little like a sock!) 

Here is the visual summary of the key products used on today's project for you to pin for easy reference:


You can see all of my 'How To' summaries on my 'How To - Tips and Techniques' Pinterest board in case you've missed any. 

Enjoy your day and I'll be back tomorrow with another project. Until then, happy stampin'!


Stampin' Up! Supplies Used:

Table built using Product Table Builder by The Crafty Owl - Independent Stampin' Up! Demonstrator.

Stampin' Up! Sneak Peek - Bike Ride For The Paper Players

by Joanne James16. April 2017 10:00

It's Sunday and time for this week's new challenge over at The Paper Players! It's the turn of the amazing LeAnne to host this week and she has a clean and simple challenge for us to work with:


So I couldn't resist sharing a sneak peek of a brand new stamp set with you today - a fabulous two-step stamping set called 'Bike Ride', that I received as part of an all-attendee giveaway at Onstage in Amsterdam last week - take a look:


Isn't that fun?! Read on for the low-down on today's card:

Demonstrator Perks And A Sneak Peek - One of the best perks about being a Stampin' Up! demonstrator is being able to get your hands on new products before anyone else does! I came home from Onstage last week with some new stamp sets including this fun bicycle stamp set. I was also able to participate in an event-only pre-order which means I am expecting another box of new goodies on Tuesday morning - can't wait! If you are excited by getting your hands on new products early, do get in touch with me about joining my team now so that you can take advantage of these pre-order demonstrator perks too.

A Bike Ride For Teacher - Today's sneak peek is a set called 'Bike Ride'. Such a fun two-step stamp set with lots of little accessories - everything from flowers to apples and books to an adorable puppy dog! You can build endless combinations to make your two-wheeled creations totally unique. The best bit? This set also has some co-ordinating Build A Bike framelits that will make putting your creations together as easy as can be! My CAS card today uses just the stamp set - I created a few masks to enable me to stamp my bicycle as a single layer and adapted the basket to fit the front of my bike. For my first card I stamped my bicycle slightly off the page and added a basket of apples with an overlaid thanks diecut from the retiring 'Hello You' thinlit set (I cut this out 3 times, stacked them and heat embossed with clear embossing powder for added dimension and shine) and the word teacher stamped with my Layered Alphabet set -so useful for custom greetings. 

Teacher Thank You Take Two - I was having so much fun with my set, I created a second card to share with you too! This time I stamped the whole of my bicycle on the card front so that in addition to my basket of apples (accented with my fine tip glue pen) I could add a stack of books to the rear. I also grounded my bicycle with a little sponging and some stamped grass (from the retiring 'Basket Bunch' stamp set) and stamped the word teacher in bold block lettering and cut it out and popped it up on dimensionals for added impact:


I had so much fun playing with this set and making an early start on my teacher thank you cards for the end of next term. I've lots more ideas for this set and I can't wait to get my hands of the framelits when the new catalogue goes live on June 1st! 

Here is the visual summary of the key products used on today's project for you to pin for easy reference:


You can see all of my Product and 'How To' summaries on my 'How To - Tips and Techniques' Pinterest board in case you've missed any. 

Before you reach for your ink and papers, check out what our amazing team has created to inspire you this week:

The Paper Players Design Team
 
 
Here's a quick recap of our challenge rules:
 
1.  Create a new paper project
2.  Upload your creation to your blog with a link back to us and provide a direct link to the post featuring your challenge submission.
3.  Please link your card to no more than four challenges, TOTAL.
4.  Have FUN! 

I look forward to seeing your clean and simple creations in the gallery this week. Enjoy the rest of your weekend - we will be either hunting for or eating chocolate as our primary activities today - I think we might need a bike ride later to work some of our calories off! I'll be back tomorrow with another project, also with a travel theme so be sure to tune on for that, Until then, happy stampin'!


Stampin' Up! Supplies Used: 

Table built using Product Table Builder by The Crafty Owl - Independent Stampin' Up! Demonstrator.

Affectionately Yours Suite Sneak Peek

by Joanne James18. May 2016 21:31

Good evening everyone! I hope you've had a good day; I spent some time this afternoon getting to know a lovely group of young mums and their babies in my Memory Keeping Taster Session and was thrilled to see everyone leave with a completed page. More about that later in the week; today I have a quick sneak peek card for you, featuring a number of products from the new annual catalogue: 

I made this card at last month's On Stage event in Telford and it features three new co-ordinating products from the 'Affectionately Yours' product suite:

Affectionately Yours Specialty Designer Series Paper - Bold and bright DSP with copper embossing on some of the designs.

Love & Affection Stamp Set - A collection of 16 photopolymer stamps including flowers, leaves and sentiments.

Floral Affection Textured Impressions Embossing Folder - This set includes two folders - this card uses one of the designs and as you can see it give a lovely deep impression into the cardstock.

Isn't that pretty? The suite also includes striped ribbon, washi tape, copper metallic thread and copper embossing powder. No product table today as these items can't be purchased until June 1st, but not long to wait now. I do still have a labelled image for you though so that you can pin those all-important details should you wish to CASE this card in the future:


I'll be back tomorrow with a card for this week's new challenge over at Create With Connie and Mary. Until then, happy stampin'!

Friendly Wishes Onstage Swap Cards

by Joanne James27. April 2016 19:00

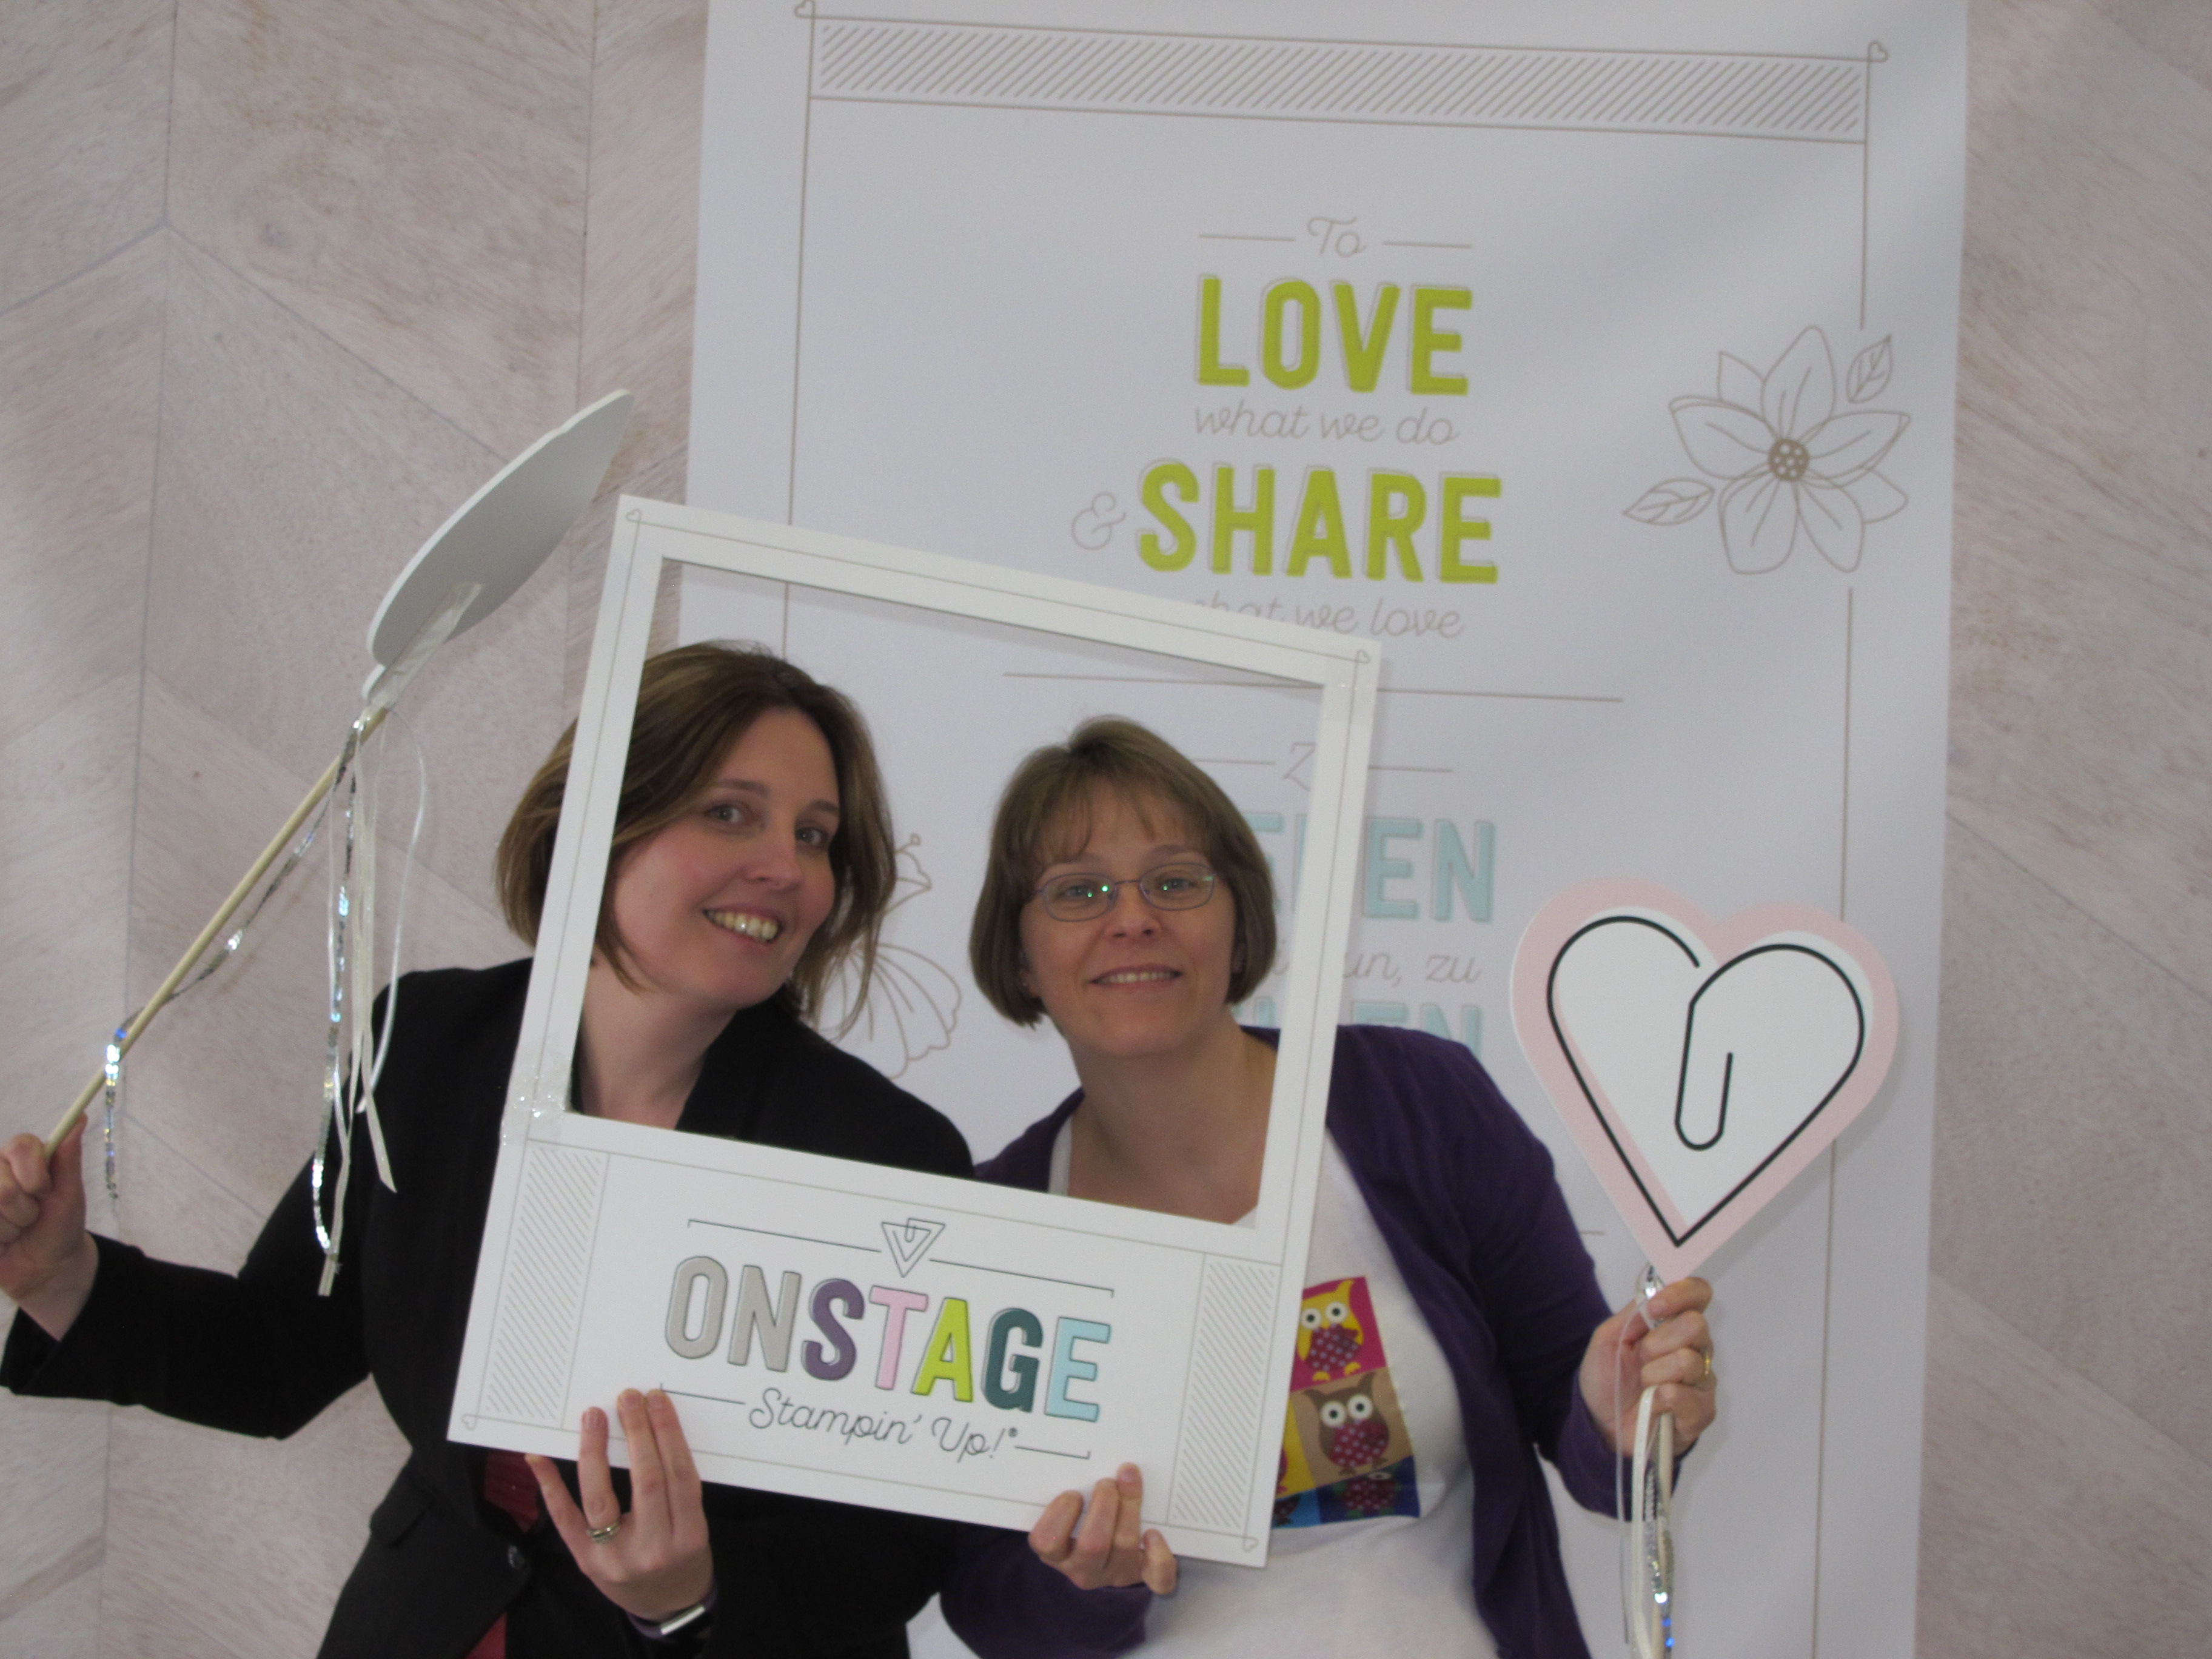
Mid-week already! I spent a pleasant morning at my Coffee and Card Session at Bell's in Kingsthorpe, Northampton making birthday cards and the afternoon at my desk. Today I'm sharing the card that was my swap at the Stampin' Up! UK Onstage Local event that I attended with some of my team the weekend before last. The event itself was a blast! I thought it was about time I shared some photos with you, so here goes!

I was treated to a wonderful Centre Stage reception the evening before the main event with other Stampin' Up! leaders - here's a picture of the beautiful table settings:


I managed a quick selfie with my good friend Louise Sims, only to be right royally photo-bombed by the equally charming if mischievous Natalie O'Shea:


We got our hands on the new catalogue - here's me with mine courtesy of the lovely Dave Baugh, Stampin' Up!'s Vice President of Global Operations who came all the way from Utah to join us for the event:


It really is a good one! Here's also a photo of some of my team enjoying the day of presentations and new product reveals:


I could share a ton of new product 'spoilers' too, but with more than a month to go still until the new catalogue is officially released, I think I'll save those for nearer the time!

Anyway, onto today's creative make - my swap for this event, using some retiring accessories but featuring the 'Friendly Wishes' stamp set that I'm pleased to say will be carrying over to the new catalogue: 

I made these in a range of colourways - the one I've featured here is in Pumpkin Pie and Rich Razzleberry - read on for the low-down on this card:

Brights - I love the Brights colour collection and as I wanted my swap to be bright and colourful this family was the natural choice. I actually chose my colour combinations based on ... the candy dots I had most of in my part-used packets! I use lots of these, but find myself using some colours way more than others. I used a card base of Pumpkin Pie, then used accents in this colour and the contrasting Rich Razzleberry to highlight my black and white stamping, including a cotton seam binding ribbon bow.

Black and White Everyday Chic - I stamped my sentiment from the 'Friendly Wishes' stamp set in Archival Black on Whisper White cardstock, to give a clean, crisp design that was easy to replicate - an important consideration when you are mass-producing a design. To compliment this, I used two different patterns of the black and white Everyday Chic Designer Series Paper to border my focal sentiment, elements of which I highlighted with my Stampin' Write marker. This is a great way to add interest and makes this designer series paper very versatile.

Itty Bitty Flowers - My final embellishment was a pair of Itty Bitty Accents Punch Pack punched flowers, each finished with a contrasting candy dot. I can't quite believe that this punch pack is retiring - I've used all three of these little punches on many, many projects but I think it's this itty bitty flower I will miss the most.

Here is the visual summary of the key products used on today's project for you to pin for easy reference:


You can see all of my 'How To' summaries on my 'How To - Tips and Techniques' Pinterest board in case you've missed any. 

I had some lovely swaps in return which the ladies in my classes have 'ooh'd and ahh'd' over this week. I'll be back tomorrow with my card for this week's new challenge over at Create With Connie and Mary; until then, happy stampin'!


Stampin' Up! Supplies Used: 

Table built using Product Table Builder by The Crafty Owl - Independent Stampin' Up! Demonstrator.

Coffee and Card Drop-in Sessions at Bell of Northampton

by Joanne James8. March 2016 09:30

I have an extra post today to share some of the detail around a new type of event that I've added to my calendar recently - Coffee and Card Drop-in Sessions. You can see the key details on my graphic below:


I am excited to share this new venture with you. It's the perfect opportunity for non-crafters and crafters alike who live in or around the Northampton area to 'dip their toe' into the world of papercrafting and experience Stampin' Up! products first hand with me, without having to commit to a class. And what better place to do it than in the luxurious surroundings of Bell of Northampton, whilst enjoying a drink and a delicious cookie prepared by the in-house baker Alex of Tea and Cake @ Bell. No booking, skills or expertise required - just pop in for a little 'time out' and leave with a beautiful handcrafted card to send to someone special. You can find directions to Bell's here - there is ample free customer parking with disabled access at both the front and rear of the store.

The full schedule for these sessions along with the rest of my classes and events can be found on my website here. The next of my sessions will be tomorrow, Wednesday 9th March - I'd love to see you there!

Back shortly with today's creative project; until then, happy stampin'!

2015-6 New Stampin' Up! Annual Catalogue Launch Party Details

by Joanne James29. May 2015 10:51

Yay it's Friday! Clearly we have seen the best of the weather here in the UK this week as it is pouring down with rain here in the UK as I type. Never mind - I am tucked up indoors and want to share more widely the details of next week's Open House to celebrate the launch of the new 2015-16 Annual Catalogue, details below:


Please call me on 07773 421446 or email me with your RSVP so that I can ensure that there are enough 'make and take' packs. This event will be held at my home in Northampton - address details on RSVP. I do hope you will be able to join me!

For my lovely readers who live further afield, never fear - there will be plenty more inspiration right here in the coming days, weeks and months, so stay tuned!

2015 Stampin' Up! Catalogue Sneak Peak - Endless Birthday Wishes

by Joanne James16. May 2015 18:00

Today I've been at a Stampin' Up! UK regional training event in Telford. These events are both exhilarating and exhausting at the same time! It's a great opportunity to get together with team members, other SU! demos and the Stampin' Up! UK and European Home Office teams, to see lots of new and exciting product and swap work with others as a means of creative inspiration. I love creating swaps for this type of event although they can be time-consuming and always seem to create something rather too elaborate for mass production, hence no post yesterday and a late one today. I made a card for this week's challenges over at The Paper Craft Crew and Colour Me! and then based my swap on this as it features a stamp that is new to us here in the UK so is an annual catalogue 'sneak peek', although if you are a USA reader this set will be familiar to you as it has been available as a photopolymer set for some time: Endless Birthday Wishes.


So here is my original challenge card:  

I stamped the sprinkles stamp on my base of Melon Mambo and used the challenge colours to create my own custom happy birthday DSP which I used for the right hand panel - thank heavens for photopolymer stamps, they made lining up a doddle! I then stamped the cake in Memento Black on Whisper White and coloured with my retired Blendabilities, before mounting on a starburst cut with the retiring Starburst framelits - still available and a bargain at only £11.48 for the set! I added a few sequins for sparkle and to tie in my gold button, and then added a strip with a few DSP banners and the second part of my sentiment (the stamp has these words side by side, so I stamped it in two separate goes, so that the words sat on top of each other and fitted my banner better). 

I liked this card so much I created a (only slightly!) simpler version as my swap for the Stampin' Up! regional event. Here it is in the same colours:

The background and DSP panel was the same, however to save on colouring I stamped the cake in a single colour and mounted on a combination of a 2" circle, 2 3/8" scallped circle and 2 1/2" circle instead and I left off the button and twine. I also created it in three other colour combinations, but totally forgot to take photos of the whole pile when finished! I do however have this 'work in progress' shot of the chaos on my office desk last week:

Well, organised chaos! Here are the other colour combinations: Tangerine Tango and Tempting Turquoise (top left), Calypso Coral and Bermuda Bay (bottom left) and Wisteria Wonder and Elegant Eggplant (bottom right).

Thanks to everyone who swapped with me - I have some lovely samples that I'm looking forward to sharing with my customers. Also, before I go here's another quick photo of some of my downline and team members who I was lucky enough to spend the day with:

Even the camera-shy Samantha doesn't look to cross to have been snapped in this one :-) Love you ladies!

I'm looking forward to sharing lots more of the new and fun things that we got to see and create with at our training in the coming weeks; only a couple more weeks until the new 2015 Stampin' Up! annual catalogue launches!

Back tomorrow with another project; until then, happy stampin'!


Stampin' Up! Supplies Used (challenge card):

Table built using Product Table Builder by The Crafty Owl - Independent Stampin' Up! Demonstrator.


Stampin' Up! Supplies Used (swap card):

Table built using Product Table Builder by The Crafty Owl - Independent Stampin' Up! Demonstrator.


Home Decor Spring Flower Wreath using Stampin' Up! Flower Frenzy Bigz L Die

by Joanne James6. May 2015 09:37

Good morning everyone - today I have something a little different for you! I ran a very successful class a little while ago to make a beautiful home decor Spring flower wreath. I am demonstrating how to make this wreath at a Spring Open Evening at Bell Of Northampton this evening so thought this was a good opportunity to share it with you too:

We started with a polystyrene wreath base and covered it with a roll of burlap, then decorated it with a selection of flowers made with a variety of dies and punches. The largest flower, leaves and the bases for the medium flowers were made using the Big Shot and Flower Frenzy Bigz L Die; the remaining flowers were made using a combination of the retiring Blossom punch, the Pansy punch and the Petite Petals punch. The Blossom punch and Flower Frenzy Bigz die are now out of stock, as is the patterend paper that I used, but you could make something similar with other punches and dies. We used a variety of buttons, brads and embellishments to decorate our flowers: I used Vintage Faceted Buttons, Something Borrowed Embellishments and some retired brads from my stash to decorate mine. I chose Elegant Eggplant, Smoky Slate and Pear Pizzazz as my colourway but each of the ladies tailored their colour choices and embellishments to their personal preferences. Here's a closeup of my flowers - I think they are gorgeous:


I created an album with pictures of their finished wreaths on my Facebook page here - you really should go and check them out as there are some amazing pieces and they all look so very different in the various colourways. If you haven't already, perhaps you could give me a 'like' whilst you're there - I'm only 10 away from my next milestone!

If you live in or around Northampton and would like to see me demonstrate how to make these flowers, do pop along to Bell's between 6-9pm this evening:

I hope you like today's project - it's one of my favourites! Back tomorrow with a card for this week's new challenge over at Create With Connie and Mary. Until then, happy stampin'!Full details via the link above and on my Facebook Page. There are lots of other demonstrations taking place - there will be someone fabulous chefs in residence cooking up delicious treats, a little pampering as well as other in-store delights that will all make for a pleasant browsing experience.


Stampin' Up! Supplies Used:

Table built using Product Table Builder by The Crafty Owl - Independent Stampin' Up! Demonstrator.


Christmas wouldn't be Christmas without Dasher!

by Joanne James27. November 2014 11:21

Yesterday evening I was at a Stampin' Up! event where demonstrators got a 'sneak peek' of what's in store for Sale-A-Bration; all I'm going to say at this point is boy do you all have something to look forward to, and I highly recommend you consider asking for a Stampin' Up! gift voucher from your nearest and dearest for Christmas (contact me for details!) and hold back some of your January Sales budget to take advantage, as you are not going to miss it!!

Today though I am back onto Christmas cards with another to share with you, having had a few days break. Well, it is now officially 'the season' I think! I used this week's sketch over at Addicted to CAS for my card today where the team are celebrating their second birthday - congratulations! - and which was designed with the theme over at Less is More in mind.

Now the theme this week is 'Jingle All the Way' and you would think that this card from earlier in the week might be a more appropriate fit, but the lovely ladies over at Less is More went on to say "we would like to see some reference to any of these things.... bells, reindeer, Santa, elves, stockings, presents, decorations, Christmas songs/music/instruments... in fact anything Christmassy!" and I immediately took this as the opportunity to bring my Dasher stamp out of retirement to create a card with a reindeer on it. Well, Christmas wouldn't be Christmas unless he made at least one appearance on a card this season, after all it's almost tradition! So here is my card:

I used Cherry Cobbler for my base and stamped my reindeer in Versamark on a piece of Baked Brown Sugar and heat embossed it in Early Espresso embossing powder to give it a lovely rich sheen. I matted this piece on a base of last year's Season of Style DSP stack, which I cut into pieces and mounted with mitred corners as the pattern was actually a chevron, but I wanted it to be diagonals going around the frame (I hope that makes sense when you look at the photograph, it just seems difficult to explain!)I then popped this piece onto my base using dimensionals, so that I could run a couple of loops of Baked Brown Sugar thick baker's twine around the base beneath it. I used my tiny hole punch to put a couple of semi-circle grooves in each side so that the twine would rest in them and stay in position - a useful tip if you're creating this type of card. To finish, I added my sentiment stamped from 'Endless Wishes' and a trio of candy dots to balance the main image.

I hope you like today's card and before I go would like to give a big shout out to Chrissie, Sarah and Anne over at Less is More, both for recognising this card in their top 3 of the recent one layer challenge but also for their tireless dedication to commenting on the cards in the LIM gallery and for their general helpfulness and constructiveness; I think my CAS style has improved a lot with their input, so I for one am grateful!

That's all from me today; I'm off out for lunch with a friend (a rare treat!) and then back to finish some work before the school run! Back tomorrow with another project; until then, happy stampin'!


Stampin' Up! Supplies Used:

Table built using Product Table Builder by The Crafty Owl - Independent Stampin' Up! Demonstrator.


Behind The Scenes at Stampin' Up! - Shooting a Stampissimo Video

by Joanne James30. October 2014 07:00

Today I have something very special that I've had to keep under wraps for a little while: the latest Stampin' Up! UK Stampissimo video has just been published and guess what? I am the starring demonstrator! I was so excited to be asked by Paula Gorry, Stampin' Up! UK Business Development Manager, to create a project for the latest video with the theme of 'Winter Treats' that once I had a copy of the Autumn-Winter seasonal catalogue in my hands, it didn't take me long to decide what I was going to use - the fabulous new Curvy Keepsake Box Thinlits Die. You can make all kinds of customised boxes with this die, but for the theme of 'Winter Treats' I knew I wanted to create a range of Christmas characters, with Rudolf the Red-nose Reindeer being the star of the show. It meant I could combine the box die with another of my favourite catalogue products that you've seen me use so many times on different projects - the Autumn Wooden Embellishments (LOVE these and one pot lasts an age!)

Here is the reindeer box that I demonstrate in the video - how cute is this?!

The project itself needed to be simple enough to demonstrate whilst chatting at the same time - the purpose of Stampin' Up!'s range of Stampissimo videos is to spread the word about Stampin' Up! to both crafters and non-crafters who may not have heard of Stampin' Up! and give them some insight into the products and the demonstrators who sell them. Whilst they are based around demonstrating and sharing a particular product or project, the informational nature of these videos mean they last longer than your average tutorial so you need to get comfy!

You can get the details for how I made the box above and see lots of other boxes featured in the video itself, but I wanted to share with you some of the 'behind the scenes' photos from my day and give you a little insight into the fun that I had spending the day with Paula and Kelly in the studio, along with the now infamous 'Ben and Jerry' film crew of Ben and James, who do all of the filming for Stampin' Up!'s UK events and did such a fabulous job of recording the day and producing the final video.

This is what filming looks like from behind the scenes -  a real case of lights, camera, action! There are cameras that shoot from the front and from above in order to get a full range of shots and the necessary close-ups. When I shoot video tutorials at home I use an overhead camera, but I'm sitting at my desk. When you're standing up it is quite tricky because you have to be careful not to lean over your workspace, otherwise all the viewer sees is the top of your head! Sounds obvious, but I found out there is a real art to working with your arms outstretched and not leaning too far into your workspace.

Here are a couple of shots of Ben and James, the guys that produce the video - I struggle to tell them apart - they're twins! - but as you can see, one is slightly more camera-shy than the other:


They really are the nicest chaps you could wish to meet and I think they did a great job with the final edit, although I'll admit I'm biased!

This is my favourite photo of Paula and I on the day, taken mid-take once we were properly relaxed and into the swing of things - we really were having fun:

Lastly, here's one of us all post filming each displaying our favourite boxes, the chaps included. They decided the boxes were so easy to make, they might even have a go themselves at making some to grace their family festive table. At the UK training day at Telford earlier this year, the Stampin' Up! demonstrators were treated to a video of Ben and 'Jerry' making their first foray into crafting Stampin' Up! style, so this may well be their second!!

Also, note the festive pot plant on the edge of the desk and the Christmas tree in the video - Kelly and Paula did their best to make the studio look festive, which was quite tricky given that this was filmed some time ago when the sun was shining gloriously outside and it was not even remotely autumnal, let alone wintery! A big thank you the lovely Kelly Francis, who took all of the above pictures - she is an absolute star!

Here are some additional pictures of some of the finished boxes that feature in the video - this is Santa's helper, the mischievous elf: 

This is the man himself, Santa Claus - with his head!:

This one is Santa - without his head! Perfect if you are short on time or want something that's a little more adult-oriented:

Then we have the cutest snowman - check out his twirly carrot nose! 

Here they are altogether - one big happy Curvy Keepsake Box festive family:

I hope you found the 'behind the scenes' tour interesting - now here's the video that you've all been waiting for:

In summary, a truly great experience and yet another of the fantastic opportunities available to me as a Stampin' Up! demonstrator working with this amazing company that allows me to share what I love, be endlessly creative, manage and motivate a great team and have a job that totally fits around my family commitments and enables me to achieve the best work-life balance I've ever had.

If you're reading this and thinking that you would like to know more about the benefits of becoming a Stampin' Up! demonstrator, then do get in touch with me on 07773 421446  - I would love to have a no-obligation chat with you and tell you more.

If you would like to make Rudolf, the supplies list that links to my online store is below.

Back tomorrow with another project; until then, happy stampin'!


Stampin' Up! Supplies Used:

Table built using Product Table Builder by The Crafty Owl - Independent Stampin' Up! Demonstrator.


Mini Catalogue

BROWSE THE CATALOGUE

The mini catalogue is now live! Read and download your copy here.

Shop Online

Access my online shop 24 x 7, 365 days of the year:

Current April hostess code:

VDKNV7BH

Shop Online

Join My Team

It's always a great time to join Stampin’ Up! New team members can get £130 worth of products for only £99 + free business supplies + free shipping + all the fun being a part of Stampin’ Up! Stampin' Up! has something for everyone: join my growing team and benefit from my support to enjoy Stampin' Up! however you choose.

If you're interested, call me for a chat to understand how I can help you realise your goals. Alternatively, if you have already decided to sign up and you just can't wait, please click here for the link to the online form where you can sign up and order your starter kit right away! 

Latest Kit!

Stampin Cut and Emboss

The Rock Legend Kit has all you need to make 8 cards with coordinating envelopes. Along with the new Panda Friends Kit, both are available from January 4th for just £14 each - get yours here!

2023-24 Annual Catalogue

BROWSE THE CATALOGUE

Click on the catalogue for a full list of current SU! supplies - if you would like to order any of the items featured, please drop me a line at [email protected] or give me a call on 07773 421446 - I'd be happy to help.

New Online Exclusives

There are new products available exclusively in the online store from 5 March - check them out here.

About Me

Hi I'm Joanne and live in Northampton and when I'm not looking after my husband and two beautiful children, am an avid crafter with a passion for all things Stampin' Up!

I must confess that I have never been a big rubber stamper - until I discovered Stampin' Up! that is. I love the fact that I can get such great results with co-ordinating stamps, inks, papers and punches - the possibilities are endless! Join me on my stamping journey as I share the things I love and be inspired to create amazing things yourself!

Follow Me

Monthly Newsletter

Box Builder

Click the button above to use Box Buster to create your custom box design using the Envelope Punch Board!

Kits Collection Now Available!

Stampin Cut and Emboss

The new Kits Collection from Stampin' Up! is now available!

Click here to see the current kits available and order yours online today.

I Design For


Stampin' Up Stuff

This is my personal blog and is not endorsed by Stampin’ Up! I hope you find it a plentiful source of ideas and personal inspiration but please don't copy my designs for contest submission or use for classes, publication or sale without express permission.