We know that a new catalogue is always a highly anticipated event, so the lovely people at Stampin' Up! have decided to offer a little something to whet your appetite and is releasing the Share What You Love Suite in advance of the catalogue going live and better still - it can be yours from today!
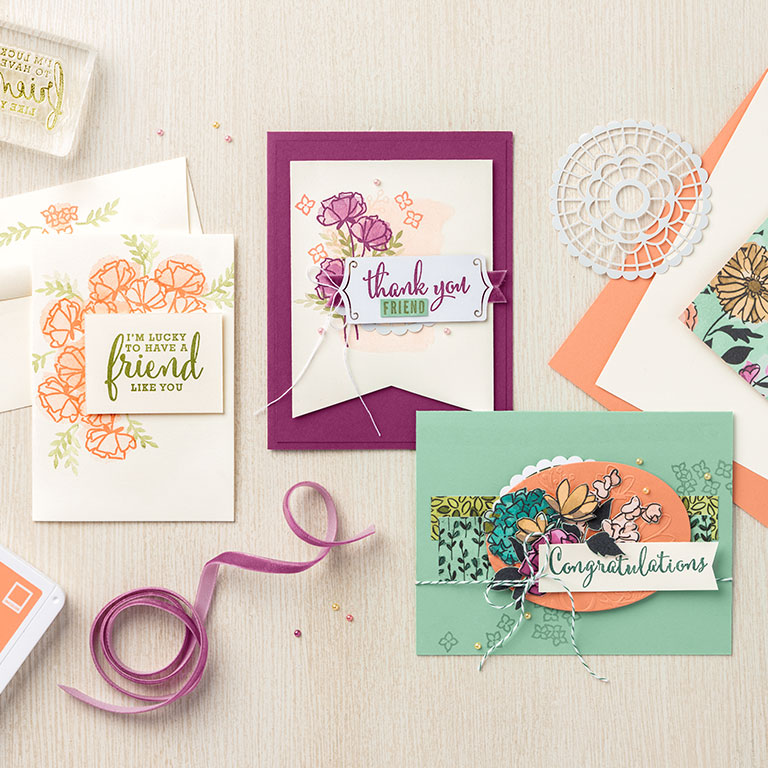
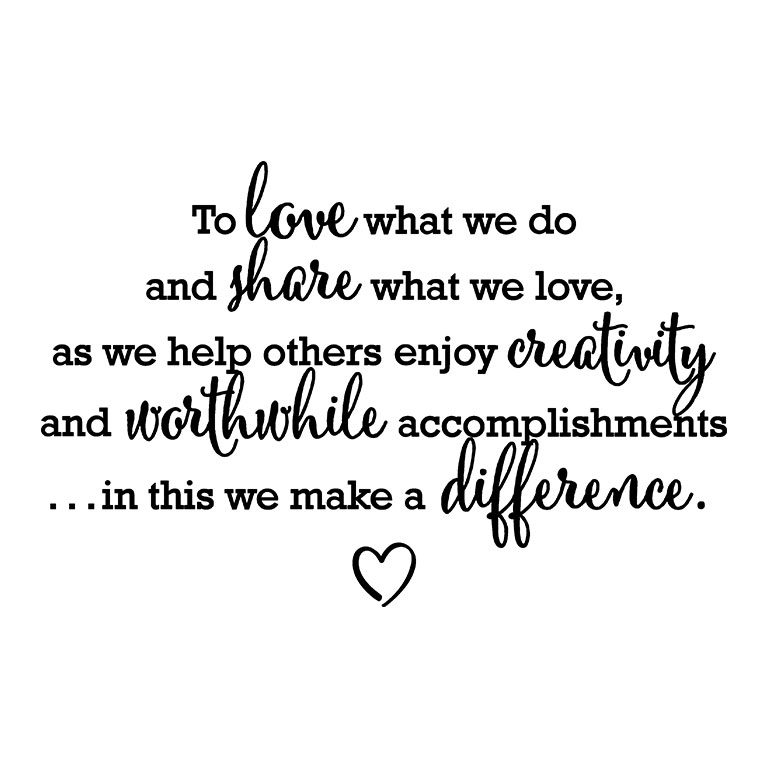
The Share What You Love Suite has been designed to celebrate Stampin' Up!'s 30th anniversary and is a tribute to all of the people who have made - and continue to make - Stampin' Up! what it is today: employees, demonstrators and you our customers. Featuring delicate florals and a pearl theme throughout, the suite contains two stamp sets and lots of co-ordinating embellishments and accessories. For those who choose to join us in celebrating the good times during the month of May and the early release, there is also the opportunity to receive your very own exclusive Statement Of My Heart single stamp, detailing the Stampin' Up! mission statement:
The Share What You Love Suite Early Release will be available as three exclusive bundles, suitable for every crafter. This is what each of the bundles looks like in more detail:
.png)
The Just Getting Started Bundle is aimed at the new crafter - it contains an acrylic block, stamps, ink and paper and some free envelopes - everything you need to get started and create beautiful, simple projects. You can purchase it by clicking on the link to my online store below:
The second bundle is called 'A Little More, Please':
.png)
If you're the kind of crafter that likes to add a little something extra to your projects, then The A Little More Please bundle is for you. Containing not one but two stamp sets, additional coloured cardstock and some beautiful embellishments to enable you to 'step up' your projects. In addition to a free pack of envelopes, you will receive the Share What You Love Embellishment kit for free too, containing a ton of extra bits and pieces and contained in a beautiful presentation box that you can reuse too. You can purchase it by clicking on the link to my online store below:
And finally we have the 'Gotta Have It All' bundle:
.png)
Last but by no means least we have the ultimate crafter's companion - if you really do need to have it all, then this bundle is for you: in addition to the items above you will also receive the beautiful Share What You Love Designer Series Paper with pearlescent detail, an embossing folder and that Statement of My Heart stamp set as an additional free gift. You can purchase it by clicking on the link to my online store below:
This bundle costs £118.75, but could be yours for just £99 if you join my team. This suite of products has everything you need to get started with classes, parties and workshops if that's your thing, or perhaps you just like the idea of being in crafting heaven with lots of beautiful new items to craft with and would like to enjoy an ongoing discount on future product purchases.
If you would like to see each of these bundles in more detail, Stampin' Up! have created this great video for you:
I am excited to be creating with this fabulous new bundle of products and look forward to sharing lots of samples with you in the near future. If you have any questions or would like to chat with me about how to obtain the Gotta Have It All Bundle as part of a starter kit, then do get in touch - I would love to hear from you.
Enjoy your day and I'll be back tomorrow with another project. Until then, happy stampin'!