Flowers For Every Season Floral Birthday Card

by Joanne James22. June 2020 11:25

Happy Monday everyone! Today is a special day - not one, but two, yes both of the James Juniors are back to school! There was much excitement in the James household this morning and whilst it's only for a couple of weeks, and for one it's only for a couple of days each week, the excitement at seeing friends and teachers face to face again was palpable! The house is now eerily silent, but it does mean that I am racing through my jobs today and am getting my blog post in early too! Today I'm sharing a card that I made inspired by the lovely Amy's sketch over at Freshly Made Sketches:

A super versatile sketch I'm sure you'll agree and I decided to get snipping for my floral creation today - take a look:


Here's the low-down on today's card:

Flowers For Every Season - Whilst flowers are by no means mandatory for this sketch, I initially reached for my Flowers For Every Season Memories and More cards as I wanted to incorporate the adhesive sentiments into my card. I couldn't find any flowers that worked for me though, so I reached for my co-ordinating papers and decided to get fussy cutting! I wanted to create some layering with my flowers, with some behind and some in front of my label, so separated the flowers to make this work. 

A Sweet Label - My sentiment label is from the Stitched So Sweetly Die set - such a great set for labels with a good variety of shapes and sizes. 

Textile Texture - I added some texture to the top layer of my Misty Moonlight cardstock using the new Textile Texture embossing folder which is lovely for a little extra detail.

This card was simple to put together once the fussy cutting was completed. I used another leftover edge piece of DSP to decorate the inside of my card too:


Waste not, want not and all that!

Here is the visual summary of the key products used on today's project for you to pin for easy reference:


You can see all of my 'How To' summaries on my 'How To - Tips and Techniques' Pinterest board in case you've missed any. 

Enjoy your day. I'm racing through my jobs before early school pick up. I'll be back tomorrow with another project. Until then, happy stampin'!


Stampin' Up! Supplies Used:

Table built using Product Table Builder by The Crafty Owl - Independent Stampin' Up! Demonstrator.

Tropical Oasis Guitar Thank You Card

by Joanne James25. May 2020 08:00

Happy Bank Holiday Monday to my UK readers and Happy Memorial Day to my USA readers! I'm sure like me you are spending your day differently since we are either still in lockdown or experiencing some form of social distancing, wherever you are. I actually have an online class today featuring the Birthday Jubilee bundle so my post needs to be a quick one. I do have a couple of cards to share with you though. So first up is a card using this week's layout over at Freshly Made Sketches

This layout is very similar to our Paper Players one this week, so I tried to do something different to yesterday's card and grabbed my Tropical Oasis Memories and More Cards for a colourful thank you card - take a look:


Here's the low-down on today's card:

I paired one of the smaller colourful cards with a sheet of the Tropical Oasis paper with a rustic pattern that I embossed with the Coastal Weave Embossing Folder for added texture, then added a layered 'thanks' that I cut down from the word 'Thanksgiving' in the Word Wishes Dies. I stacked the diecut with three pieces in Early Espresso and them one in Whisper White that I offset slightly.

Here is the visual summary of the key products used on today's project for you to pin for easy reference:


You can see all of my 'How To' summaries on my 'How To - Tips and Techniques' Pinterest board in case you've missed any. 

I also have another quick card, it's actually notelet size, that I made using a retired Crumb Cake notelet I found as I was clearing out, along with a discarded Highland Heather mat, for the current challenge over at CASology this week:

As I was sorting through my stamps I cam across this small image in the 'Garden Shed' stamp set that was just perfect both for the challenge and to use up the bits and pieces on my desk:


I simply stamped the image, coloured with my blends, and added some linen thread to finish. 

Enjoy your day and I'll be back tomorrow with another project. Until then, happy stampin'!


Stampin' Up! Supplies Used:

Table built using Product Table Builder by The Crafty Owl - Independent Stampin' Up! Demonstrator.

Tropical Oasis Take 5 Memories & More Card

by Joanne James12. February 2020 13:40

Today I'm sharing a card that packs a colourful punch yet uses only 5 products and was really quick to make. I used the current layout over at CAS(E) This Sketch:


My card features 3 products from the Tropical Oasis suite in the Spring-Summer mini catalogue - take a look:


Here's the low-down on today's card:

Tropical Oasis - Today's card really is super simple. It all started with a piece of the Tropical Oasis designer series paper. With lush foliage and colourful tropical flowers, this pretty paper really pops against the Terracotta Tile card base. 

Memories & More - For my sentiment, I chose a Memories & More card that co-ordinated with the DSP and fussy cut it to size to be in proportion with my card. These cards are so useful for quick cards as well as memory keeping. 

Coastal Weave Texture - I added texture to my card base using my Coastal Weave 3D Embossing Folder which is also part of the Tropical Oasis Suite. 

Here is the visual summary of the key products used on today's project for you to pin for easy reference:

You can see all of my 'How To' summaries on my 'How To - Tips and Techniques' Pinterest board in case you've missed any. 

Enjoy your day and I'll be back tomorrow with another project. Until then, happy stampin'!


Stampin' Up! Supplies Used:

Table built using Product Table Builder by The Crafty Owl - Independent Stampin' Up! Demonstrator.

Magnolia Lane Memories and More No Stamping Card

by Joanne James19. August 2019 21:00

Happy Monday everyone! Today I'm sharing a super quick card using the CAS Colours and Sketches layout and the theme over at Just Add Ink:


I was thrilled to see the JAI theme this week; when you're busy and short on crafty time, what can be better than a 'no stamping' card? I had the Magnolia Lane Memories and More Card pack out on my desk still following last week's class, so chose card and set to work:


I backed my card with a panel of Early Espresso, added a sentiment sticker, some co-ordinating twine and a trio of pearls to my Petal Pink card base, that I had already run through my Subtles embossing folder and I was done! I even added a larger M&M card to the inside for a pre-decorated interior:

Seriously - it took longer to photograph and watermark my card and type up this post than it did to make it!

 As a result I did manage to get a couple more cards made this afternoon, so I will share those with you tomorrow.

Here is the visual summary of the key products used on today's project for you to pin for easy reference:


You can see all of my 'How To' summaries on my 'How To - Tips and Techniques' Pinterest board in case you've missed any. 

Enjoy your evening and I'll be back tomorrow with another project. Until then, happy stampin'!


Stampin' Up! Supplies Used:

Table built using Product Table Builder by The Crafty Owl - Independent Stampin' Up! Demonstrator.

Happiness Blooms Coral Flowers

by Joanne James27. April 2019 21:00

Today I've been battling a mountain of ironing and watching one of the James Juniors playing back-to-back hockey games in storm-grade winds (a dedicated sportswoman indeed!) so I'm late with today's post but wanted to share a quick card I made for the current challenge over at Inspire.Create where they have a great sketch to work with:

 No photo description available.

My card features stamp, papers, ribbon and a sentiment from the Memories and More kit from the Happiness Blooms Suite  - take a look:


I just love this suite and am so sad it is going to retire as it's one of my favourites from the Spring-Summer catalogue - i love the contemporary design and bright colours and the Bitty Blooms punch pack is super-useful too! 

Here is the visual summary of the key products used on today's project for you to pin for easy reference:


You can see all of my 'How To' summaries on my 'How To - Tips and Techniques' Pinterest board in case you've missed any. 

Enjoy your day and I'll be back tomorrow with my post for this week's new challenge over at The Paper Players. Until then, happy stampin'!


Stampin' Up! Supplies Used:

Table built using Product Table Builder by The Crafty Owl - Independent Stampin' Up! Demonstrator.

Clean and Simple Candy Cane Christmas Card - Sweet Treats PP419

by Joanne James18. November 2018 09:00

Today it's Sunday and time for this week's new challenge over at The Paper Players - yay! It's the turn of my awesome friend LeAnne to host this week and she has a clean and simple challenge for you to work with:


Remember in addition to the theme of "sweet treats", this week is a Clean-and-Simple (CAS) challenge!  What do we mean by CAS?

  • Minimal layers and embellishments
  • Plenty of open space, aka "white" space
  • Simple and uncluttered

I was totally inspired by the red and white stripes and the candy cane in our wonderful inspiration photo for my card this week - take a look:


Here's the low-down on today's card:

Sweet Candy Canes - My card is all about candy canes - when it comes to sweet treats at this time of year, is there really anything sweeter? I reached for my favourite Santa's Workshop designer series papers again and paired them with a glittery candy cane embellishment from my Memories and More pack for a striped candy feast. 

Keep It Simple - My card really is super simple: a couple of well-chosen papers used sparingly, with a simple stitched circle and heat-embossed Christmas sentiment complete my card. Even the inside has a well-chosen but super simple sentiment detail:


A Delight in Red and White - Using just one colour with my white card base adds to the clean and simple feel of today's card. If you like this card, you might also want to check out this card that I posted earlier this week that used the same colour combination and products - and can also be made in under 10 minutes. Both of these cards are simple to create and would be great for mass production. Gotta love #SimpleStamping

Here is the visual summary of the key products used on today's project for you to pin for easy reference:


You can see all of my Product and 'How To' summaries on my 'How To - Tips and Techniques' Pinterest board in case you've missed any. 

Before you reach for your ink and papers, check out what our amazing team has created to inspire you this week:

Here's a quick recap of our challenge rules:
 
1.  Create a new paper project
2.  Upload your creation to your blog with a link back to us and provide a direct link to the post featuring your challenge submission.
3.  Please link your card to no more than four challenges, TOTAL.
4.  Have FUN!

You can see all of my 'How To' summaries on my 'How To - Tips and Techniques' Pinterest board in case you've missed any. 

Enjoy your day. We had a busy day yesterday with a scrapbooking class and a swimming gala so today is officially homework day in the James household with hopefully a movie afternoon thrown in. I'll be back tomorrow with another project. Until then, happy stampin'!


Stampin' Up! Supplies Used: 

Table built using Product Table Builder by The Crafty Owl - Independent Stampin' Up! Demonstrator.


Memories And More Sweet Soiree Mini Album

by Joanne James30. March 2018 19:00

I hope you are all enjoying the start of a long bank holiday weekend. We have already enjoyed a morning of fresh air, followed by an afternoon of chocolate and a movie to avoid the return of the rain here in the UK. I am so done with winter now!

Today I thought I would share with you the first of the projects that I made with the ladies that attended my recent luxury craft weekend earlier this month. I won't be sharing any instructions on how they were made - these are reserved for those that attended - however I am sharing lots of photos of the projects that I designed as it is a great way for my readers to get a flavour of what a residential crafting retreat with me is like and the kinds of projects included. With 4 classes spread over 2 days, it's a great opportunity to tackle a variety of projects and also some that are a little more time-consuming than can be completed in a class that is of a shorter duration.

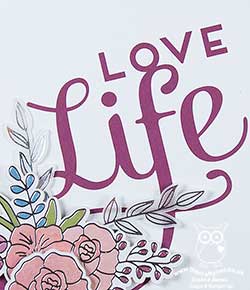
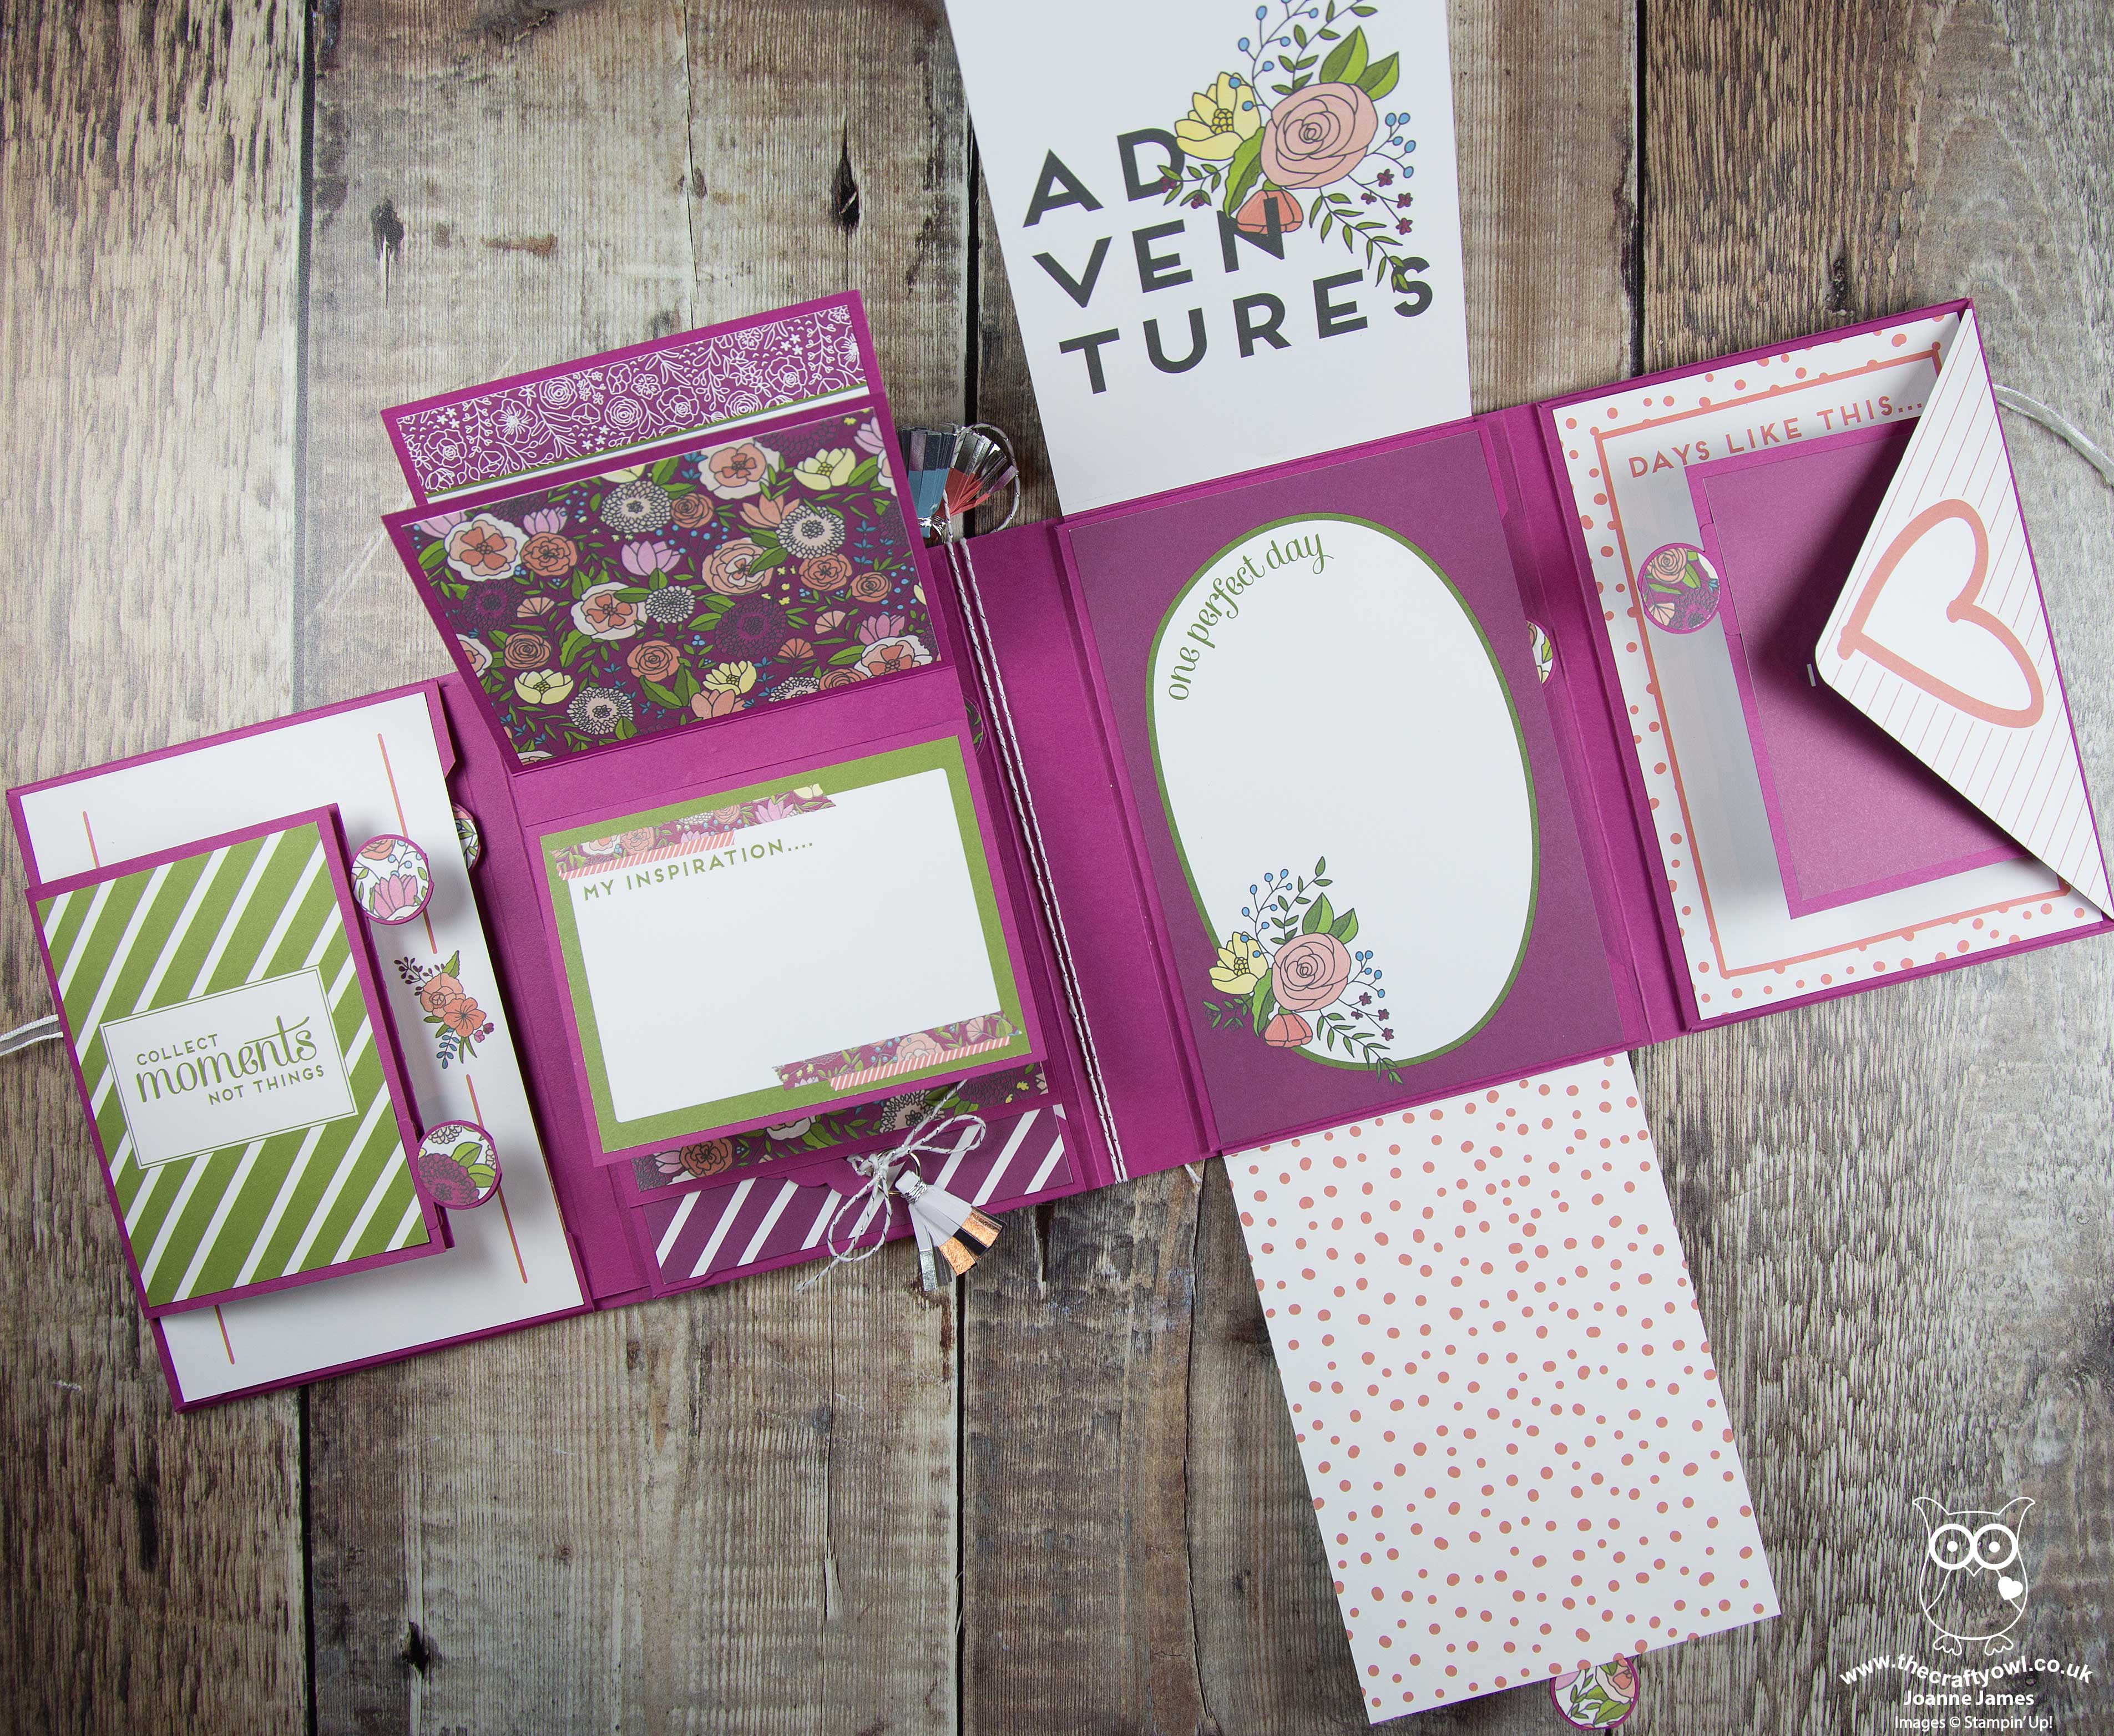
Today I'm sharing one of my favourite projects: a mini album I made featuring the Sweet Soiree Memories and More cards that are one of the current Sale-A-Bration gifts that can be yours free with a purchase of £45 or more, for just over another 24 hours:


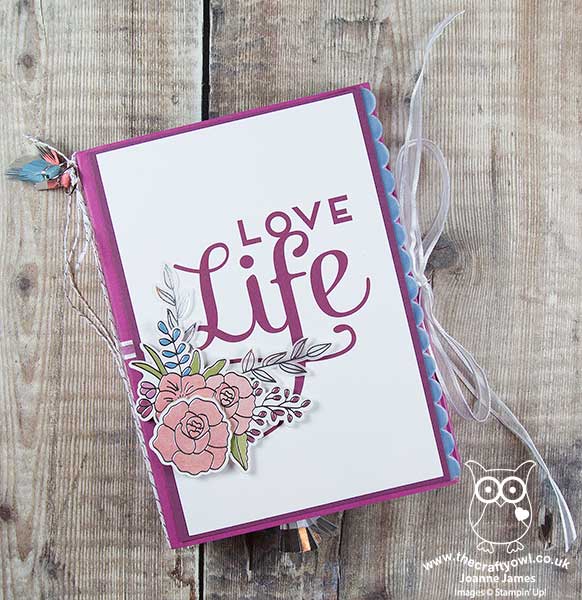
Berry Burst cardstock forms the base of this expandable album and in addition to the Sweet Soiree Memories and More card pack, the Sweet Soiree Embellishment Kit has been used to decorate the cover and inside. 

This is what album looks when you first open it:


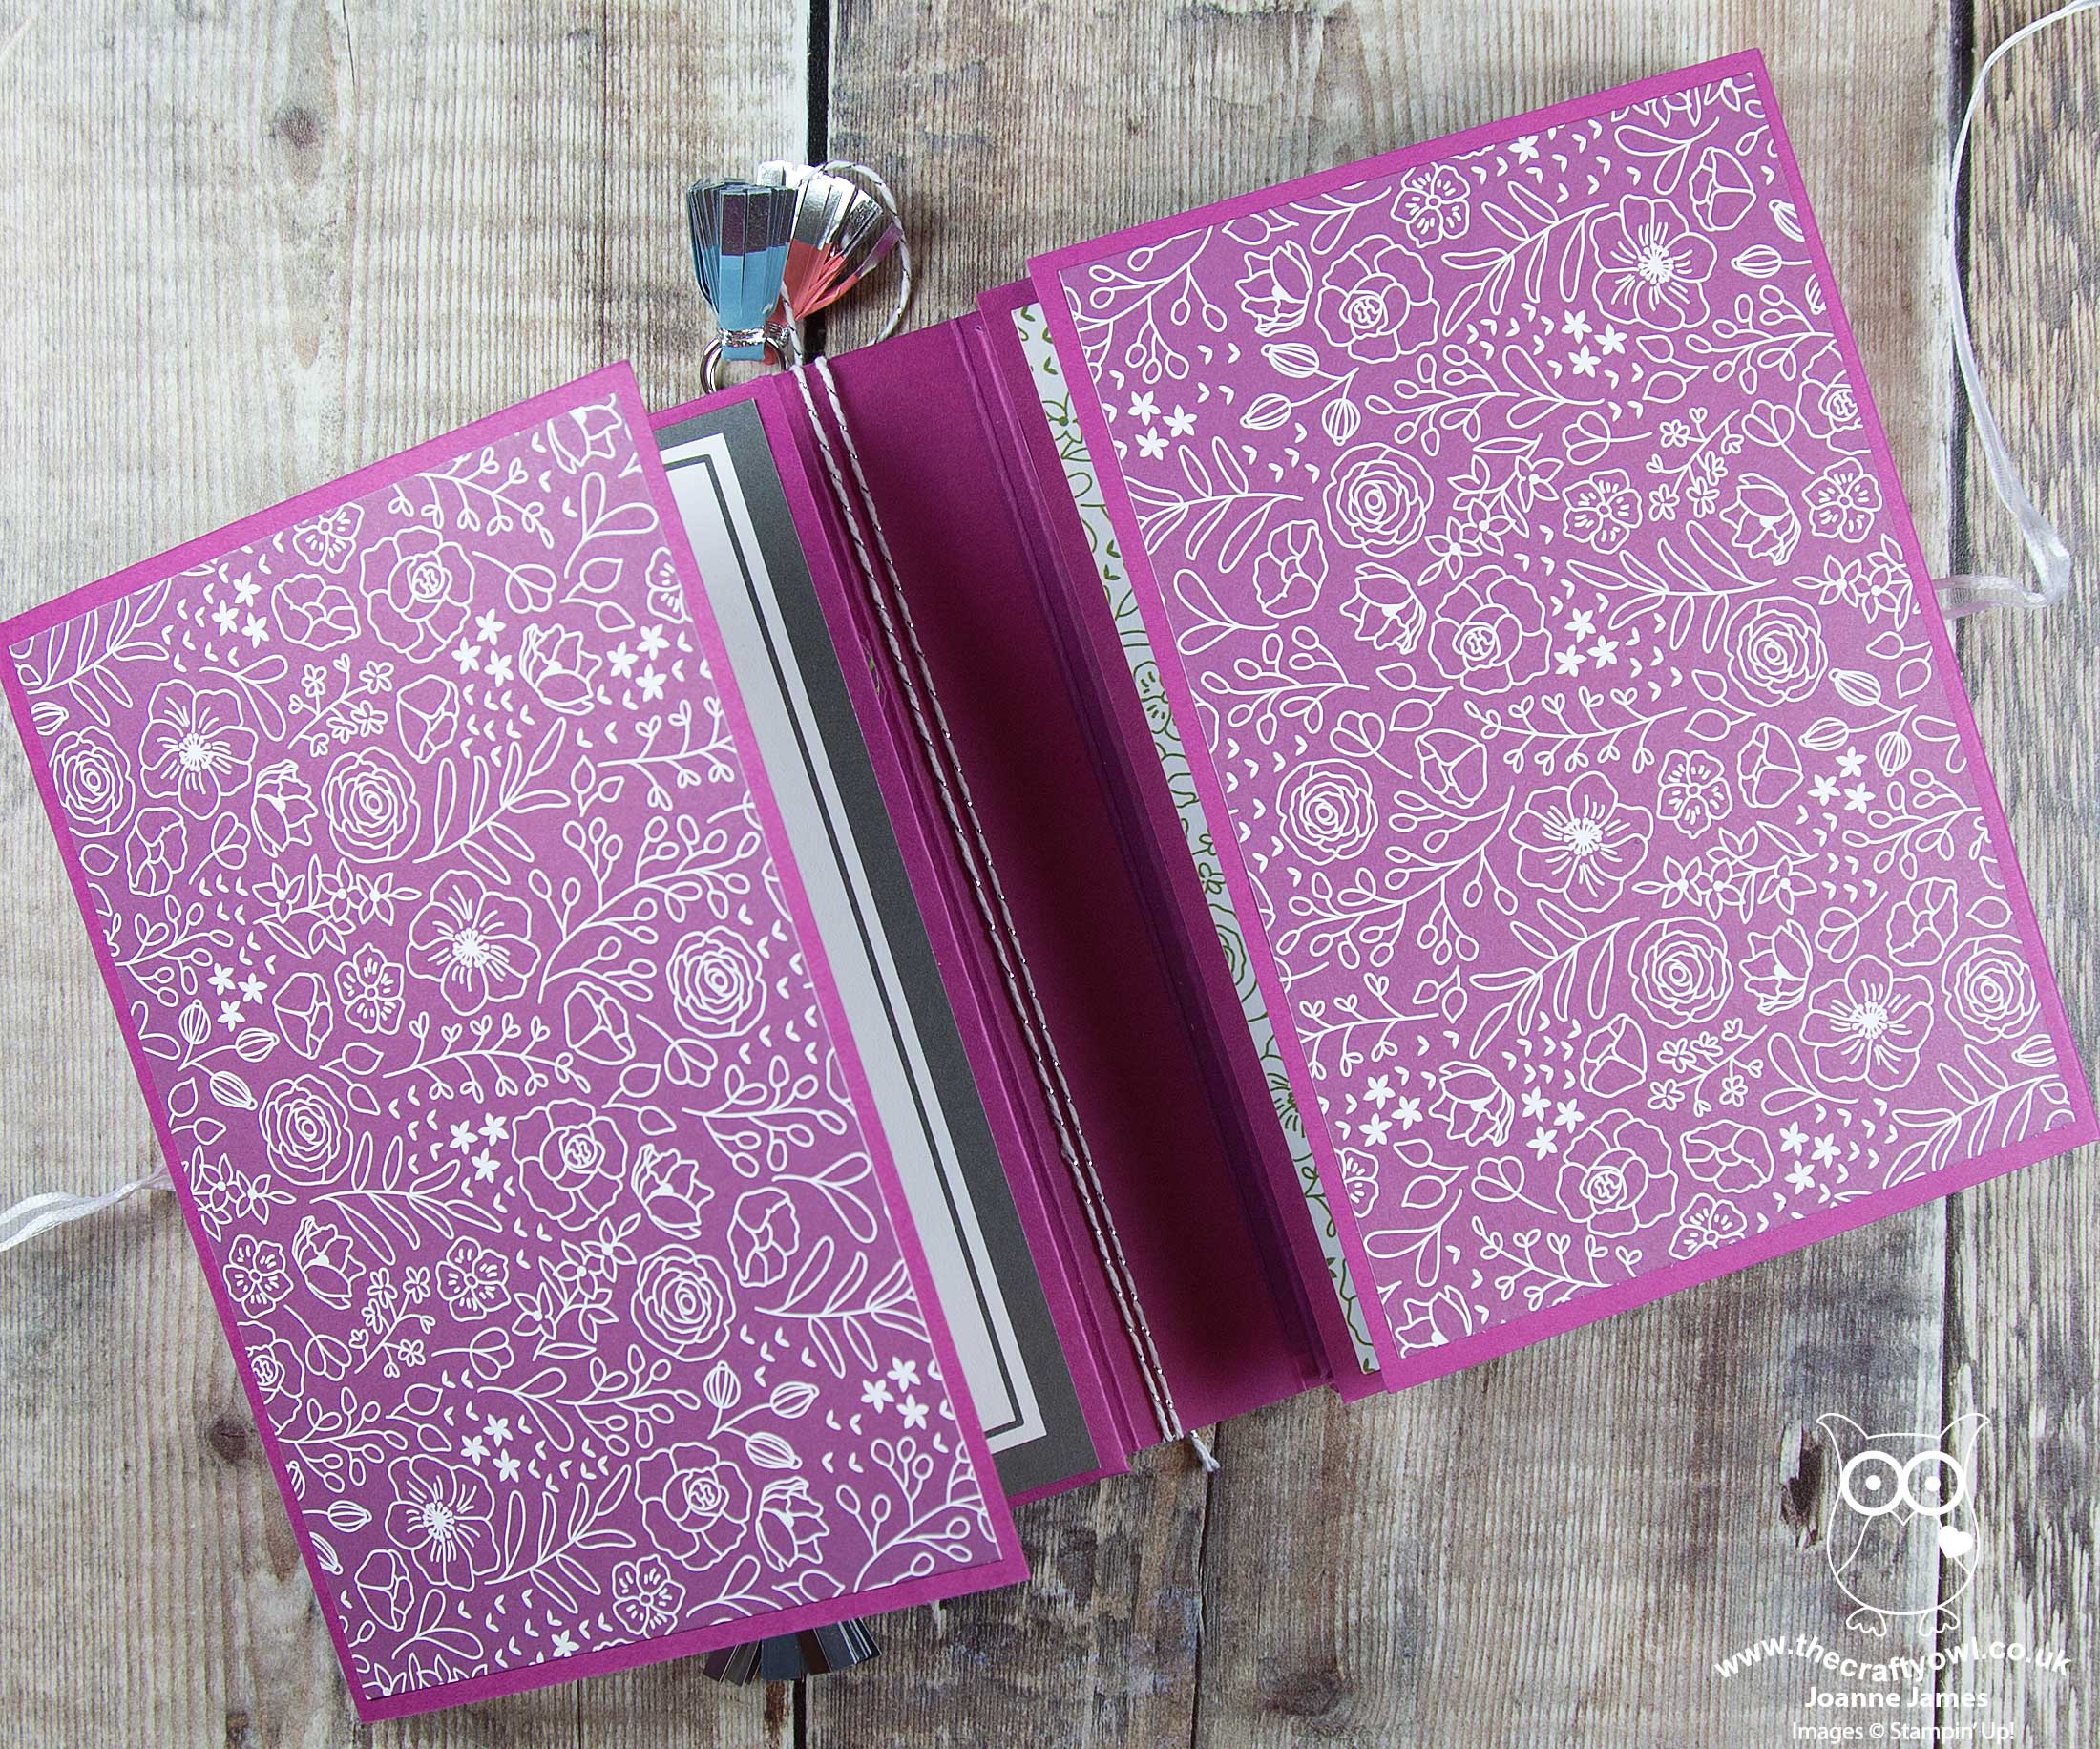
Fully extended, the album is four panels wide:


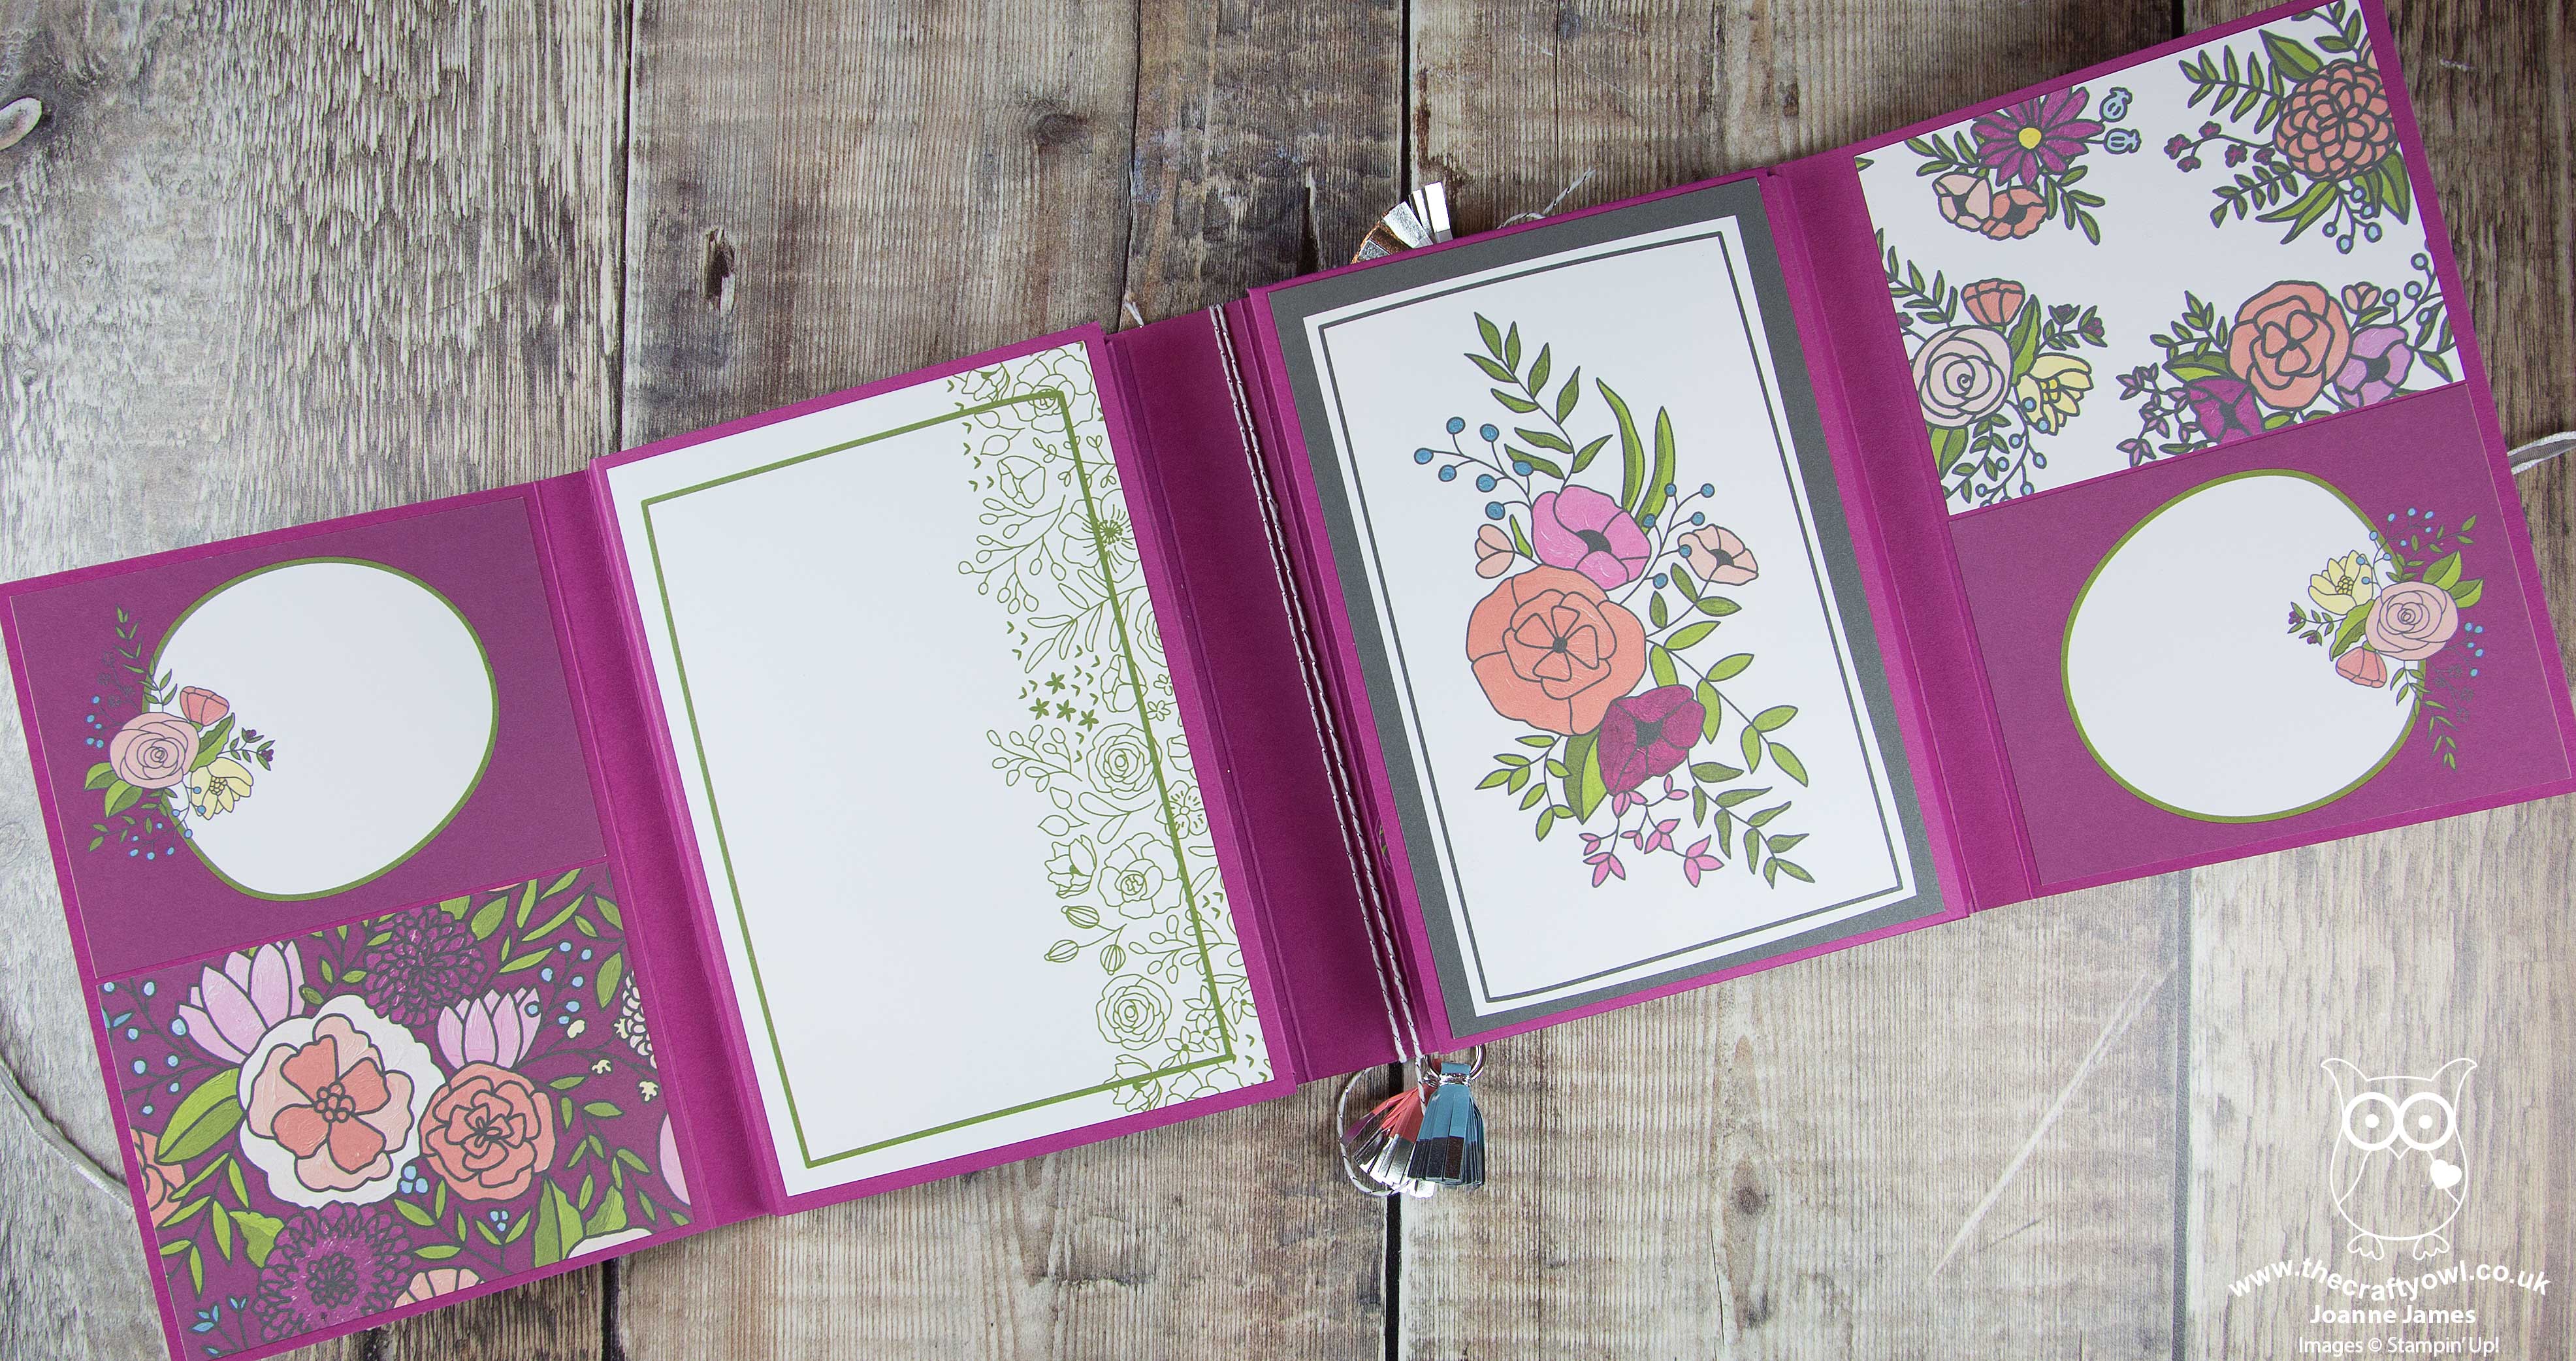
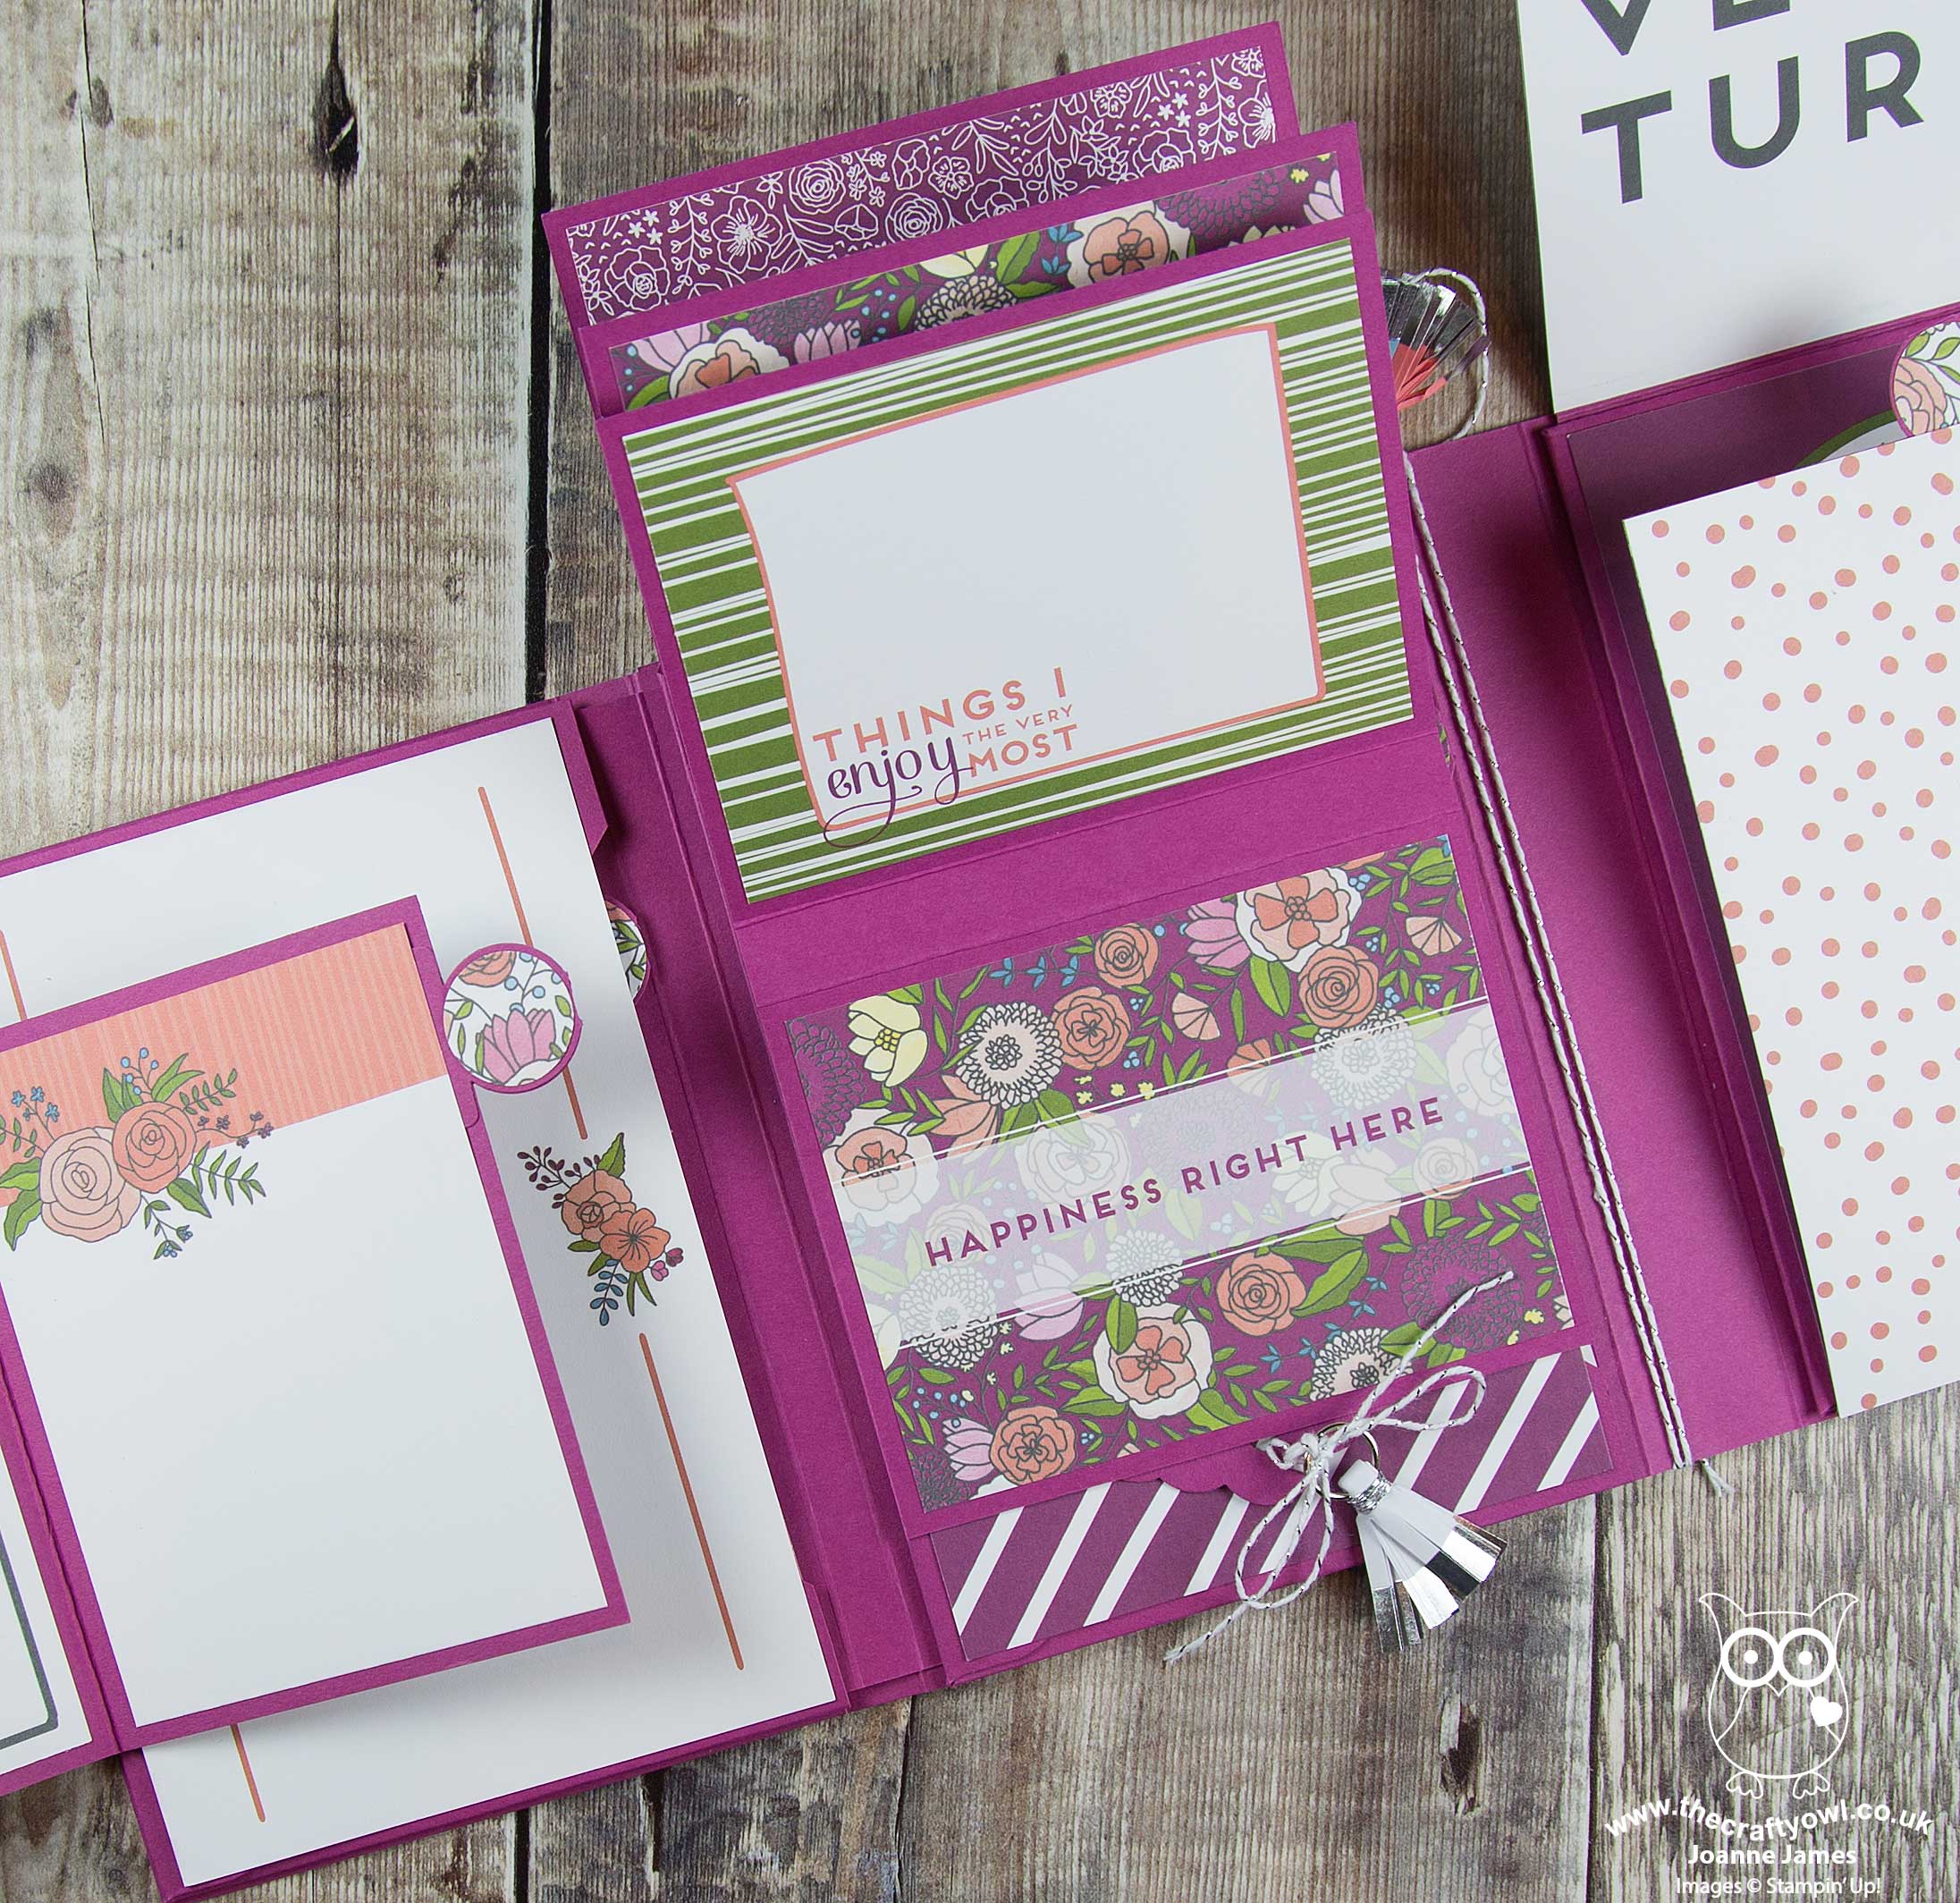
Each side then expands further to include additional flaps and pockets on both sides:


The album includes lots of areas to add photographs and capture memories, including this neat waterfall feature:


This album was certainly the most challenging of the projects we tackled during the retreat and was not for the fainthearted! The feedback was really positive though and everyone was so pleased with their creations; some ladies reported feeling truly amazed and thrilled to have tackled something like this, which they would not have ever contemplated on their own. I was personally thrilled with how positively this was received, as I've never led a class quite like this before. I'm already taking the learns from this project to create another version that is equally 'wow' yet a little easier to recreate.

If you would like to make projects like this one at a future retreat, please sign up to my newsletter by clicking on the icon in the right-hand column to ensure you receive the information for future retreats as soon as it is released or click here for more information - details for my next retreat will be announced in the coming weeks!

Here is the visual summary of the key products used on today's project for you to pin for easy reference:


You can see all of my 'How To' summaries on my 'How To - Tips and Techniques' Pinterest board in case you've missed any. 

Enjoy your evening and I'll be back tomorrow with one last project featuring Sale-A-Bration item. Until then, happy stampin'!


Stampin' Up! Supplies Used:

Table built using Product Table Builder by The Crafty Owl - Independent Stampin' Up! Demonstrator.

Color Theory Winter Memories And More Scrapbook Layout

by Joanne James4. November 2017 08:00

I have had a busier than usual schedule this week which has necessitated a few blog-free days - I hope you will all bear with me, whilst I like to think I'm organised clearly I'm not organised enough! So much to share and so little time really is my motto at the moment.

Anyway, today I am back with it and I have something a little different for you - this week the team over at Global Design Project have a family theme and CAS-ual Fridays are challenging us to make anything but a card - so I thought I would share one of my recent scrapbooking layouts:


Here is my layout featuring the Color Theory Memories and More card pack:


Here's the low-down on today's project:

A Traditional Layout - Whilst I don't often share my layouts with you here on my blog, I'm a real fan of the pocket-style memory keeping that we introduced with the Project Life range and subsequently with Memories and More. The pocket cards make it so easy to put pages together quickly and I love that I can organise my pages with minimal supplies and 'pretty' them up as I go or add extra detail later. Here I've used the Memories and More cards in a traditional 12" x 12" scrapbook layout as I wanted to show how these cards can be used in a variety of different ways. The pre-printed sentiment cards mean that whatever type of layout you use, Memories and More cards make it easy to create a colourful layout with no stamping required.

Color Theory For All Seasons - This layout is one of four that I created using the Color Theory Memories and More card pack, as I created one for each season. I will share the other layouts in a future blog post; as you can see this page is my Winter layout featuring the rest of the James family on our annual ice skating trip. This is something we love to do every year and make a point of doing together, just the four of us - it has become a tradition and is generally accompanied by different novelty hats each year - in the photo above Rebecca is sporting a Christmas tree whilst Ben's has elf ears! In addition to the Memories and More cards, I used some coloured embossing paste with my Pattern Party Decorative Masks to add some texture and interest to my background, along with some diecut snowflakes courtesy of the Seasonal Layers Thinlits, a little glimmer paper and some glitter enamel dots to add some festive sparkle. I added stickers from the Color theory card pack for additional sentiments and accents.

Hidden Thoughts - My layout features space for journaling on the card above my photograph, but it also features a 'hidden journaling' card concealed beneath the photograph and revealed by pulling the tab on the left hand side attached to the card that says 'Details'. The circle tab punch is great for adding tabs to your journaling cards in this way.

I'll be back tomorrow with another project for this week's challenge over at The Paper Players; until then, happy stampin'!


Stampin' Up! Supplies Used:

Table built using Product Table Builder by The Crafty Owl - Independent Stampin' Up! Demonstrator.

Sale-A-Bration 2025

It's time for Sale-A-Bration 2025! Shop, host and earn benefits between 7 January - 28 February. Download your copy of the Sale-A-Bration brochure here!

Mini Catalogue

BROWSE THE CATALOGUE

New Year, new products - the new Stampin' Up! Mini Catalogue is here! For more details and to download your copy click here

Shop Online

Access my online shop 24 x 7, 365 days of the year:

Current January hostess code:

M7ZT6XFK

Shop Online

Join My Team

And when you join during Sale-A-Bration, new team members can build your starter kit by choosing £130 worth of products for only £99 + free business supplies + free shipping and either TWO Stampin' Write marker sets and the exclusive Handmade Designs stamp set OR an additional £30 in FREE products. Stampin' Up! has something for everyone: join my growing team and benefit from my support to enjoy Stampin' Up! however you choose.

If you're interested, call me for a chat to understand how I can help you realise your goals. Alternatively, if you have already decided to sign up and you just can't wait, please click here for the link to the online form where you can sign up and order your starter kit right away! 

Scrapbooking

Stampin' Up! has introduced a new range of 12x12" scrapbooking product and kit - the full range is now available to purchase online. To download a copy of the new digital Scrapbooking Catalogue click here.

Latest Kits!

Stampin Cut and Emboss

The Birthday Bash Kit is just one of the latest kits in the online store - get yours here!

2024-25 Annual Catalogue

BROWSE THE CATALOGUE

Click on the image to download your copy of the 2024-25 annual catalogue. For a full list of current SU! supplies, go to my online store. If you would like any help or advice, please drop me a line at joanne@thecraftyowl.co.uk or give me a call on 07773 421446 - I'd be happy to help.

New Online Exclusives

There are new products available exclusively in the online store from 7 January - check them out here.

About Me

Hi I'm Joanne and live in Northampton and when I'm not looking after my husband and two beautiful children, am an avid crafter with a passion for all things Stampin' Up!

I must confess that I have never been a big rubber stamper - until I discovered Stampin' Up! that is. I love the fact that I can get such great results with co-ordinating stamps, inks, papers and punches - the possibilities are endless! Join me on my stamping journey as I share the things I love and be inspired to create amazing things yourself!

Follow Me

Monthly Newsletter

Box Builder

Click the button above to use Box Buster to create your custom box design using the Envelope Punch Board!

Kits Collection Now Available!

Stampin Cut and Emboss

The new Kits Collection from Stampin' Up! is now available!

Click here to see the current kits available and order yours online today.

I Design For


Stampin' Up Stuff

This is my personal blog and is not endorsed by Stampin’ Up! I hope you find it a plentiful source of ideas and personal inspiration but please don't copy my designs for contest submission or use for classes, publication or sale without express permission.

DSP Special Release

Check out 3 popular designer series paper designs in fresh new colourways! Available exclusively in the online store from 3 December - check them out here