Today it's Sunday and time for this week's new challenge over at The Paper Players! It's the turn of the lovely Anne Marie to host this week and she has my favourite, a sketch challenge, for you to work with:

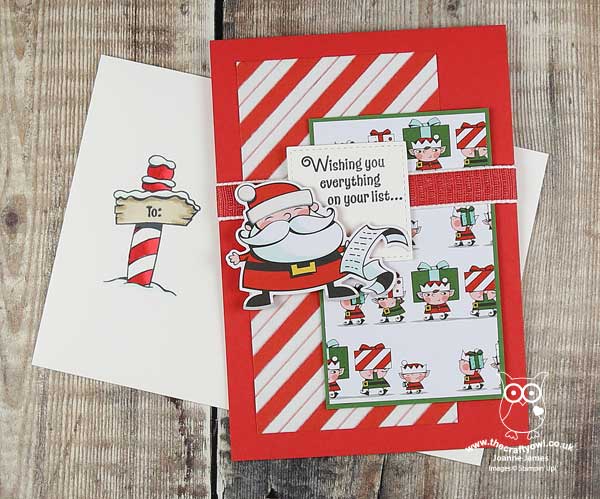
I decided that the sketch layers were perfect to showcase some designer series paper and since I am back creating for Christmas I knew exactly where to start - with a personal favourite this season. I ended up making not one, but two cards. Here's the first one:
Here's the low-down on today's card:
Santa's Workshop - The Santa's Workshop Suite is my favourite in this year's seasonal Stampin' Up! catalogue: with Santa, elves and Mrs Claus - what's not to love? The Santa's Workshop Specialty Designer Series Paper is the star of the suite - not only choc-full of cute designs, but four of the twelve sheets have a fabulous white flocking detail which adds great texture - it reminds me of the Fuzzy Felt of my childhood! I used three different sheets on my card: two for the panels (one with the diagonal flocked stripes, the other with Santa's elves diligently delivering everything on Santa's list) and a third for my Santa himself, complete with list.
Fun With Framelits - With the exception of the sentiment, there is no other stamping on the front of my card. Even the jolly Santa is cut from the designer paper; yes, this pack is another that has designs that can be cut with the Santa's Signpost Framelits that co-ordinate with the Signs of Santa stamp set. I could have stamped the Santa and coloured him, but then I wouldn't have had the flocking adorning his bobble hat and I just couldn't pass that up!
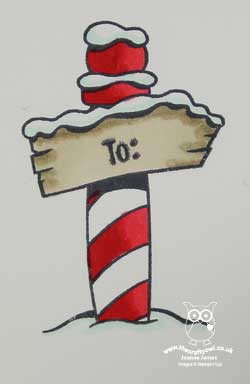
A Little Colouring Too - I did a little stamping and colouring both inside my card and on the front of my envelope to complete my project; you can see the envelope on the main photos above and below; here's a peek at the inside:
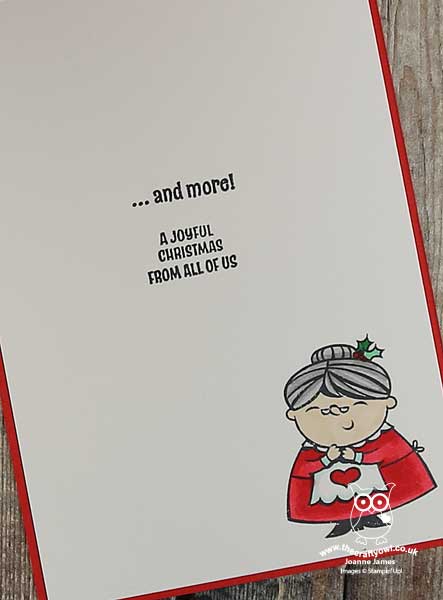
How sweet is Mrs. Claus?! I actually liked this card I decided to create another one with the same design - this time, making more of the diagonal striped paper to really show off the flocking:
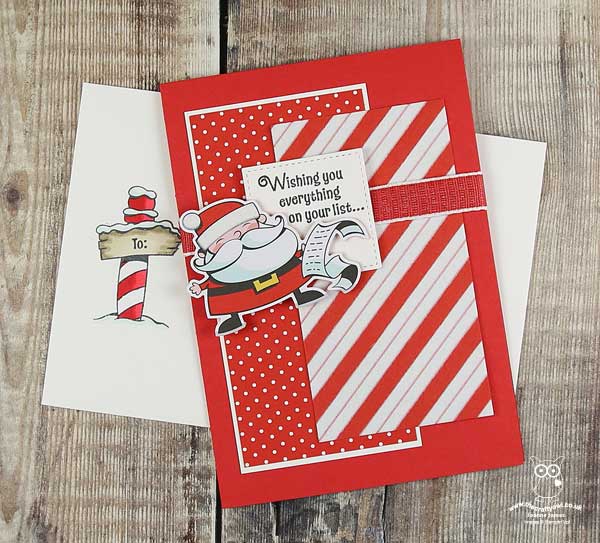
So which of these do you prefer? I think I actually like the second one better, but I suspect that is because it's a little less busy in terms of pattern and I just love the red and white with the felt flocked detail. Do leave me a comment and let me know what you think.
Here is the visual summary of the key products used on today's project for you to pin for easy reference:
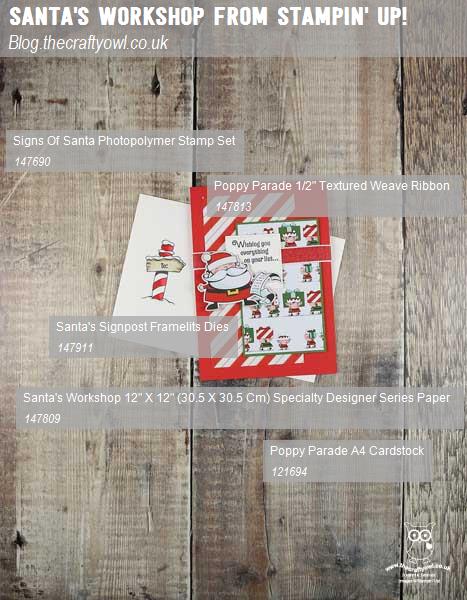
You can see all of my Product and 'How To' summaries on my 'How To - Tips and Techniques' Pinterest board in case you've missed any.
Before you reach for your ink and papers, check out what our amazing team has created to inspire you this week:
The Paper Players Design Team
Here's a quick recap of our challenge rules:
1. Create a new paper project
2. Upload your creation to your blog with a link back to us and provide a direct link to the post featuring your challenge submission.
3. Please link your card to no more than four challenges, TOTAL.
4. Have FUN!
You can see all of my 'How To' summaries on my 'How To - Tips and Techniques' Pinterest board in case you've missed any.
Enjoy your day and I'll be back tomorrow with another project. Until then, happy stampin'!
Stampin' Up! Supplies Used: