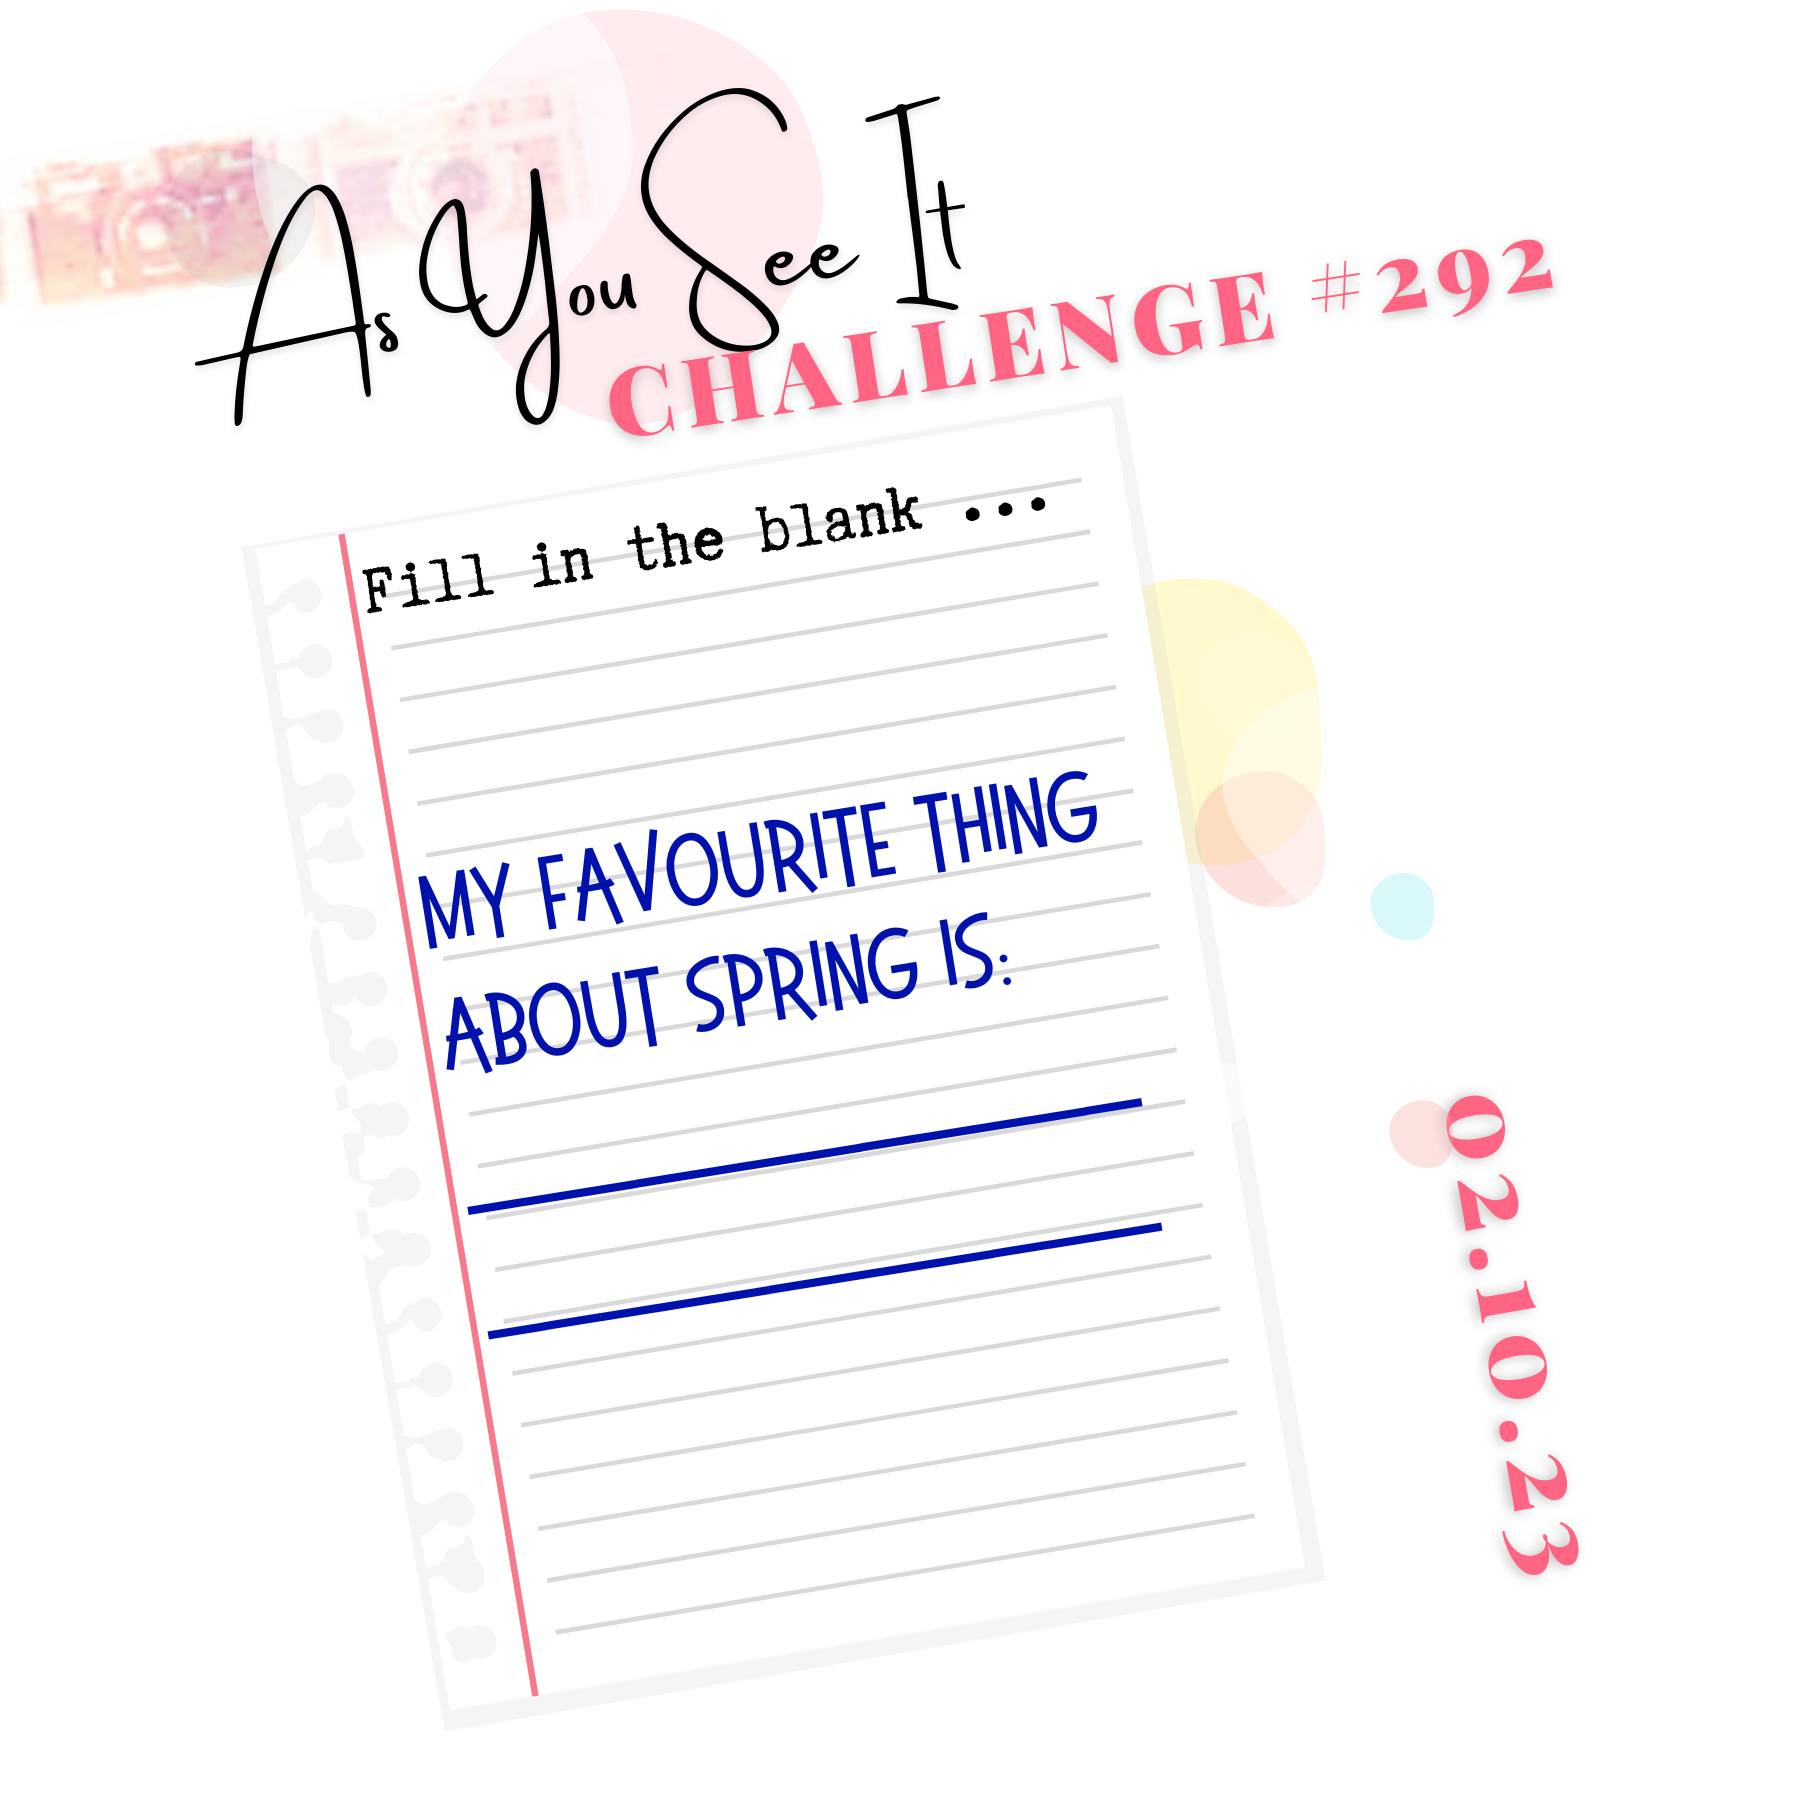
Today I'm sharing my design team card for our new challenge over at As you See It where it's time for a seasonal 'fill in the blank' challenge:
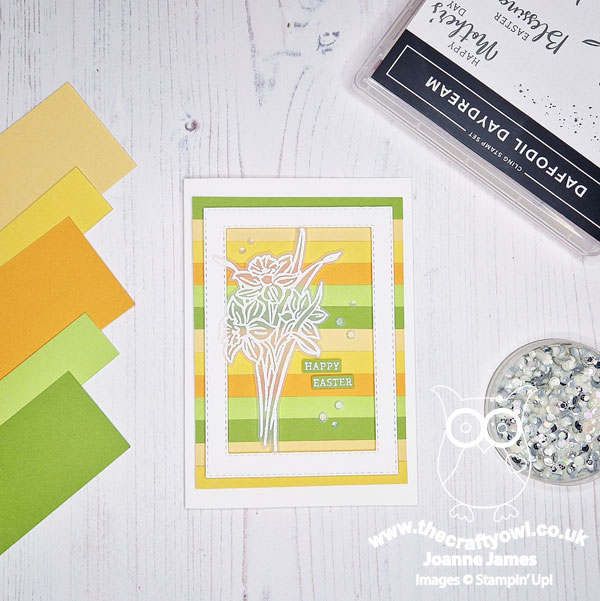
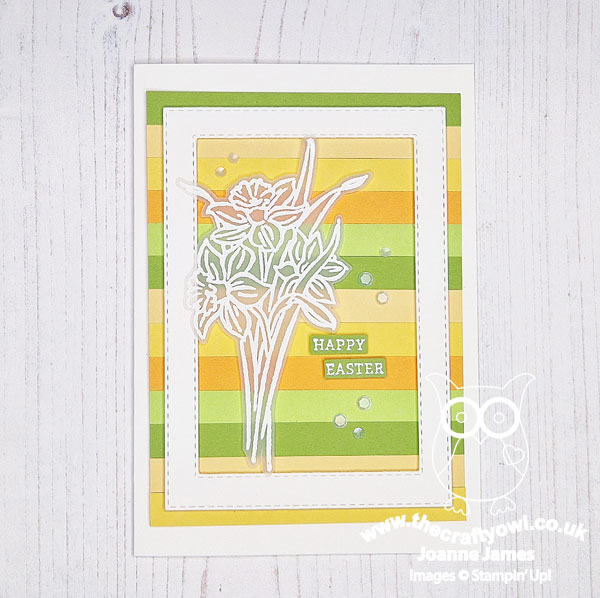
My favourite thing about Spring - this was an easy one! I always know that spring is on its way when I see daffodils poking their heads through the soil and there is something so cheery about their trumpets nodding in the wind, in their various shades of yellow. I love a tulip too, but as a Welsh person my national flower will always win out. So I grabbed my 'Daffodil Daydream' stamp set and set to work. I have made many cards with this set, and I'm sure that flowers will be a popular choice for Deborah's fill in the blank challenge this week, so I set out to create with mine in a different way. Inspired by a number of cards I'd seen on Pinterest using other kinds of flowers, this is what I came up with - take a look:
Here's the low-down on today's card:
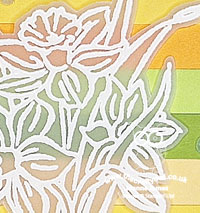
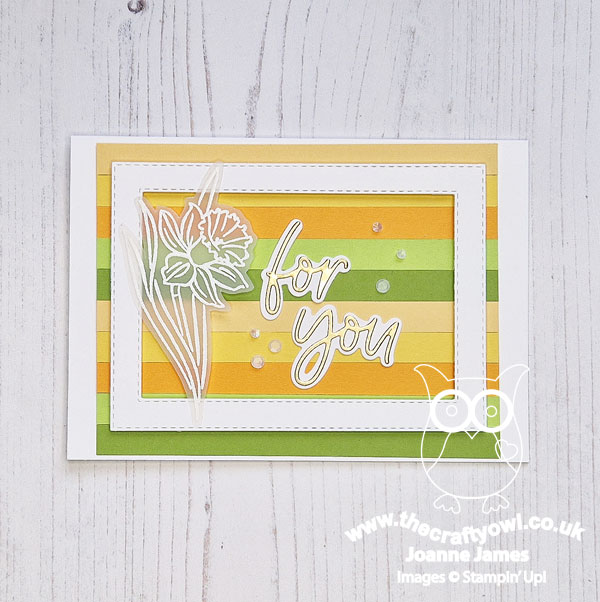
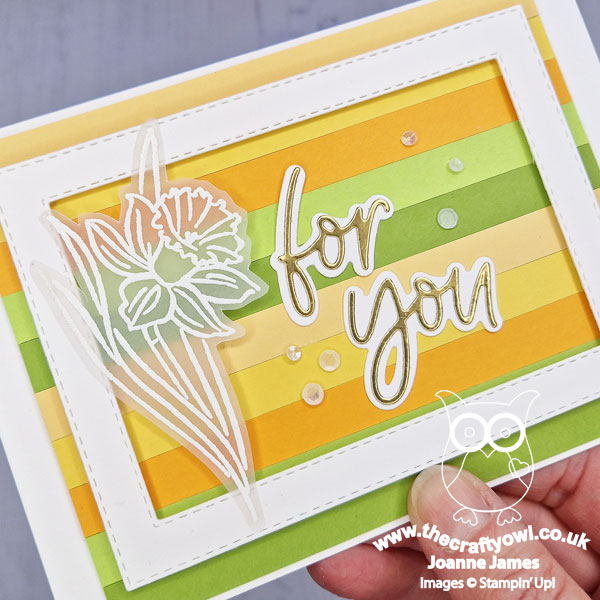
Ring The Changes With Vellum - I decided that instead of stamping and colouring my daffodils, I would heat emboss them in white onto vellum. For those of you that are not big fans of colouring, this is a great alternative way to use those line-drawn stamps. I wanted them to stand away from my background, so used a white frame made using my stitched rectangle dies and carefully adhered the points of my vellum flower to the frame, adding a small foam pad beneath the leaf that sits directly on the background as it can't be seen beneath the embossing.
Use Up Those Scraps - I used a selection of stripes measuring 1cm in width in a repeating pattern to add colour to my card, using the five colours I would have used if I was colouring the image. This is a great way to use up scraps that are leftover from other projects - we all have these random strips, don't we? My top tip for creating this kind of background is to cut a piece of white cardstock slightly smaller than your desired finished size and glue your strips to this before trimming the edges to size to create a neat finish. I added a sentiment combined from the two in the set, along with a scattering of clear sequins to complete my card:

A Daffodil Pair - I loved this card so much, I created a second one using the other daffodil in the set too. This time I rotated it from portrait to landscape, as the single daffodil is smaller:
I paired this with a layered diecut sentiment from my favourite Love For You Dies, for a card that could work for any occasion - I will probably send it to one of my dearest old school friends for St David's Day on March 1st - I know she will appreciate it! Check out the detail below:
Here's a photo of both cards together - which one do you prefer?

I love them both and had so much fun experimenting with this technique. This was such a fun way to bring new life to this much-loved stamp set.
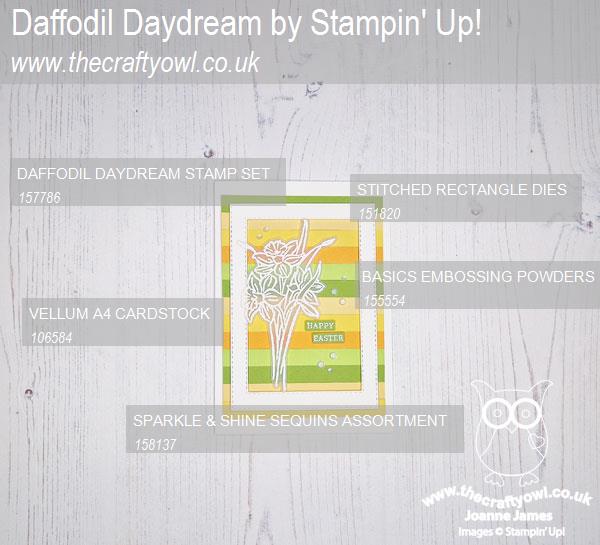
Here is the visual summary of the key products used on today's project for you to pin for easy reference:
You can see all of my 'How To' summaries on my 'How To - Tips and Techniques' Pinterest board in case you've missed any.
Here's a summary of our challenge rules:
- Create any card, scrapbooking page, 3D project or packaging project that fits the challenge.
- Please include the challenge graphic and link back to the challenge in your blog post. Turn off word verification so we can leave you lots of lovely comments. Make sure you link the post not the whole blog to the Linky. Use #AYSIXXX when uploading to a public gallery.
- If you’re unsure about ‘the rules’, check the details under the Challenge Guidelines tab on the As You See It Challenge homepage.
- In a Fill in the Blank challenge, complete the sentence in the Challenge Banner with the phrase that is true for you and create your project using the words you used. Tell us what you said in your blog or on your site.
We look forward to seeing your creations in the AYSI gallery.
Enjoy your day and I'll be back tomorrow with another project. Until then, happy stampin'!
Stampin' Up! Supplies Used: