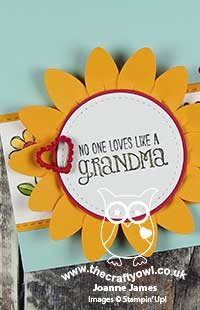
Not Just For Grandmas - Tricolour Birthday Card JAI476

by Joanne James2. October 2019 10:30

No post from me yesterday I'm afraid as I was out hosting a Stampin' Up! party at the lovely Jane's house for her and all her friends and I didn't get a chance to post before I left. We had a fun evening of Christmas crafting, with delicious cake thrown in (the refreshments at Jane's always make the visit worthwhile!) I'm back to it today and just have time to squeeze in an entry for this week's challenge over at Just Add Ink

I loved this week's inspiration photo and it led me to create a card with a rather modern twist take a look:


Here's the low-down on today's card:

A Word About Inspiration - As my regular readers know, sketches are often my 'go to' starting point when I make a card, however sometimes inspiration comes from other areas. When it's a photo such as the one that inspired today's card, it can be interpreted in so many different ways. I knew I wanted to use florals, ideally tulips, and bright colours. It struck me that the photo had clearly defined lines of tulips within the borders and I decided it might be fun to use this idea on my card too. So I chose to create three distinct rows of flowers in each of the colours on the photo (I stamped them tone-on-tone then heat embossed them with clear embossing powder; difficult to see on the photo, but gives a lovely texture and shine) and backed them with a pale green Soft Sea Foam panel and a white card base. Using the cardstock in each of the colours, rather than stamping the flowers onto white and/or colouring them gives a strong, graphic feel to my card. Check out the JAI gallery to see how the DT team and other participants interpreted this week's inspiration! 

Not Just For Grandmas - My flower borders are made up by repeat-stamping the stamp featuring a trio of flowers (one is a tulip!) from the 'Grandma's House' stamp set. Whilst this set is all about the love of and for Grandmas, both this flower stamp and the house stamp in the set open up other creative possibilities - general birthdays, new home or pretty much anything that a flower can be used for! It's worth taking a second look at this kind of set, as they are often more versatile than they first appear.

The Perfect Pair - I finished my card with a diecut sentiment using the 'Well Written' framelits, paired with the super useful 'Well Said' stamp set. Together they can be used to create a ton of different sentiments for a wide variety of occasions - here's a peek at the inside of my card where you can see how I used it to finish my card: 


So what do you think - does this design work or would you have preferred a more traditional take on the photo inspiration? Do leave me a comment below - I would love to hear your thoughts!

Here is the visual summary of the key products used on today's project for you to pin for easy reference:


You can see all of my 'How To' summaries on my 'How To - Tips and Techniques' Pinterest board in case you've missed any. 

Enjoy your day; mine's a busy one. The youngest of the James Juniors is captaining his school rugby team this afternoon, hopefully to victory. Either way, I'm sure he will have a great time and one things for sure - there will be a fair amount of muddy kit heading my way this evening! I'll be back tomorrow with another project. Until then, happy stampin'!


Stampin' Up! Supplies Used:

Table built using Product Table Builder by The Crafty Owl - Independent Stampin' Up! Demonstrator.

No One Loves Like Grandma And A Special Announcement AYSI209

by Joanne James13. September 2019 13:00

It's Friday - hurrah! Who else is ready for the weekend? Today before I share my card with you, I have an exciting announcement: I am joining the As You See It Challenge Team as one of their new designers! Those of you who follow my blog will know how much I enjoy playing along with the AYSI fortnightly challenges, so I was delighted when the lovely Heather Cooper asked me to join their team, especially as it includes a number of my fellow blogger friends, including Jan Clothier of Thinking Stamping and my faithful team mate over at The Paper Players, the lovely LeAnne Pugliese of WeeInklings fame. So today's card is my first for the AYSI team and we have a great theme for you this week - check it out here:
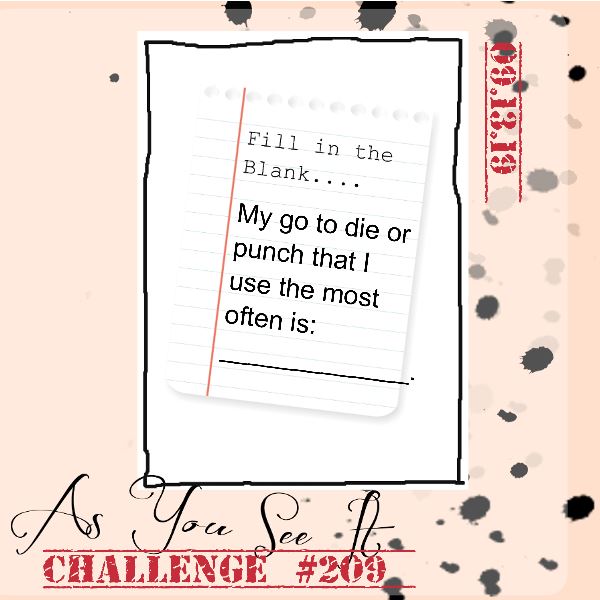
 

This one was a really easy one for me - my most-used tool in my craft room (after my die-cutting machine) is my set of Stitched Shapes Dies, specifically my Stitched Circles Dies; I use them all of the time! I love the way they add just the right amount of detail to a sentiment shape and that is how I used it today on my card, based on the current Global Design Project #GDP206 sketch (included at the bottom of today's post). Here's my card:
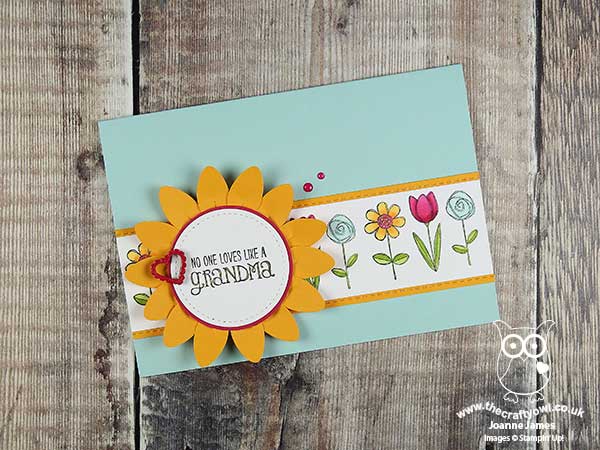
 

Here's the low-down on today's card:

Grandma's House - Whilst lots of the team created Christmas cards this week, not me: September is the month of birthdays in my family with many of us, myself included, who are celebrating. This does mean it is a super-busy time for cardmaking and keeps me working on non-Christmassy things too at this time of year! Yesterday it was the turn of my Mother-In-Law, who is also the much-loved Granny to my James Juniors and has another 2 grandchildren to boot. As soon as I saw the 'Grandma's House' stamp set in the annual catalogue, I knew that I would have to get it - so many of the sentiments in this set apply to our very own Grandma!  

Stitched Shapes For Everything - I used my Stitched Circle to house my sentiment at the centre of the main focal point of my card. I just love these Stitched Shapes - I use them in so many ways (just search 'Stitched Shapes Dies' on my blog and you will get a ton of inspiration!) and think that extra detail finishes off an ordinary shape perfectly.  

A Festive Flower - I decided that instead of just leaving my stitched circle as a single layer, I would use it as the centre of a flower to tie it in with my floral border that is stamped with another of the stamps in the 'Grandma's House' set and coloured with my Blends. I added a punched circle for a thin border then created a bunch of petals using ... can you tell what punch I used? It's actually the Christmas Bulb Builder punch (top marks if you spotted it!!) I punched a few then snipped through the base of each approx. 1cm and overlapped the ends and glued them in place, then added them to my centre to create a slightly dimensional flower. I added a little wooden heart from my stash that I heat embossed with (retired) Lovely Lipstick coloured embossing powder and a couple of enamel dots to finish my card front. I love these fresh colours, courtesy of the current challenge over at SUO Challenges, carried my design through to the inside of my card too:
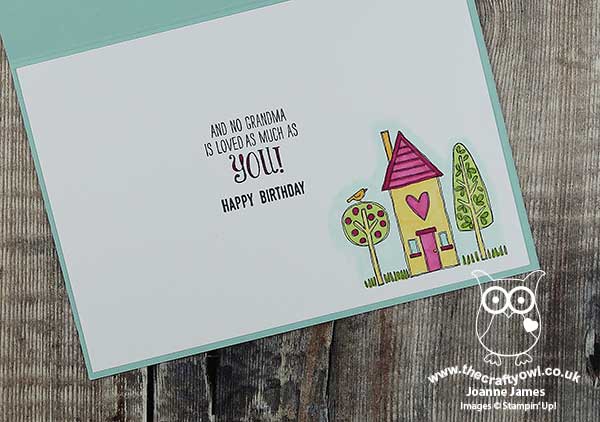
 

Here is the visual summary of the key products used on today's project for you to pin for easy reference:
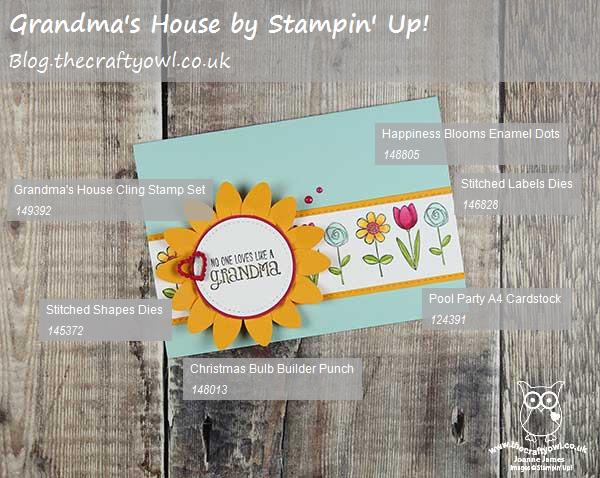
 

You can see all of my 'How To' summaries on my 'How To - Tips and Techniques' Pinterest board in case you've missed any. 

So what is your 'go to' die or punch? Do leave me a comment below - I would love to know what your favourite item is and why! Why not make something with it and share with us over at As You See It too - you can check out the inspiration from the other As You See It team members whilst you're there and see if they share your favourites.  

Enjoy your day and I'll be back tomorrow with another project. Until then, happy stampin'!


Stampin' Up! Supplies Used:

Table built using Product Table Builder by The Crafty Owl - Independent Stampin' Up! Demonstrator.
 

Mini Catalogue

BROWSE THE CATALOGUE

The mini catalogue is now live! Read and download your copy here.

Shop Online

Access my online shop 24 x 7, 365 days of the year:

Current April hostess code:

VDKNV7BH

Shop Online

Join My Team

It's always a great time to join Stampin’ Up! New team members can get £130 worth of products for only £99 + free business supplies + free shipping + all the fun being a part of Stampin’ Up! Stampin' Up! has something for everyone: join my growing team and benefit from my support to enjoy Stampin' Up! however you choose.

If you're interested, call me for a chat to understand how I can help you realise your goals. Alternatively, if you have already decided to sign up and you just can't wait, please click here for the link to the online form where you can sign up and order your starter kit right away! 

Latest Kit!

Stampin Cut and Emboss

The Rock Legend Kit has all you need to make 8 cards with coordinating envelopes. Along with the new Panda Friends Kit, both are available from January 4th for just £14 each - get yours here!

2023-24 Annual Catalogue

BROWSE THE CATALOGUE

Click on the catalogue for a full list of current SU! supplies - if you would like to order any of the items featured, please drop me a line at [email protected] or give me a call on 07773 421446 - I'd be happy to help.

New Online Exclusives

There are new products available exclusively in the online store from 5 March - check them out here.

About Me

Hi I'm Joanne and live in Northampton and when I'm not looking after my husband and two beautiful children, am an avid crafter with a passion for all things Stampin' Up!

I must confess that I have never been a big rubber stamper - until I discovered Stampin' Up! that is. I love the fact that I can get such great results with co-ordinating stamps, inks, papers and punches - the possibilities are endless! Join me on my stamping journey as I share the things I love and be inspired to create amazing things yourself!

Follow Me

Monthly Newsletter

Box Builder

Click the button above to use Box Buster to create your custom box design using the Envelope Punch Board!

Kits Collection Now Available!

Stampin Cut and Emboss

The new Kits Collection from Stampin' Up! is now available!

Click here to see the current kits available and order yours online today.

I Design For


Stampin' Up Stuff

This is my personal blog and is not endorsed by Stampin’ Up! I hope you find it a plentiful source of ideas and personal inspiration but please don't copy my designs for contest submission or use for classes, publication or sale without express permission.