No post from me yesterday I'm afraid as I was out hosting a Stampin' Up! party at the lovely Jane's house for her and all her friends and I didn't get a chance to post before I left. We had a fun evening of Christmas crafting, with delicious cake thrown in (the refreshments at Jane's always make the visit worthwhile!) I'm back to it today and just have time to squeeze in an entry for this week's challenge over at Just Add Ink:

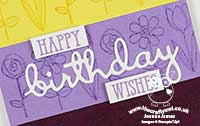
I loved this week's inspiration photo and it led me to create a card with a rather modern twist - take a look:

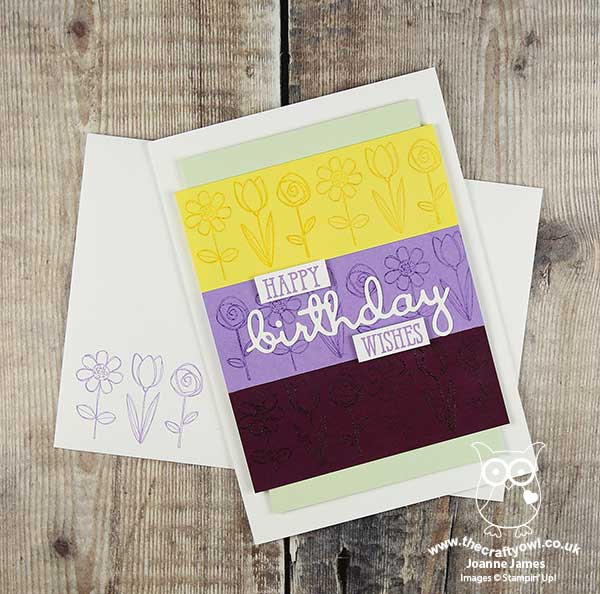
Here's the low-down on today's card:
A Word About Inspiration - As my regular readers know, sketches are often my 'go to' starting point when I make a card, however sometimes inspiration comes from other areas. When it's a photo such as the one that inspired today's card, it can be interpreted in so many different ways. I knew I wanted to use florals, ideally tulips, and bright colours. It struck me that the photo had clearly defined lines of tulips within the borders and I decided it might be fun to use this idea on my card too. So I chose to create three distinct rows of flowers in each of the colours on the photo (I stamped them tone-on-tone then heat embossed them with clear embossing powder; difficult to see on the photo, but gives a lovely texture and shine) and backed them with a pale green Soft Sea Foam panel and a white card base. Using the cardstock in each of the colours, rather than stamping the flowers onto white and/or colouring them gives a strong, graphic feel to my card. Check out the JAI gallery to see how the DT team and other participants interpreted this week's inspiration!
Not Just For Grandmas - My flower borders are made up by repeat-stamping the stamp featuring a trio of flowers (one is a tulip!) from the 'Grandma's House' stamp set. Whilst this set is all about the love of and for Grandmas, both this flower stamp and the house stamp in the set open up other creative possibilities - general birthdays, new home or pretty much anything that a flower can be used for! It's worth taking a second look at this kind of set, as they are often more versatile than they first appear.
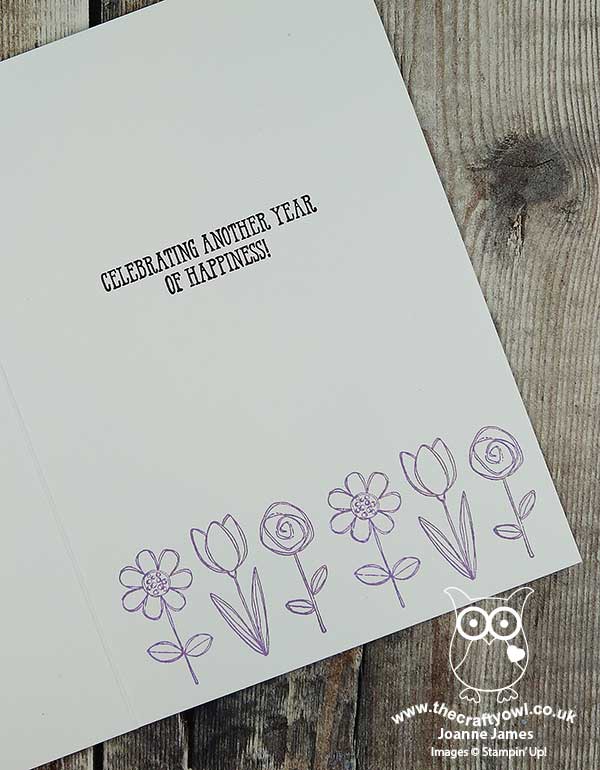
The Perfect Pair - I finished my card with a diecut sentiment using the 'Well Written' framelits, paired with the super useful 'Well Said' stamp set. Together they can be used to create a ton of different sentiments for a wide variety of occasions - here's a peek at the inside of my card where you can see how I used it to finish my card:

So what do you think - does this design work or would you have preferred a more traditional take on the photo inspiration? Do leave me a comment below - I would love to hear your thoughts!
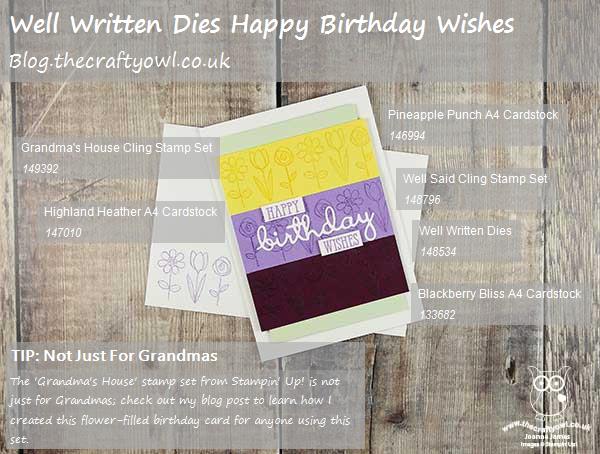
Here is the visual summary of the key products used on today's project for you to pin for easy reference:

You can see all of my 'How To' summaries on my 'How To - Tips and Techniques' Pinterest board in case you've missed any.
Enjoy your day; mine's a busy one. The youngest of the James Juniors is captaining his school rugby team this afternoon, hopefully to victory. Either way, I'm sure he will have a great time and one things for sure - there will be a fair amount of muddy kit heading my way this evening! I'll be back tomorrow with another project. Until then, happy stampin'!
Stampin' Up! Supplies Used: