Free As A Bird One Layer Slimline Card

by Joanne James24. April 2021 21:07

I've had a productive day of crafting today so have a quick card to share with you that uses the current sketch over at Freshly Made Sketches:


I was intrigued by Karren's sketch and loved the idea of another slimline card, so perused my retiring stamp sets for something suitable and decided upon the row of birds from the 'Free As A Bird' set - take a look:


I turned the card through 90 degrees so that I could work across the width and sponged clouds using my blending brush and trusty cloud mask made from my Happy Dies for the longer element, overlapping with the row of birds, coloured with my Blends:


I decided to leave my card as a one layer card as I liked the simplicity of it. My dear friend Vicky is the hostess this week over at Addicted to CAS and has chosen the code word 'sky' for the new challenge there, so I'm linking my fluffy blended clouds there too.

Here is the visual summary of the key products used on today's project for you to pin for easy reference:


You can see all of my 'How To' summaries on my 'How To - Tips and Techniques' Pinterest board in case you've missed any. 

Enjoy your evening and I'll be back tomorrow with another project. Until then, happy stampin'!


Stampin' Up! Supplies Used:

Table built using Product Table Builder by The Crafty Owl - Independent Stampin' Up! Demonstrator.
 
I was Amy's pick for Perfect Princess this week!
 
I also made the TOP 3 over at Addicted to CAS!

Beautiful Friendship and Emptying The Scrap Box AYSI 241

by Joanne James8. January 2021 13:00

Today I'm sharing my design team card for our first challenge of the new year over at As you See It. We have a fresh new look thanks to Heather and Amy and I am the hostess for this week, starting us off this year with a Speed Stamping challenge. I always find myself getting distracted by the process of tidying my craft room in the new year (well, I have to make room for all of the new things Santa brought me!) so I thought this would be a good opportunity to rummage through the scrap bin and use up some of those crafty leftovers and put them to good use:
So the idea of the speed challenge is that you create a card in under 10 minutes. Thankfully this doesn't include the time to plan out your ideas; the clock only begins the minute you start to construct. Now for today's challenge I am more thankful for free planning time than ever; why? This was my scrap box before I started this challenge:
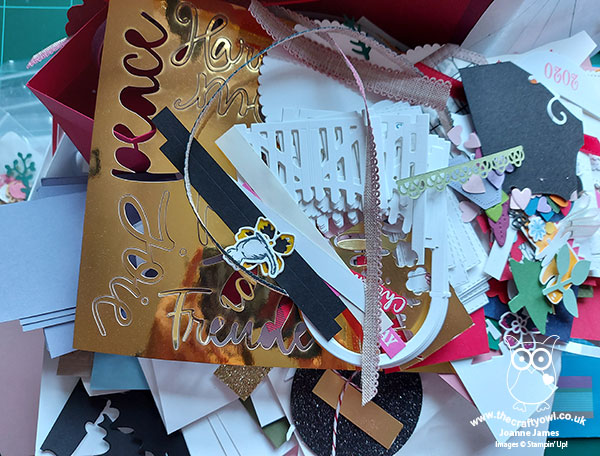
 

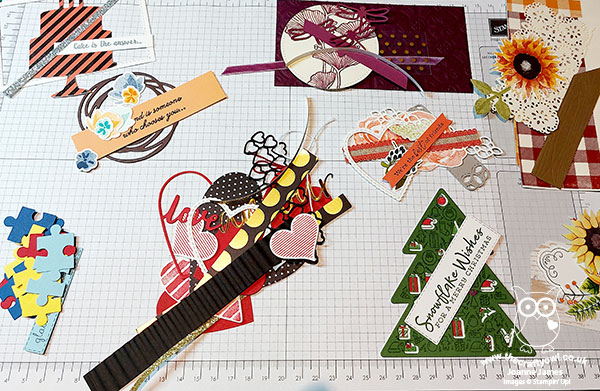
Yes, out of control in epic proportions! I haven't been through it in some time!! So first things first: I sorted through the box, made piles of things that co-ordinated in terms of colour/style/theme and created a number of piles, so that I could take each in turn and create something with it:
 

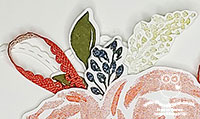
I ended up making a whole bunch of cards and managed to time and photograph a few of them to share with you in today's post. So here's my first card, which uses some flowers from Beautiful Friendship and Fabulous Florals stamp sets, along with a sentiment from Free As A Bird, some diecuts and an offcut of Terracotta Tile scalloped linen ribbon:
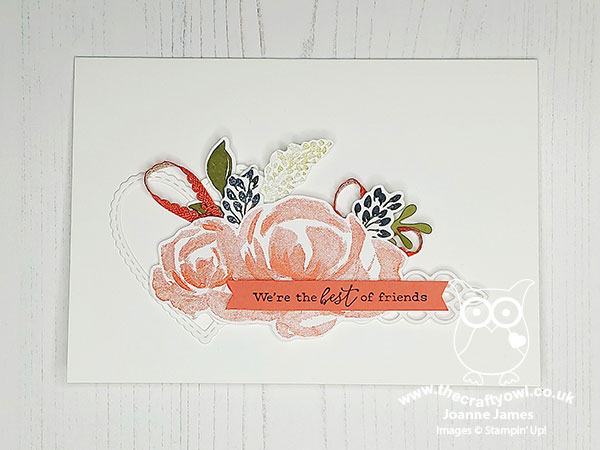
 

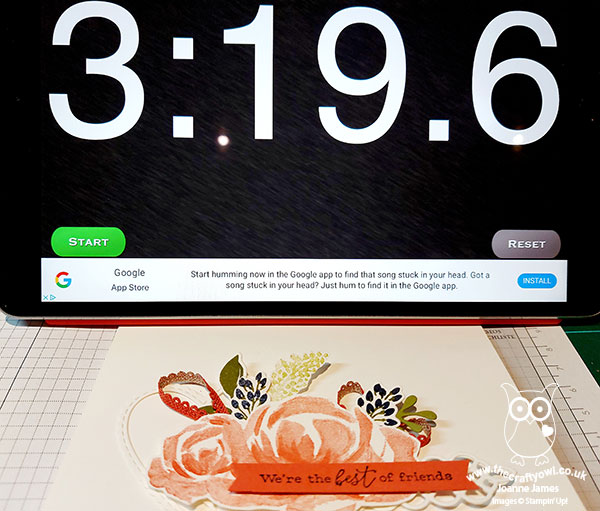
Every single one of these pieces was already cut and stamped in my box, so all I needed to do was cut a card base, layer and arrange in place, which took a record 3 minutes 19 seconds:
 

This card was so quick, I also pulled together a few more from the other bundles of mostly retired bits and pieces. Here's one of my favourites in Very Vanilla and Rich Razzleberry/Blackberry Bliss, with touches of gold:
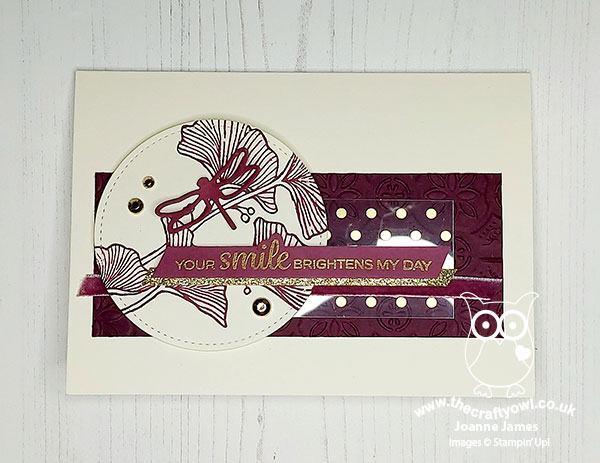
 

This one took a little longer at 8 minutes 10 seconds, but still within a 10 minute window. Here's another:
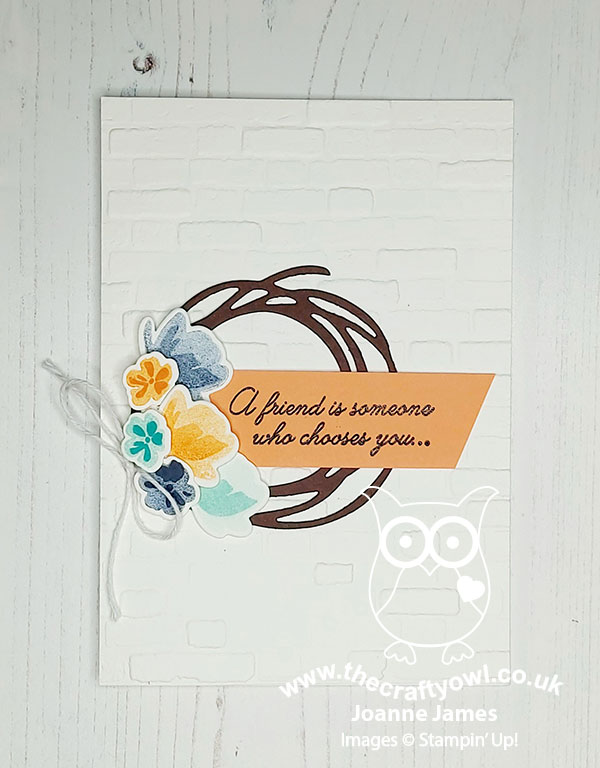
 

The brick-embossed cardbase was already in my box so this was a super quick make too, at just 2 minutes and 21 seconds. The quickest card was this one though, at just 2 minutes and 21 seconds:
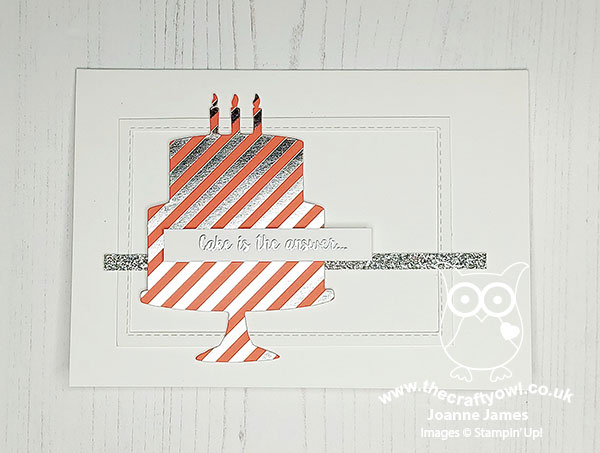
 

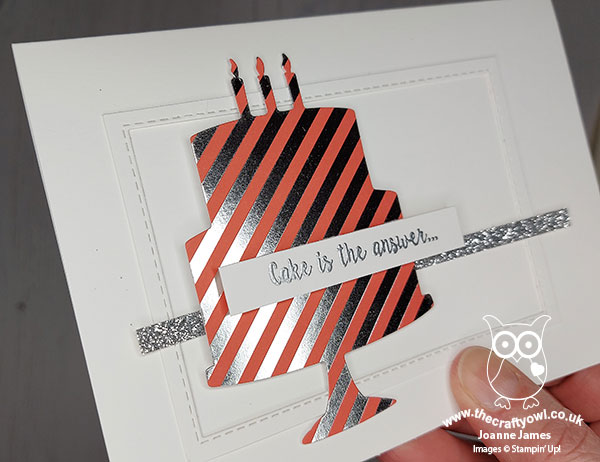
This one uses a foil-striped diecut and a heat embossed sentiment that is easier to see at an angle:
 

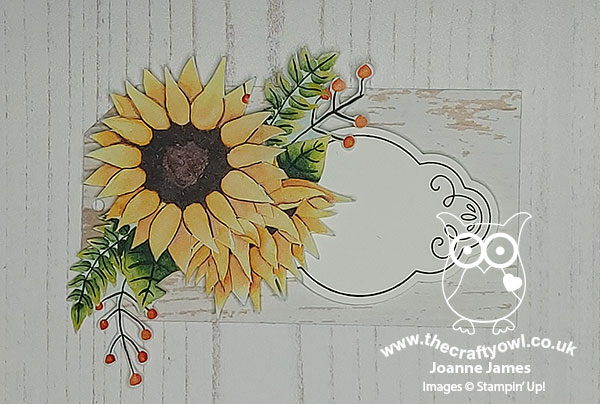
And finally I made a gift tag with another pile of scraps:
 

I've since completed another 5 cards too with the other bits and pieces. My scrap box is much depeleted and I've gained additional space on my desk - bonus!

Here is the visual summary of the key products used on today's project for you to pin for easy reference:
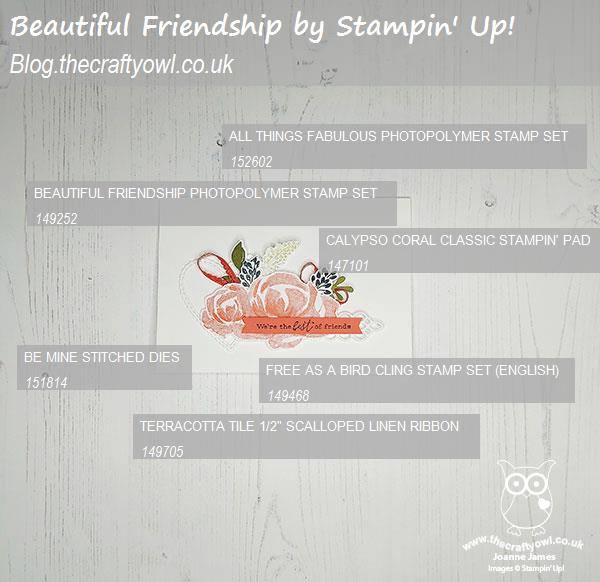
 

You can see all of my 'How To' summaries on my 'How To - Tips and Techniques' Pinterest board in case you've missed any. 

Here's a summary of our challenge rules:

  • Create any card, scrapbooking page, 3D project or packaging project that fits the challenge.
  • Please include the challenge graphic and link back to the challenge in your blog post. Turn off word verification so we can leave you lots of lovely comments. Make sure you link the post not the whole blog to the Linky. Use #AYSIXXX when uploading to a public gallery.
  • If you’re unsure about ‘the rules’, check the details under the Challenge Guidelines tab on the As You See It Challenge homepage.
  • In a speed stamping challenge, please time yourself and say in your post how long your card took to complete. 
We look forward to seeing your creations in the AYSI gallery.

Enjoy your day and I'll be back tomorrow with another project. Until then, happy stampin'!


Stampin' Up! Supplies Used (main card only):

Table built using Product Table Builder by The Crafty Owl - Independent Stampin' Up! Demonstrator.

Free As A Bird CAS Friendship Card

by Joanne James20. April 2020 09:00


Today I'm sharing a card using the current sketch over at CAS Colours and Sketches:

I thought I'd tackling the tilted panel on this card and use up another piece of old patterned paper (non SU) that I found in my recent clear out that I thought would work with my Free As A Bird stamp set - take a look:


Here's the low-down on today's card:

I did keep things simple for today's card. I paired my patterned paper with a Seaside Spray cardstock base and added an edging with some Seaside Spray ribbon, split lengthways, then added some linnen thread tied in a bow before placing my stamped panel on top. Again, I stamped my image in Seaside Spray onto Very Vanilla and added a little extra colour using my blender pen, but for the most part used the image 'as stamped'. A simple tone-on-tone sentiment onto my cardbase completes the look.

Here is the visual summary of the key products used on today's project for you to pin for easy reference:


You can see all of my 'How To' summaries on my 'How To - Tips and Techniques' Pinterest board in case you've missed any. 

Today is officially the last day of the Easter holidays for the James Juniors and both are 'back to school', if only in the virtual sense, tomorrow. I chuckled when Ben's timetable arrived with the accompanying note to parents that went to great lengths to point out that we are 'distance learning' not 'home schooling' - if I'm not mistaken, there is more than a suggestion that the children should be getting on with it under their own steam. I'm not sure that Ben would even get to his desk for 9am under his own steam without the rush to join our daily commute, but I am encouraged that once I've managed to at least get him seated at his PC I might be able to crack on with some tasks of my own - maybe even a little crafting, so watch this space! Enjoy your day and I'll be back tomorrow with another project. Until then, happy stampin'!


Stampin' Up! Supplies Used:

Table built using Product Table Builder by The Crafty Owl - Independent Stampin' Up! Demonstrator.

Mini Catalogue

BROWSE THE CATALOGUE

The mini catalogue is now live! Read and download your copy here.

Shop Online

Access my online shop 24 x 7, 365 days of the year:

Current March hostess code:

S9F2XJJW

Shop Online

Join My Team

It's always a great time to join Stampin’ Up! New team members can get £130 worth of products for only £99 + free business supplies + free shipping + all the fun being a part of Stampin’ Up! Stampin' Up! has something for everyone: join my growing team and benefit from my support to enjoy Stampin' Up! however you choose.

If you're interested, call me for a chat to understand how I can help you realise your goals. Alternatively, if you have already decided to sign up and you just can't wait, please click here for the link to the online form where you can sign up and order your starter kit right away! 

Latest Kit!

Stampin Cut and Emboss

The Rock Legend Kit has all you need to make 8 cards with coordinating envelopes. Along with the new Panda Friends Kit, both are available from January 4th for just £14 each - get yours here!

2023-24 Annual Catalogue

BROWSE THE CATALOGUE

Click on the catalogue for a full list of current SU! supplies - if you would like to order any of the items featured, please drop me a line at [email protected] or give me a call on 07773 421446 - I'd be happy to help.

New Online Exclusives

There will be new products available exclusively in the online store from 5 March - check them out here.

About Me

Hi I'm Joanne and live in Northampton and when I'm not looking after my husband and two beautiful children, am an avid crafter with a passion for all things Stampin' Up!

I must confess that I have never been a big rubber stamper - until I discovered Stampin' Up! that is. I love the fact that I can get such great results with co-ordinating stamps, inks, papers and punches - the possibilities are endless! Join me on my stamping journey as I share the things I love and be inspired to create amazing things yourself!

Follow Me

Monthly Newsletter

Box Builder

Click the button above to use Box Buster to create your custom box design using the Envelope Punch Board!

Kits Collection Now Available!

Stampin Cut and Emboss

The new Kits Collection from Stampin' Up! is now available!

Click here to see the current kits available and order yours online today.

I Design For


Stampin' Up Stuff

This is my personal blog and is not endorsed by Stampin’ Up! I hope you find it a plentiful source of ideas and personal inspiration but please don't copy my designs for contest submission or use for classes, publication or sale without express permission.