Today it's Sunday and time for this week's new challenge over at The Paper Players! It's the turn of the fabulous Jaydee to host this week and she has a timely colour challenge for you to work with:


I chose red and silver to pair with black and white for my card and since today is Valentine's Day I was also inspired by the glittery hearts in our challenge photo this week to create something using the Fab Friday sketch that also meets the clean and simple 'hearts' code word over at Addicted to CAS - take a look:

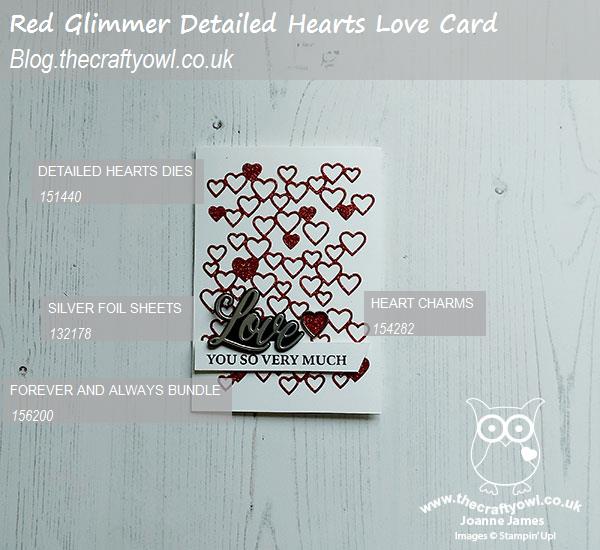
Here's the low-down on today's card:
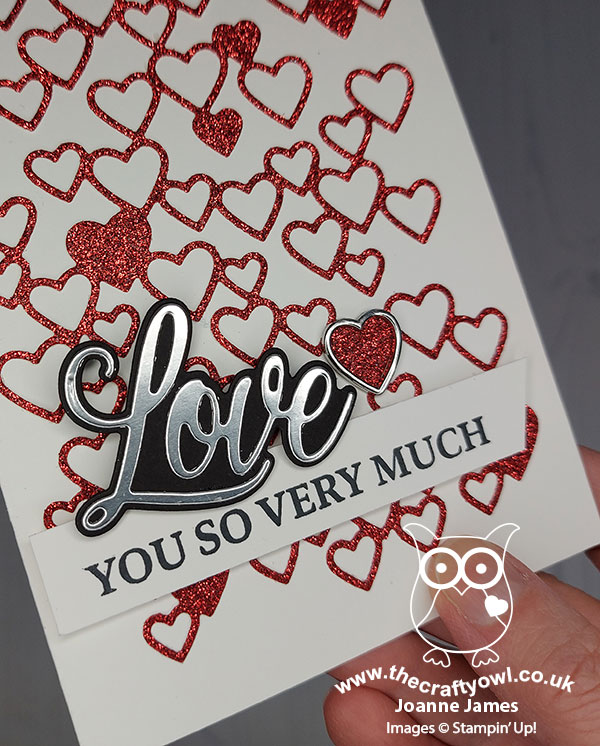
All Heart - I decided that the Fab Friday sketch panel was perfect to showcase the Detailed Hearts Dies in the annual catalogue. When I went to my dieset I discovered I had one already cut in retired red glimmer paper, as I'd used the heart pieces on a previous project, so rather than cut another in Real Red I thought I would use this one for a sparkly centrepiece.
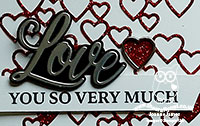
Love Always - For my focal point I decided to add a layered 'love' diecut using my Always Dies, with a black base and silver foil centre - I just love these dies and it's nice to pair them with an older die for a fresh look. I also added another touch of silver by adding a heart charm to one of the solid hearts on my glimmer paper:
I've been looking for an opportunity to use these on a project and finally today's card provided the perfect opportunity, as the two shapes mirrored each other perfectly.
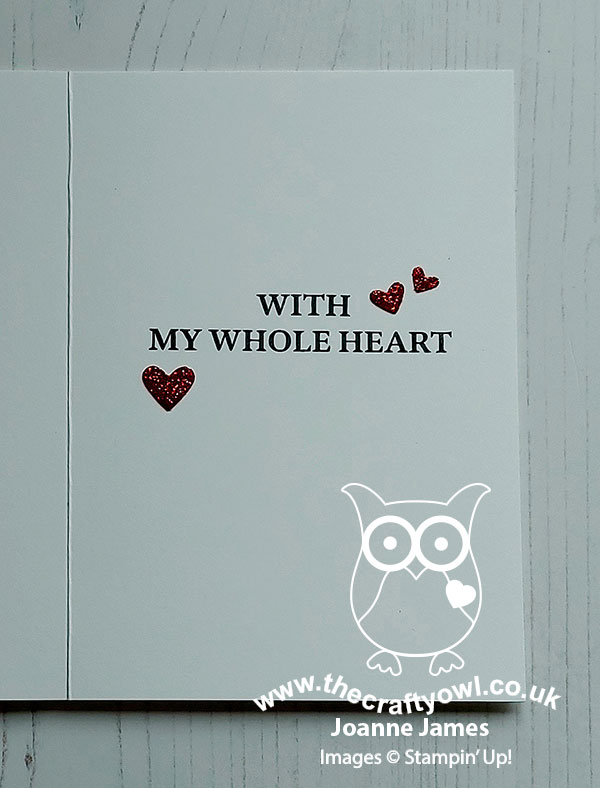
And Forever - I finished the sentiment on the ffront of my card by stamping with the 'Forever & Always' stamp set and carried this over to the inside of my card too, and added a few more of those glittery hearts for a simple decoration:
This is one of those cards that whilst it is all love and red hearts, it doesn't have to be a Valentine's card. I will be sending mine to a certain young lady in my house who is something of a magpie as far as glitter is concerned and I know she will love it!
Here is the visual summary of the key products used on today's project for you to pin for easy reference:
You can see all of my Product and 'How To' summaries on my 'How To - Tips and Techniques' Pinterest board in case you've missed any.
Before you reach for your ink and papers, check out what our amazing team has created to inspire you this week:
The Paper Players Design Team
Here's a quick recap of our challenge rules:
1. Create a new paper project
2. Upload your creation to your blog with a link back to us and provide a direct link to the post featuring your challenge submission.
3. Please link your card to no more than four challenges, TOTAL.
4. Have FUN!
You can see all of my 'How To' summaries on my 'How To - Tips and Techniques' Pinterest board in case you've missed any.
Enjoy your day; are you doing anything special to celebrate Valentine's Day? We had a family Valentine's dinner yesterday evening and will be sharing a special breakfast today, along with a rather elaborate choolate fondue this evening. So it's all about the food in the James household! I'll be back tomorrow with another project. Until then, happy stampin'!
Stampin' Up! Supplies Used: