
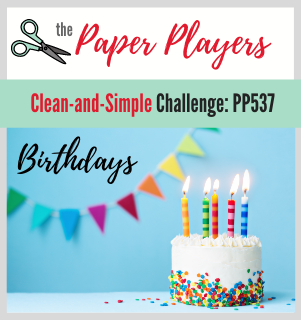
Today it's Sunday and time for this week's new challenge over at The Paper Players! It's the turn of the fabulous Laurie to host this week and she has a fun clean and simple challenge for us to work with:
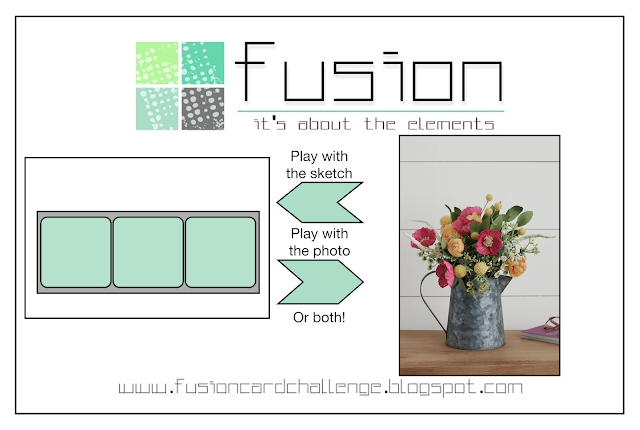
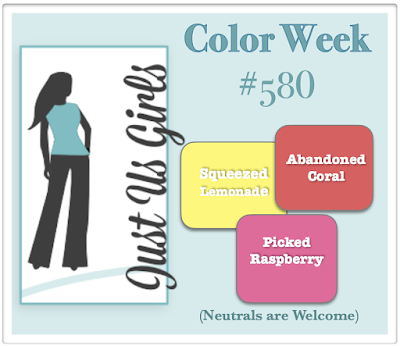
I finally received my first pre-order from the new annual catalogue on Friday so couldn't wait to have a play! I decided to take the current Fusion sketch layout and this week's colours over at Just Us Girls to test drive one of my new stamp sets - take a look:
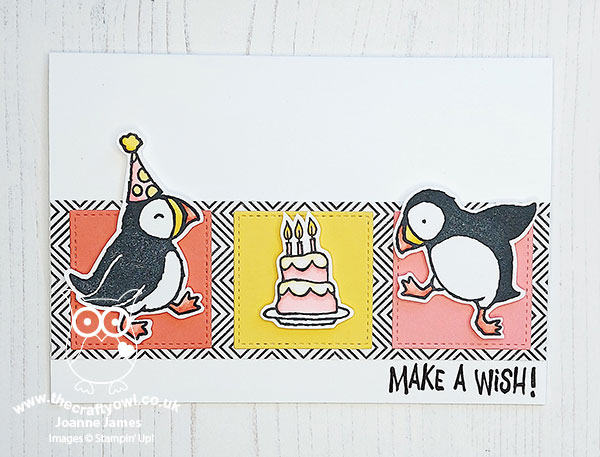
Here's the low-down on today's card:
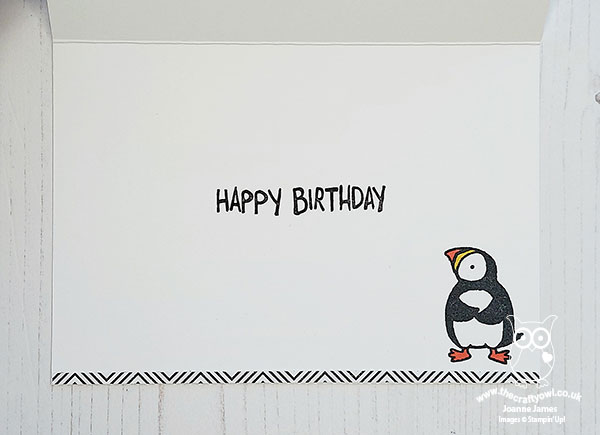
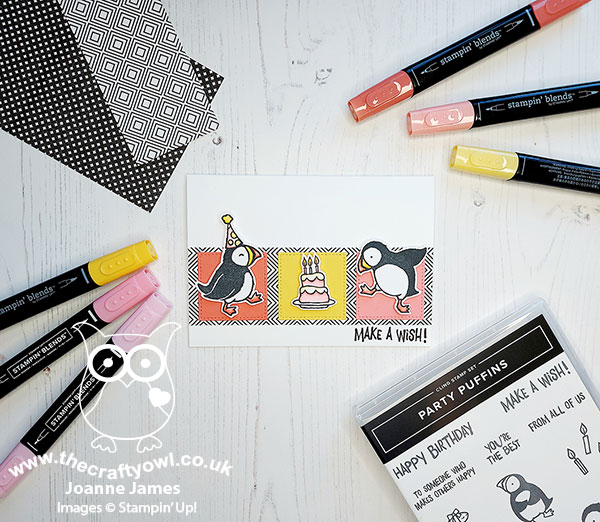
Party Puffins - Today's card features a trio of Party Puffins from the new stamp set of the same name. This is such a cute new set; for my card today I stamped and fussy cut two puffins and a birthday cake for the front of my card and popped them up on dimensionals. The third puffin? He was hiding out on the inside of my card:
Black and White ... - This week's theme is 'clean and simple', so a focus on white space, limited layers and little/no embellishments. With this in mind the Fusion sketch was perfect for constraining my design to no more than half of my card front. I used a strip of black-on-white geometric patterned paper from the True Love DSP pack to ground my design and tie in with the black and white of my puffins:
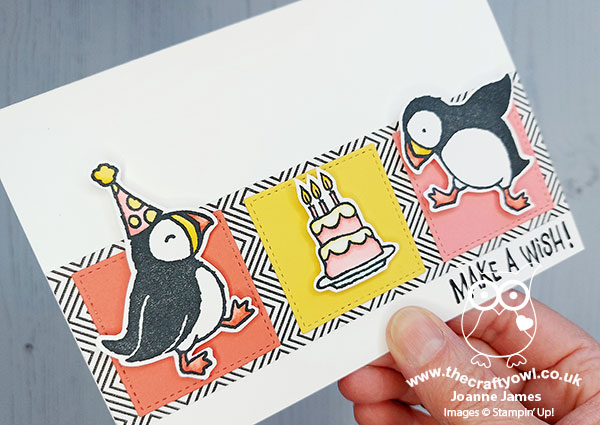
... And A Trio of Colour - I grounded each of my stamped elements on a stitched square in one of the JUGS challenge colours and used the same trio of Blends combos to add colour to my cake and the legs, beaks and party hat of my puffins:
Are these cheeky little chappies not the cutest?! I just love them! Not to long to go until they go on general sale; the new 2021-22 Stampin' Up! annual catalogue will be live on 4th May. I will be packaging mine this week to send out to those customers who have purchased from me in the last 6 months; if you are reading this and you're not on my mailing list and don't already have a Stampin' Up! demonstrator and would like a copy of the new catalogue, then do get in touch with your contact details and I will arrange to get one out to you too.
Here is the visual summary of the key products used on today's project for you to pin for easy reference:
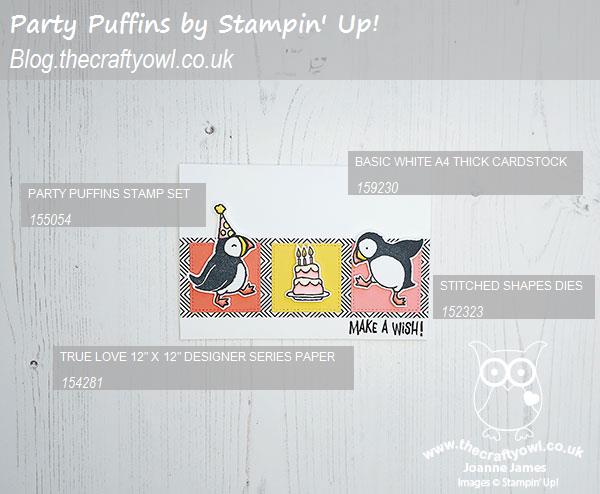
You can see all of my Product and 'How To' summaries on my 'How To - Tips and Techniques' Pinterest board in case you've missed any.
Before you reach for your ink and papers, check out what our amazing team has created to inspire you this week:
The Paper Players Design Team
Here's a quick recap of our challenge rules:
1. Create a new paper project
2. Upload your creation to your blog with a link back to us and provide a direct link to the post featuring your challenge submission.
3. Please link your card to no more than four challenges, TOTAL.
4. Have FUN!
You can see all of my 'How To' summaries on my 'How To - Tips and Techniques' Pinterest board in case you've missed any.
The weather has been much brighter here in the UK the last couple of days so I am hoping to get out on my bike today with the rest of the James family. No other fixed plans; whatever you are doing, I hope you are enjoying some nice weather and fresh air too! I'll be back tomorrow with another project. Until then, happy stampin'!
Stampin' Up! Supplies Used: