by Joanne James29. April 2020 07:00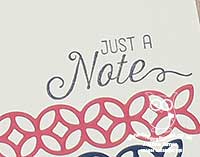
Happy hump day everyone! Lots to do today so today's card is a quick one using this week's CAS(E) This Sketch:
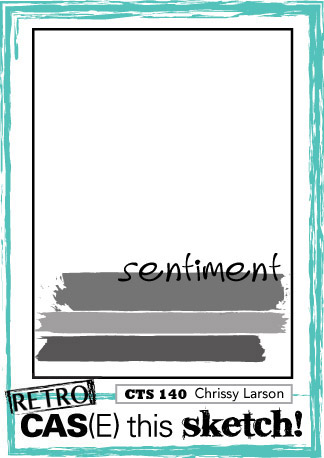
I went super-simple on this one and more graphic than the loose lines of the sketch to make a simple notecard using the long pattern from the Flourish Dies paired with a simple sentiment from the co-ordinating Flourishing Phrases stamp set:
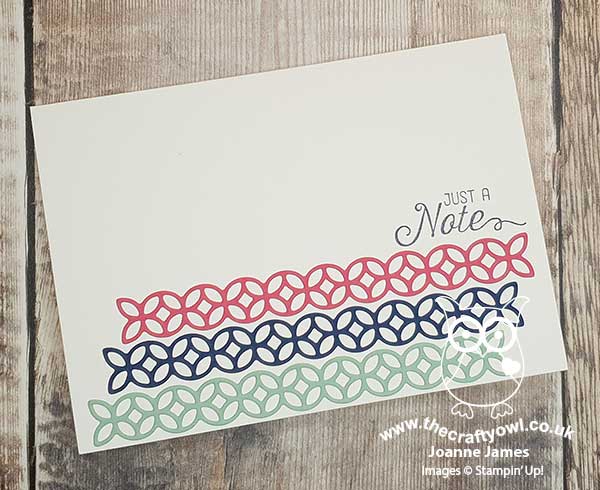
You know how much I will miss these dies and the Flourishing Phrases stamp set; they have had a good innings though, so I really can't complain too much. Great for simple cards like this though. I used colours from three different colour families but you could just use one colour family pack; this simple design is perfect for using up offcut scraps of card that you have lying around in any colour.
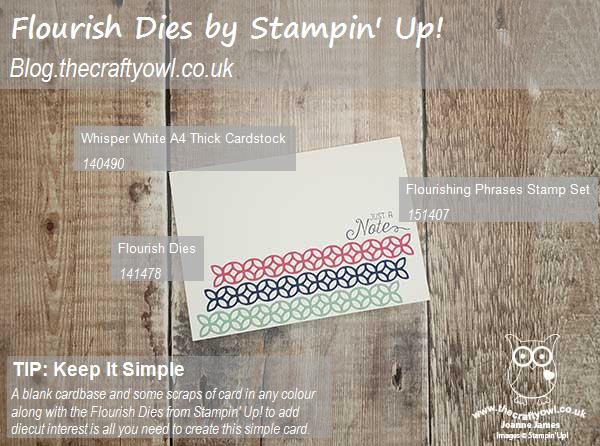
Here is the visual summary of the key products used on today's project for you to pin for easy reference:
You can see all of my 'How To' summaries on my 'How To - Tips and Techniques' Pinterest board in case you've missed any.
Enjoy your day and I'll be back tomorrow with another project. Until then, happy stampin'!
Stampin' Up! Supplies Used:
by Joanne James19. April 2020 11:00 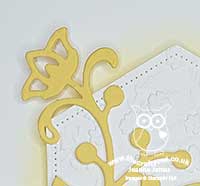
Today I have an extra card for you in addition to my Paper Players Design Team card (you can see that card here) as I'm sharing a card I made yesterday afternoon for the current Global Design Project challenge where they are doing a 'CASE The Designer' with this pretty tulip card by Janneke de Jong:

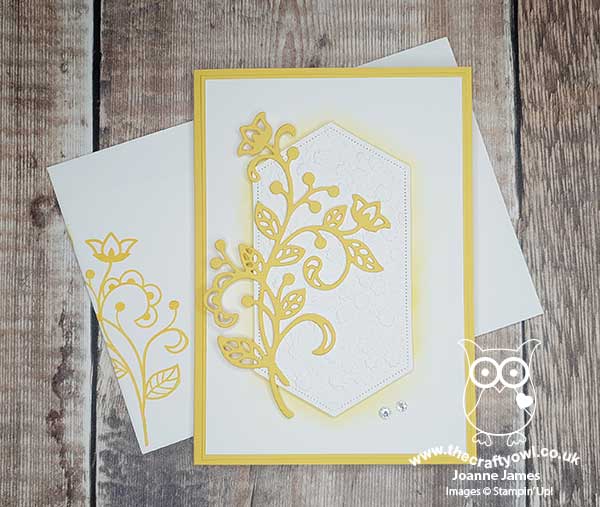
I loved the layout on Janneke's card and wanted to use it as the basis for a CASE'd card - here's what I came up with:
Here's the low-down on today's card:
A Lesson in CASE - There are a number of different definitions in the crafting world for the term 'CASE' and the one that the GDP team uses is 'Copy and Selectively Edit'. So if you look at my card, it has a number of similarities to Janneke's card: yellow and white are the dominant colours, I used the same sketch layout along with a single floral stem and no sentiment. There are a number of differences though too - things I have changed to make this card my own.
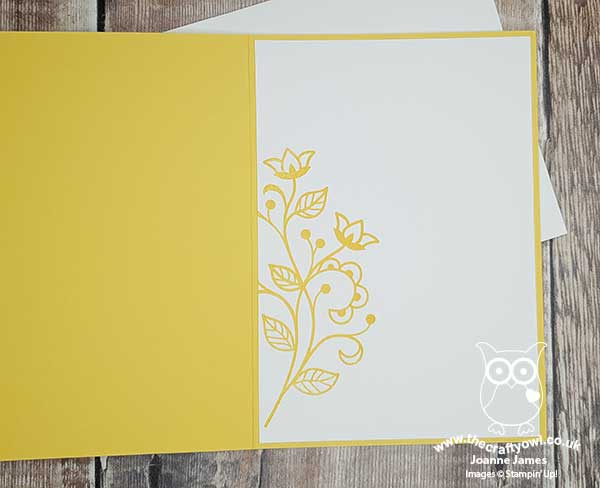
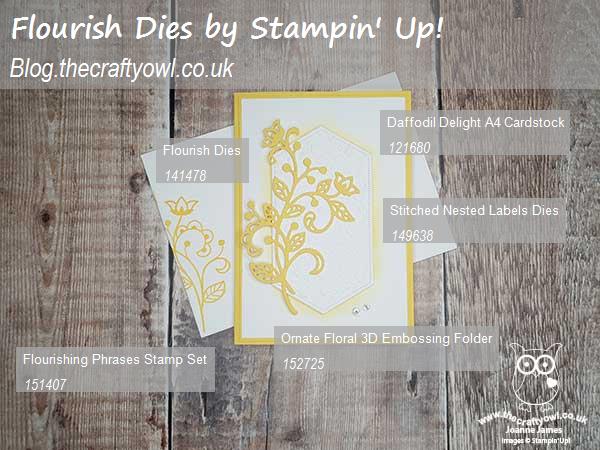
A Yellow Flourish - The first of these is my choice of florals. I went full-on yellow with my card and used the single stemmed floral from the Flourish Dies for my floral. I cut it twice from Daffodil Delight cardstock and glued them together to make a stronger floral as I was using it as my uppermost layer. I used the co-ordinating stampset, Flourishing Phrases, to decorate the envelope and inside of my card too; there are lots of great sentiments in this set so when I've decided what I am going to use this card for, I will add one to the inside if needs be. Here's a quick photo of the inside:
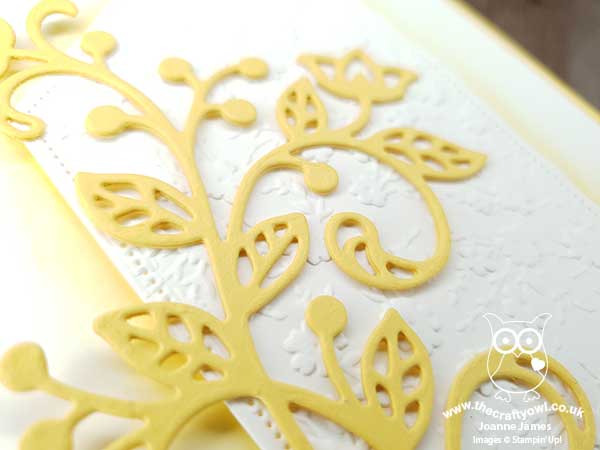
Ornate Florals - I kept the central Stitched Nested Label as per Janneke's original card and the yellow sponging around the edge on the layer beneath - this was probably my favourite thing about this card, I love the effect - and I embossed the white label too. I chose to use the new Ornate Floral 3D embossing folder for my detail - those little flowers compliment any kind of floral I think. Here's a closeup of the detail showing the layering and texture:
I love yellow, especially on cards and flowers - this is the kind of card that makes me happy!
Here is the visual summary of the key products used on today's project for you to pin for easy reference:
You can see all of my 'How To' summaries on my 'How To - Tips and Techniques' Pinterest board in case you've missed any. I'm also linking this card up with the team over at SUO Challenges where embossing is the theme - this time with dry embossing as my focus.
Enjoy your day and I'll be back tomorrow with another project. Until then, happy stampin'!
Stampin' Up! Supplies Used:
by Joanne James10. June 2019 20:30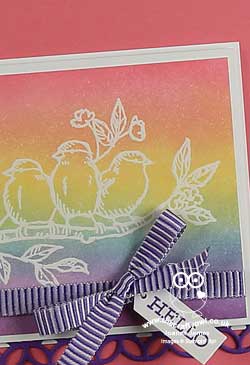
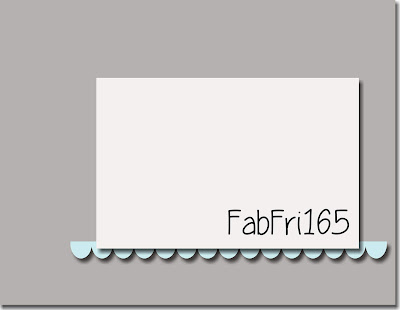
I had a lovely class this morning with a group of ladies featuring the Stitched Labels bundle and spent the rest of the day running errands in the rain - a typical day of British weather here in the UK today! Today I'm sharing a card that was inspired by the photo over at Fusion and the fun technique that the team over at Just Add Ink are playing with this week and uses the new sketch over at Fab Friday:


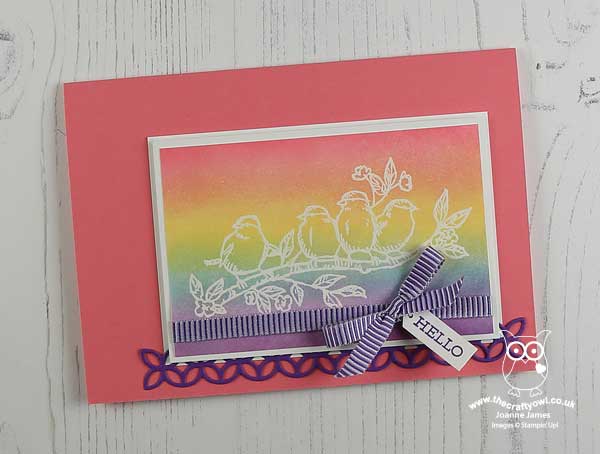
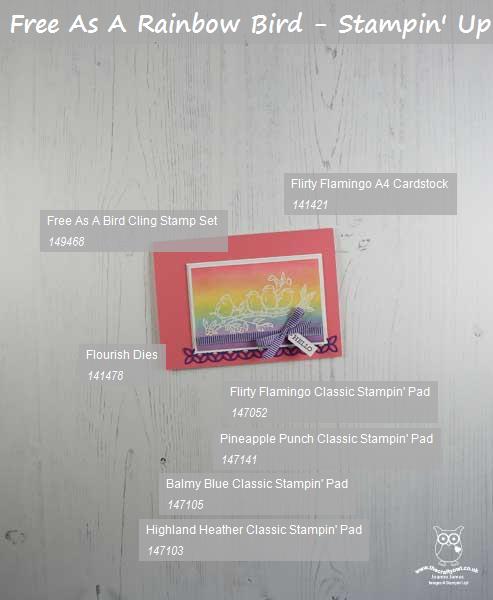
Those rainbow birds were sugary sweet an I wanted to see what I could create inspired by them with my 'Free As A Bird' set - take a look:
Here's the low-down on today's card:
The emboss resist technique was perfect for creating my rainbow panel. I stamped the birds in Versamark onto Whisper White cardstock then heat embossed them with clear embossing powder. I then sponged my rainbow using a selection of inks and finally rubbed the whole of the image with white craft ink to soften the colours slightly, before removing any excess ink and allowing the white cardstock beneath the clear embossed lines of the bird image to shine through. I added a little tag greeting and some Gorgeous Grape striped ribbon, along with a diecut border from the Flourish die set in the same colour.
I really like this pretty card; I love it when a challenge (or three!) pushes you beyond your comfort zone and makes you create something different.
Here is the visual summary of the key products used on today's project for you to pin for easy reference:
You can see all of my 'How To' summaries on my 'How To - Tips and Techniques' Pinterest board in case you've missed any.
Enjoy your evening and I'll be back tomorrow with another project. Until then, happy stampin'!
Stampin' Up! Supplies Used:
by Joanne James10. April 2017 13:00
Today I'm sharing a card for this week's new challenge over at CAS Colours and Sketches where I am the guest designer for the month of April. I shall be joining the lovely ladies on the CAS Colours and Sketches team and each Tuesday at 1pm GMT I will be publishing my post for the new challenge for the week. It's also perfect for the current SUO Challenge, where the theme is 'Sympathy and Caring'. This week it's a sketch challenge, my favourite:
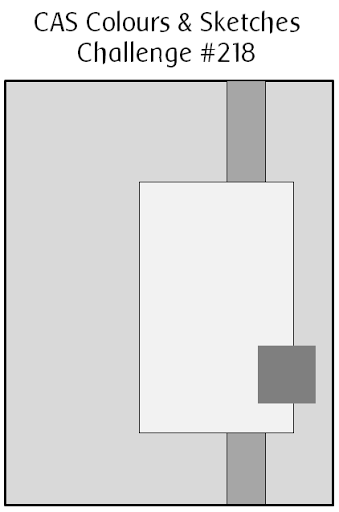
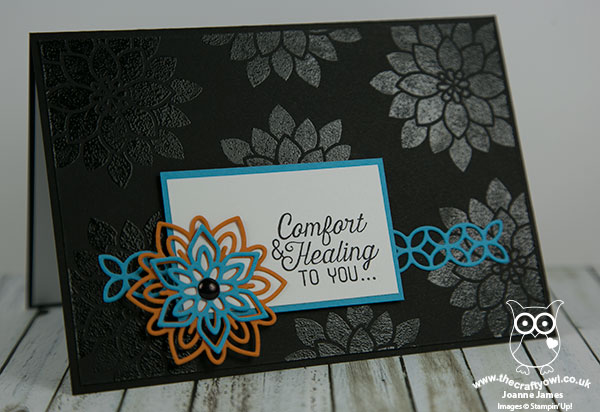
I decided to go with florals again this week and turned the sketch through 90 degrees as it fitted my sentiment better - take a look:
Here's the low-down on today's card:
My card today features both the Flourishing Phrases stamps and co-ordinating Flourish Thinlits - I heat embossed the large flower with clear embossing powder onto my Basic Black background and added a framed sentiment, layered flower and border piece to ground them. A tricky one to photograph, but the shiny embossed background looks lovely in real life. I wouldn't usually choose black for a sympathy card, but it was perfect to allow my bright flower and border to 'pop'; the colour combination was inspired by a dress a friend of mine was wearing when I met up with her last week and I couldn't wait to use it on a card; sometimes inspiration strikes in the funniest places.
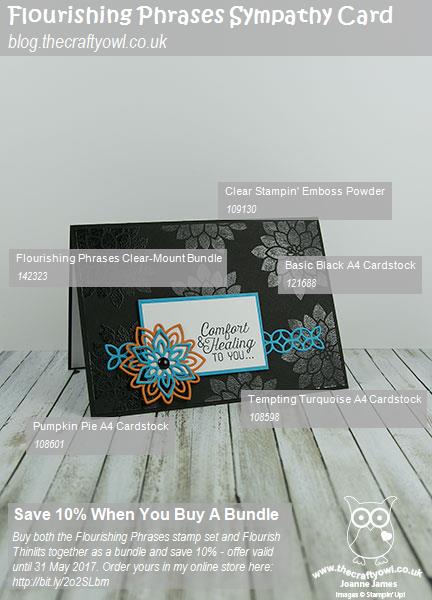
The Flourishing Phrases/Flourish Thinlits set is a great bundle that contains a little of everything: stamps, decorative and floral framelits and a whole bunch of sentiments suitable for many different occasions that work for both the outside and inside of your card. The good news is both the stamp set and framelits are on carryover into the new 2017-2018 annual catalogue; the 10% discounted bundle price however, is not. So if you want to benefit from this, you need to place your order for the bundle using the bundle code 142323 (clear mount) or 142322 (wood mount) before 31st May.
Here is the visual summary of the key products used on today's project for you to pin for easy reference:
You can see all of my 'How To' summaries on my 'How To - Tips and Techniques' Pinterest board in case you've missed any.
Before you reach for your ink and papers, check out what the rest of the team has created to inspire you this week. Enjoy your day and I'll be back tomorrow with another project. Until then, happy stampin'!
Stampin' Up! Supplies Used:
by Joanne James29. March 2017 10:00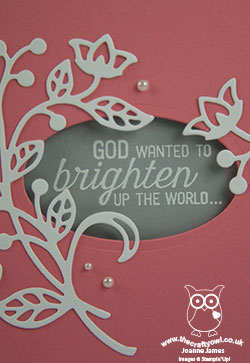
Today I'm sharing a card for this week's challenge over at CAS(E) This Sketch which is also my second entry over at Less Is More this week:


Here's my card:

Here's the low-down on today's card:
Diecuts and Layers - When designing my card, I couldn't decide whether to stamp my base layer and diecut the sentiment, as suggested by the sketch, or whether to work it the other way around. The great thing about a sketch is that it's a starting point and always open to interpretation. I eventually opted for the latter, stamping my sentiment on my absolute base layer of Smoky Slate and heat embossing it in white, then creating a diecut oval in my top layers to frame my sentiment and then decorate this with my Flourish Thinlit diecut flowers.
A Heartfelt Sentiment - Stampin' Up! sells some great stamp sets that have religious sentiment at the heart of their design and whilst they aren't for everyone there are a number that have a good mix and can be appreciated whatever your preference. Flourishing Phrases is one of those sets: some wonderful words of sympathy and marriage congratulation alongside some of general greeting and thanks. They also come in two parts: the inside of today's card is stamped with the second part of the one shown above, which reads "so he made you" - perfectly appropriate for the intended recipient of today's card.
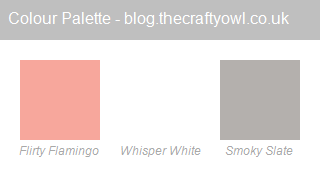
A Flirt With 'That' Pink - When choosing my colour combination today, I started knowing that I wanted to use white for my floral diecut and so needed to choose a colour for my base that would highlight my embossed sentiment and another that would both compliment it and show off my white florals. I decided to go with Flirty Flamingo for my card front 'white space'; this is one of those colours that I find can be a little harsh when stamped, especially on white (you can see if on the envelope beneath my card in the photo above) yet the cardstock has a wonderful rich, yet soft warm pink tone and compliments Smoky Slate beautifully. Feel free to save this colour combination if it's one that appeals to you too:
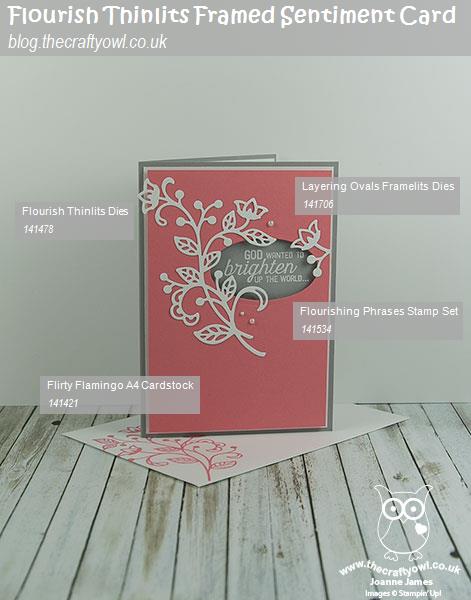
Here is the visual summary of the key products used on today's project for you to pin for easy reference:
You can see all of my 'How To' summaries on my 'How To - Tips and Techniques' Pinterest board in case you've missed any.
Enjoy the rest of your day and I'll be back tomorrow with another project. Until then, happy stampin'!
Stampin' Up! Supplies Used:
by Joanne James4. August 2016 08:05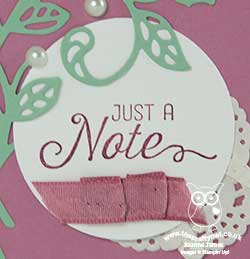
Today it's time for a new challenge over at Create With Connie and Mary and this week we have a colour combination for you:

I decided it was time to break out my Flourish Thinlits for my card today - take a look:
Here's the low-down on today's card:
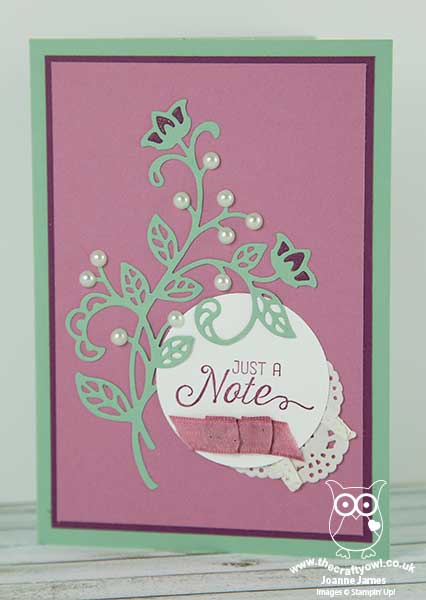
Frame With a Flourish - The Flourish Thinlits were on my 'must have' list when I saw the new catalogue - I think they are just lovely and you can create so many leaf and flower combinations with them, with or without the co-ordinating Flourishing Phrases stamp set. What's more, their detail can provide a great centrepiece, with not a lot else required. Here I cut mine in Mint Macaron and paper-pieced the flower heads in Rich Razzleberry, adding some clear Wink of Stella for shimmer.
Just a Note - I stamped my sentiment, from the Flourishing Phrases stamp set, in Rich Razzleberry in a 2" punched circle. There isn't much of this bright purple on my card, but where it appears it plays an important role: the sentiment, to highlight the flower petals and to create a border for my base. With two strong purple colours, less is definitely more in my book!
Pearls A Plenty - I added some doily behind my sentiment and a piece of Sweet Sugarplum ribbon, with an abundance of large pearls as 'berries' on my flourish. For some reason I rarely use this size of pearl and have an excess of them; luckily for me, they fit the circular berry spots perfectly.
A simple card where the sentiment could be switched out for lots of different occasions.
Here is the visual summary of the key products used on today's project for you to pin for easy reference:

You can see all of my 'How To' summaries on my 'How To - Tips and Techniques' Pinterest board in case you've missed any.
Do visit the other Design Team members to see what they did with this week's colours; there's lots of inspiration over on their blogs too!
Enjoy your day; I'm going swimming and then to the park for some outdoor fun! I'll be back tomorrow with another project; until then, happy stampin'!
Stampin' Up! Supplies Used: