by Joanne James8. June 2025 08:00
Today it's Sunday and time for this week's new challenge over at The Paper Players! It's the turn of the fabulous Stef to host this week and she has a fresh colour challenge for us to work with:


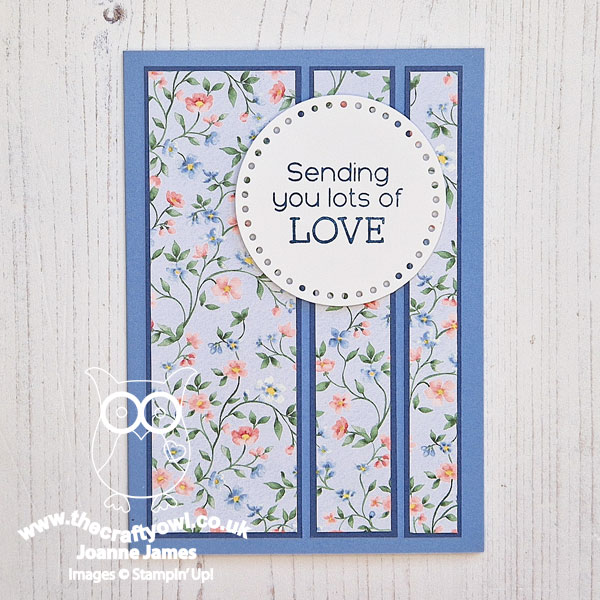
I have made some time-consuming cards this week (check out my earlier posts in case you missed them) - but today's card definitely wasn't one of them! I saw Stef's colours and knew I had some retired paper in my stash featuring all three colours that would be perfect. So I grabbed some dies and the great layout over at Sketch Saturday and set to work. Take a look at what I came up with:

Here's the low-down on today's card:
The retired You're A Peach designer series papers feature all three of Stef's chosen colours, so I chose a couple of my favourites and cut a couple of rectangular panels, one with a (retired) Everyday Details die, and layered them up as per the sketch. I went with a sentiment from the Grateful Blessing stamp set, embossed on a blue circle cut with one of the Spotlight on Nature Dies for an additional pop of colour:

Three simple layers, a couple of diecuts, a heat-embossed sentiment, some enamel dots and a twine bow - done! A great standby card for my stash and I managed to use up some of my retired papers too - bonus.
Here is the visual summary of the key products used on today's project for you to pin for easy reference:

You can see all of my Product and 'How To' summaries on my 'How To - Tips and Techniques' Pinterest board in case you've missed any.
Before you reach for your ink and papers, check out what our amazing team has created to inspire you this week:
The Paper Players Design Team
Here's a quick recap of our challenge rules:
1. Create a new paper project
2. Upload your creation to your blog with a link back to us and provide a direct link to the post featuring your challenge submission.
3. Please link your card to no more than four challenges, TOTAL.
4. Have FUN!
Enjoy your day; I'll be back tomorrow with another project. Until then, happy stampin'!
Stampin' Up! Supplies Used:
19aa604d-ae6c-4b65-91b4-55a8e1f84554|0|.0|96d5b379-7e1d-4dac-a6ba-1e50db561b04
Tags: Shop Stampin' Up! Online, Stamping Shop Stampin' Up online, Shop online, Stampin' Up, Stampin' Up Card ideas, Stampin' Up Supplies, Stampin' Up Card, The Paper Players, Grateful Blessing, Spotlight On Nature, You're A Peach, Everyday Details
Cards | Shop Online | Shop Stampin' Up! Online | Stamping
by Joanne James23. April 2024 10:00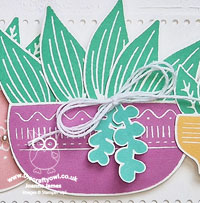
Happy Tuesday everyone! First things first: the Clearance Rack has updated overnight in the online store and there are some fantastic bargains to be had, Especially on dies and kits - you can check out the reduced items here; if you are local to me I am placing an order today, so let me know if you'd like to add to it.

So that's the bargains on the retired stuff! Today I'm sharing a card that is all about the 'new' - the new 2024-26 In Colours in fact. I decided to play along with the current challenge over at Just Add Ink with the 'take two' of pots and leaves that also uses the sketch over at Global Design Project (albeit I did change the position of the bow; I do have a slightly more faithful take on this sketch for later in the week).


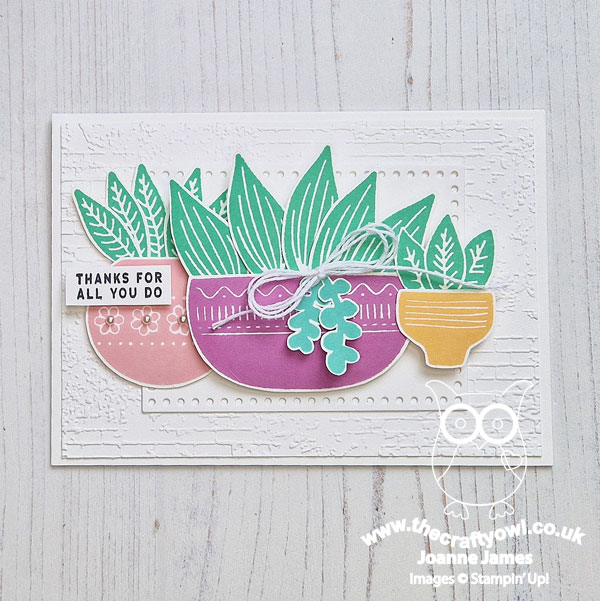
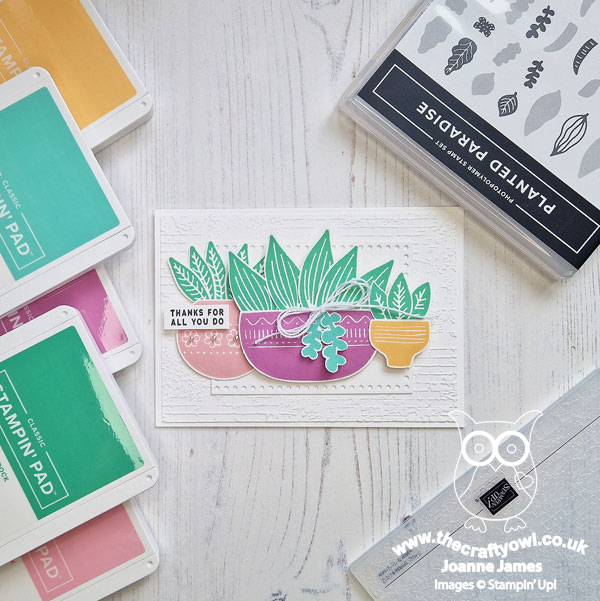
I chose to use the 'Planted Paradise' stamp set which is on carryover for my card today as I thought it would be a perfect way to showcase those bright new in colours - take a look:
Here's the low-down on today's card:
I kept my card base and background white, so as to allow my plant pots to take centre stage, adding a frame embossed with the Timeworn Brick embossing folder and a central label cut using the Everyday Details Dies. I then stamped a collection of pots and leaves and arranged them to fill the front of my card. So the new in colours are, left to right, Pretty in Pink, Petunia Pop and Peach Pie, on the plant pots, with leaves in Shy Shamrock and a couple of trailing leaves just below my twine bow in Summer Splash:
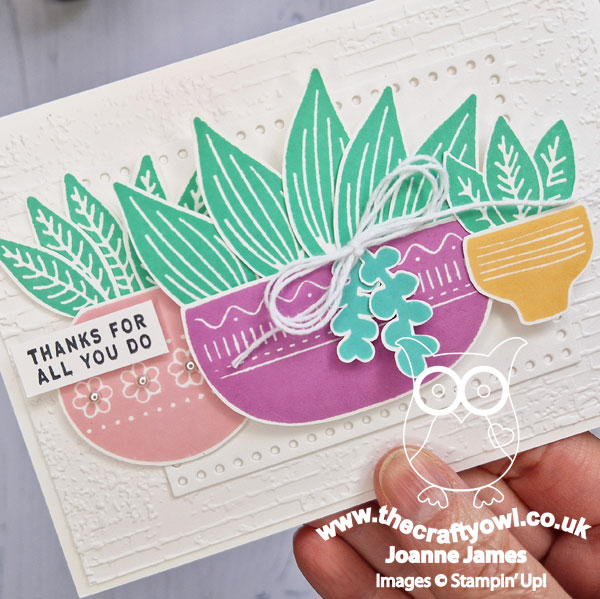
I finished with a sentiment from the retiring 'Love For You' and a few pearls to decorate one of my pots. So what do you think - is this a set of in colours you could get on board with? Do you have an emerging favourite? Do leave me a comment below - I'd love to hear your thoughts.
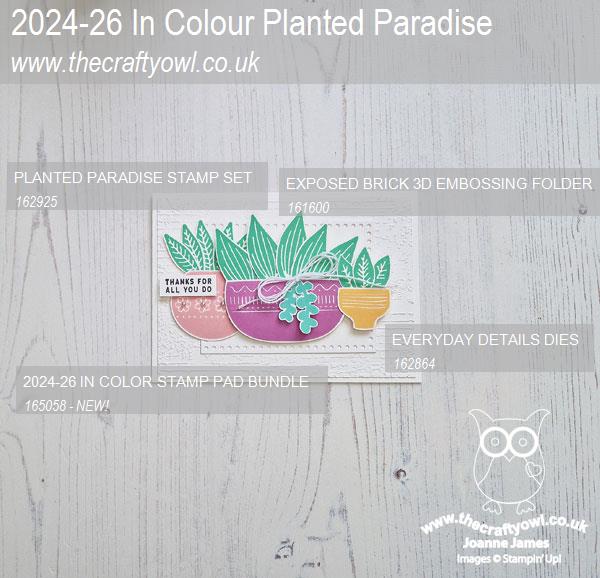
Here is the visual summary of the key products used on today's project for you to pin for easy reference:
You can see all of my 'How To' summaries on my 'How To - Tips and Techniques' Pinterest board in case you've missed any.
Enjoy your day and I'll be back tomorrow with another project. Until then, happy stampin'!
Stampin' Up! Supplies Used:
by Joanne James15. March 2024 09:00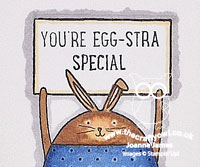
Today I have a double post day! I'll be back later with my card for our new challenge over at As You See It, but first I'm guesting over at CAS on Friday! I won Challenge 277 with this card, so I was asked to join the ladies as their guest this week for their new challenge where the theme is 'Easter'. I'm a little thin on current Easter-themed supplies, so I dug into my retired stash for some old sets that I could use in a new way. Here's my card for the new CAS on Friday challenge that also uses the colours over at Color Throwdown this week:
Here's the low-down on today's card:
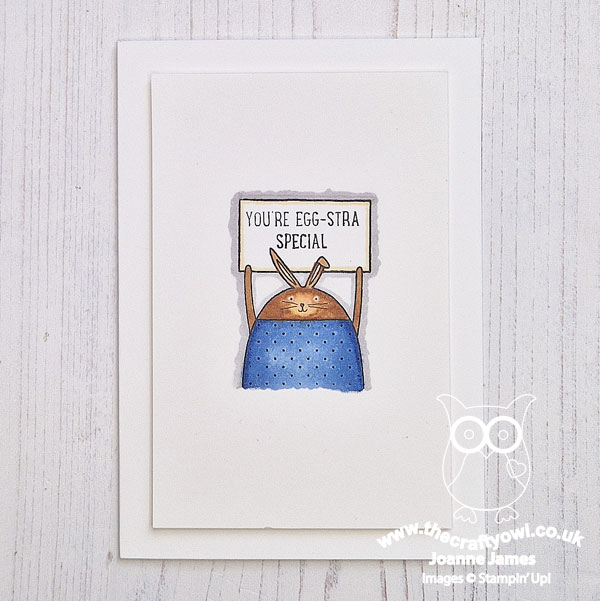
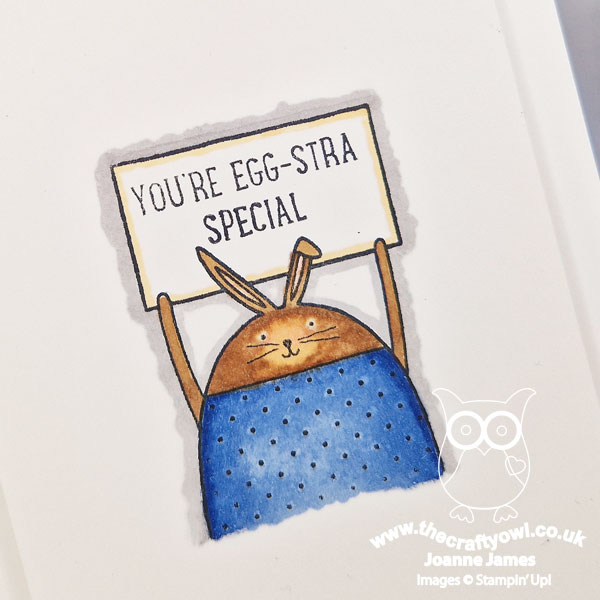
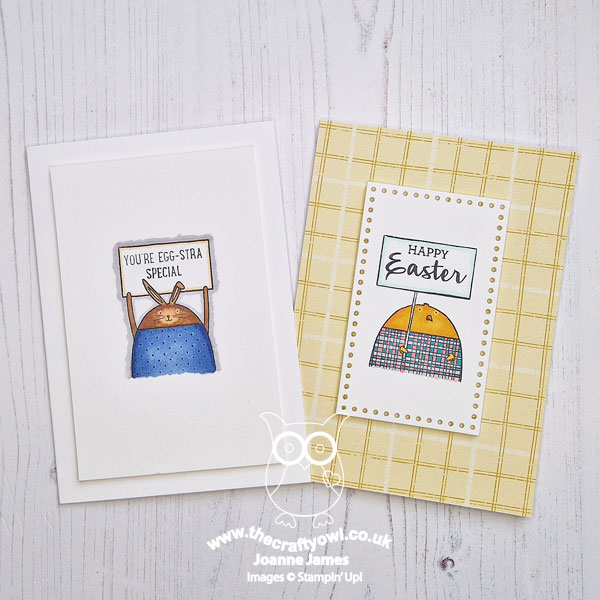
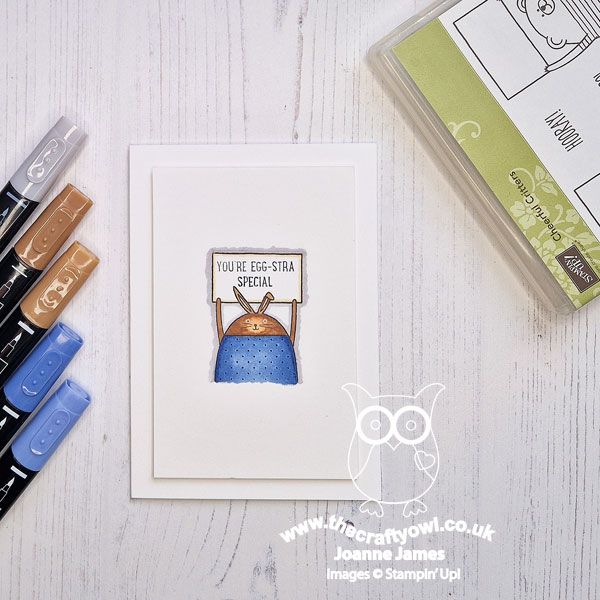
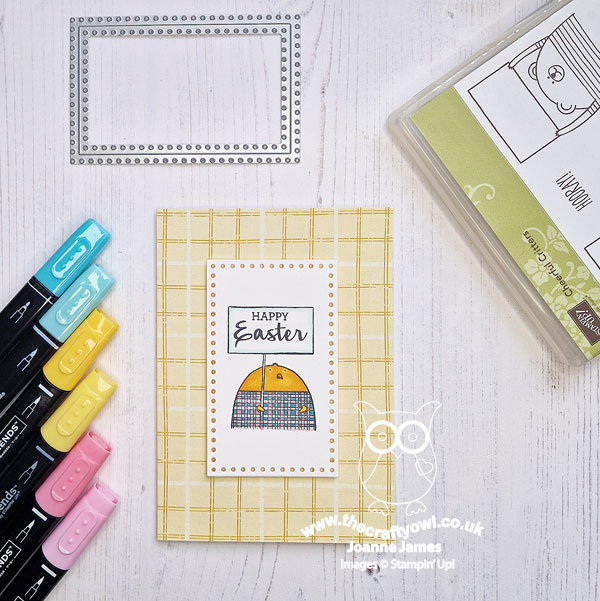
I've always loved the little sign-holding characters in the retired 'Cute Critters' stamp set and I thought that the bunny would make a cute clean and simple Easter card when combined with a suitable sentiment. For my bunny I paired her with a sentiment from the retired 'Basket Bunch' stamp set and simply coloured with my Stampin' Blends:
Perfect for a simple card to accompany an Easter egg gift.
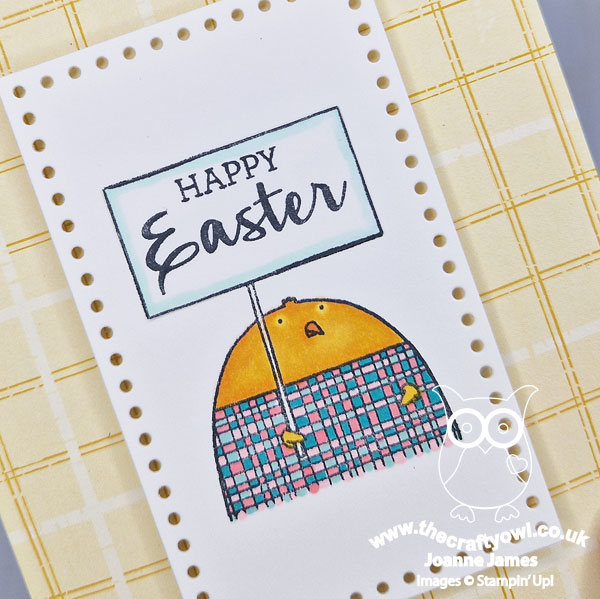
I had so much fun with this card that I decided to make another slightly stepped-up version using the chick in the 'Cheerful Critters' set, this time featuring the colours over at Hand Stamped Sentiments:
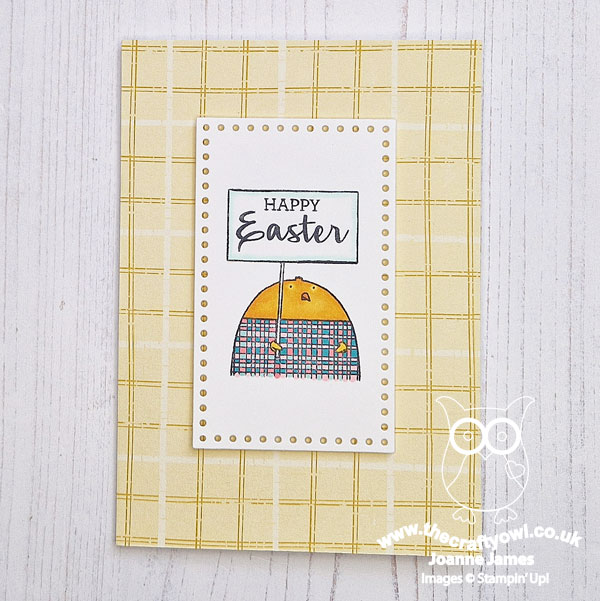
I backed my card with a piece of Inked Botanicals plaid paper and used one of the Everyday Details Dies to diecut my stamped and coloured panel, with a sentiment from the another retired stamp set, 'Arrange A Wreath':
I'm also linking my second card up over at SUO Challenges where the theme is also Easter/Spring.
This was a fun dip into the retirement box to use some old stamps in new ways. Do you ever do this? Do leave me a comment below - I'd love to hear your thoughts.
Enjoy your morning and I'll be back later with my card for our new challenge over at As You See It. Until then, happy stampin'!


6ffa8406-ccbd-4ffc-a70c-f7d8dee64e45|0|.0|96d5b379-7e1d-4dac-a6ba-1e50db561b04
Tags: Stampin' Up, Stampin' Up Card, Stampin' Up Card ideas, Stampin' Up Supplies, Shop online, Shop Stampin' Up online, Shop Stampin' Up! Online, Cheerful Critters, Easter, Arrange A Wreath, Basket Bunch, Inked Botanicals, Everyday Details
Cards | Shop Online | Shop Stampin' Up! Online | Stamping
by Joanne James1. March 2024 13:00
It's the 1st of March: Sale-A-Bration is over for another year and to any fellow Welsh readers out there - Happy St David's Day! No daffodils here though; today I'm sharing my design team card for our new challenge over at As you See It where it's time for a seasonal theme challenge chosen by me:

I thought Easter would be a good theme for our challenge this week given that it's at the end of this month, although it did mean I had to get creative as I haven't purchased any new Easter sets and I don't have the Easter Bunny set in the annual catalogue either. Never fear though - I got creative! This is what I came up with:
Here's the low-down on today's card:
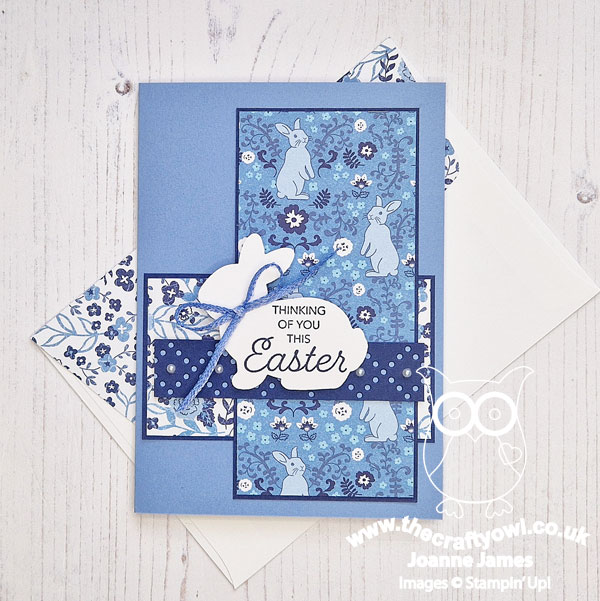
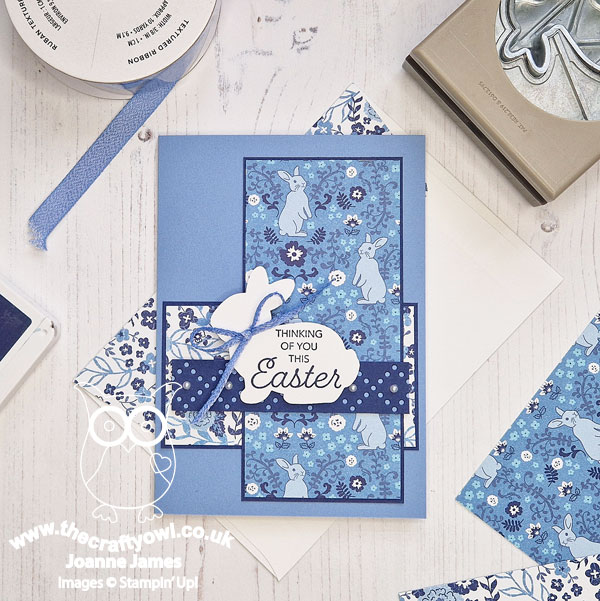
Countryside Inn - I noticed that one of the papers in the Countryside Inn pack has a rabbit in the pattern that I thought would make a sweet background for an Easter card and this set the tone for my whole card. I used a Boho Blue card base and balanced it with another of the patterns in the pack.
Easter Bunny - I used a simple white rabbit punched with the Easter Bunny Punch as my focal point and stamped my greeting onto it directly - for those of you that picked up the 'Heartfelt Hellos' stamp set during Sale-A-Bration, this is where this sentiment comes from. A trimmed ribbon bow was all the decoration my rabbit needed:

Everyday Details - You may recognise the layout of my card: it's this week's Paper Players layout that I used for my card on Sunday. The rabbit is in place of the hot air balloon, and on today's card instead of a row of clouds, I created a layered border using one of the Everyday Details Dies, adding pearls to the diamond centres for a little added detail.
I'm pleased with how my card finished up; it's also a great way to show how the same layout can be used in different ways.
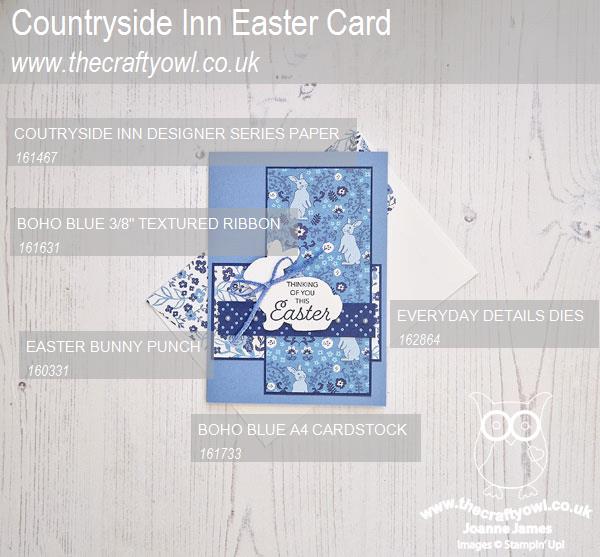
Here is the visual summary of the key products used on today's project for you to pin for easy reference:
You can see all of my 'How To' summaries on my 'How To - Tips and Techniques' Pinterest board in case you've missed any.
Here's a summary of our challenge rules:
- Create any card, scrapbooking page, 3D project or packaging project that fits the challenge.
- Please include the challenge graphic and link back to the challenge in your blog post. Turn off word verification so we can leave you lots of lovely comments. Make sure you link the post not the whole blog to the Linky. Use #AYSIXXX when uploading to a public gallery.
- If you’re unsure about ‘the rules’, check the details under the Challenge Guidelines tab on the As You See It Challenge homepage.
We look forward to seeing your creations in the AYSI gallery.
Enjoy your day; I am taking a well-earned break today following my final trips to both my local charity shop and waste tip respectively, which signify the end of my loft clearance project this week. Hopefully I will make it back into my craft room and I'll have something to come back and share with you tomorrow. Until then, happy stampin'!
bebca4da-1569-4d98-bc04-58fa7abede1c|0|.0|96d5b379-7e1d-4dac-a6ba-1e50db561b04
Tags: Stampin' Up, Stampin' Up Card, Stampin' Up Card ideas, Stampin' Up Supplies, Shop online, Shop Stampin' Up online, Shop Stampin' Up! Online, As You See It Challenge, Easter, Easter Bunny Punch, Countryside Inn, Everyday Details, Heartfelt Hellos
Cards | Shop Online | Shop Stampin' Up! Online | Stamping
by Joanne James14. February 2024 21:00
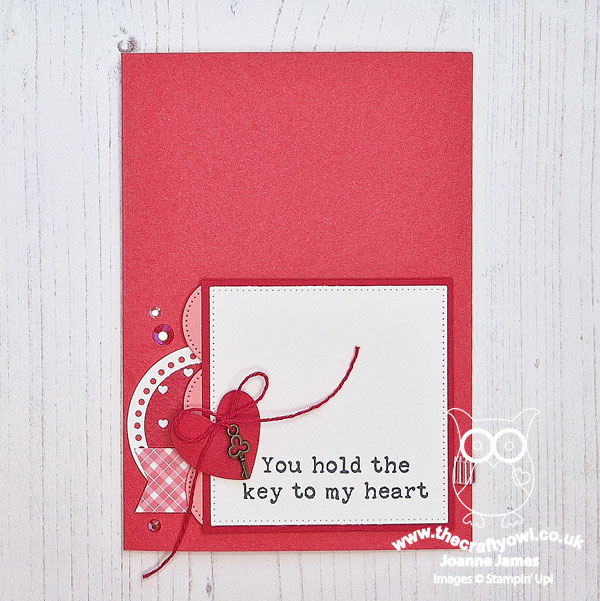
Happy Valentine's lovely readers! It seems only right that I should share a Valentine's card today; actually I made this card to send to the DH to celebrate our wedding anniversary, which is next week, but it would work for either. I made my card with a couple of challenges in mind:


Inkspirational have a word prompt of 'heart' and the theme over at Inspire.Create is 'All About Love'. I went for a relatively clean and simple card with lots of fun details that focuses on the sentiment - take a look:
Here's the low-down on today's card:
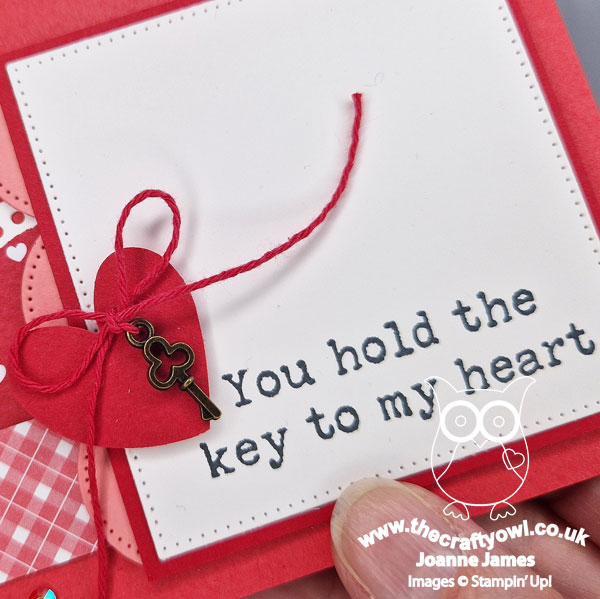
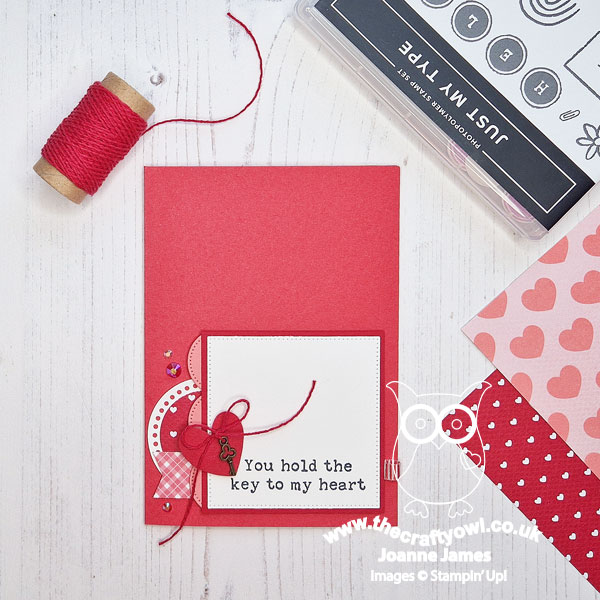
The sentiment comes from the 'Just My Type' stamp set and I found a tiny vintage key trinket in my embellishment stash that I thought paired with it perfectly. A Bee Builder Punch heart and a selection of designer paper snippets, diecuts and gems complete my card:
Pretty yet not overly feminine - I really like the finished result and hope that the Hubby will too.
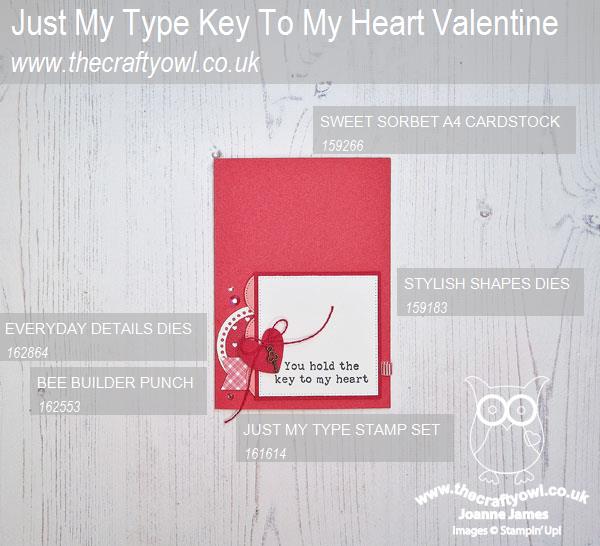
Here is the visual summary of the key products used on today's project for you to pin for easy reference:
You can see all of my 'How To' summaries on my 'How To - Tips and Techniques' Pinterest board in case you've missed any.
I have enjoyed a pleasant Valentine's dinner with the youngest of the James Juniors, catching up on the events of the day, the highlight of which was a hockey 2nd XI win, which is always worth celebrating! I'll be back on Friday with another project. Until then, happy stampin'!
Stampin' Up! Supplies Used:
5b6267ad-926f-4b28-926c-53c4218d2240|0|.0|96d5b379-7e1d-4dac-a6ba-1e50db561b04
Tags: Shop Stampin' Up! Online, Stamping Shop Stampin' Up online, Shop online, Stampin' Up, Stampin' Up Card ideas, Stampin' Up Supplies, Stampin' Up Card, Just My Type, Valentines, Valentine's, Bee Builder Punch, Scalloped Contours Dies, Banner Punch, Everyday Details, Most Adored, Stylish Shapes Dies
Cards | Sale-a-bration | Shop Online | Shop Stampin' Up! Online | Stamping
by Joanne James9. February 2024 10:00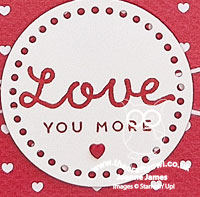
I haven't managed much in the way of crafty time this week (it's amazing how a car breakdown can take up hours of your time!) so today I'm sharing a clean and simple card yet one that still packs a punch! I used the current Sketch Saturday layout and a sentiment with this week's challenge over at Just Us Girls in mind:


I'm fully embracing red and hearts for a sweet Valentine's card full of love - take a look:
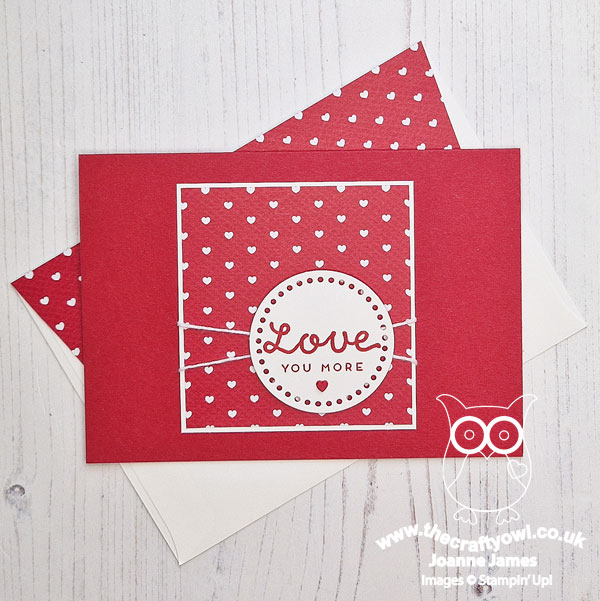
Here's the low-down on today's card:
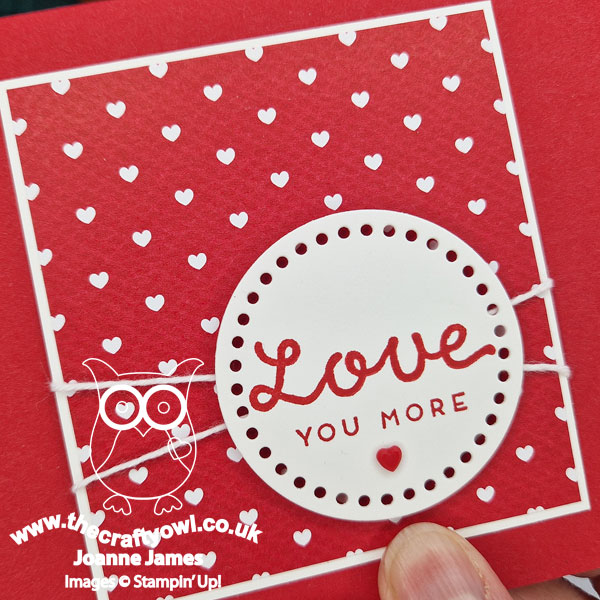
A simple layered panel, tied with twine and a focal sentiment pretty much sum up today's card. I'm loving the new Everyday Details Dies, one of which I used to diecut my sentiment label. The other two main elements - the heart patterned Most Adored designer series paper that I used for my panel and the sentiment from the 'Heartfelt Hellos' stamp set - are both items that you can choose FREE with a £45 purchase during the current Sale-A-Bration promotion: bonus! I added a single red resin heart below my stamped sentiment for a final tie in to that pretty paper:
This is the perfect sentiment for the person in your life who has one of those never-ending conversations "Love you". "Love you more." "No, love you more." and so on - you know the ones?! The youngest of the James Juniors often uses this as a bedtime-stalling tactic, even now he's in his teens. Clearly, it works!
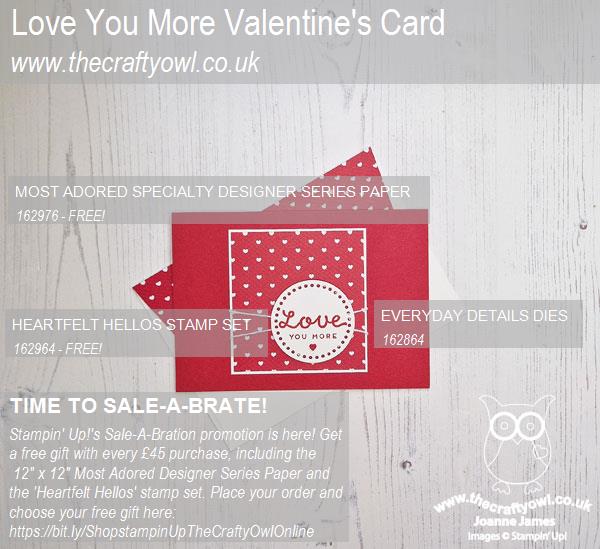
Here is the visual summary of the key products used on today's project for you to pin for easy reference:
You can see all of my 'How To' summaries on my 'How To - Tips and Techniques' Pinterest board in case you've missed any.
You have until the end of February to take advantage of Sale-A-Bration, whilst supplies last - so time to get shopping! Enjoy your day; I'm off to do some shopping of a different kind (grocery shopping - apparently craft supplies don't make a nutritious dinner!) but I'll be back early tomorrow with another project. Until then, happy stampin'!
Stampin' Up! Supplies Used:

b225beec-ccc2-47f3-9897-9f3a6a2f6d99|0|.0|96d5b379-7e1d-4dac-a6ba-1e50db561b04
Tags: Shop Stampin' Up! Online, Stamping Shop Stampin' Up online, Shop online, Stampin' Up, Stampin' Up Card ideas, Stampin' Up Supplies, Stampin' Up Card, Heartfelt Hellos, Most Adored, Sale-A-Bration 2024, Valentines, Valentine's, Everyday Details
Cards | Sale-a-bration | Shop Online | Shop Stampin' Up! Online | Stamping
by Joanne James6. February 2024 13:00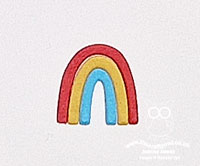
It's Tuesday and time for a new challenge over at CAS Colours & Sketches. The talented Michal is hosting this month and our first challenge is a colour challenge:
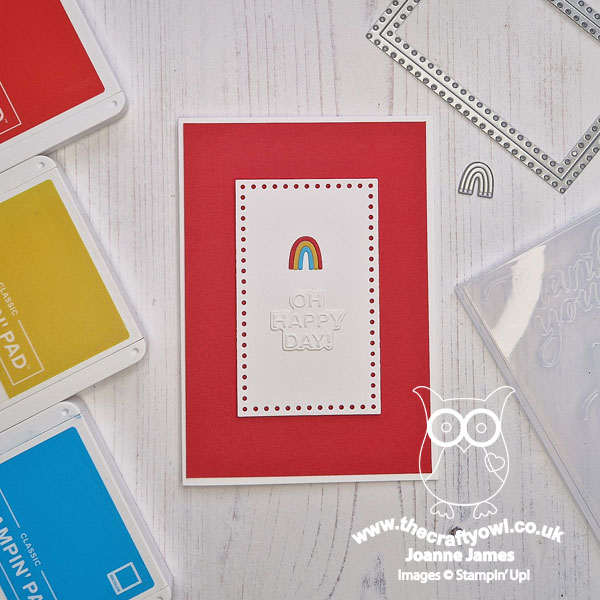
I don't mind admitting, this trio of colours properly threw me for a loop! I couldn't get past the fact that they would make a great Pixar ball image and struggled to use them to make a card featuring anything else! I made a few discarded cards for today's challenge, before finally going uber-simple and paring my card back to the basics - take a look:
Here's the low-down on today's card:
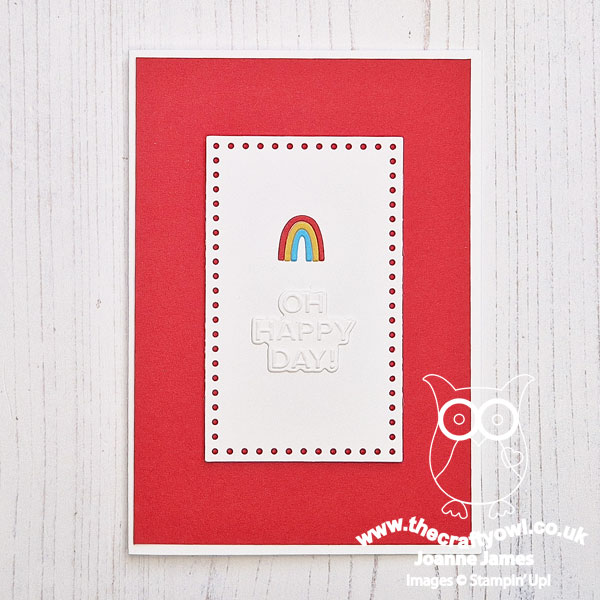
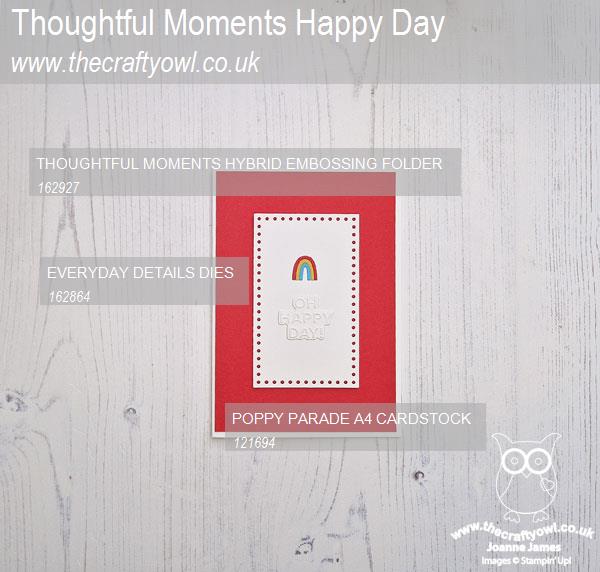
A simple red frame, a panel cut with one of the Everyday Details Dies for a little border interest, and a sentiment from the Thoughtful Moments hybrid embossing folder and die set. A diecut rainbow from the same set for a final pop of colour completes my card. There are some great little dies in this set in addition to those that cut out the embossed sentiments that are perfect for clean and simple cards or an extra embellishment. I decided to go with an all-white sentiment with no colour outline:
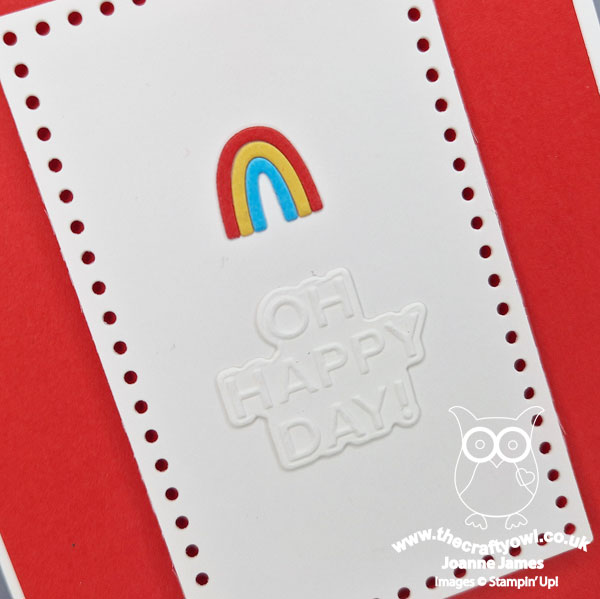
A little unusual, but I actually quite like it!
Here is the visual summary of the key products used on today's project for you to pin for easy reference:
You can see all of my 'How To' summaries on my 'How To - Tips and Techniques' Pinterest board in case you've missed any.
As a reminder, for our colour challenges, you must use all of the stated challenge colours. You may also use neutral colours; however, the challenge colours should be the most noticeable ones featured on your card. We use Stampin' Up! color names for reference, but you are welcome to use any other companies' products as long as you match the challenge colours as closely as possible.
Enjoy your day and I'll be back tomorrow with another project. Until then, happy stampin'!
Stampin' Up! Supplies Used:
by Joanne James3. February 2024 19:30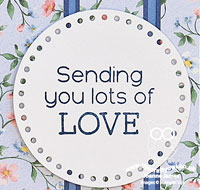
Today I'm sharing a card that uses the same products to create two different looks. I used the sketch layouts over at Tuesday Morning Sketches and Inspire.Create for each of my cards:


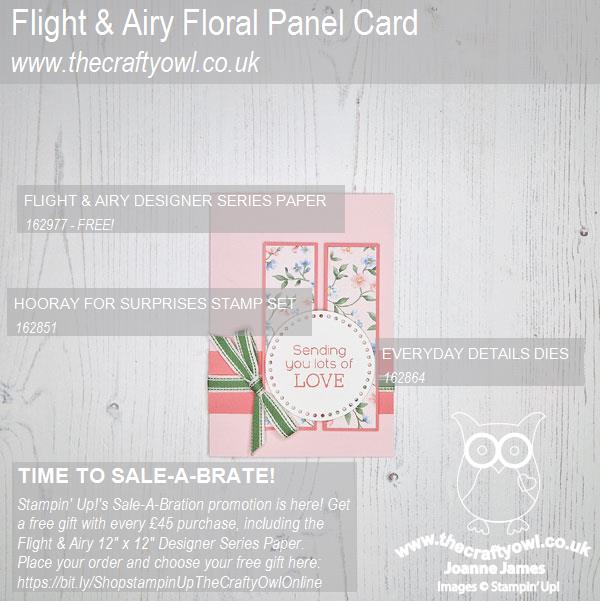
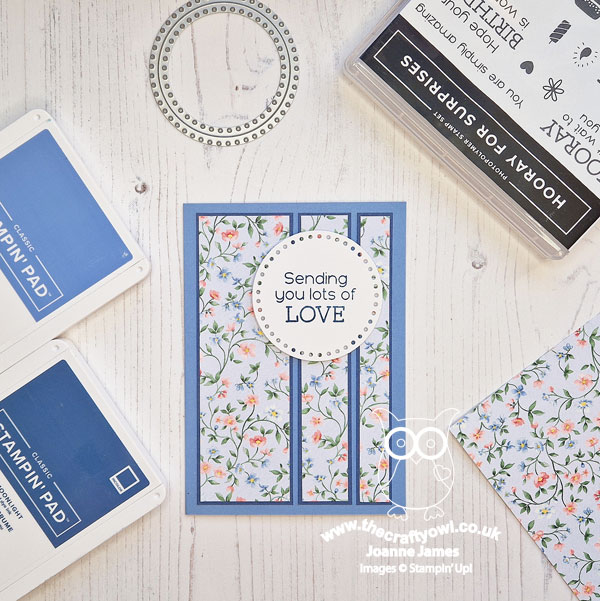
Both cards feature a sentiment 'Hooray For Surprises', a label cut with the Everyday Details Dies and designer series paper from the free Sale-A-Bration Flight & Airy pack. Here's the first card, with a blue colour scheme:
Here's the second card, with a pink colour scheme; I've also added some (retired) Garden Green ribbon and a bow to this version:
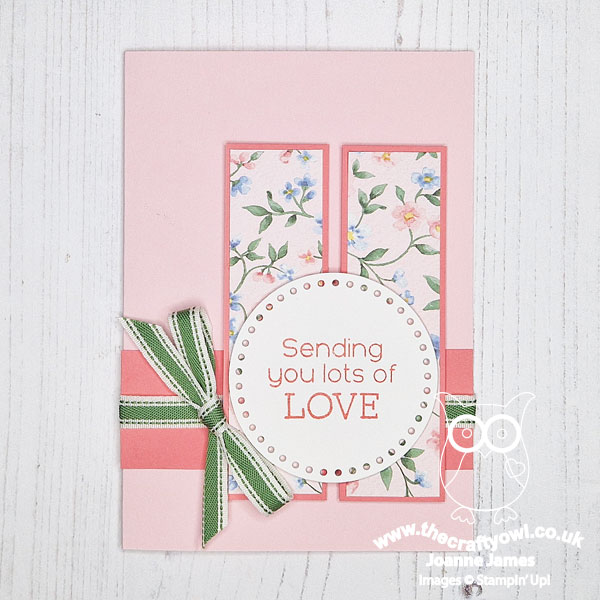
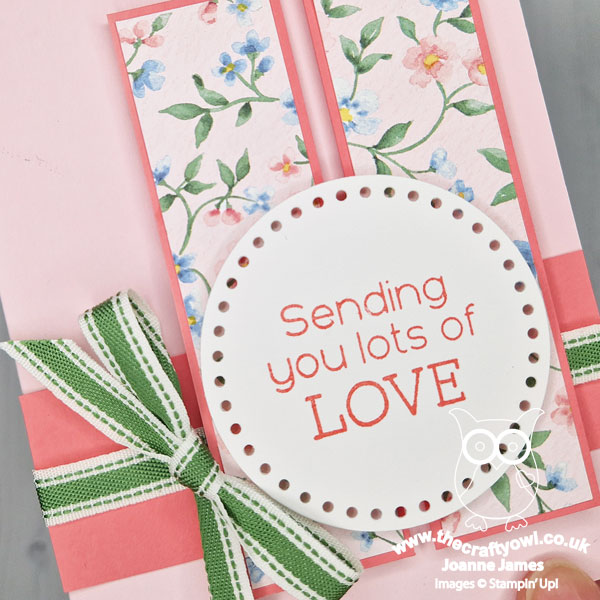
You know how much I love the Flight & Airy papers - no fussy cutting today though! The pattern detail of these papers lends them to be used on clean, uncluttered cards. The panel designs of both of the layouts are a great way to add interest. I love the diecut detail on the labels too:
These are great designs if you need to knock out multiples too. I'll be sending these to members of my team to celebrate their Stampin' Up! anniversaries - the inside of my cards reads 'you are simply amazing' - because they are. With Sale-A-Bration being a great time to join Stampin' Up!, there are always anniversaries to celebrate at this time of year!
Finally, here's a photo of both cards together:
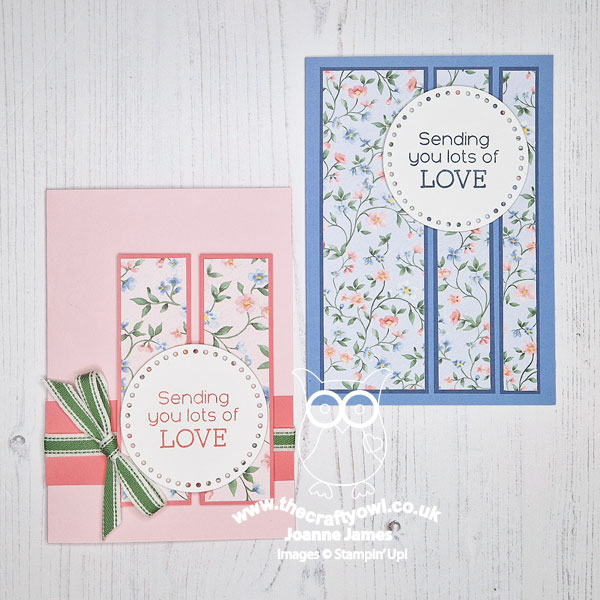
Which design do you prefer? Do leave me a comment below - I'd love to hear your thoughts.
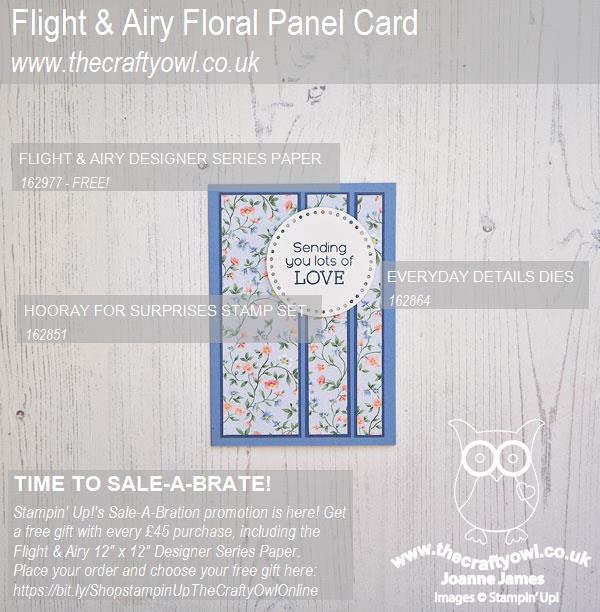
Here is the visual summary of the key products used on today's project for you to pin for easy reference:
You can see all of my 'How To' summaries on my 'How To - Tips and Techniques' Pinterest board in case you've missed any.
Enjoy your day and I'll be back tomorrow with another project. Until then, happy stampin'!
Stampin' Up! Supplies Used:
77c42896-6431-4daf-94db-54d410b11ef6|0|.0|96d5b379-7e1d-4dac-a6ba-1e50db561b04
Tags: Shop Stampin' Up! Online, Stamping Shop Stampin' Up online, Shop online, Stampin' Up, Stampin' Up Card ideas, Stampin' Up Supplies, Stampin' Up Card, Hooray For Surprises, Everyday Details, Flight And Airy, Sale-A-Bration 2024, Earn Free Product, Earn Free Products
Cards | Sale-a-bration | Shop Online | Shop Stampin' Up! Online | Stamping
by Joanne James23. January 2024 13:00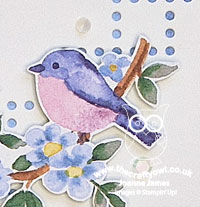
It's Tuesday and time for a new challenge over at CAS Colours & Sketches. This week's challenge is a sketch challenge and Jeanne has asked that we use a diagonal along with a central focal point:


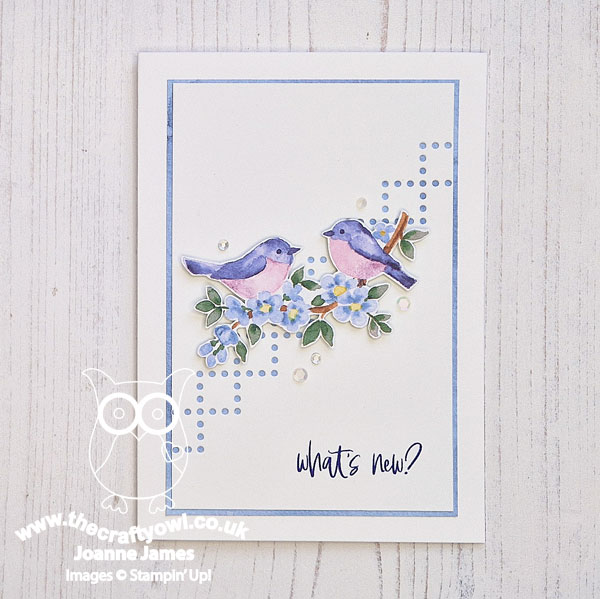
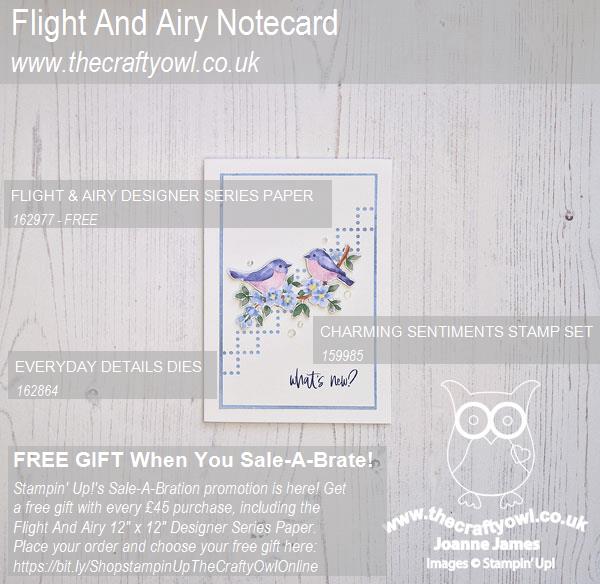
Feel free to flip or rotate the sketch when making your card and the heart doesn't have to be a heart - you can choose an alternative shape too. For my card today I did that and I used a pair of birds that I fussy cut from the Flight & Airy designer series paper that is one of the gifts that can be yours FREE with an order of £45 during the current Sale-A-Bration promotion. Here's my card:
Here's the low-down on today's card:
I spent ages trying to decide how best to use the diagonal. I wanted to avoid using a piece of designer paper for half of the panel so instead used a piece of Boho Blue watercolour, also from the Flight & Airy pack, as a layer beneath a piece of white card, across which I diecut a diagonal line using one of the new Essential Details Dies. It doesn't quite go corner-to-corner, as I wanted to preserve the horizontal/vertical aspects, but it follows the intent of the sketch and allows some of that lovely blue paper to peek through:
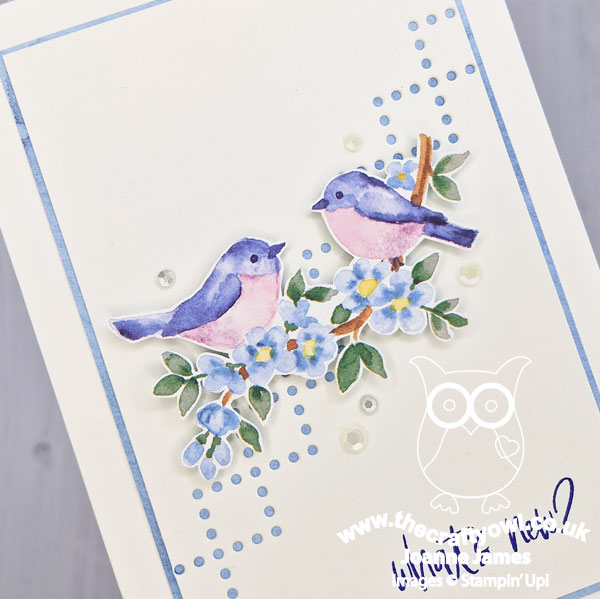
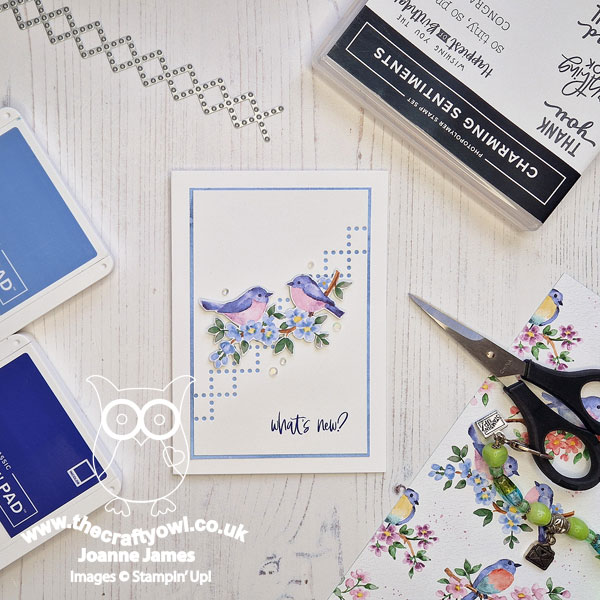
Fussy cutting the birds was a labour of love but so worth it as they make a lovely centrepiece. I added a few sequins and a sentiment from the 'Charming Sentiments' stamp set to finish. This card is a notecard to send to someone I've not spoken to in a while, to share news and let them know I'm thinking of them. Sometimes a card is better than a text, right?
I'm also playing along with my old teamies over at TicTacToe with my card today; I followed the diagonal diecut/patterned paper/pink.
Here is the visual summary of the key products used on today's project for you to pin for easy reference:
You can see all of my 'How To' summaries on my 'How To - Tips and Techniques' Pinterest board in case you've missed any.
As a reminder, for our colour challenges, you must use all of the stated challenge colours. You may also use neutral colours; however, the challenge colours should be the most noticeable ones featured on your card. We use Stampin' Up! color names for reference, but you are welcome to use any other companies' products as long as you match the challenge colours as closely as possible.
Enjoy your day and I'll be back tomorrow with another project. Until then, happy stampin'!
Stampin' Up! Supplies Used:
071ef0d4-3c95-4efb-93d2-c1e845775ef4|0|.0|96d5b379-7e1d-4dac-a6ba-1e50db561b04
Tags: Stampin' Up, Stampin' Up Card, Stampin' Up Card ideas, Stampin' Up Supplies, Shop online, Shop Stampin' Up online, Shop Stampin' Up! Online, CAS Colours and Sketches, Everyday Details, Charming Sentiments, Flight And Airy
Cards | Sale-a-bration | Shop Online | Shop Stampin' Up! Online | Stamping