by Joanne James25. March 2023 09:00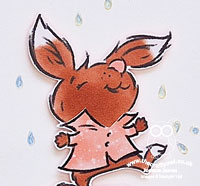
Today I'm sharing a super quick and easy clean and simple card for the current theme over at AAA Cards:

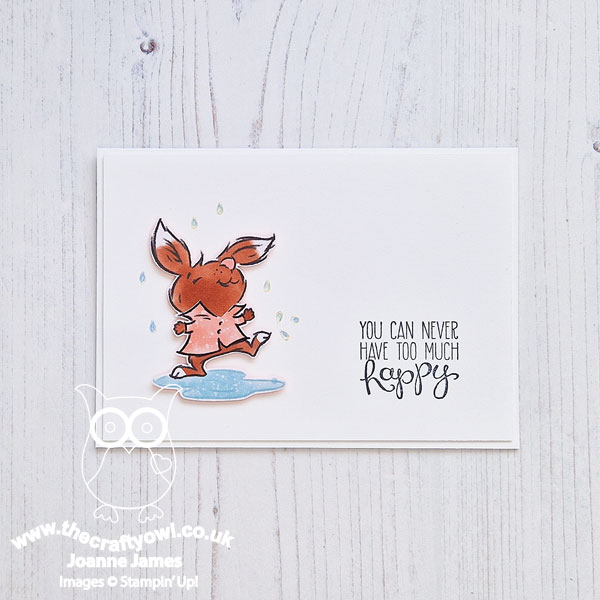
Make a card inspired by a movie, song or book - how fun! Here's my CAS card:
Here's the low-down on today's card:
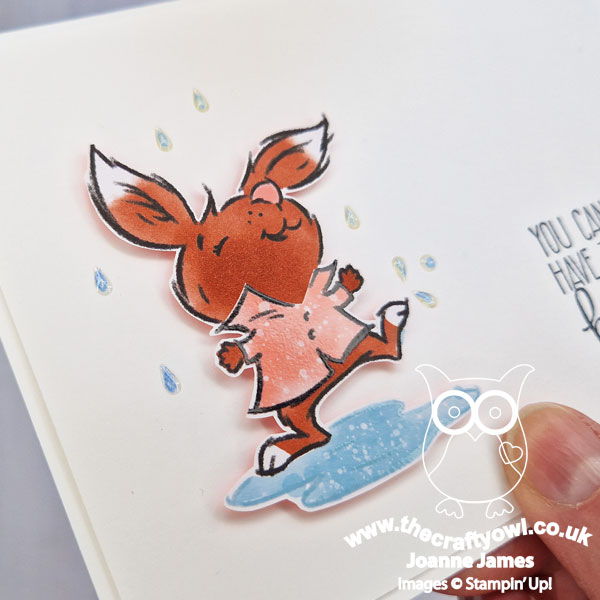
Ever since I saw the cute animals splashing in the puddles on the Rain or Shine designer series paper, I thought this sweet little rabbit looked like it was dancing and ...singing in the rain! I know Gene Kelly has an umbrella when he sings the title song to this iconic movie, but the fox with the umbrella on this paper doesn't look anywhere near as cheery as the sweet bunny, so I snipped a bunny and his puddle from the designer paper, then added some raindrops around him with my Balmy Blue watercolour pencil and accented these with some (retired) clear epoxy raindrops over the top. Cute, right?!
I don't have the co-ordinating stamp set from the Rain or Shine Suite Collection, so I used a sentiment from the (retired) set 'Yippee Skippee' that I thought matched the rabbit's demeanour. And that's all there is to it!
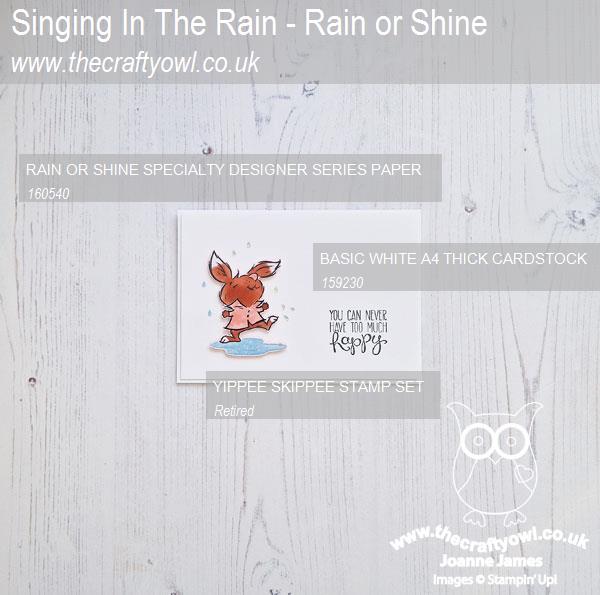
Here is the visual summary of the key products used on today's project for you to pin for easy reference:
You can see all of my 'How To' summaries on my 'How To - Tips and Techniques' Pinterest board in case you've missed any.
Enjoy your day. Mine will be spent at the hockey pitch as I'm covering all games today. If you like today's card do pop back tomorrow to see a more involved card using more of the Rain Or Shine papers for my Paper Players team card. Until then, happy stampin'!
Stampin' Up! Supplies Used:
by Joanne James19. March 2023 08:00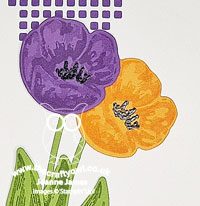
Today it's Sunday and time for this week's new challenge over at The Paper Players! It's the turn of the fabulous Ann to host this week and she has a seasonal theme challenge for us to work with:
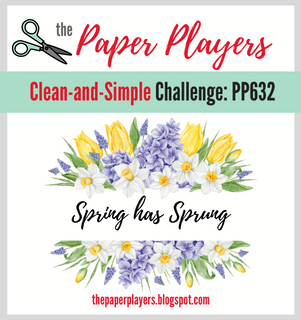
It's clean and simple week and Ann has asked us to feature a spring flower on our card. here's a quick reminder of what we mean by 'clean and simple at The Paper Players:
We mean a card that:
- Has minimal layers and embellishments
- Has plenty of open space, aka "white" space
- Is simple and uncluttered
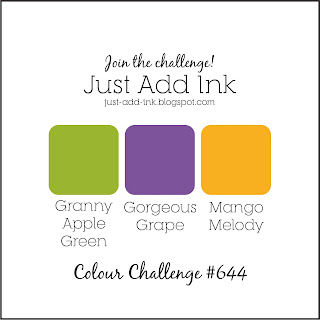
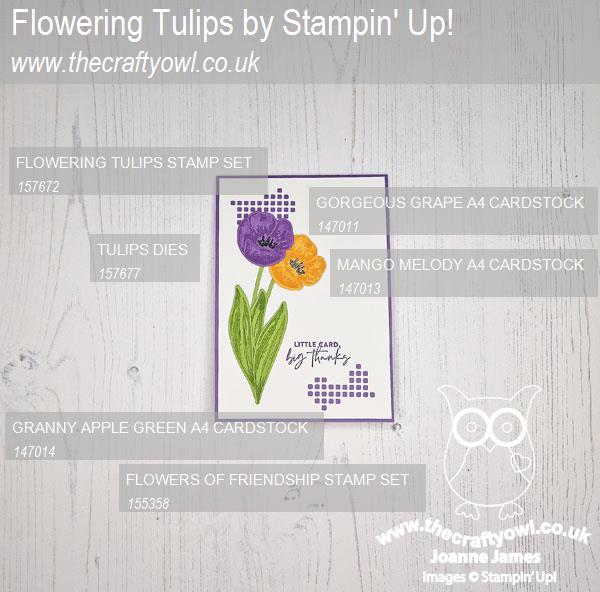
After much deliberation, I decided to use my 'Flowering Tulips' stamp set as I haven't yet inked it up this spring. I chose the lovely bright colours palette over at Just Add Ink and created this really simple card - take a look:

Here's the low-down on today's card:
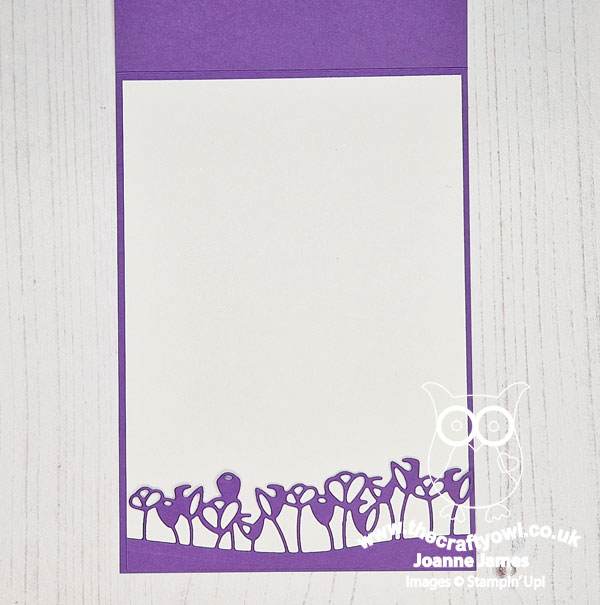
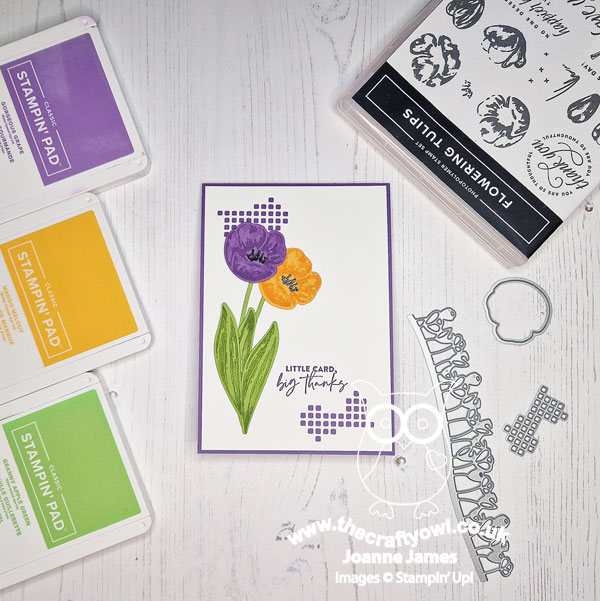
I stamped a couple of tulips in the same colour as the cardstock, stamping off one of the layers to get a depth of colour and cut them out using the Tulips Dies and heat embossed the stamens in black for a little extra shine. I added my tulips to a matt layer onto which I'd stamped my sentiment and used one of the dies in the set to cut a pattern to reveal colour from the card base below:
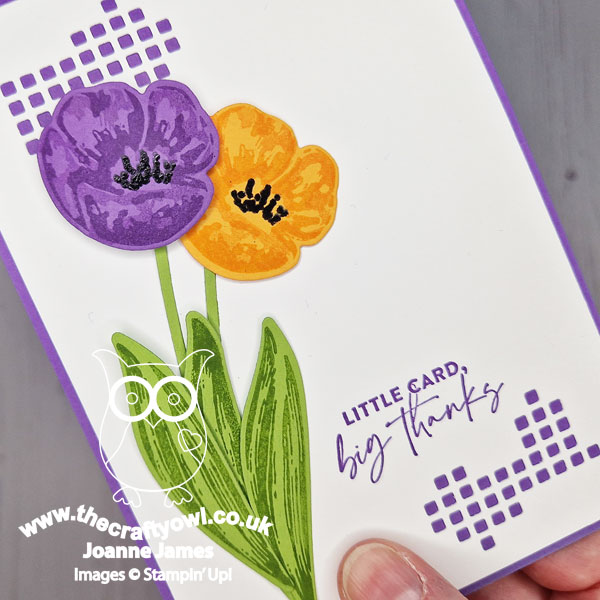
I added a simple diecut silhouette border to the inside of my card to complete my design:
Super simple and so bright and cheery, tulips, alongside daffodils, are one of my most favourite spring flowers.
Here is the visual summary of the key products used on today's project for you to pin for easy reference:
You can see all of my Product and 'How To' summaries on my 'How To - Tips and Techniques' Pinterest board in case you've missed any.
Before you reach for your ink and papers, check out what our amazing team has created to inspire you this week:
The Paper Players Design Team
Here's a quick recap of our challenge rules:
1. Create a new paper project
2. Upload your creation to your blog with a link back to us and provide a direct link to the post featuring your challenge submission.
3. Please link your card to no more than four challenges, TOTAL.
4. Have FUN!
Enjoy your day; I'll be back tomorrow with another project. Until then, happy stampin'!
Stampin' Up! Supplies Used:
49a4f9a5-51a3-4678-acac-6b44a455eee5|0|.0|96d5b379-7e1d-4dac-a6ba-1e50db561b04
Tags: Shop Stampin' Up! Online, Stamping Shop Stampin' Up online, Shop online, Stampin' Up, Stampin' Up Card ideas, Stampin' Up Supplies, Stampin' Up Card, The Paper Players, Clean and Simple, Tulip Dies, Flowers of Friendship
Cards | Shop Online | Shop Stampin' Up! Online | Stamping
by Joanne James15. March 2023 11:20
Today I'm sharing a card for the clean and simple challenge over at CAS On Friday which closes today where the theme is 'Friendship'. I also used the sketch over at Hand Stamped Sentiments for my layout:

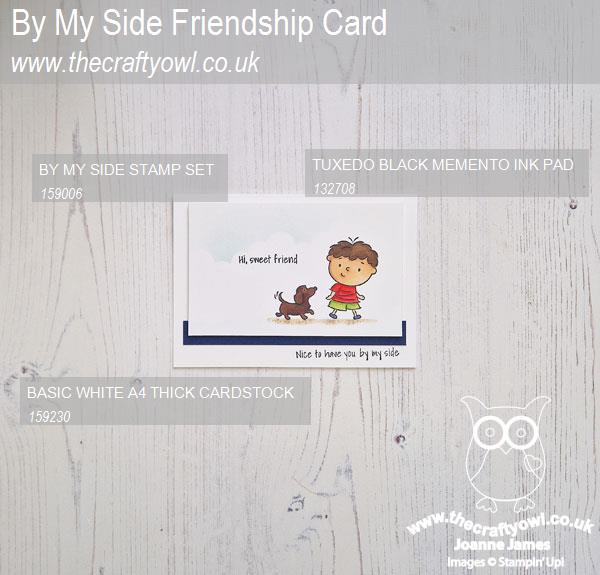
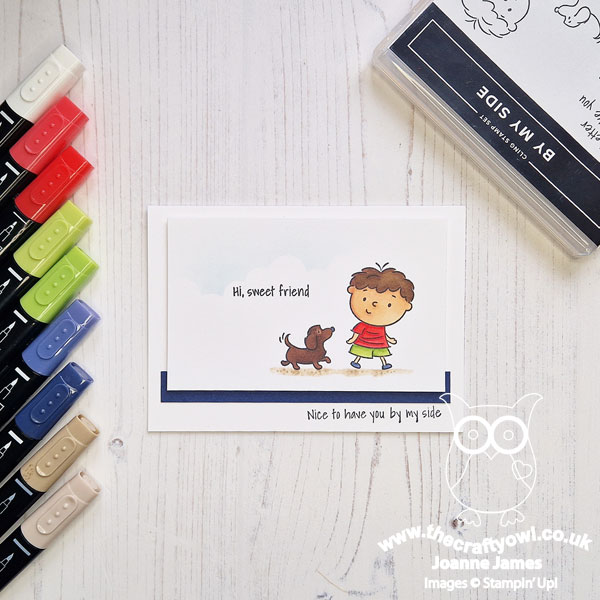
I decided to use a set from the annual catalogue that I picked up ages ago on a stamp sale day, but still had yet to ink up: By My Side. This is the card that I came up with:

Here's the low-down on today's card:
I love the innocent, child-like images in this set and it has some beautiful friendship sentiments that can be used for all kinds of occasions - thank you, congratulations, hello, thinking of you, birthday or simply to celebrate the friendship of someone you hold dear. I stamped the sweet little boy and his faithful puppy friend and coloured them both with my Stampin' Blends, adding in some ground and just a hint of colour applied with my blending brush and a cloud stencil above the first part of my sentiment. I added a second sentiment at the bottom of my card, masking off to stamp it in a straight line rather than two rows as per the set.
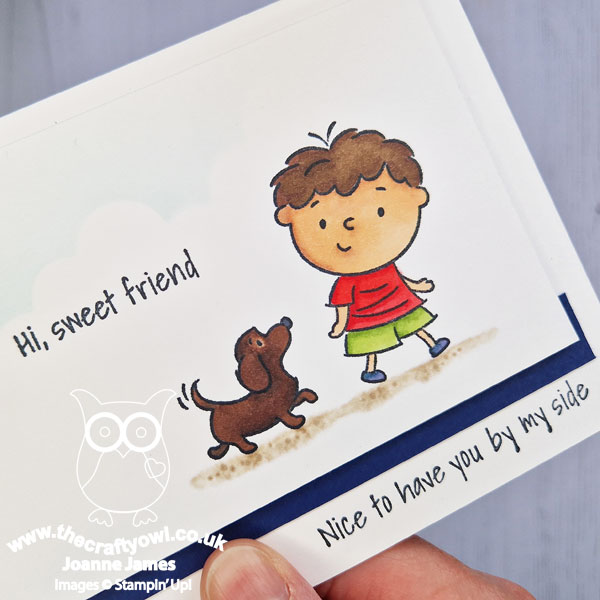
I was a little liberal with my interpretation of the HSS sketch, in that I used it in a horizontal rather than portrait format and didn't curve the top of my panel, as the straight lines suited my clean and simple design better. This layout is actually a really good one for CAS cards - the addition of the coloured strip behind the panel is a great way to add a little more colour and interest without cluttering that all important 'white space'.
I have something different for you tomorrow, but if you like this card I've made another one featuring some of the other stamps in this set to share with you on Friday, so make sure you pop back then.
Here is the visual summary of the key products used on today's project for you to pin for easy reference:
You can see all of my 'How To' summaries on my 'How To - Tips and Techniques' Pinterest board in case you've missed any.
Enjoy your day; mine is going to be spent playing catch-up at my desk and trying to get organised for the crafting week ahead! I'll be back tomorrow with another project. Until then, happy stampin'!
Stampin' Up! Supplies Used:
by Joanne James31. January 2023 11:14
Today I'm squeaking in another entry for the challenge over at Time Out that was also inspired by the current AAA Cards Challenge of white on white and this week's Global Design Project #GDP379 theme of Love:


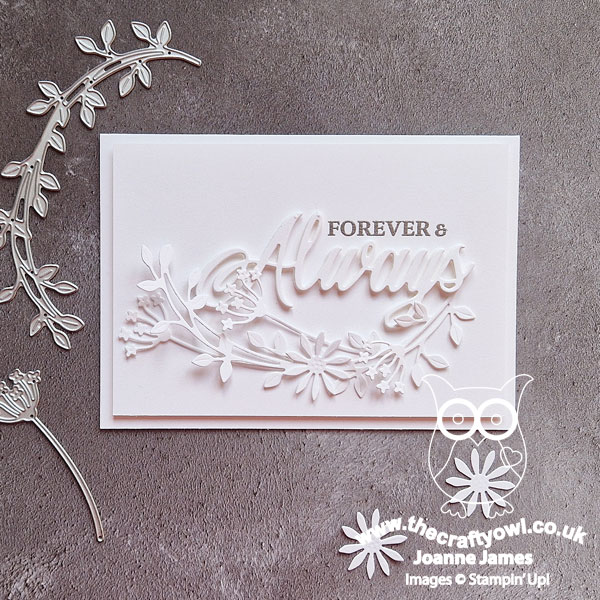
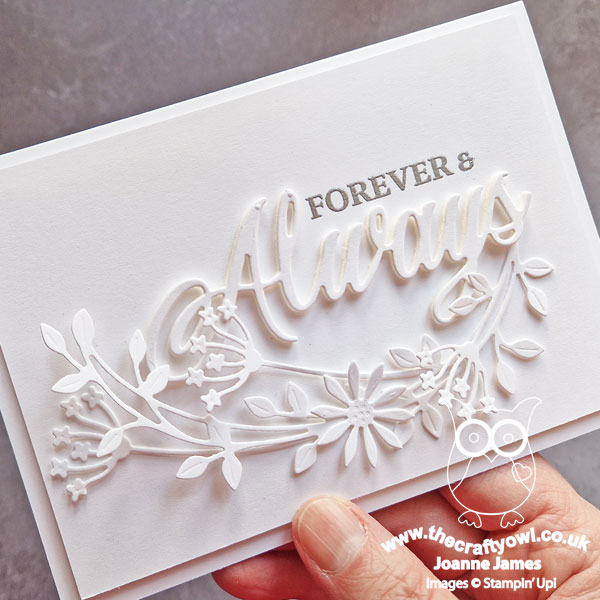
I love that Beth Pearson quote on the Time Out badge and it got me thinking about love in the context of weddings - the time when everyone should feel this way about the person they are standing in front of, right? I love the purity of white for a wedding card so couldn't resist the opportunity to create a clean and simple wedding card featuring a little of 'something old, something new' - take a look:
Here's the low-down on today's card:
All About Texture - When working with white-on-white, it's good to think about layers and texture to create interest. For a clean and simple card, there's a need to create interest without overwhelm and still preserve unpatterned 'white space'. The new Dainty Delight Dies are perfect for adding a delicate touch; each of the skinny flowers and stems has a subtle embossed detail that is perfect for clean and simple cards. I created a bough of flowers and greenery, and tucked it under my diecut sentiment and allowed it to flow freely across the front of my card.
Forever and Always - I used a sentiment from the retired 'Forever and Always' bundle, heat-embossing the words 'Forever &' in silver and then adding the large diecut 'Always' as the main focus of my card. I do love a good sentiment diecut and can honestly say I will never part with my 'Always' dies.
A Standout Cut - I adhered my thick white cardstock to a foam adhesive sheet before cutting out the word 'Always' as I wanted to create a little height another way to add interest to an all-white, clean and simple white-on-white card:
I really love this card - all I need now is the good news that anyone I now is getting married so that I have the opportunity to send it!
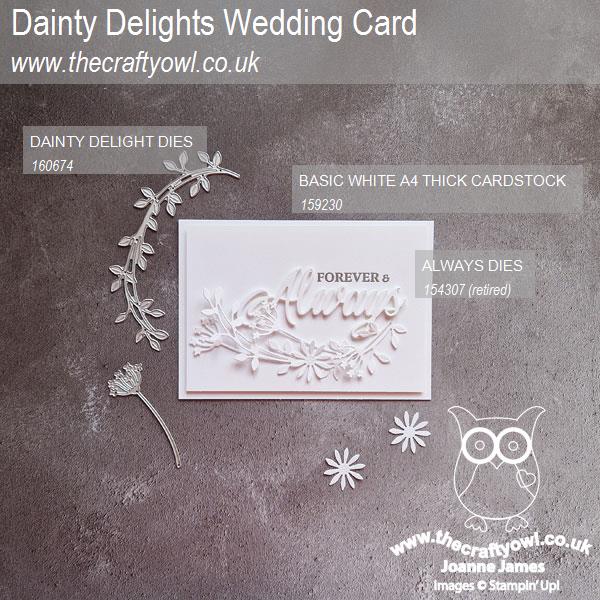
Here is the visual summary of the key products used on today's project for you to pin for easy reference:
You can see all of my 'How To' summaries on my 'How To - Tips and Techniques' Pinterest board in case you've missed any.
Enjoy your day and I'll be back tomorrow with another project. Until then, happy stampin'!
Stampin' Up! Supplies Used:

941a0859-f07c-446f-8842-4aced6b26b2d|0|.0|96d5b379-7e1d-4dac-a6ba-1e50db561b04
Tags: Shop Stampin' Up! Online, Stamping Shop Stampin' Up online, Shop online, Stampin' Up, Stampin' Up Card ideas, Stampin' Up Supplies, Stampin' Up Card, Always Dies, Always In My Heart, Dainty Delight, Weddings, Clean and Simple
Cards | Shop Online | Shop Stampin' Up! Online | Stamping
by Joanne James11. January 2023 20:54
Today I'm sharing a quick clean and simple card for this week's colour challenge over at TGIF Challenges:

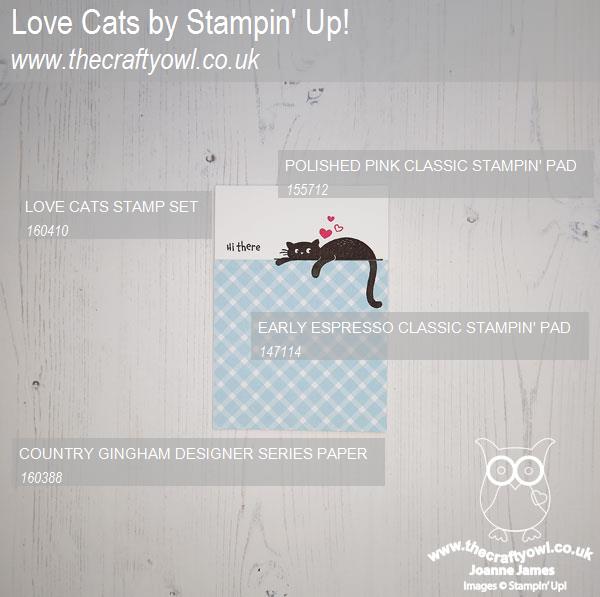
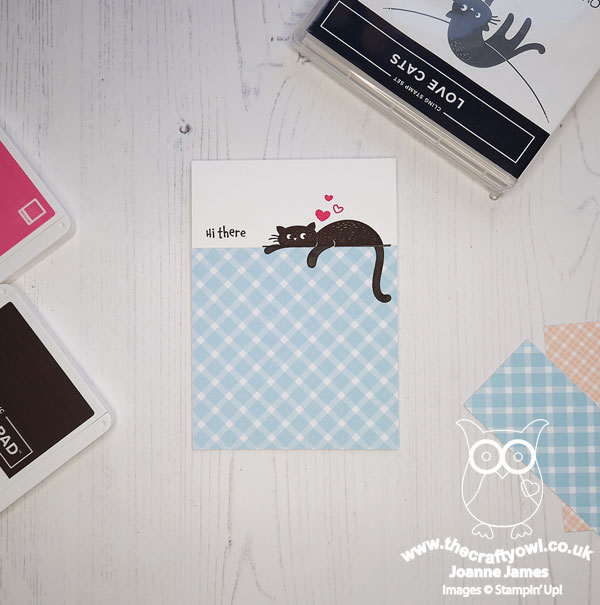
I thought this trio of colours would be perfect for a card using the new 'Love Cats' stamp set and a piece of Country Gingham paper in Balmy Blue - take a look:
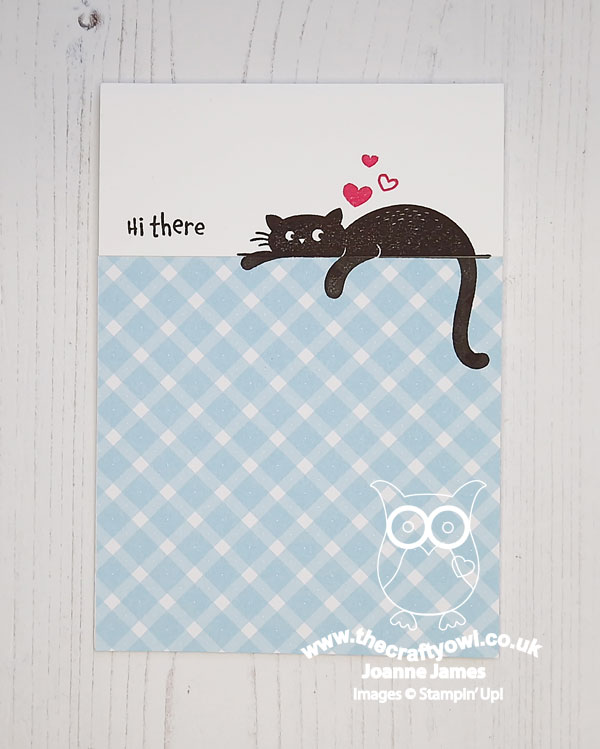
This card really did come together in a flash; I stamped the cat image partially onto white cardstock and partially onto the gingham (your Stamparatus will make light work of this) and butted both pieces together and adhered to a thick white cardbase:
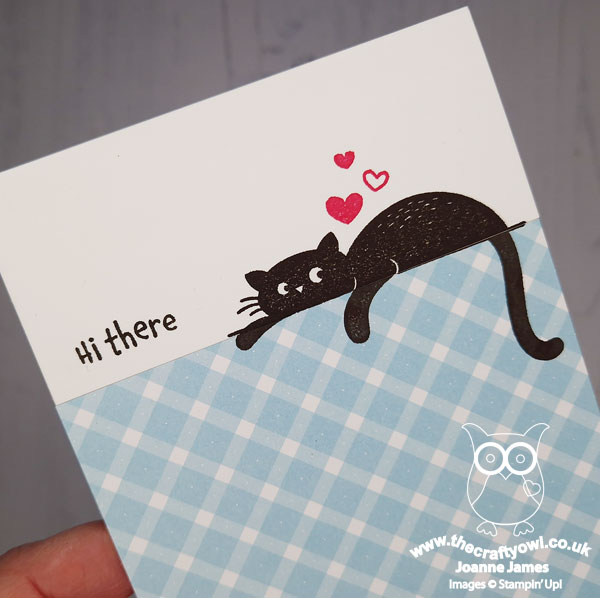
I masked off the hearts so that I could stamp them in separately in pink and masked and partially stamped the sentiment - this is a great way to make what is a Valentine's sentiment something more generic.
I really love this set - I am not a cat lover at all, but these quirky felines are so fun!
Here is the visual summary of the key products used on today's project for you to pin for easy reference:
You can see all of my 'How To' summaries on my 'How To - Tips and Techniques' Pinterest board in case you've missed any.
Enjoy your day and I'll be back tomorrow with another project. Until then, happy stampin'!
Stampin' Up! Supplies Used:
by Joanne James15. December 2022 08:00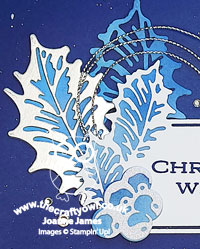
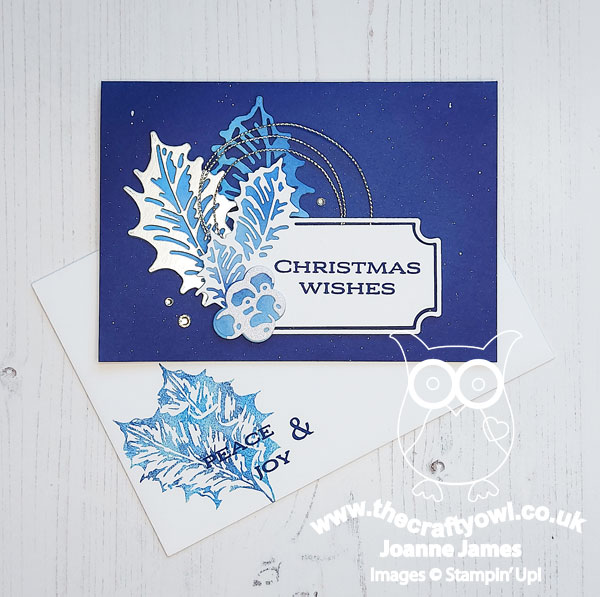
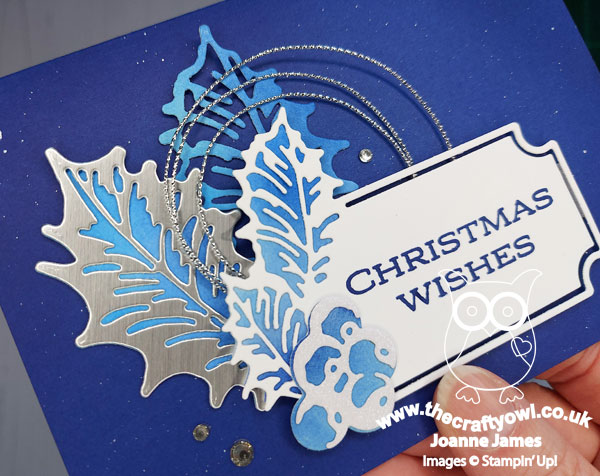
Today I'm sharing a card that I made with the leftovers of this card that I just haven't gotten around to sharing yet - take a look:
Here's the low-down on today's card:
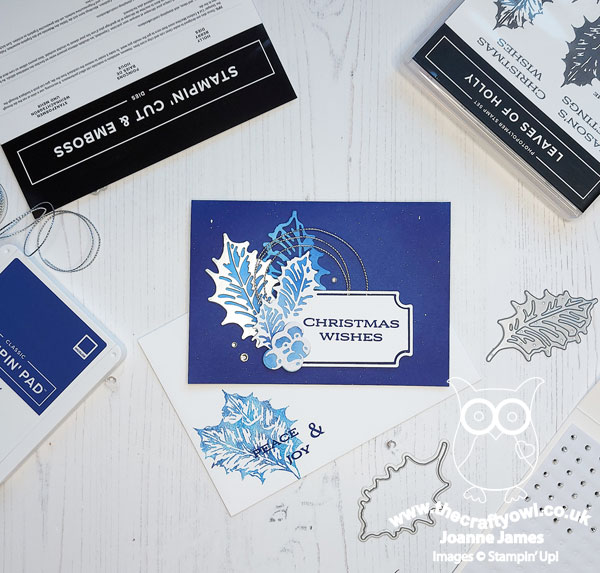
This is a smaller, cleaner version of my original card, that uses the same holly label and leaves and berries cut from the piece of ink blended cardstock I made for my original project. I added some silver twine too to balance my design:
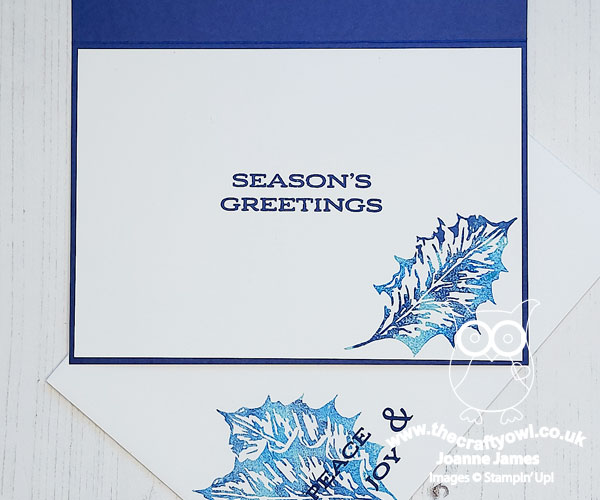
And of course I could resist some variegated holly on the inside and outside of the envelope too:
I really love the Leaves of Holly bundle and I'm so sad that it isn't carrying over; I will be holding on to my set for sure.
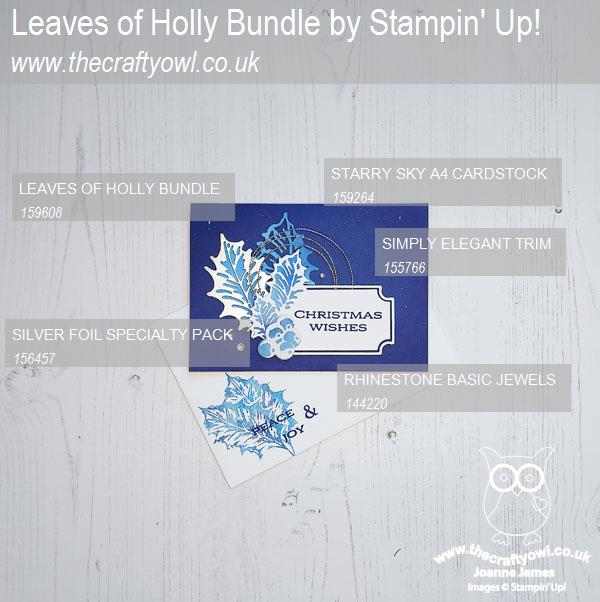
Here is the visual summary of the key products used on today's project for you to pin for easy reference:
You can see all of my 'How To' summaries on my 'How To - Tips and Techniques' Pinterest board in case you've missed any.
I have made and sent all my Christmas cards for this year and yesterday took receipt of my first pre-order from the new Stampin' Up! January -April catalogue. I can't promise this means an end to festive shares here, but I am excited to be crafting with new things! Today sees the first of the James Juniors to finish school for the Christmas break, with the second one finishing tomorrow, so I will be entering a slightly more 'relaxed' period of blogging over the next couple of weeks. Rest assured though there will be plenty going on and I have some very exciting things planned for 2023. I will be back soon with more to share; meanwhile, enjoy your day and until then, happy stampin'!
Stampin' Up! Supplies Used:
afbe1180-2cc1-4f4b-91be-fe30cc785f2a|0|.0|96d5b379-7e1d-4dac-a6ba-1e50db561b04
Tags: Shop Stampin' Up! Online, Stamping Shop Stampin' Up online, Shop online, Stampin' Up, Stampin' Up Card ideas, Stampin' Up Supplies, Stampin' Up Card, Holly Berry Dies, Leaves of Holly, ChristmasCards, Clean and Simple
Cards | Shop Online | Shop Stampin' Up! Online | Stamping
by Joanne James13. October 2022 20:46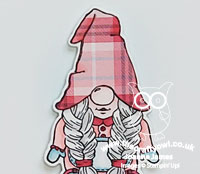
Hi everyone! I've a quick post this evening with a cute card I made using the triple dare colours over at Color Dare for the 1/9ths challenge over at AAA Cards, with the optional twist of gnomes:


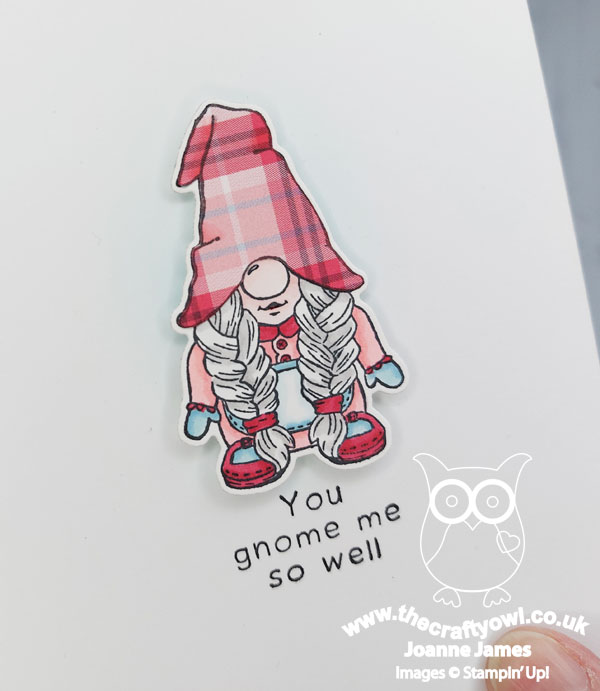
I went for a cute girly gnome - check her out:
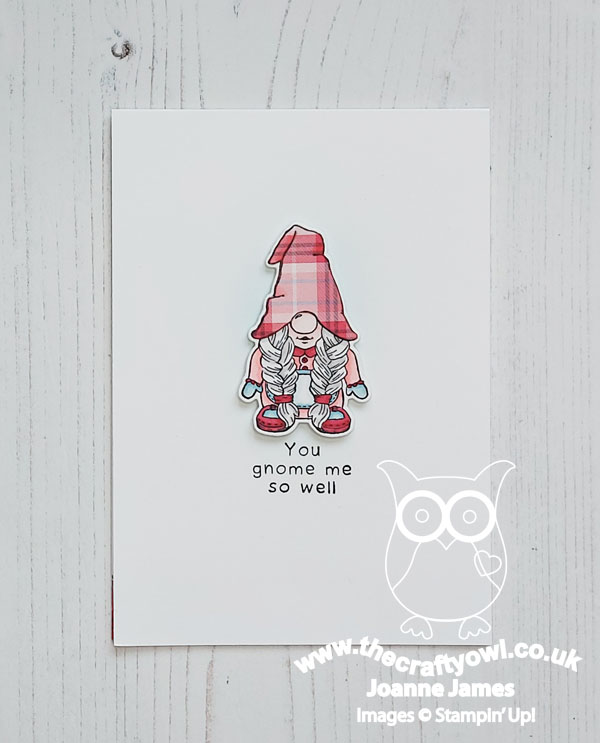
Some simple colouring with Stampin' Blends and a paper-pieced hat using some retired plaid paper in my scraps box. I diecut my stamped image using my Gnomes Dies and added some Balmy blue ink with a blending brush behind my sweet gnome:
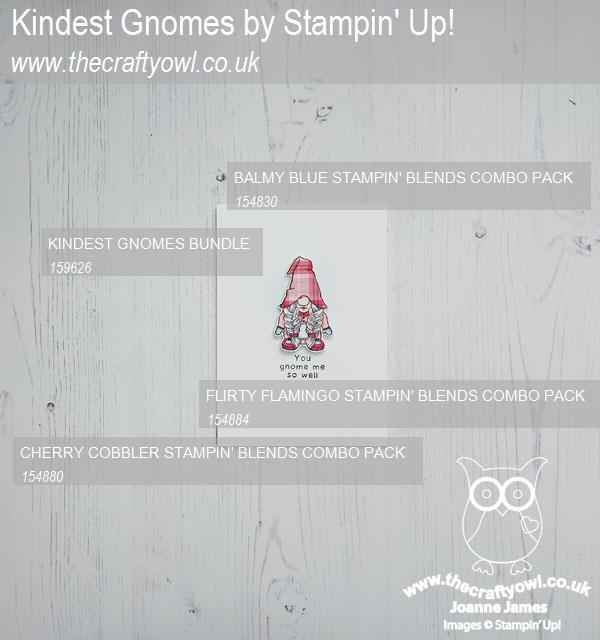
Here is the visual summary of the key products used on today's project for you to pin for easy reference:
You can see all of my 'How To' summaries on my 'How To - Tips and Techniques' Pinterest board in case you've missed any.
Clean and simple - done! Enjoy your evening and I'll be back tomorrow with another project. Until then, happy stampin'!
Stampin' Up! Supplies Used:

by Joanne James6. October 2022 17:00
It's Thursday and time for a new challenge over at TicTacToe! It's the turn of Team X to host this week and the lovely Betty is our featured designer this week. This is the fun board that we are playing along with:
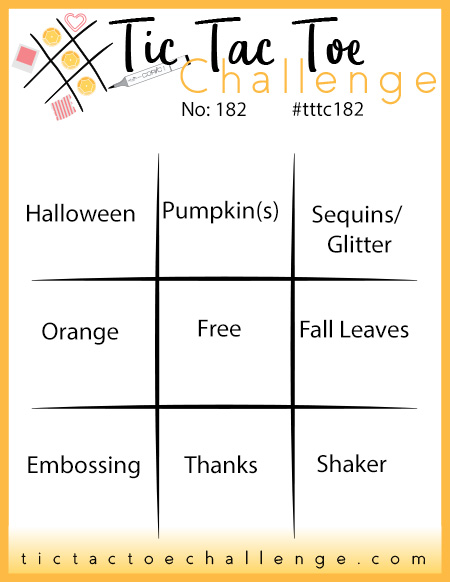


Lots of seasonal delights on today's board! I went across the middle row with orange, free and autumn leaves to make a clean and simply thank you card - take a look:
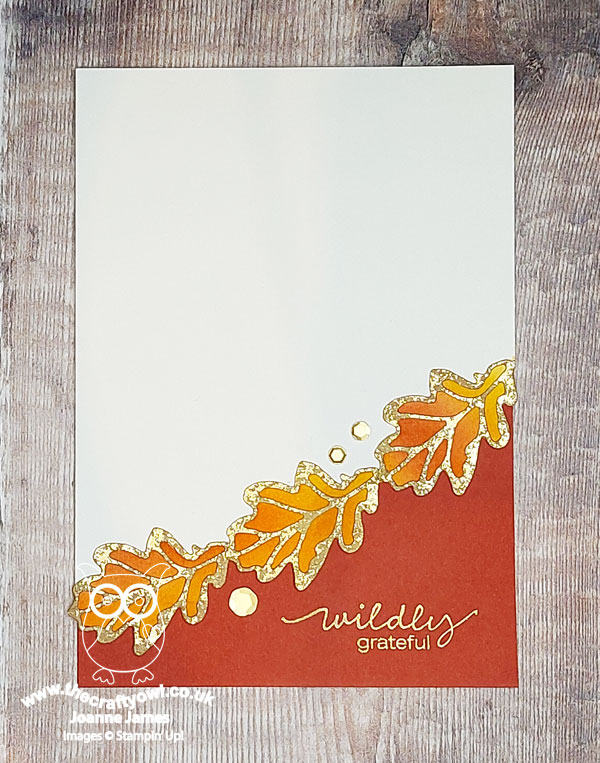
Here's the low-down on today's card:
Today's card is clean and simple in style, although took a little effort to achieve. My Cajun Craze cardbase with heat embossed sentiment from 'Lovely You' was easy enough, but for the top layer I wanted to create a diecut edge detail using the oak leaf die in the Chic die set. It may look at first glance as if this card is simply a split panel with a trio of leaves adhered in a diagonal on top, but that's not the case! I created a mask using a trio of diecut leaves and some masking paper, and used this to mask the Vanilla panel and then added colours to the area below the mask where my leaf diecuts would ultimately sit. I used the Color Dare colours (bottom row, plus top left orange), then adhered my distressed gold leaf diecut leaves on top, so that my blended colour showed through. Finally I trimmed my border to the bottom outer edge of my leaf shapes. This was a little time-consuming, but I really love the effect - the leaves look so autumnal to me and the touches of gold with the distressed paper I used for the outlines and a few sequins to finish add to the richness:
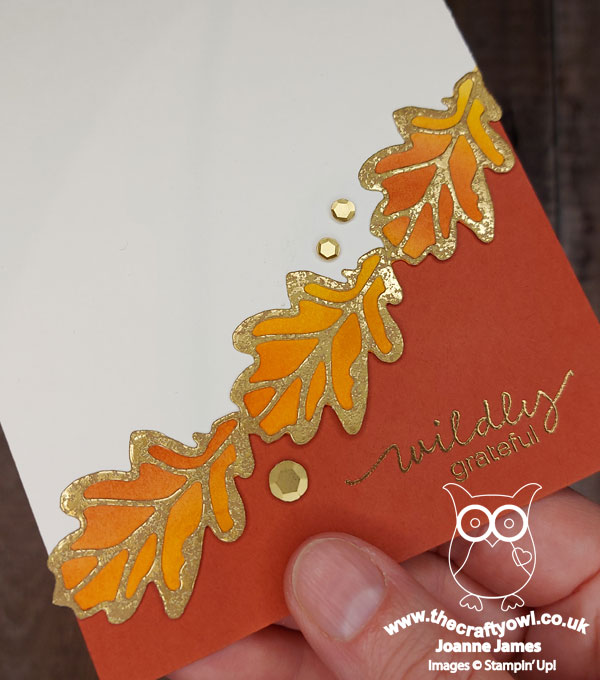
I am super happy with my clean and simple card so will also be linking up with the lovely peeps over at Addicted to CAS where the codeword is 'Autumn' - for me, synonymous with the changing colours of the leaves. I hope you like today's creation!
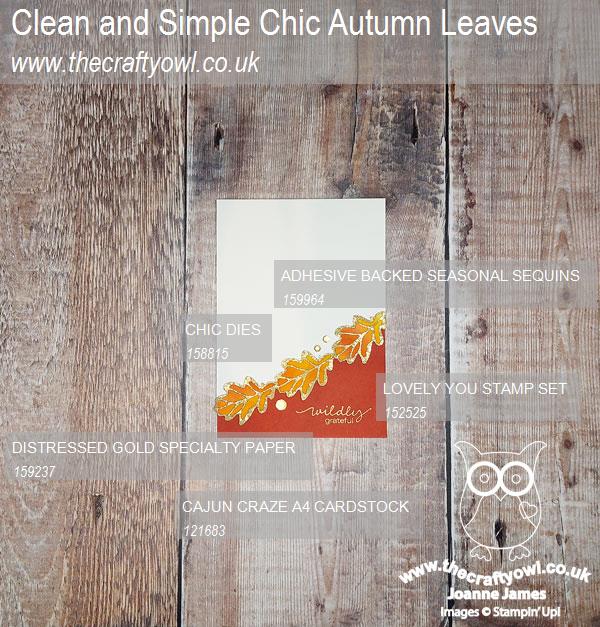
Here is the visual summary of the key products used on today's project for you to pin for easy reference:
You can see all of my Product and 'How To' summaries on my 'How To - Tips and Techniques' Pinterest board in case you've missed any.
A tictactoe board offers so many creative possibilities - how does this week's board inspire you? Why not have a go? We would love to see you in the gallery and who knows - you might be selected for Designer's Choice and be eligible to be a guest designer on a future challenge.
Enjoy the rest of your day; I'll be back tomorrow with another project. Until then, happy stampin'!
Stampin' Up! Supplies Used:

dba8f80d-d8d9-4626-a5ca-8e210a8b2bee|0|.0|96d5b379-7e1d-4dac-a6ba-1e50db561b04
Tags: Stampin' Up, Stampin' Up Card, Stampin' Up Card ideas, Stampin' Up Supplies, Shop online, Shop Stampin' Up online, Shop Stampin' Up! Online, TicTacToe Challenge, Chic Dies, Clean and Simple, Lovely You
Cards | Shop Online | Shop Stampin' Up! Online | Stamping
by Joanne James21. August 2022 08:00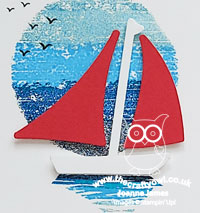
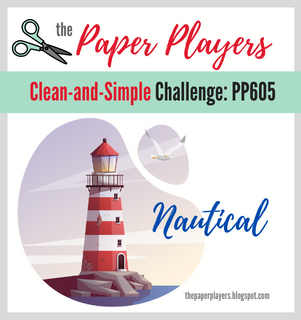
Today it's Sunday and time for this week's new challenge over at The Paper Players! It's the turn of the fabulous Laurie to host this week and she has a Clean and Simple challenge for us to work with:
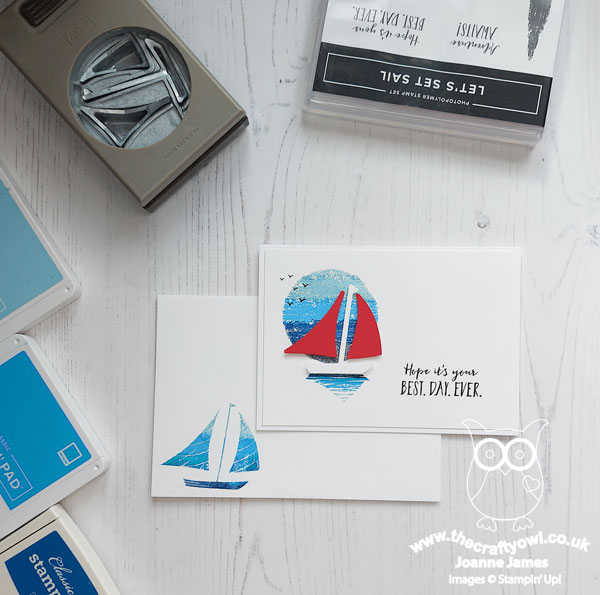
I decided to whip up a quick card using the Let's Set Sail bundle for my project today - take a look:
Here's the low-down on today's card:
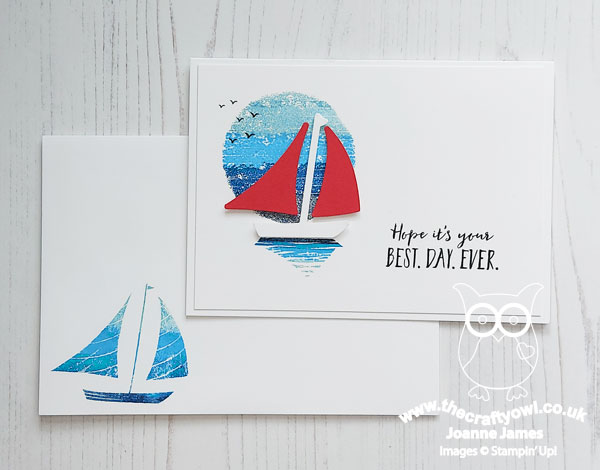
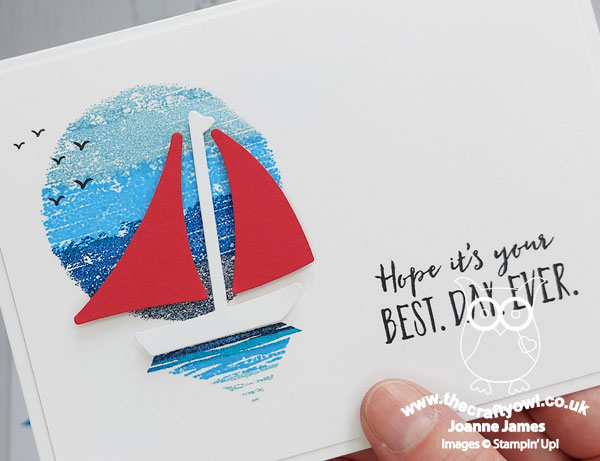
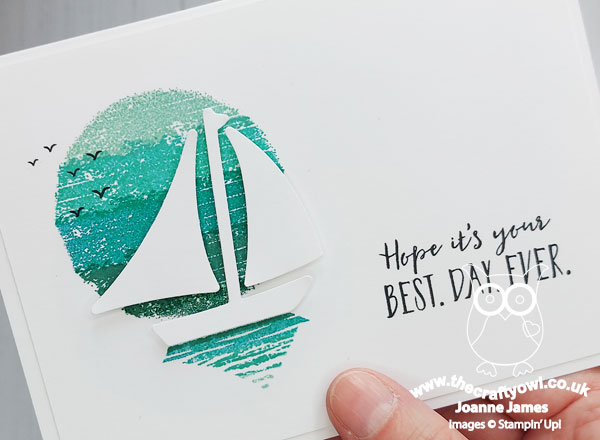
I went super simple and having masked a circle aperture, used the long 'seascape' stamp to create an ombre effect, by repeat stamping in various shades of blue. I inked the reflection stamp in the same way, then added some birds and a sentiment, and a sailboat courtesy of the Sailboat Builder Punch with bright red sails popped up on dimensionals to finish:
I liked this card so much i created another one in shades of aqua green, this time using a sailboat that was completely white:
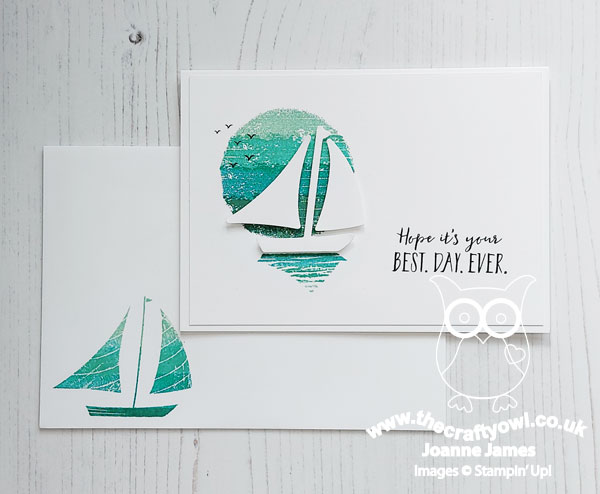
This is a great set for a clean and simple nautical card - the pattern detail in the stamps adds interest and 'texture' without adding anything else:
I also added a stamped sailboat with ombre detail to the envelope for added detail. So which of these cards do you prefer? Here's a shot of both side by side to compare:
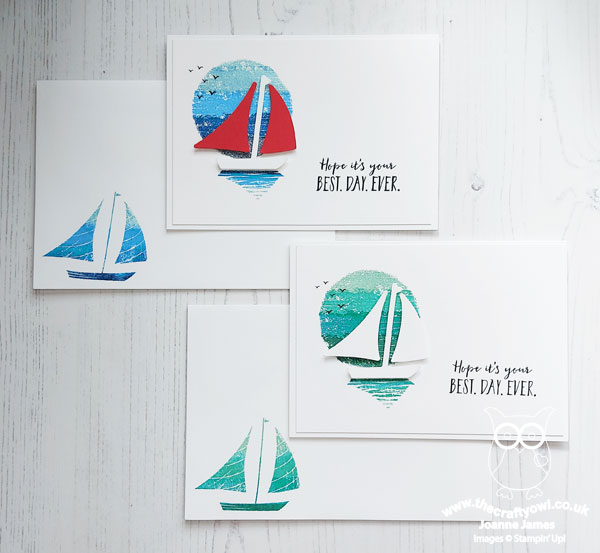
I think I'm still partial to the first one - I love the pop of red from the sails! - but the all-white of the second one definitely makes for a super clean and simple card. I'd love to know what you think - do leave me a comment below and share your thoughts.
Here is the visual summary of the key products used on today's project for you to pin for easy reference:
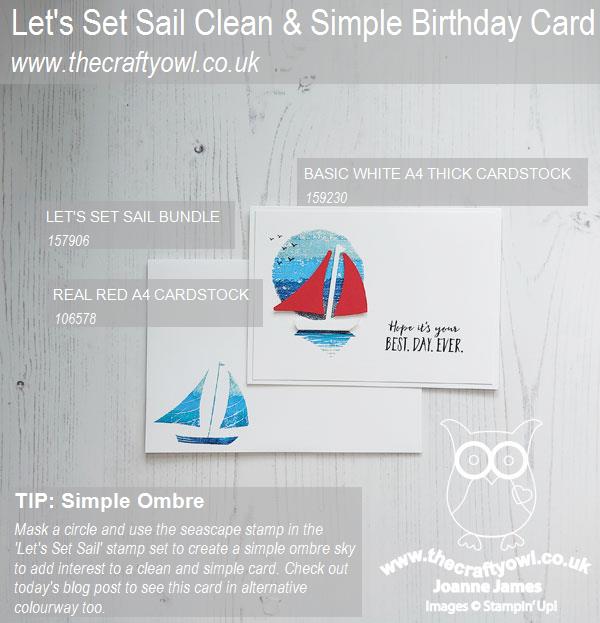
You can see all of my Product and 'How To' summaries on my 'How To - Tips and Techniques' Pinterest board in case you've missed any.
Before you reach for your ink and papers, check out what our amazing team has created to inspire you this week:
The Paper Players Design Team
Here's a quick recap of our challenge rules:
1. Create a new paper project
2. Upload your creation to your blog with a link back to us and provide a direct link to the post featuring your challenge submission.
3. Please link your card to no more than four challenges, TOTAL.
4. Have FUN!
Enjoy your day; I'll be back on Tuesday with my card for a new CAS Colours & Sketches challenge. Until then, happy stampin'!
Stampin' Up! Supplies Used:
041c2715-cd2c-4f55-a96c-06df98eeeec3|0|.0|96d5b379-7e1d-4dac-a6ba-1e50db561b04
Tags: Shop Stampin' Up! Online, Stamping Shop Stampin' Up online, Shop online, Stampin' Up, Stampin' Up Card ideas, Stampin' Up Supplies, Stampin' Up Card, The Paper Players, Lets Set Sail, Sailboat Builder Punch, Clean and Simple
Cards | Shop Online | Shop Stampin' Up! Online | Stamping
by Joanne James17. July 2022 08:00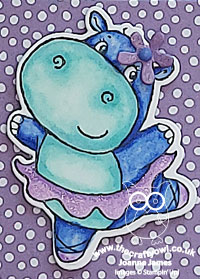
Today it's Sunday and time for this week's new challenge over at The Paper Players! It's the turn of the fabulous Ann to host this week and she has a fun Clean and Simple challenge for us to work with as we celebrate another milestone with our 600th challenge:


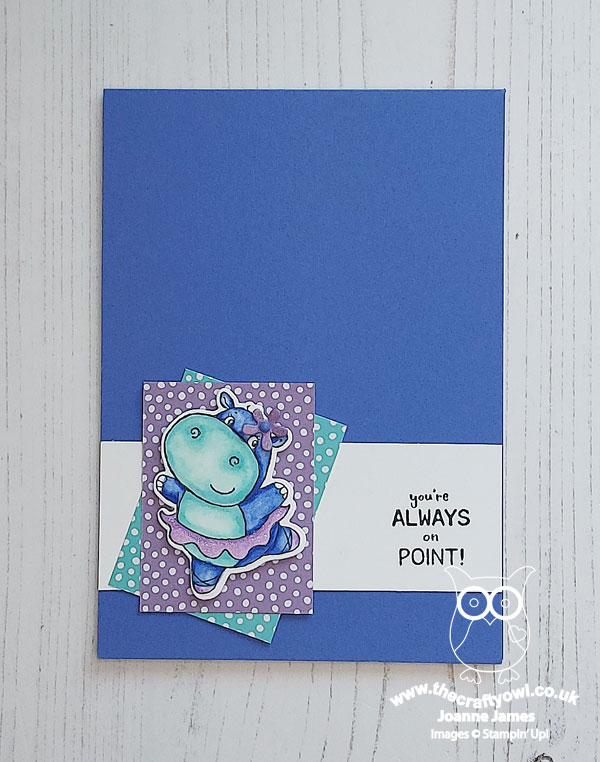
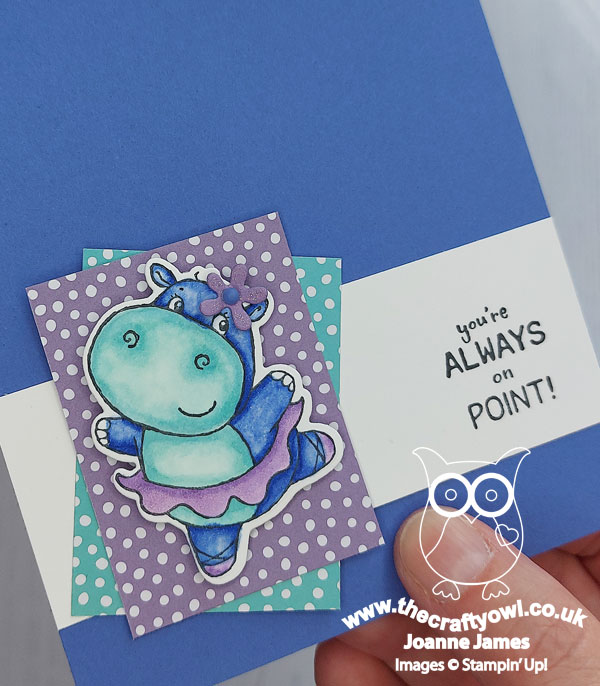
Cards for kids - what fun! I used Karren's layout over at Freshly Made Sketches this week which was perfect to highlight my ballet dancing hippo - take a look:
Here's the low-down on today's card:
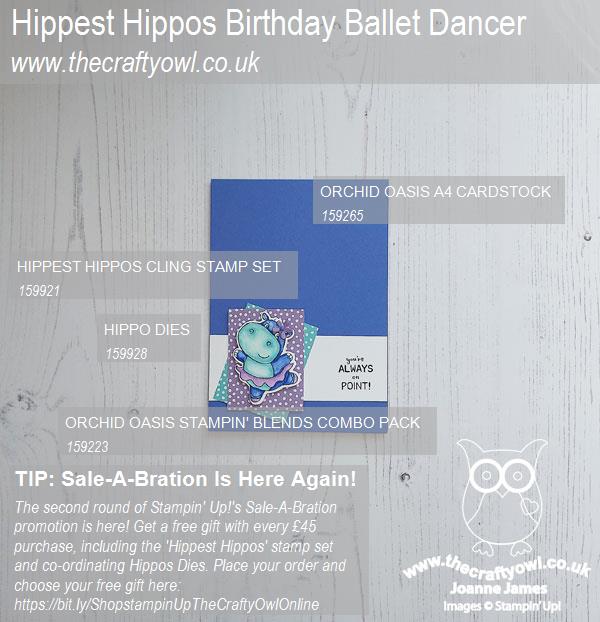
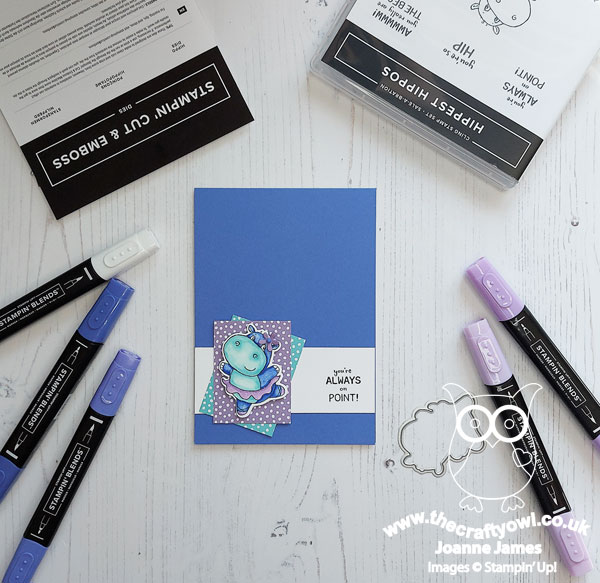
I couldn't resist another outing with my 'Hippest Hippos' Sale-A-Bration stamp set and co-ordinating Hippo Dies, this time I decided to feature the sweet ballet dancing hippo. My colours were taken from the palette over at Hand Stamped Sentiments this week. This is my first foray into the world of coloured hippos - I usually stick with the grey kind! I stamped, coloured and diecut one, backed with a couple of rectangles of DSP (these are from retired collections but I've included the links to the current equivalents below). I also gave my hippo a flower in her 'hair' and added a liberal does of clear Wink of Stella to her tutu and ballet shoes:
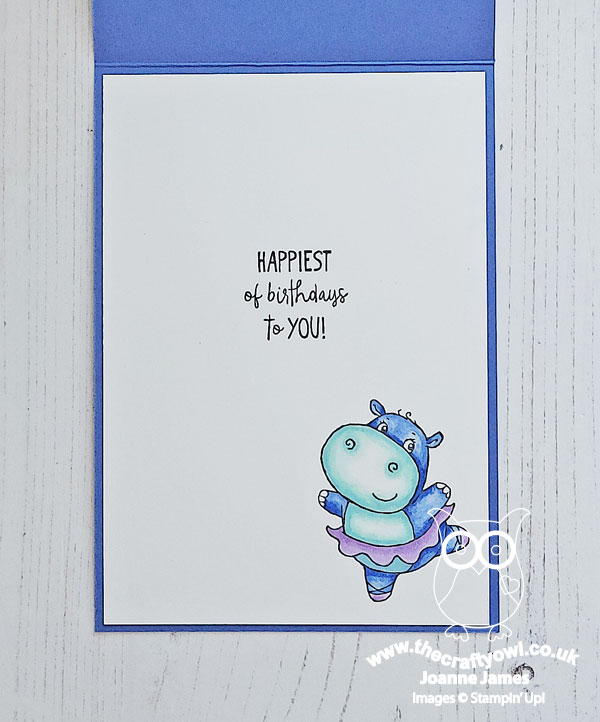
I finished with a birthday sentiment from a retired set in a co-ordinating font and another coloured hippo inside my card:
And that's all there is to it! Remember this is clean and simple week - so your card should:
- Have minimal layers and embellishments
- Have plenty of open, or "white" space
- Be simple and uncluttered
I think my blue hippo fits the bill - and is a fitting way to celebrate our 600th challenge too!
Here is the visual summary of the key products used on today's project for you to pin for easy reference:
You can see all of my Product and 'How To' summaries on my 'How To - Tips and Techniques' Pinterest board in case you've missed any.
Before you reach for your ink and papers, check out what our amazing team has created to inspire you this week:
The Paper Players Design Team
Here's a quick recap of our challenge rules:
1. Create a new paper project
2. Upload your creation to your blog with a link back to us and provide a direct link to the post featuring your challenge submission.
3. Please link your card to no more than four challenges, TOTAL.
4. Have FUN!
Enjoy your day; I'll be keeping out of the sun, enjoying a BBQ lunch and enjoying the glorious weather we are having here at the moment. I'll be back tomorrow with another project. Until then, happy stampin'!
Stampin' Up! Supplies Used:
7cdf1a92-52c8-4a8e-9564-320f46a2ca01|0|.0|96d5b379-7e1d-4dac-a6ba-1e50db561b04
Tags: Shop Stampin' Up! Online, Stamping Shop Stampin' Up online, Shop online, Stampin' Up, Stampin' Up Card ideas, Stampin' Up Supplies, Stampin' Up Card, The Paper Players, Hippest Hippos, Hippo Dies, Clean and Simple, Sale-A-Bration 2022
Cards | Promotions | Sale-a-bration | Shop Online | Shop Stampin' Up! Online | Stamping