Today I'm actually combining my design team card for both our new challenge over at As you See It where it's time for a sketch challenge and the new challenge over at Festive Friday:

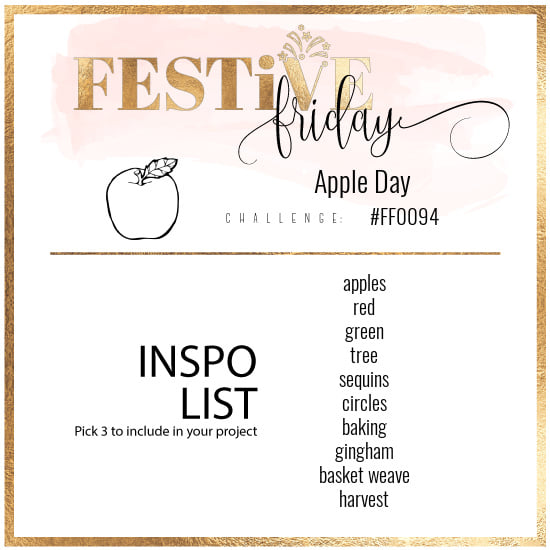
It just so happened my card fulfilled both briefs, so I thought I would go with it as I've been time-pressed this week (nothing new there then!) At As You See It we have a sketch challenge and at Festive Friday we are celebrating World Apple Day - but if you check out my card, you'll see there's not an apple in sight! Take a look at my card and you'll see what I mean:

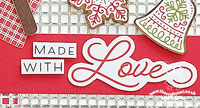
My card today is for a baker - and a Christmas baker at that! The fun thing is that at Festive Friday you do not need to actually celebrate the occasion; your goal is to simply use three or more items from the inspiration list on your project. This week I used red, green, baking and gingham on today's creation.
Here's the low-down on today's card:
Gingerbread and Peppermint - One of my many passions in life is to bake, and at Christmas time I am known for my gingerbread cookies, so the Gingerbread and Peppermint Suite from Stampin' Up! immediately appealed to my inner baker. I love the papers in particular, as they are perfect for fussy cutting and that's where I took my trio of gingerbread cookies from that are on my card today. If you're not a fan of fussy-cutting, the Gingerbread Dies fit some of the shapes on the designer series paper, but honestly they are super easy to kit by hand too. The gingham banner on my card is some old retired paper, as there isn't a pattern that is technically gingham in this paper pack. There are lots of check and plaid patterns, but since I was being a purist I grabbed some old papers, but if you wanted to CASE my card, I would totally use one of the other patterns in this paper pack.
Memories & More - One of the other things I love about the Gingerbread & Peppermint Suite is that it features this season's Memories and More cards too. I will be using them to document my own festive bakes, but they are also great for cards too and on today's card, they really are the star of the show. So many of the elements that you see on my card come from the Gingerbread & Peppermint Memories and More pack: The spatula, oven glove, foil embossed snowflakes, that fabulous metal cooling rack and even the sentiment, which I fussy cut from one of the cards in the pack. So many great elements to play with:

Look No Stamping - Did you notice there isn't a single stamp on today's card? Not even on the inside, where I decided to use one of the memories and More stickers:
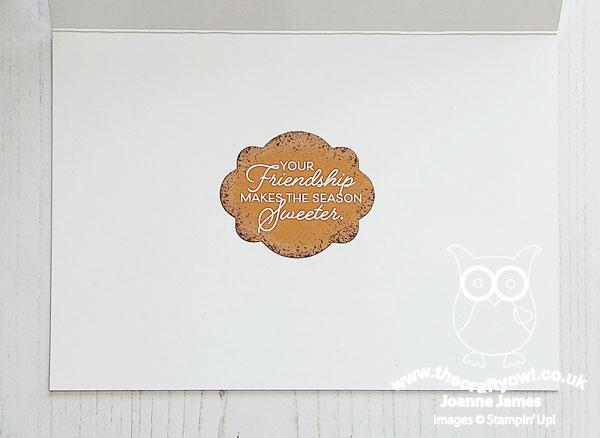
They really do make for easy cards, but with so many bits and pieces you can have a lot of creative fun with them too. I will be sending this card to a friend along with some of my famous gingerbread cookies during December; I might have to make a few more too!
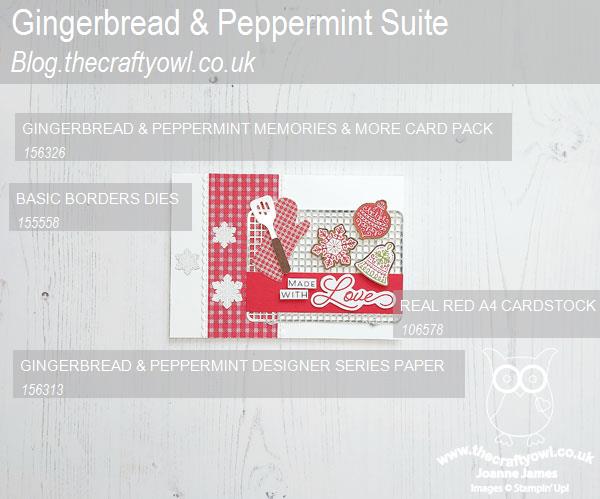
Here is the visual summary of the key products used on today's project for you to pin for easy reference:
You can see all of my 'How To' summaries on my 'How To - Tips and Techniques' Pinterest board in case you've missed any.
Here's a summary of the As you See It challenge rules:
- Create any card, scrapbooking page, 3D project or packaging project that fits the challenge.
- Please include the challenge graphic and link back to the challenge in your blog post. Turn off word verification so we can leave you lots of lovely comments. Make sure you link the post not the whole blog to the Linky. Use #AYSIXXX when uploading to a public gallery.
- If you’re unsure about ‘the rules’, check the details under the Challenge Guidelines tab on the As You See It Challenge homepage.
- In a sketch challenge, you are welcome to rotate or flip a sketch. You can replace shapes used such as substituting a circle panel for a square panel. However, we must be able to still see the basis of the original sketch in your finished product.
We look forward to seeing your creations in the AYSI gallery. Likewise, How does our Festive Friday board inspire you? I can’t wait to see what you create! For more inspiration, be sure to visit the rest of the
Festive Friday Challenge Design team:
Ann Schach
Beth McCullough
Sharon Hashimoto Burkert
Melanie Hungerford
Helen Jennings
Stephanie Lanzalotto
Melva Peters
Jaydee
Diane Evans
Joanne James - that's me!
Enjoy your day and I'll be back tomorrow with another project. Until then, happy stampin'!
Stampin' Up! Supplies Used: