
Today it's Sunday and time for this week's new challenge over at The Paper Players! It's the turn of the super-talented Ann to host this week and she has a fun theme challenge for you to work with:
I have a rather special card for you today - in fact, I have two cards for you! My sister-in-law celebrated a significant birthday recently and so I wanted something fancy to mark the occasion. I had seen an easel card using the Blossoms in Bloom bundle by Kylie Bertucci and decided to take the idea but step it up a notch with my own design and one of my favourite new products from the new annual catalogue - take a look:
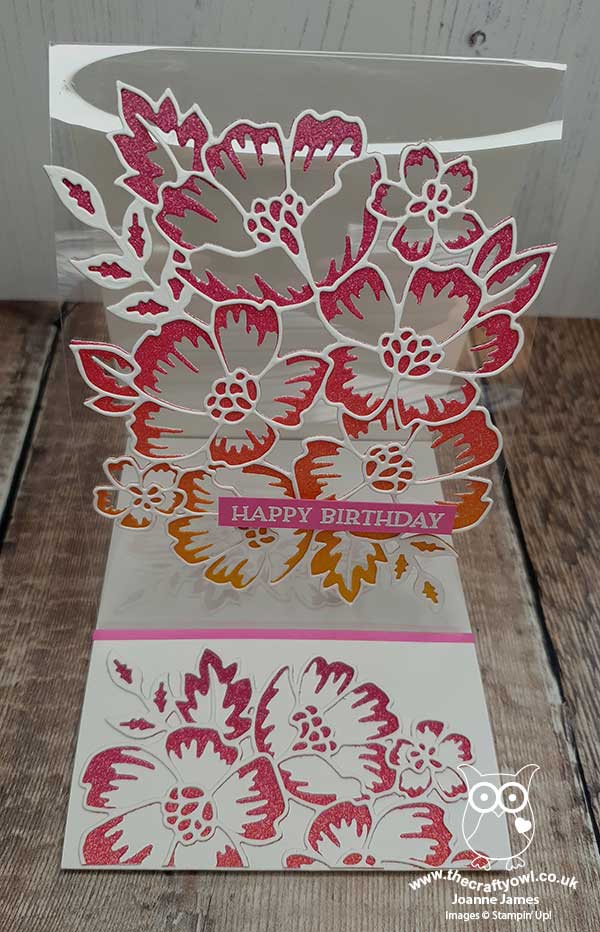
Here's the low-down on today's card:
An Easel Card Fancy Fold - Today's post is super picture-heavy, as this is the easiest way to explain how I made my card and show each of the layers/folds. Here is the card in its standing position, with an acetate front panel to showcase the Many Layered Blossoms Dies, which is attached to a trifold panel of white cardstock:
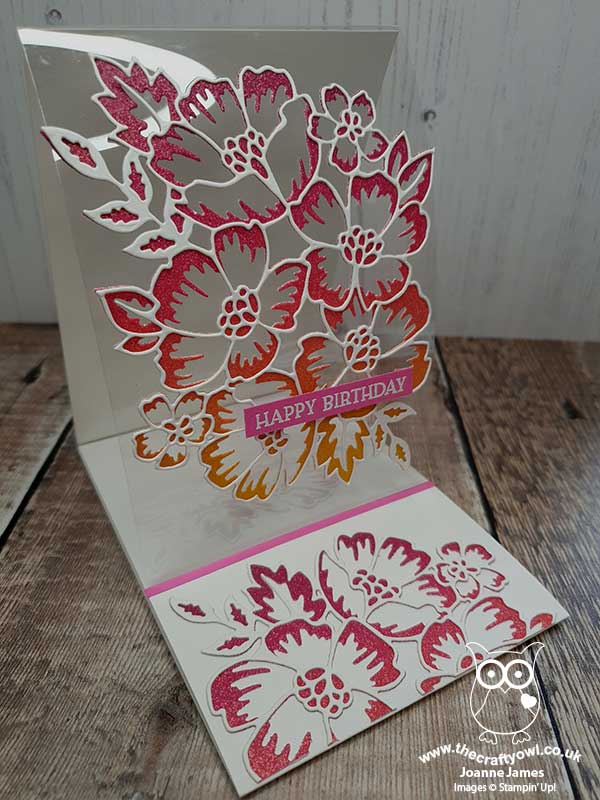
This is the card with both of the outer flaps folded in, which shows the ledge that holds the easel up when on display:
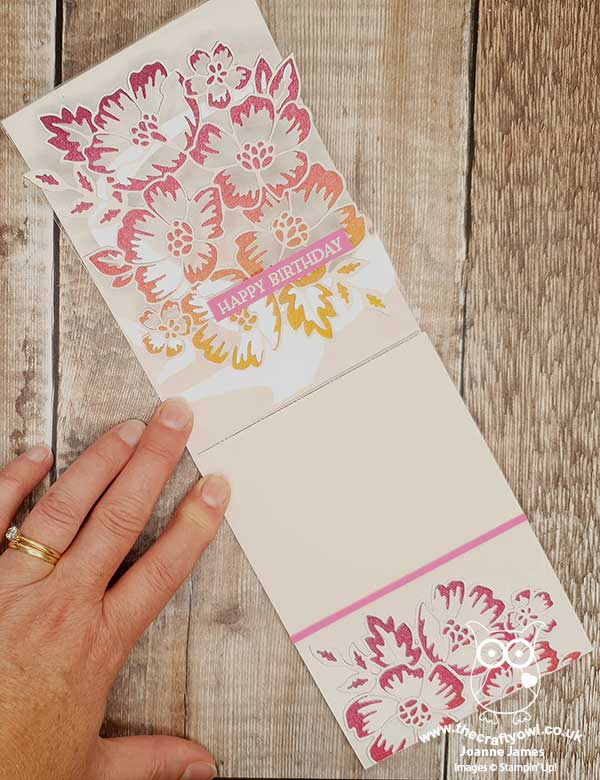
And this is how the card opens out fully, to show the inside panels, ready for my birthday message:
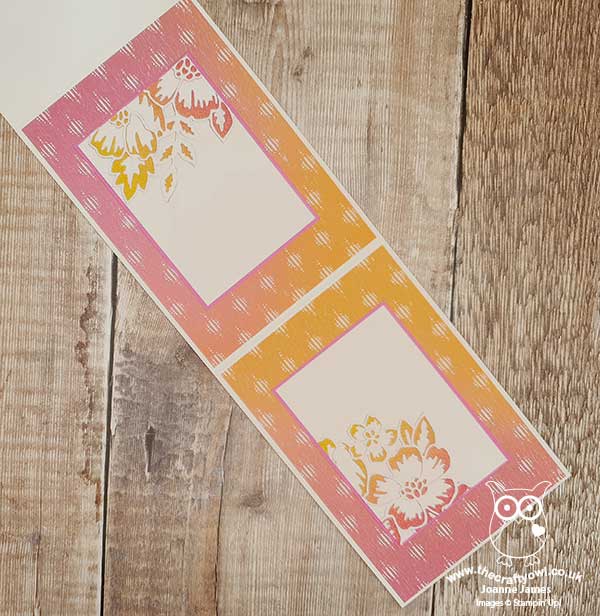
I decorated both of these panels with a co-ordinating pattern in the Artistry Blooms designer series paper pack, in a pretty ombre pattern that matches the pink-orange-yellow tones of the rainbow glimmer paper:
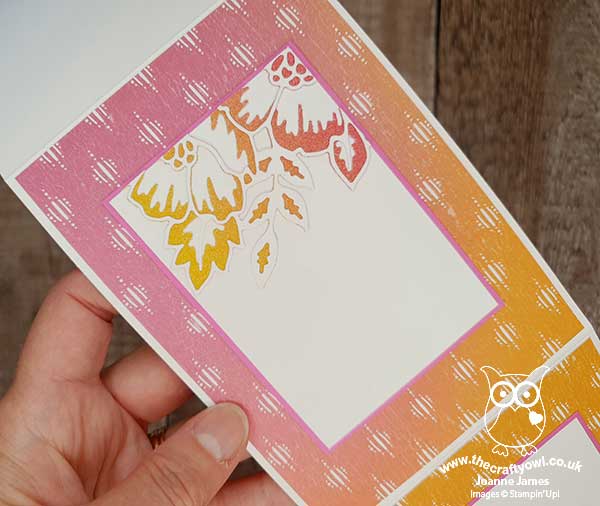
And this is the inside of the outermost flap (the one with the ledge that holds up the acetate panel on the reverse) - I used one additional layered diecut split into three pieces to decorate the outer edge and both of the inner panels:
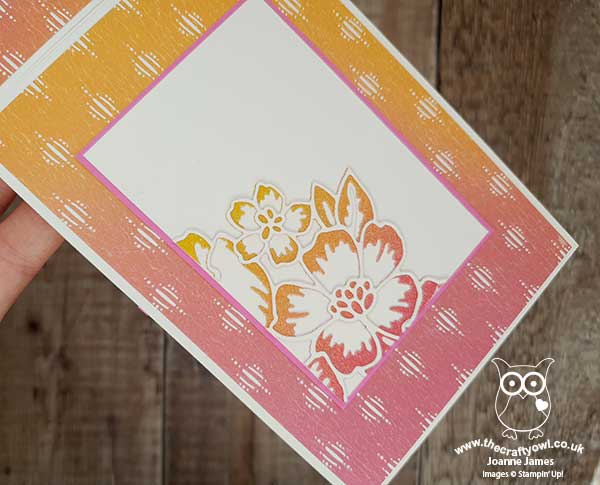
This is how the card folds flat for mailing, although with all of those layers it is still quite bulky and probably worthy of delivery by hand:
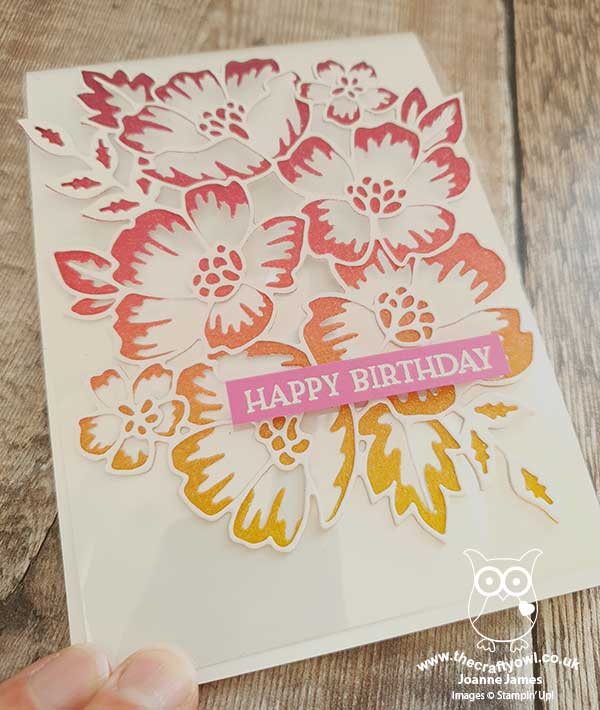
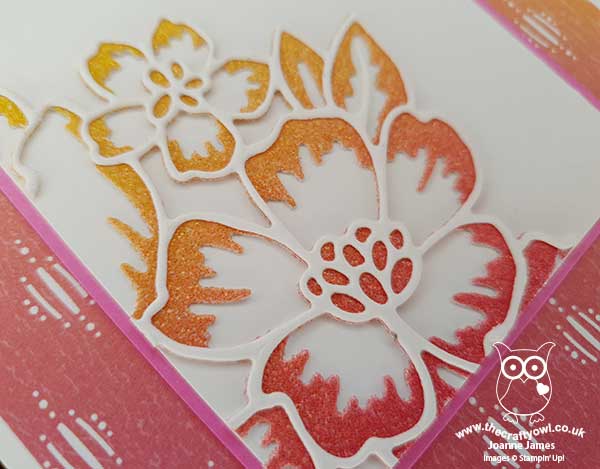
Rainbow Glimmer Love - So the rainbow glimmer paper is definitely one of my favourite products in the new annual catalogue. Whether it's the green-blue-purple hues of yesterday's project or the pink-yellow-oranges of today, I love it!! Just look at the variation on colour and the sparkle and shimmer it has:
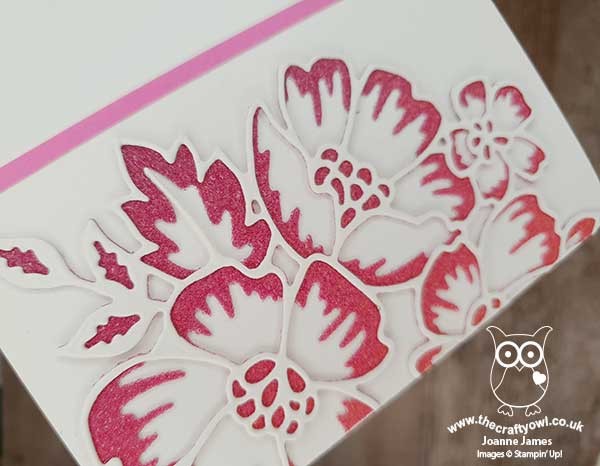
You can achieve a totally different look, depending on where you cut from the sheet - and as with all of our glimmer papers, there is no shedding and no mess!
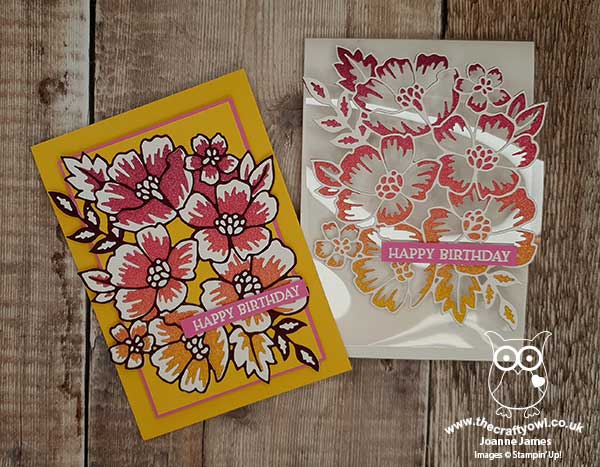
Two For One - I love this glimmer paper so much, I couldn't bear to see any of it go to waste. I used some Press and Seal to keep all of the waste diecut pieces from the above card together, then created a second card where I paper-pieced these into a white outline die - take a look at both cards together to get a better idea of what I'm talking about:
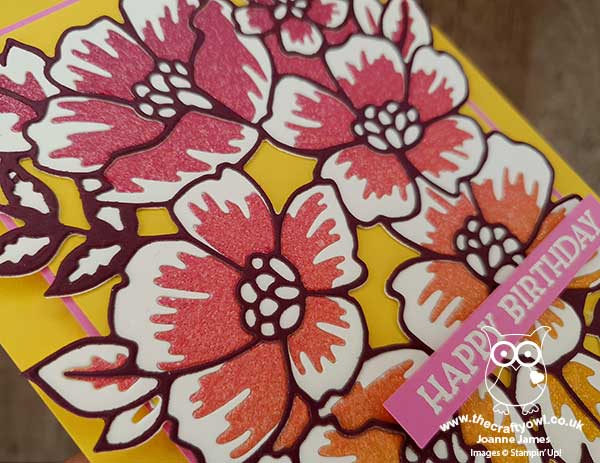
Here's my yellow card on its own - no fancy fold this time, but a yellow base and then after paper-piecing the rainbow glimmer pieces into a white layer, I then added a Blackberry Bliss outer layer for additional definition:
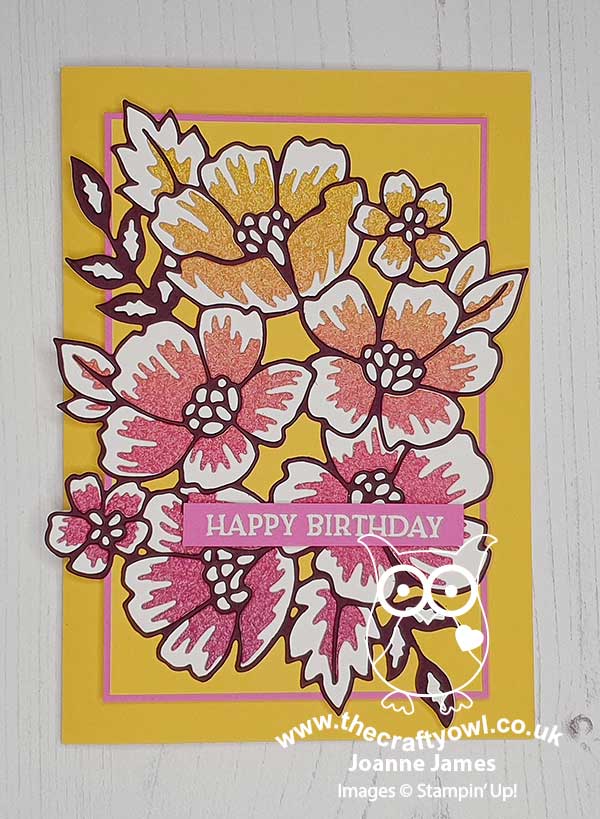
Here you can see the detail of the paper-piecing and layering:
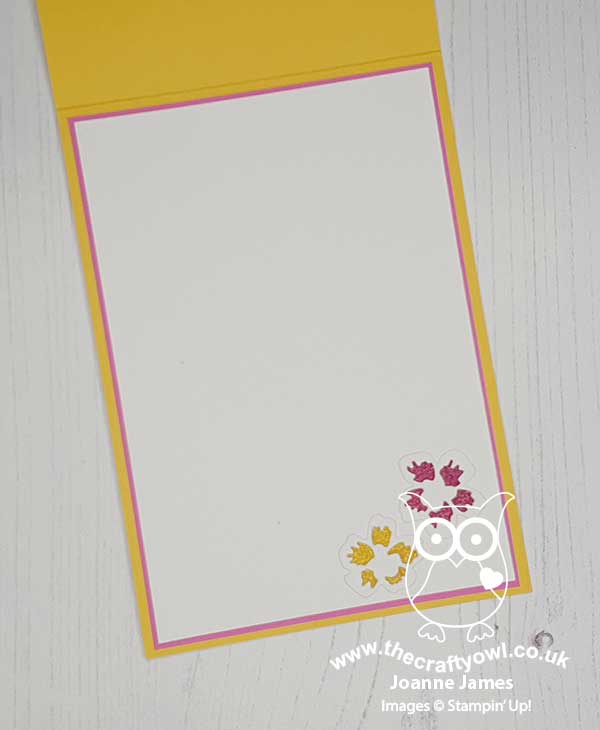
I also used my offcuts to get a couple of single flowers cut and used them to decorate this inside of this card:
I know I'm biased but is that not just the prettiest pair of cards you've ever seen?! I really love both of them. A fancy fold is always fun and the rainbow glimmer paper totally moves this card up a notch in my book!
Here is the visual summary of the key products used on today's project for you to pin for easy reference:
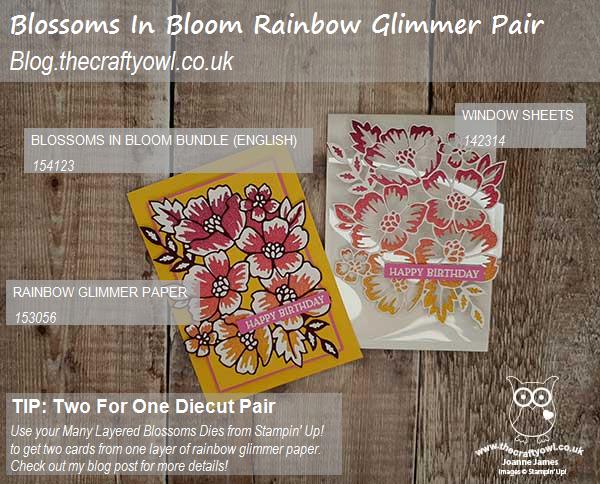
You can see all of my Product and 'How To' summaries on my 'How To - Tips and Techniques' Pinterest board in case you've missed any.
Before you reach for your ink and papers, check out what our amazing team has created to inspire you this week:
The Paper Players Design Team
Here's a quick recap of our challenge rules:
1. Create a new paper project
2. Upload your creation to your blog with a link back to us and provide a direct link to the post featuring your challenge submission.
3. Please link your card to no more than four challenges, TOTAL.
4. Have FUN!
You can see all of my 'How To' summaries on my 'How To - Tips and Techniques' Pinterest board in case you've missed any.
Enjoy your day; for my fellow Paper Player teamies and my US readers I hope you continue to enjoy and celebrate your Independence Day weekend; we have no special plans so will likely just potter today. I'll be back tomorrow with another project. Until then, happy stampin'!
Stampin' Up! Supplies Used: