by Joanne James24. June 2019 08:20
Happy Monday everyone! Today I'm sharing a card that I made for my monthly technique class last week featuring the Bird Ballad Suite that uses the current sketch over at The Paper Craft Crew as the inspiration for the layout:

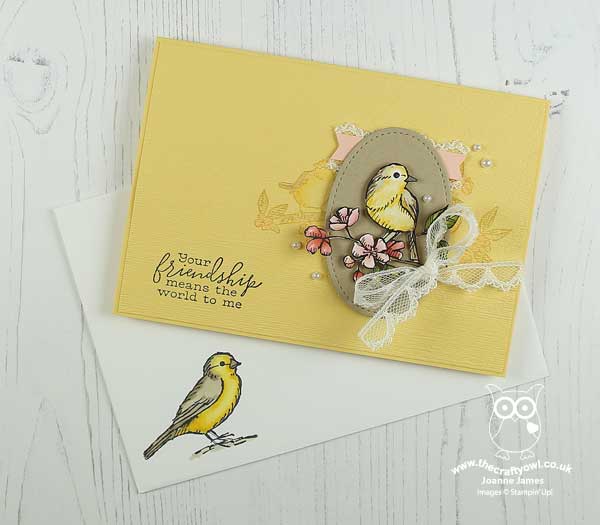
I was intrigued by the oval shape as I don't tend to use ovals on my cards often and I wanted to incorporate a few different techniques. This is what I came up with:

Here's the low-down on today's card:
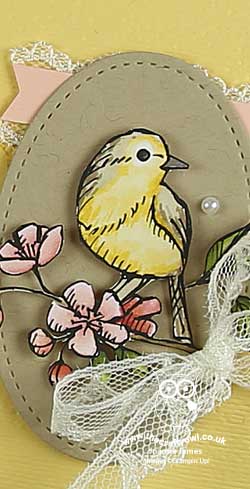
A Spotlight on Fussy Cutting - The Bird Ballad Designer Series Paper is beautiful and just like the co-ordinating 'Free As A Bird' stamp set, offers a ton of fussy cutting possibilities - no co-ordinating shaped framelits for these feathered friends I'm afraid! I fussy cut one of the birds and backed him with a Crumb Cake stitched oval shape. If you look closely at the photo below, you will see that I didn't remove all of the paper - for the really tricky bits, such as around the legs and branches, I simply coloured the paper with my Crumb Cake Blends marker to blend in with the background.

Background Birds on a Branch - The sketch shows some background stamping behind the banner and this inspired me to get out my watercolour pencils and add a very subtle row of birds using one of the stamps in the 'Free As A Bird' stamp set. I did some tone-on-tone stamping, stamping the image in So Saffron, then delicately coloured with my watercolour pencils and blended with a blender pen. Only the outer edges of the image are visible behind the oval, but I really like the way this detail adds interest to the background and spotlights the fussy cut bird and oval.
Stamp and Emboss - Once I had completed all of the stamping and colouring on my card base, I ran the whole thing through my diecutting machine and embossed it with the Subtles 3D embossing folder. The texture this adds is so subtle it doesn't distort the stamping at all, but adds an almost silky feeling to the cardstock. I love it! Some lace and pearls and a little envelope decoration complete my card.
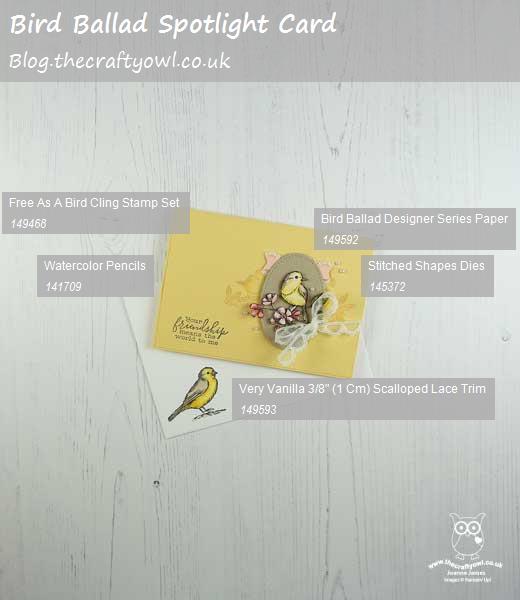
Here is the visual summary of the key products used on today's project for you to pin for easy reference:

You can see all of my 'How To' summaries on my 'How To - Tips and Techniques' Pinterest board in case you've missed any.
Enjoy your day; I have a lot to achieve today so need to get on with it! I'll be back tomorrow with another project. Until then, happy stampin'!
Stampin' Up! Supplies Used: