I've had a busy start to my week and I'm finally managing to share a card I designed for the current challenge over at Less is More - I'm so glad the ladies have gone to a 2 week challenge as I'm hoping it will give me time to play along more often, I just love their challenges! Their first challenge of the new year is to use purples on your card:

I love the colour purple! I didn't realise that I like it so much until a friend pointed out to me one day that I often wear purple or accessorise with purple - how funny is that?! Anyway, as much as I like it I don't use it all that often on my cards so this challenge was a good opportunity to remedy that. And a perfect opportunity to break out my most favourite of new stamp sets - take a look:

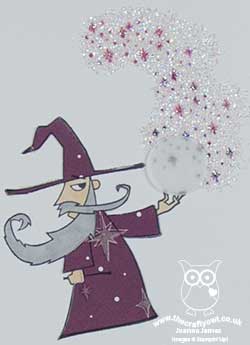
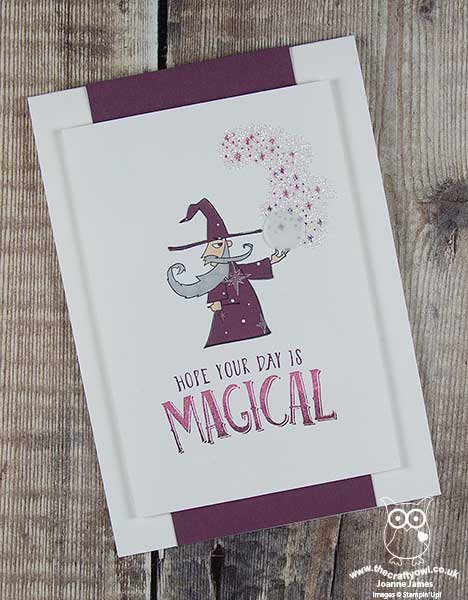
Yes, I adore the Myths and Magic suite in the new seasonal catalogue; I mean, wizards, dragons, knights, mermaids and unicorns - what's not to love?! I chose to work with the wizard today - isn't he just adorable? Here's the low-down on today's card:
A Little Paper Piecing - I decided to use some of the lovely Myths and Magic Specialty Designer Series Paper for my wizard's outfit. Many of the designs in this paper pack have a glitter finish - the one that I chose for my wizard's cloak is Fresh Fig with sparkly silver stars. Use of patterned paper on a clean and simple card is generally frowned upon, unless it's in very small quantities as I've used it here. I stamped the wizard from the 'Magical Day' stamp set onto my card base and again onto the patterned paper, then cut out the wizard's cloak and hat and adhered it to my card base, colouring the remaining parts of the wizard with my Stampin' Blends.
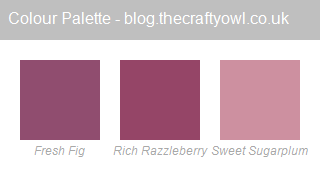
Ombre, Ombre - Whilst I've used Fresh Fig as my dominant purple, I've also combined with Rich Razzleberry and Sweet Sugarplum to create an ombre effect for the large word 'magical' in my sentiment and in the stamped stars beneath my sparkly magic. This is a fun way to bring additional purples into my design. Here's my colour combination if you would like to save it to use on your projects:

A Mystical Crystal Ball - having stamped the colours in the magic stars rising from my crystal ball, I then decided to add a liberal dose of Dazzling Diamonds glitter; something I don't do often but it definitely adds to the magic feel of this card and is so sparkly in real life. I have a top tip for you too with the crystal ball; I've often struggled to adhere vellum so that the adhesive is invisible. I added my vellum to a self adhesive sheet before punching out a 1/2" circle and voila - a circle with invisible adhesive, perfect!
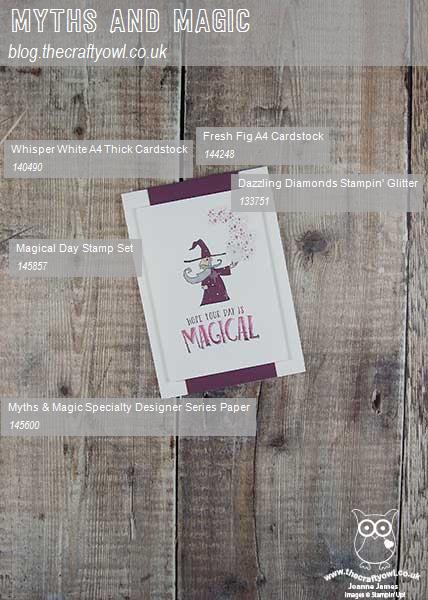
Here is the visual summary of the key products used on today's project for you to pin for easy reference:

You can see all of my 'How To' summaries on my 'How To - Tips and Techniques' Pinterest board in case you've missed any.
I'll be back tomorrow with another project. Until then, happy stampin'!
Stampin' Up! Supplies Used: