Hello everyone! I am still struggling with intermittent blog and website issues, in addition to a lack of email, so please bear with me! If you have emailed me since Saturday I won't have received your message, so I would urge you to give me a call with the details so that I can deal with it for you.
As promised I have another card for this week's challenge over at TGIF Challenges where the theme is to use the negative space left after making a die cut in a positive way:

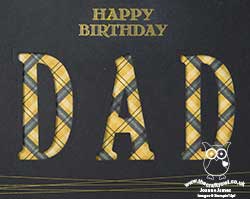
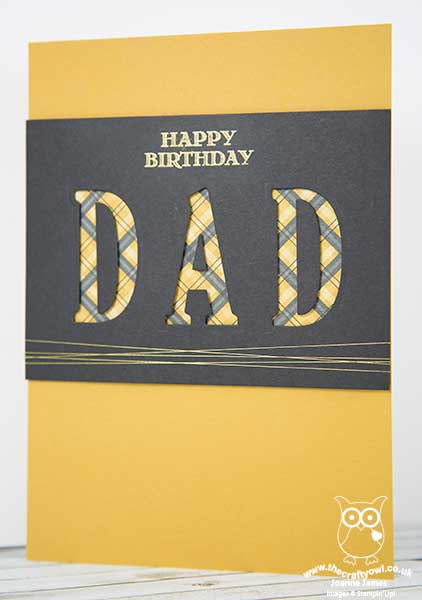
Today I have the masculine version that I made for my Dad, who celebrates his birthday today - you can see the feminine version I made for my Mother-in-Law on yesterday's post here if you missed it. Here's today's card:

Here's the low-down on today's card:
Large Letter Top Tips - I used my Large Letter Framelits again to create the negative die cut space on my card, this time to spell out 'Dad'. I have two 'Top Tips' for you today when using your letter framelits in this way to cut out a word where there are repeated letters - two D's on today's card, for example - and where there are 'gaps':
- In order to ensure all of the letters are aligned horizontally, I like to use a metal ruler. If you are using a magnetic platform in your Big Shot (and if not, why not?!) your ruler will 'stick' to your plate and make it really easy for you to align your framelits. On this card, I lined up the first D and A and cut them, then left the A framelit in place, whilst I moved the D to the end of the word and used my metal ruler to ensure they were level before putting through the Big Shot to cut my final letter.
- Unlike yesterday's card, the letters in DAD have areas of negative space, which when you are reversing them as I am here, you need to retain these pieces and place them in the appropriate place in the negative letter to ensure your space is fully defined. The best way to do this is to place the letter you've cut out into the space, then stick in the smaller pieces, then remove your letter, leaving the smaller pieces behind.
Not Just for Christmas - Today's negative space showcases one of the gorgeous plaid patterns from the Warmth and Cheer DSP stack. These papers are perfect for autumn and festive projects, but also work well for general masculine cards too. I decided to go with the Delightful Dijon/Black colour combo for my card today - the pattern is bold enough to work really well in the negative space of my diecut letters.
Finishing Touches - The 'happy birthday' from 'Guy Greetings' completes my sentiment today, centred and heat embossed in gold with some fine gold thread wrapped around the bottom of the panel. No bows today as I needed this card to be post-friendly - besides, it's a guy card, so no bow required!
My Dad should have received his card in the post today, so happy birthday wishes to him (although he's unlikely to be reading this!)
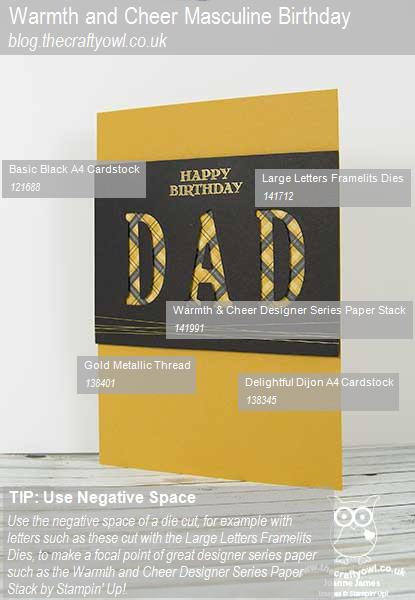
Here is the visual summary of the key products used on today's project for you to pin for easy reference:

You can see all of my 'How To' summaries on my 'How To - Tips and Techniques' Pinterest board in case you've missed any.
Back tomorrow with a Christmas card for you; until then, happy stampin'!
Stampin' Up! Supplies Used: