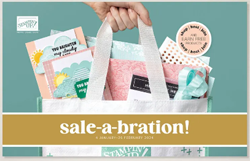
Happy New Year everyone! I took an extended blog break over Christmas to spend time with family and loved every minute of it. That said, it's the 4th January and time for a new mini-catalogue and our 2024 Sale-A-Bration promotion so today I'm back to tell you all about it! Once again this year there will be only one Sale-A-Bration promotion: it runs from today until 29th February. You can click on the catalogue on the right hand side of my blog page or below to access the Sale-A-Bration leaflet to download a copy or click on the icon above or on the right to go directly to my online shopto place an order - we are LIVE!

So how does Sale-A-Bration work? For anyone who hasn't come across it before, it's Stampin' Up!'s annual promotion that is loaded with offers whether you shop, join or host.

You can earn a free Sale-A-Bration product for every £45 you spend between 4 January and 29 February. There is also the opportunity to earn even bigger rewards with a £90 purchase. It's the perfect time to purchase those products you've had on your wish list and earn more products for FREE!

If you host a party or place an individual order with purchases of £275 or more, you can choose an additional £27.50 of products in addition to your standard rewards for FREE!
It’s also one of the best times of the year to join Stampin’ Up! There are two fabulous joining options during this year's Sale-A-Bration promotion:

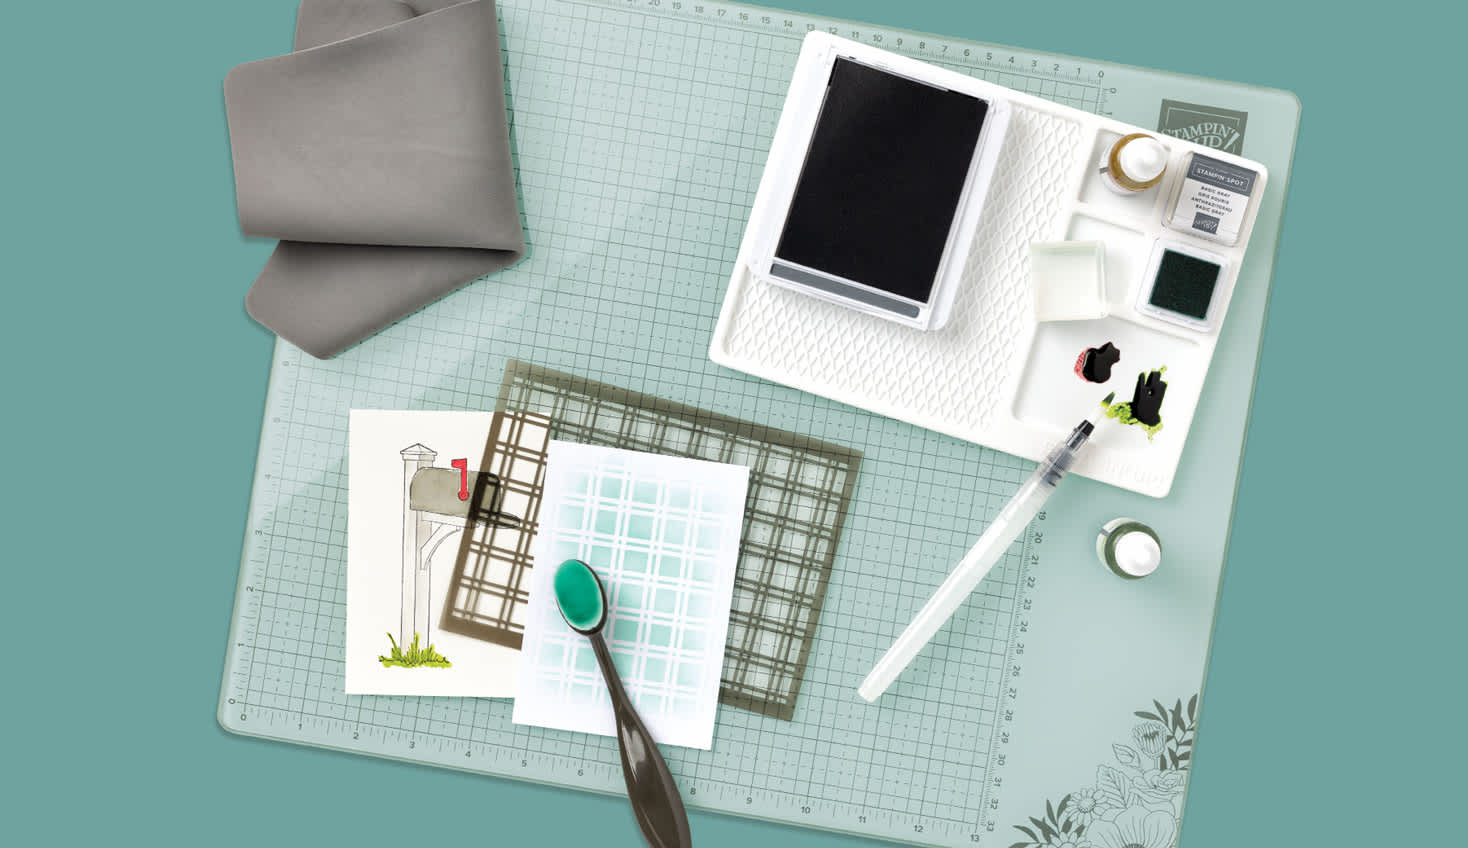
- OPTION 1: Spend £99 and receive £130 of product of your choice and a Stampin' Glass Mat Studio (retail value £56)

The Stampin’ Glass Mat Studio is a paper crafter’s dream! The heavy-duty glass mat comes printed with a ruler and grid lines for easy measuring, while the large surface space gives ample room for spreading out while paper crafting. The safety-tempered glass has a heat and scratch resistant surface that wipes clean with the included cloth and water—no chemicals needed. The reusable cloth also cleans ink off your stamps! The nonslip, heat resistant, waterproof silicone mat features four palette squares for mixing custom ink colours or for holding small ink spots in place while crafting. Each component can be used separately or you can use all three items together for a multipurpose paper crafting studio that’s both functional and elegant.
The Stampin’ Glass Mat Studio includes:
GLASS MAT
* 5 mm thick
* 17" x 14" (43.2 x 35.6 cm)
* Safety-tempered
* Heat and scratch resistant
* Wipes clean with water or alcohol
SILICONE MAT
* 8-3/8" x 6" (21.3 x 15.2 cm)
* Multiuse, nonslip
* Waterproof, heat resistant
* 4 palette squares for custom-colour mixing or holding Stampin’ Spots
* Product colour: white
CLEANING CLOTH
* 8-1/4" x 8-1/4" (21 x 21 cm)
* Durable, reusable
* Lint free
* Cleans stamps and other surfaces with only water
* Product colour: dark grey
If the Stampin' Glass mat Studio isn't of interest to you, you might prefer the following alternative:
- OPTION 2: Spend £99 and receive £160 of product of your choice.
There is plenty of choice and flexibility, whether you want to be a hobby demonstrator and just use your discount to enable you to purchase craft supplies more cheaply, or alternatively would like to build a flourishing direct sales business and sell supplies to others - it's entirely up to you. Above all else, it's a great opportunity to connect with like-minded individuals united through a common love of crafting.
If you would like to host a virtual or in-person party, please do get in touch. Equally if you've ever thought about becoming an SU! demonstrator, now is a great time to do so - I would love to have a no-obligation chat with you about joining my team and the benefits.
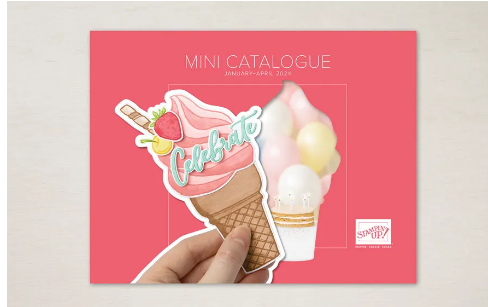
As if that wasn't enough, today also sees the launch of the new January-April 2024 mini catalogue - full of gorgeous new products:

Just click on the image above or in the sidebar on the right to browse the catalogue online, or contact me on 07773 421446 if you would like a paper copy posted out to you and you don't already have a demonstrator; paper copies have been sent to my regular customers. If you are as excited as me and just can't wait, here's the link to my online store - everything is available to purchase from today!
Finally, two new kits have also been added to the online store today:

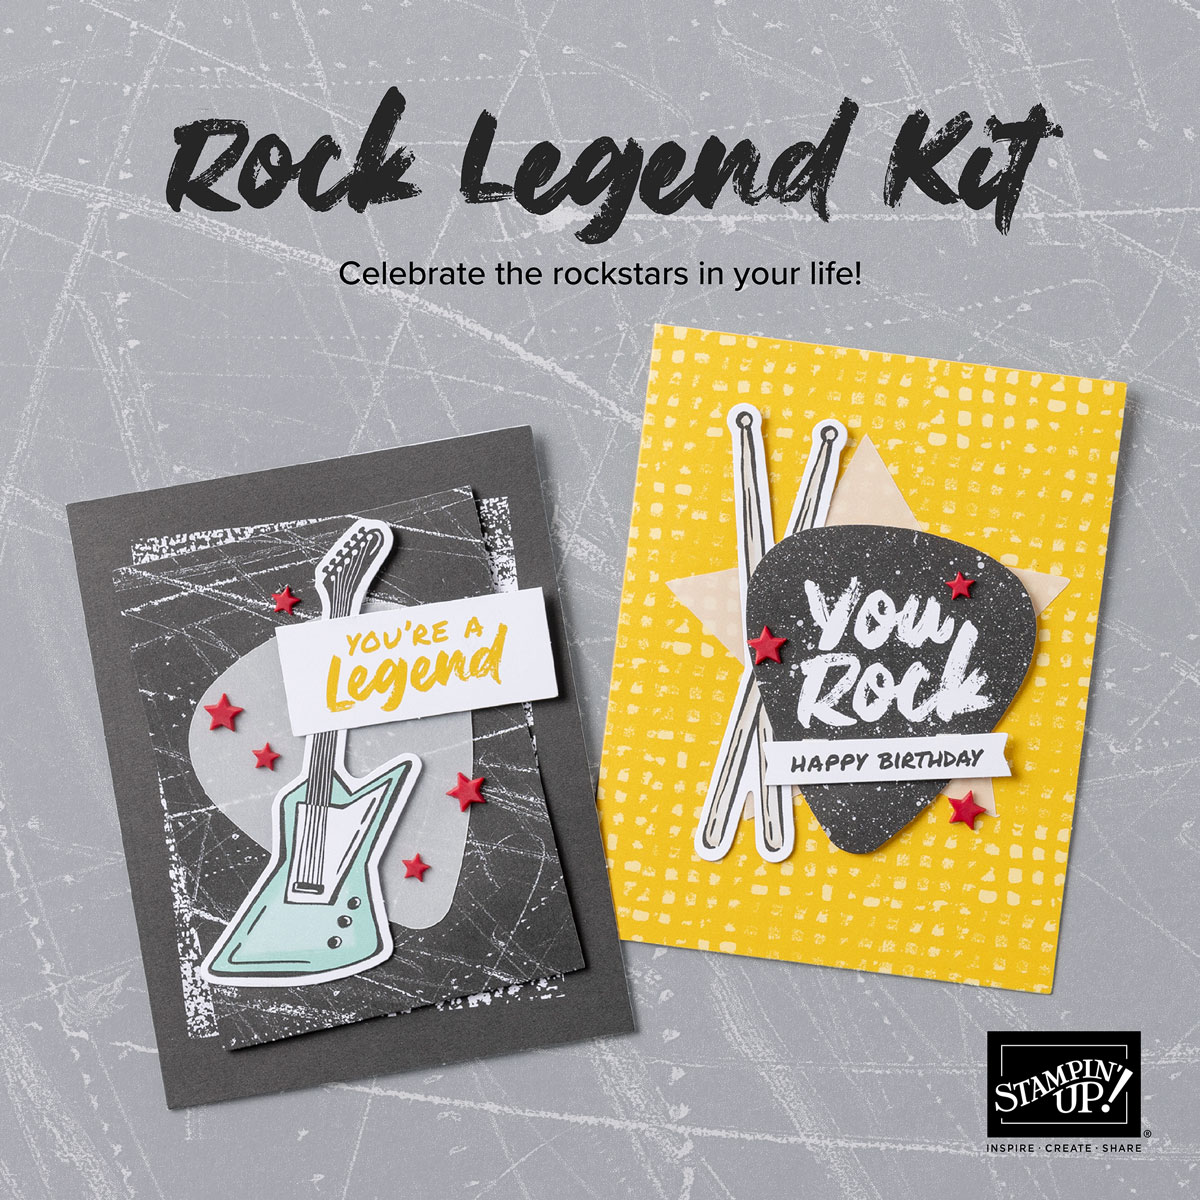
Create handmade cards for all the rockstars in your life with the Rock Legend Kit! This all-occasion paper crafting kit comes with everything you need to make cards that totally rock. Get crafting with die-cut paper pieces of electric guitars, lightning bolts, stars, and other fabulous designs. Make eight cards (four each of two designs) with bold colours and pre-printed sentiments to celebrate birthdays and more!
The kit costs £14 and includes:
*Pre-designed projects
*Step-by-step instructions
*Pre-cut pieces (No prep work! Get right to crafting)
*Printed sentiment labels in Dutch, English, French, and German
*Makes 8 cards: 4 each of 2 designs
*Folded card size: 5-1/2" x 4-1/4" (14 x 10.8 cm)
*8 pre-printed envelopes
*Enough adhesive to complete projects
*Adhesive-Backed Star Embellishments
*A 9-7/8" x 6-1/2" x 1-3/4" (25.1 x 16.5 x 4.4 cm) printed designer box for storage or crafting on the go

Send adorable cards filled with love with the Panda Friends Kit! These irresistible pandas are perfect for celebrating love and friendship throughout the year. This kit includes cards in two different sizes to keep your crafting versatile and fresh. Use the pre-printed sentiments to make quick multiples and send happy hello greetings to those you care about!
This kit also costs £14 and it includes:
*Pre-designed projects
*Step-by-step instructions
*Pre-cut pieces (No prep work! Get right to crafting)
*Printed sentiment labels in Dutch, English, French, and German
*Makes 8 cards: 4 each of 2 designs
*Folded card size: 4-1/4" x 5-1/2" (10.8 cm x 14 cm), 8-1/2" x 3-1/2" (21.6 cm x 8.9 cm)
*8 pre-printed envelopes
*Enough adhesive to complete all projects
*Iridescent Sequin Embellishments
*A 9-7/8" x 6-1/2" x 1-3/4" (25.1 x 16.5 x 4.4 cm) printed designer box for storage or crafting on the go.
If you would like more information on any of the above, please don't hesitate to get in touch!
Thanks so much for popping by - it's always nice to share good news! Back tomorrow with a creative post that uses some exciting new product! That post will go live at noon. Until then, happy shopping!