Hey Chuck Congratulations Card

by Joanne James3. July 2023 15:00

Today I have been in full on craft mode but I'm taking a break from making to share a card that I made for a few challenges using Cecile's layout over at Freshly Made Sketches this week:


Now my regular readers will know how much I admire the lovely Cecile's work and it's always fun to have a go at creating with one of her sketches. I have to say, I've been working on this one on and off for the last week and having binned a few attempts I almost gave up. I so wanted to go with a sailboat, but that did seem too obvious, but using those shapes in a different had me stumped. In the end I decided not to take those triangles literally and focus on creating something clean and simple and this is what I came up with:


Here's the low-down on today's card:

I thought it was high time I played with a new stamp set that I've had for a little while that had yet to see ink called 'Hey Chuck'. I couldn't resist this stamp set; it co-ordinates with the chicken sets we've had previously, is in a bundle with co-ordinating dies and those chickens are just so comical - so perfect for the current challenge over at Time Out too. Firstly I made a stencil using the sun die, doubling it to make a whole sun and I used this to sponge a Daffodil Delight sun directly onto my card base. I then stamped both my skateboard - the perfect outdoor activity for the challenge over at AAA Cards - and my punny congratulations sentiment (yet another exam congratulations card in the bag and perfect for the current celebrations over at Addicted to CAS) directly onto my cardbase, before stamping my chicken separately and colouring him with various Stampin' Blends markers. I then diecut him and popped him up on dimensionals to complete my card:


What could be funnier than a skateboarding chicken, right?! When we had our first set of chickens, the James Juniors built them their own swing that they suspended from the apple tree in our garden and spent ages trying to get the chickens to use it, but our feathered guests were having none of it! Maybe they should have tried a skateboard ... So not a literal take on Cecile's sketch today, but very much in tune with her clean and simple cardmaking style.

Here is the visual summary of the key products used on today's project for you to pin for easy reference:
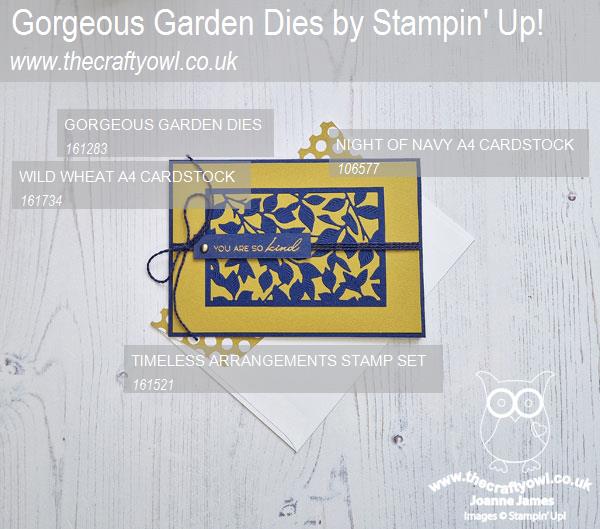
 

You can see all of my 'How To' summaries on my 'How To - Tips and Techniques' Pinterest board in case you've missed any. 

Enjoy your day and I'll be back tomorrow with another project for our new challenge over at CAS Colours & Sketches - incidentally with my teamie, Cecile! Until then, happy stampin'!


Stampin' Up! Supplies Used:

Table built using Product Table Builder by The Crafty Owl - Independent Stampin' Up! Demonstrator.

Silly Goose Good Wishes PP647

by Joanne James2. July 2023 08:00

Today it's Sunday and time for this week's new challenge over at The Paper Players! It's the turn of the fabulous LeAnne to host this week and she has a seasonal theme challenge for us to work with:


Having used my Oceanfront stamp set a few times recently, I decided to go with a card that was inspired by the fun inflatables and beach toys on our challenge badge this week and decided to make a card featuring that sweet silly goose from the stamp set of the same name floating on the waves in her inflatable rubber ring with her amphibian friend - take a look:


Here's the low-down on today's card:

I stamped my image and sentiment in Tuxedo Black ink and coloured it with my Stampin' Blends in the Just Add Ink challenge colours (I still have Coastal Cabana markers from when we had Blendabilities markers) and the added it to a Lemon Lolly card base. I used the Sketch Saturday layout for my card, using one of the Scalloped Contour Dies to represent the stripes of the sketch and create a sea of waves. I added a touch of clear Wink of Stella to the edge of the waves and some retired ribbon with a bow to complete my card. How cute is that silly goose?

That's all there is to it! A sweet card to send a gaggle of good wishes to someone special in some summery, fresh colours. So what do trips to the beach mean to you? Is it sandcastles, shell collecting or sun, sea, sand and relaxation? Why not make a card with a beach theme and share it with us over at The Paper Players this week?

Here is the visual summary of the key products used on today's project for you to pin for easy reference:


You can see all of my Product and 'How To' summaries on my 'How To - Tips and Techniques' Pinterest board in case you've missed any. 

Before you reach for your ink and papers, check out what our amazing team has created to inspire you this week:

Here's a quick recap of our challenge rules:
 
1.  Create a new paper project
2.  Upload your creation to your blog with a link back to us and provide a direct link to the post featuring your challenge submission.
3.  Please link your card to no more than four challenges, TOTAL.
4.  Have FUN!

Enjoy your day; we are taking it easy today as the oldest of the James Juniors left for Geneva on a school trip in the early hours of the morning, so we are all feeling slightly jaded. I'll be back tomorrow with another project. Until then, happy stampin'!


Stampin' Up! Supplies Used: 
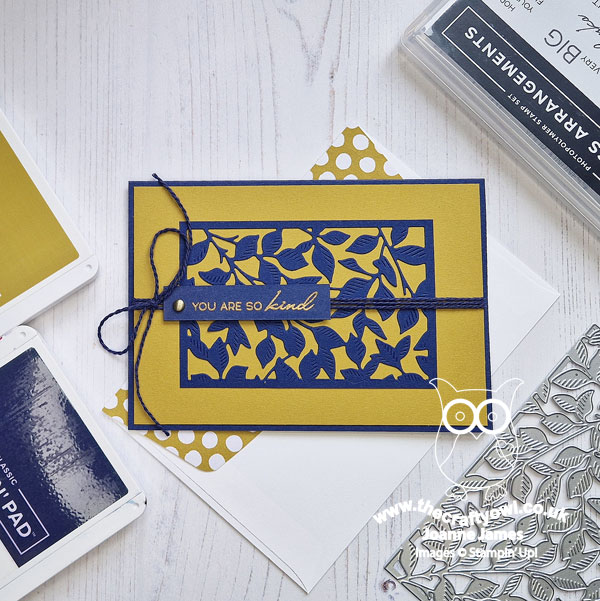
Table built using Product Table Builder by The Crafty Owl - Independent Stampin' Up! Demonstrator.

Join In With Joanne and Jan - A New Tutorial Collaboration

by Joanne James30. June 2023 16:00

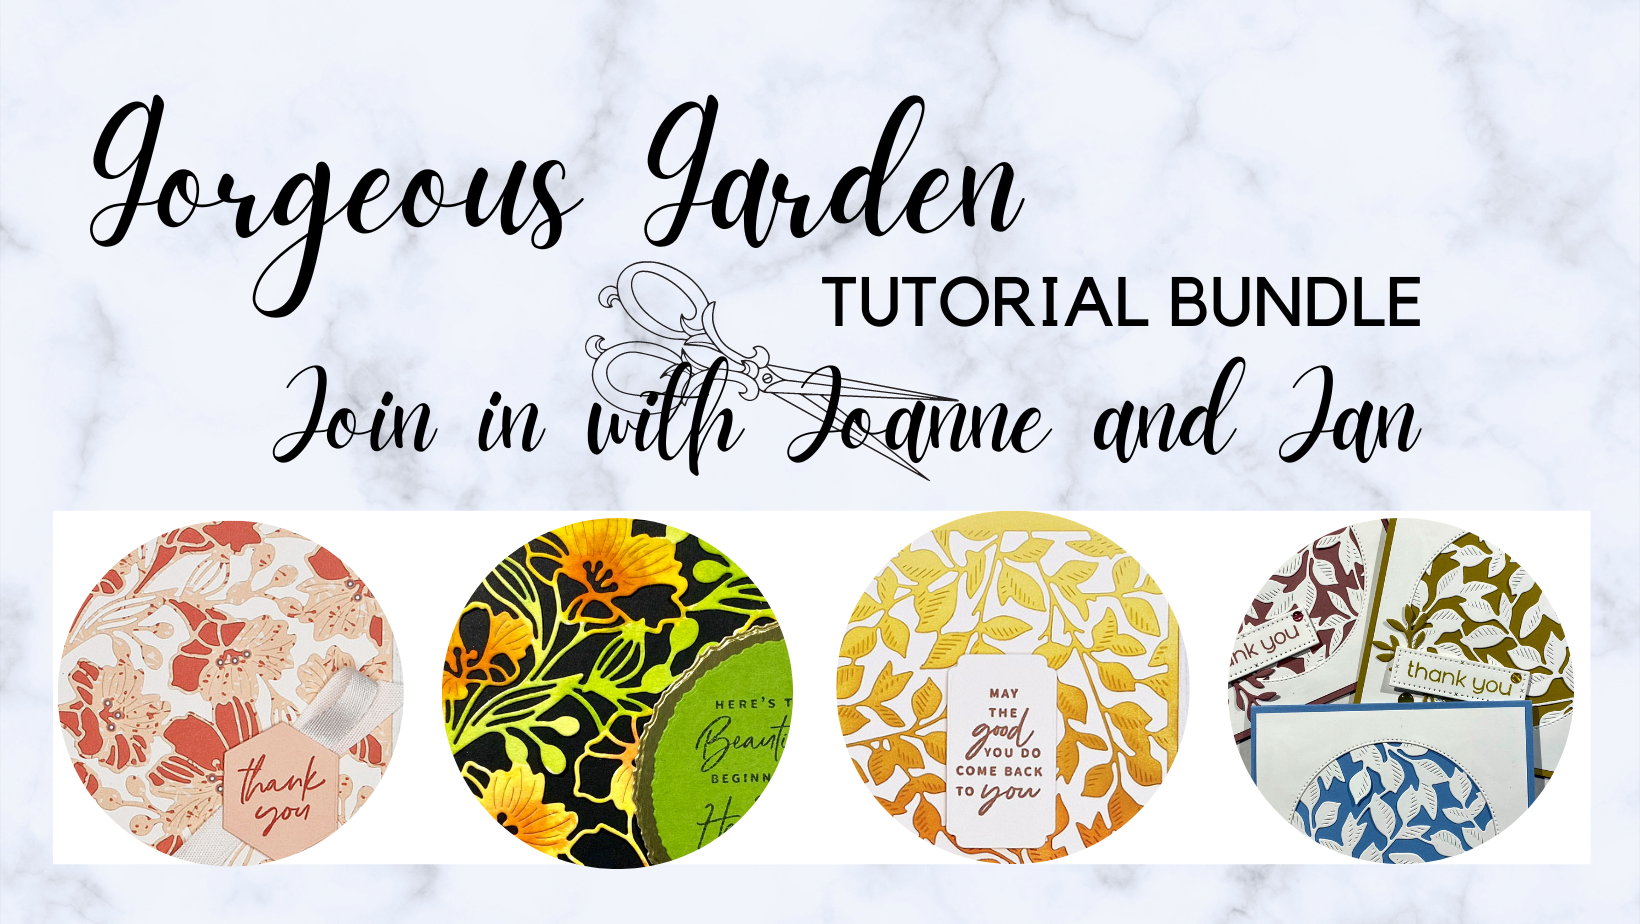
Hi everyone - as promised I'm here with my second post today and some exciting news! Welcome to Join In with Joanne and Jan!

My friend and former Stampin' Up! Artisan Designer Jan Clothier, aka Thinking Stamping, and I are working together to reward our customers with some extra special perks. Every two months, Jan and I will be putting together a set of four tutorials featuring a bundle or suite. Simply purchase the suite or bundle from us and we’ll email you the tutorials in PDF format for you to make. If you already have the suite or bundle, simply purchase something else of equivalent value and we’ll email the tutorial package to you.

The four tutorials (two from each of us) will really show you different ways to make the most of your purchase because you’ll get the benefit of both our ways of thinking and both our styles. There will be a range of project levels, from casual to avid and you won’t find these projects in any of our other social media platforms. We’ve designed them just for our customers. In addition to the tutorials, you’ll also be offered access to an exclusive private Facebook Group where you’ll be able to share your projects, and ask us questions. You’ll also find little extras there from us like extra projects, tips or even the occasional video or Facebook Live. You just never know!

So there you have it. Two great reasons to shop with us: a package of four exclusive designs AND access to a private Facebook Group so you can pick our brains and share your work with us.

You can shop with me if you live in the UK and Europe

You can shop with Jan if you live in New Zealand.

We’re kicking off with the Cheerful Daisies bundle from the 2023-2024 Annual Catalogue.


The Fresh As A Daisy Suite Collection features the Cheerful Daisies stamp set and die bundle and includes beautiful designer series papers featuring loosely handpainted florals that also feature all of the new 2023-25 in-colours. If you would like to receive this tutorial, you can place your online order with me by clicking on the direct product links for the bundle and any other products in the suite below:

Table built using Product Table Builder by The Crafty Owl - Independent Stampin' Up! Demonstrator.

Remember to add the current hostess code 2A6EXGJ4 to your order. 

Watch out for a new tutorial package for August-September at the end of July.


Paper Florist Flowers Purple Birthday Card AYSI 302

by Joanne James30. June 2023 12:00

It's been a quiet week here on the blog - I have been enjoying some post-exam time with the James Juniors to have some fun and blogging hasn't been high on the agenda - although I do have two posts for you today! First up I'm sharing my design team card for our new challenge over at As You See It where it's time for my favourite, a sketch challenge:


Not only do we have a sketch challenge, this layout, chosen by my friend and teamie Jan, is my all-time favourite 'go to' - if you peruse my blog you will find lots of cards that follow this layout style. What's more, in a complete stroke of fortuitous serendipity, the ladies over at Color Throwdown have one of my all-time favourite colour combos too, so I just knew I would have to combine the two! I used my favourite Gorgeous Grape purple for my card base and decided to go full-on bright florals - take a look:


Here's the low-down on today's card:

I created an arc of flowers using the Paper Florist Dies, to frame my sentiment from 'Something Fancy'. The Paper Florist Dies are a set of standalone dies easily overlooked - you can find them on page 165 of the annual catalogue and they are showcased on projects on page 33. They make fabulous large flowers that are great for 3D projects, home decor and to decorate gift packaging. I made up a tone of flowers so that I could experiment with the shapes, sizes and flower combinations, but settled on these three for my card:


A trio of enamel dots and a simple happy birthday sentiment inside was all I needed to complete today's card. I just love this card - is it ok to send a card to yourself if you love it so much?!

Here is the visual summary of the key products used on today's project for you to pin for easy reference:


You can see all of my 'How To' summaries on my 'How To - Tips and Techniques' Pinterest board in case you've missed any. 

Here's a summary of our challenge rules:

  • Create any card, scrapbooking page, 3D project or packaging project that fits the challenge.
  • Please include the challenge graphic and link back to the challenge in your blog post. Turn off word verification so we can leave you lots of lovely comments. Make sure you link the post not the whole blog to the Linky. Use #AYSIXXX when uploading to a public gallery.
  • If you’re unsure about ‘the rules’, check the details under the Challenge Guidelines tab on the As You See It Challenge homepage.
  • In a sketch challenge, you are welcome to rotate or flip a sketch. You can replace shapes used such as substituting a circle panel for a square panel. However, we must be able to still see the basis of the original sketch in your finished product.
We look forward to seeing your creations in the AYSI gallery.

Enjoy your day and I'll be back tomorrow with another project. Until then, happy stampin'!


Stampin' Up! Supplies Used:

Table built using Product Table Builder by The Crafty Owl - Independent Stampin' Up! Demonstrator.

Two For One Thank You Cards Featuring Countryside Inn

by Joanne James26. June 2023 10:17

Today I'm sharing two cards, both inspired by Jen B's layout over at Freshly Made Sketches this week:


I thought this was the perfect layout to showcase a piece of the Countryside Inn designer series paper - the only question was which sheet to choose! Eventually I settled on a busy, dark blue floral - take a look:


Here's the low-down on today's card:

I kept my card really simple with some layering to pick up on the colours in the paper and I finished with a diecut sentiment that I haven't yet used from the Wanted To Say Dies and a sprinkle of self-adhesive sequins:


This style of sketch is great if you have a 'busy' paper design as it really allows it to shine. Before I constructed my card though, as I worked out where I wanted to place my diagonal lines, I decided I couldn't allow the central section to be 'hidden' under my navy panel, so I snipped it out. This gave me an odd-shaped scrap, but one that was perfect to create a second card by layering it onto a navy panel:


For my second card I added a simple stamped sentiment from the 'Gorgeously Made' stamp set that I stamped in Night of Navy on a scrap of Basic White cardstock and again added a few blue sequins to highlight the pretty blue in the paper:


These sequins are supposed to be Balmy Blue but I think they look much more like Tahitian Tide, especially when paired with this paper. A great #simplestamping card - a couple of scraps and a few more sequins and an additional card, from just one piece of designer series paper. I'm linking my second post up over at Just Add Ink where they are looking for us to use two of scraps, strips and sequins; I went with scraps and sequins, although I had a strip of leftover DSP too which I added to the inside of my card - no need for wastage!

Here's one final photo of both cards together:


Which one do you prefer? I must say I like them both in their own way. That paper is so pretty - and all the better for being on offer this month as part of the designer series paper sale!

Here is the visual summary of the key products used on today's project for you to pin for easy reference: 


You can see all of my 'How To' summaries on my 'How To - Tips and Techniques' Pinterest board in case you've missed any. 

Enjoy your day. I'm spending mine doing some admin whilst the James Juniors delight in having a big tidying session, throwing away all of their notes and revision materials in a celebration of post-scholastic freedom! I'll be back tomorrow with another project. Until then, happy stampin'!


Stampin' Up! Supplies Used:

Table built using Product Table Builder by The Crafty Owl - Independent Stampin' Up! Demonstrator.

Zoo Crew Ballet Dancing Hippo Birthday Card PP646

by Joanne James25. June 2023 08:00

Today it's Sunday and time for this week's new challenge over at The Paper Players! It's the turn of the fabulous Claire to host this week and she has my favourite, a sketch challenge for us to work with:


I decided to share another of the fun animals from the Zoo Crew designer paper on my card this week; this time it's the turn of the ballet-dancing hippo for a sweet birthday card for a little girl - take a look:


Here's the low-down on today's card:

I used a base layered with some retired Country Floral Lane designer paper which picked up on the Petal Pink of the hippo's tutu, then inspired by the challenge over at SUO Challenges I decided I would delve into my ribbon stash and use the verticals for a double trim of beautiful Pool Party satin ribbon (the one I've used is retired but I've linked to a current equivalent below) and tied with a statement bow. I coloured my hippo with Smoky Slate Stampin' Blends then fussy cut her and added her to my card:

A diecut sentiment from the 'Charming Sentiments' stamp set completes my card. I just love this Zoo Crew paper for fussy cutting - you can create so many different cards with the characters featured.

Here is the visual summary of the key products used on today's project for you to pin for easy reference:


You can see all of my Product and 'How To' summaries on my 'How To - Tips and Techniques' Pinterest board in case you've missed any. 

Before you reach for your ink and papers, check out what our amazing team has created to inspire you this week:

Here's a quick recap of our challenge rules:
 
1.  Create a new paper project
2.  Upload your creation to your blog with a link back to us and provide a direct link to the post featuring your challenge submission.
3.  Please link your card to no more than four challenges, TOTAL.
4.  Have FUN!

Enjoy your day; it's forecast to be super hot here in the UK today, so I will be taking it easy I think! I'll be back tomorrow with another project. Until then, happy stampin'!


Stampin' Up! Supplies Used: 

Table built using Product Table Builder by The Crafty Owl - Independent Stampin' Up! Demonstrator.

Watercolour World of Kindness FF0137

by Joanne James23. June 2023 09:00

Today I have my card for the new challenge over at Festive Friday Card Making and Paper Crafting Challenge. 


The challenge that we are celebrating this week is 'Global Forgiveness Day' which is on 7th July. Remember the fun thing is that at Festive Friday you do not need to actually celebrate the occasion; your goal is to simply use three or more items from the inspiration list on your project. This week I used green, blue, heart embellishment, background stamp and maps/globes from the list along with the layout over at Hand Stamped Sentiments and the colour palette over at Sunday Stamps (I used Cherry Cobbler, Soft Sea Foam and Boho Blue from the palette) and this is what I came up with:


Here's the low-down on today's card:

The HSS layout is a great one to showcase that Watercolour World background stamp on that feature panel because although there is a large focal sentiment too, you still get to see plenty of the map detail. I decided to try something different with this stamp today: I stamped the map in Soft Sea Foam onto Basic White cardstock, then immediately clear embossed it. This both intensified the colour of the soft green and allowed me to add my Boho Blue ink with a blender brush to my image around the coastal outline, blending out to nothing, without discolouring the land. I love this effect! I used a Boho Blue card base and DSP layer to bring out the blue colour, and added a sentiment from the retired 'Begin With A Dream' stamp set that I embellished with a (retired) Cherry Cobbler heart: 


Having punched a couple of notches in either side of my map layer, I then added a length of Cherry Cobbler thick twine and tied it in a bow to finish my card. I would normally do this across a sentiment, but since the twine doesn't obscure the wording I went with it and I quite like the finished result.

Here is the visual summary of the key products used on today's project for you to pin for easy reference:


You can see all of my 'How To' summaries on my 'How To - Tips and Techniques' Pinterest board in case you've missed any. 

How does our board inspire you? I can’t wait to see what YOU create! For more inspiration, be sure to visit the rest of the Festive Friday Card Making and Paper Crafting Challenge Design team:

Enjoy your day; exams are officially over in the James household today so we are having lunch out and a trip to the farm to pick strawberries this afternoon to celebrate - we know how to live! I'll be back soon with another project. Until then, happy stampin'!


Stampin' Up! Supplies Used:

Table built using Product Table Builder by The Crafty Owl - Independent Stampin' Up! Demonstrator.

Sweet Citrus Limes Thank You Card TTT214

by Joanne James22. June 2023 17:00

It's Thursday and time for a new challenge over at TicTacToe! It's the turn of Team X to host this week and I am the featured designer. This is the fun board that we are playing along with: 


I went across the middle row with twine, flower and bright colour (my card also works for the middle column of DSP, flower and enamel dots) and decided to play along with the current Color Hues challenge of yellow and green, Global Design Project #GDP399 where the theme is 'fruits' and at my favourite SUO Challenges where they are asking us to add ribbon, lace or twine. I decided to make another card using the Sweet Citrus bundle and this time instead of lemons, thought I'd try my hand with limes - take a look:


Here's the low-down on today's card:

I paired Lemon Lime Twist with Parakeet Party for two beautiful, bright greens (I find Lemon Lime Twist to be one of those colours that looks more green when paired with a true green, as on this card, but equally looks more yellow when paired with a true yellow) and used a backing of Glorious Gingham added a Scalloped Contours diecut rectangle before decorating with my limes and a sprinkling of lime blossom flowers and Lemon Lolly gems. I don't think I'll ever get tired of seeing those embossed citrus fruits - they add so much texture and dimension to an otherwise simple card:

I added my twine to the lower portion of my scalloped rectangle - I love that the scallops make it easy to attach evenly. I rarely use lace on a card, but despite an extensive ribbon collection I probably use way more twine on cards - go figure! Another cheery thank you card that will be heading out to one of my customers with their next order :-)

Here is the visual summary of the key products used on today's project for you to pin for easy reference:


You can see all of my Product and 'How To' summaries on my 'How To - Tips and Techniques' Pinterest board in case you've missed any. 

A tictactoe board offers so many creative possibilities - how does this week's board inspire you? Why not have a go? We would love to see you in the gallery and who knows - you might be selected for Designer's Choice and be eligible to be a guest designer on a future challenge. 

Enjoy your day; I am busy baking today, as tomorrow marks the official end of exams for both James Juniors and this weekend we will be having the delayed celebrations for Rebecca's 18th birthday which was last week. I have a special cake planned - if it works I'll be sure to share a picture over the weekend! I'll be back tomorrow with another project. Until then, happy stampin'!


Stampin' Up! Supplies Used: 

Table built using Product Table Builder by The Crafty Owl - Independent Stampin' Up! Demonstrator.

Life Is Sweet If You Are A Roller Skating Emu

by Joanne James21. June 2023 09:20

Today I'm sharing a card that was inspired by a new-to-me word that Time Out Challenges introduced me to:


I used the layout from Sketch Saturday to make my card that totally sums up the meaning of the word 'sportive' to me - take a look:


Here's the low-down on today's card:

What could be more playful and lighthearted than a roller skating emu, I wonder?! Whilst I'm not sure roller skating is considered a 'sport', it's certainly fun. I fussy cut my emu from the Zoo Crew designer paper and paired him with some Lemon Lolly stripes and an oversize sentiment from the 'Sweetest Cherries' stamp set: 


A stitched frame and trio of Lemon Lolly solid gems complete today's card. This card makes me smile! I might even send it to one of my oldest friends, who one summer spent our entire summer vacation trying to teach me to roller skate. She was so good at it and even after 6 weeks of what felt like daily practice, I still had all the hallmarks of Bambi on wheels, but we had so much fun in the process it didn't matter. Happy childhood memories!

Here is the visual summary of the key products used on today's project for you to pin for easy reference:


You can see all of my 'How To' summaries on my 'How To - Tips and Techniques' Pinterest board in case you've missed any. 

Remember - today is free shipping day! If you are looking for something to pop in your shopping basket, I would highly recommend a pack or two of the Bright & Beautiful designer series paper - it's so versatile and I've used lots of mine already!

Enjoy your day; I am out and about as both James Juniors have exams today. I'll be back tomorrow with another project. Until then, happy stampin'!


Stampin' Up! Supplies Used:

Table built using Product Table Builder by The Crafty Owl - Independent Stampin' Up! Demonstrator.

Hello Ladybug Good Luck Card CCS 532

by Joanne James20. June 2023 13:00

It's Tuesday and time for a new challenge over at CAS Colours & SketchesThis week's challenge is a sketch challenge and Shannon has asked that we add a square focal point. Feel free to flip or rotate the sketch when making your card.


For my card today I took my inspiration from the symmetrical focal point and decided to create a fun good luck card featuring a cute ladybird - take a look:


Here's the low-down on today's card:

A Confession - So first up, a confession! I actually made my card for today's challenge and it wasn't until I was writing up today's post that I realised I had my sentiment in the wrong place. I almost went with it - the sketch is a guideline, that's all - but in the end I decided to make a second version that was faithful to Shannon's layout and compare the two. So the card above is my 'take two' - my original card is the one below:


On this one I added my sentiment from the 'Charming Sentiments' stamp set to the card base, whereas on the sketch the sentiment in on the focal square. Here's a photo pf both cards together - which one works better for you? 

I must be honest, I'm on the fence; I like my second version more than I though I would - kudos to Shannon for her layout!

Ladybug Builder - I thought a ladybug - or ladybird as we call them here in the UK - would make a cute centrepiece for a good luck card. I wondered why ladybirds are considered lucky in many cultures and Google tells me it's simply that they are one of the chief insects to eat crop pests - the gardener's friend. The Ladybug Builder punch made light work of mine - a simple punching of the elements and some heat-embossed black dots for a little extra shine:

Remember The Inside - I designed this card with a child in mind, so couldn't resist adding another stamped comical smiling ladybird to the inside of my card with another sentiment from the 'Hello Ladybug' stamp set:


I love making good luck cards for children; so much of their lives seem to consist of exams and tests, it's nice to send some positive vibes and let you know you are wishing them every success! I am linking today's card up with the team over at Inspire.Create who are sharing cards for babies or children and at the Alphabet Challenge Blog where there are on 'F is for Flying' - my ladybird has her wings ready to go!

Here is the visual summary of the key products used on today's project for you to pin for easy reference:


You can see all of my 'How To' summaries on my 'How To - Tips and Techniques' Pinterest board in case you've missed any. 

Today is the last full study day for both James Juniors - we are at T-1 and T-3 respectively - the end of the exam season is nigh! We have experienced some torrential downpours this morning, so I am hoping to get ahead with my crafty endeavours - I even have a second card to share with you today - I'll be back with that shortly!

Enjoy your day and I'll be back tomorrow with another project. Until then, happy stampin'!


Stampin' Up! Supplies Used:

Table built using Product Table Builder by The Crafty Owl - Independent Stampin' Up! Demonstrator.

New Online Exclusives

There are new products available exclusively in the online store from 5 November - check them out here.

Latest Kits!

Stampin Cut and Emboss

The Layered Landscapes Kit and Nature's Paintings Kit are the latest kits in the online store - get yours here!

Shop Online

Access my online shop 24 x 7, 365 days of the year:

Current November hostess code:

9NKXDTTR

Shop Online

Mini Catalogue

BROWSE THE CATALOGUE

'Tis The Season - the new Stampin' Up! Mini Catalogue is here! For more details and to download your copy click here

Scrapbooking

Stampin' Up! has introduced a new range of 12x12" scrapbooking product and kit - the full range is now available to purchase online. To download a copy of the new digital Scrapbooking Catalogue click here.

2024-25 Annual Catalogue

BROWSE THE CATALOGUE

Click on the image to download your copy of the 2024-25 annual catalogue. For a full list of current SU! supplies, go to my online store. If you would like any help or advice, please drop me a line at joanne@thecraftyowl.co.uk or give me a call on 07773 421446 - I'd be happy to help.

Join My Team

It's always a great time to join Stampin’ Up! New team members can get £130 worth of products for only £99 + free business supplies + free shipping + all the fun being a part of Stampin’ Up! Stampin' Up! has something for everyone: join my growing team and benefit from my support to enjoy Stampin' Up! however you choose.

If you're interested, call me for a chat to understand how I can help you realise your goals. Alternatively, if you have already decided to sign up and you just can't wait, please click here for the link to the online form where you can sign up and order your starter kit right away! 

About Me

Hi I'm Joanne and live in Northampton and when I'm not looking after my husband and two beautiful children, am an avid crafter with a passion for all things Stampin' Up!

I must confess that I have never been a big rubber stamper - until I discovered Stampin' Up! that is. I love the fact that I can get such great results with co-ordinating stamps, inks, papers and punches - the possibilities are endless! Join me on my stamping journey as I share the things I love and be inspired to create amazing things yourself!

Follow Me

Monthly Newsletter

Box Builder

Click the button above to use Box Buster to create your custom box design using the Envelope Punch Board!

Kits Collection Now Available!

Stampin Cut and Emboss

The new Kits Collection from Stampin' Up! is now available!

Click here to see the current kits available and order yours online today.

I Design For


Stampin' Up Stuff

This is my personal blog and is not endorsed by Stampin’ Up! I hope you find it a plentiful source of ideas and personal inspiration but please don't copy my designs for contest submission or use for classes, publication or sale without express permission.