by Joanne James27. January 2016 21:00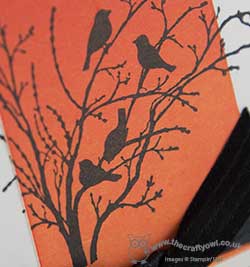
Another quick silhouette card from my brayer class today - this one featuring the birds in a tree stamp from the Serene Silhouettes stamp set:
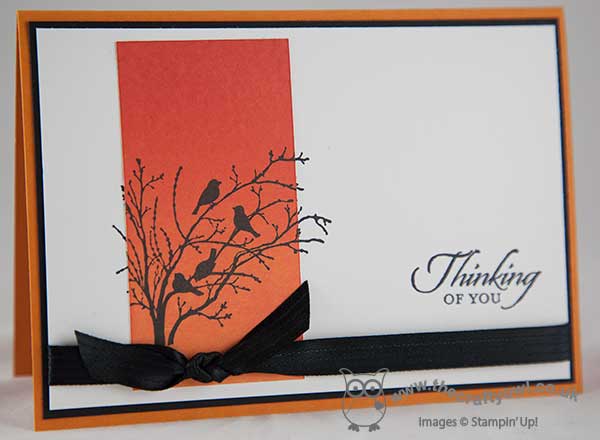
This card uses a similar pieced silhouette technique that I used on yesterday's card, with the sunset sky panel made from a combination of Pumpkin Pie, Tangerine Tango and Real Red inks. I used the sentiment from the 'Wetlands' stamp set again and this time in addition to my black mat and Pumpkin Pie card base, I added a piece of black satin ribbon tied around the bottom of the panel.
A quick post from me today; do come back tomorrow to see what I created for this week's new challenge over at Create With Connie and Mary - I have something rather special to share!
Until then, happy stampin'!
Stampin' Up! Supplies Used:
by Joanne James26. January 2016 20:32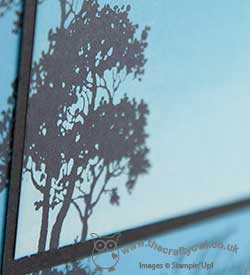
I've spent a lovely day today teaching a group of ladies how to brayer in a Brayer Technique Masterclass and witnessed lots of lovely sunsets and beautiful colour schemes as they learned the 'do's and don'ts' of perfecting the technique. Today's card is one of the ones we made, practising creating a monochromatic ombre:
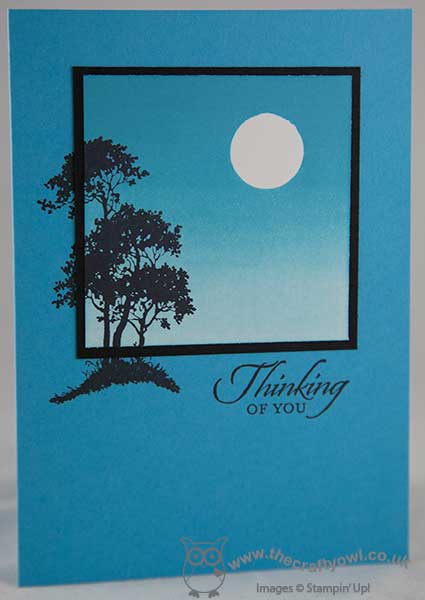
We used a small 3/4" circle of post-it note to mask out a moon, then having brayered in the blue sky, I stamped the tree image partially off the panel in Black Archival ink and mounted this onto a mat of Basic Black. I then stamped the tree again on the Tempting Turquoise card base, using my stamp-a-ma-jig to line up with the partial stamped image. I added my sentiment from the 'Wetlands' stamp set to complete my card.
I'm linking my card up again with the lovely ladies over at Less Is More whose challenge this week is to use a silhouette on your card. I like the way the partial stamping adds interest to the silhouette on this otherwise monochromatic card and this card was a great way to start today's class. Here's a shot of my ladies hard at work and having fun:
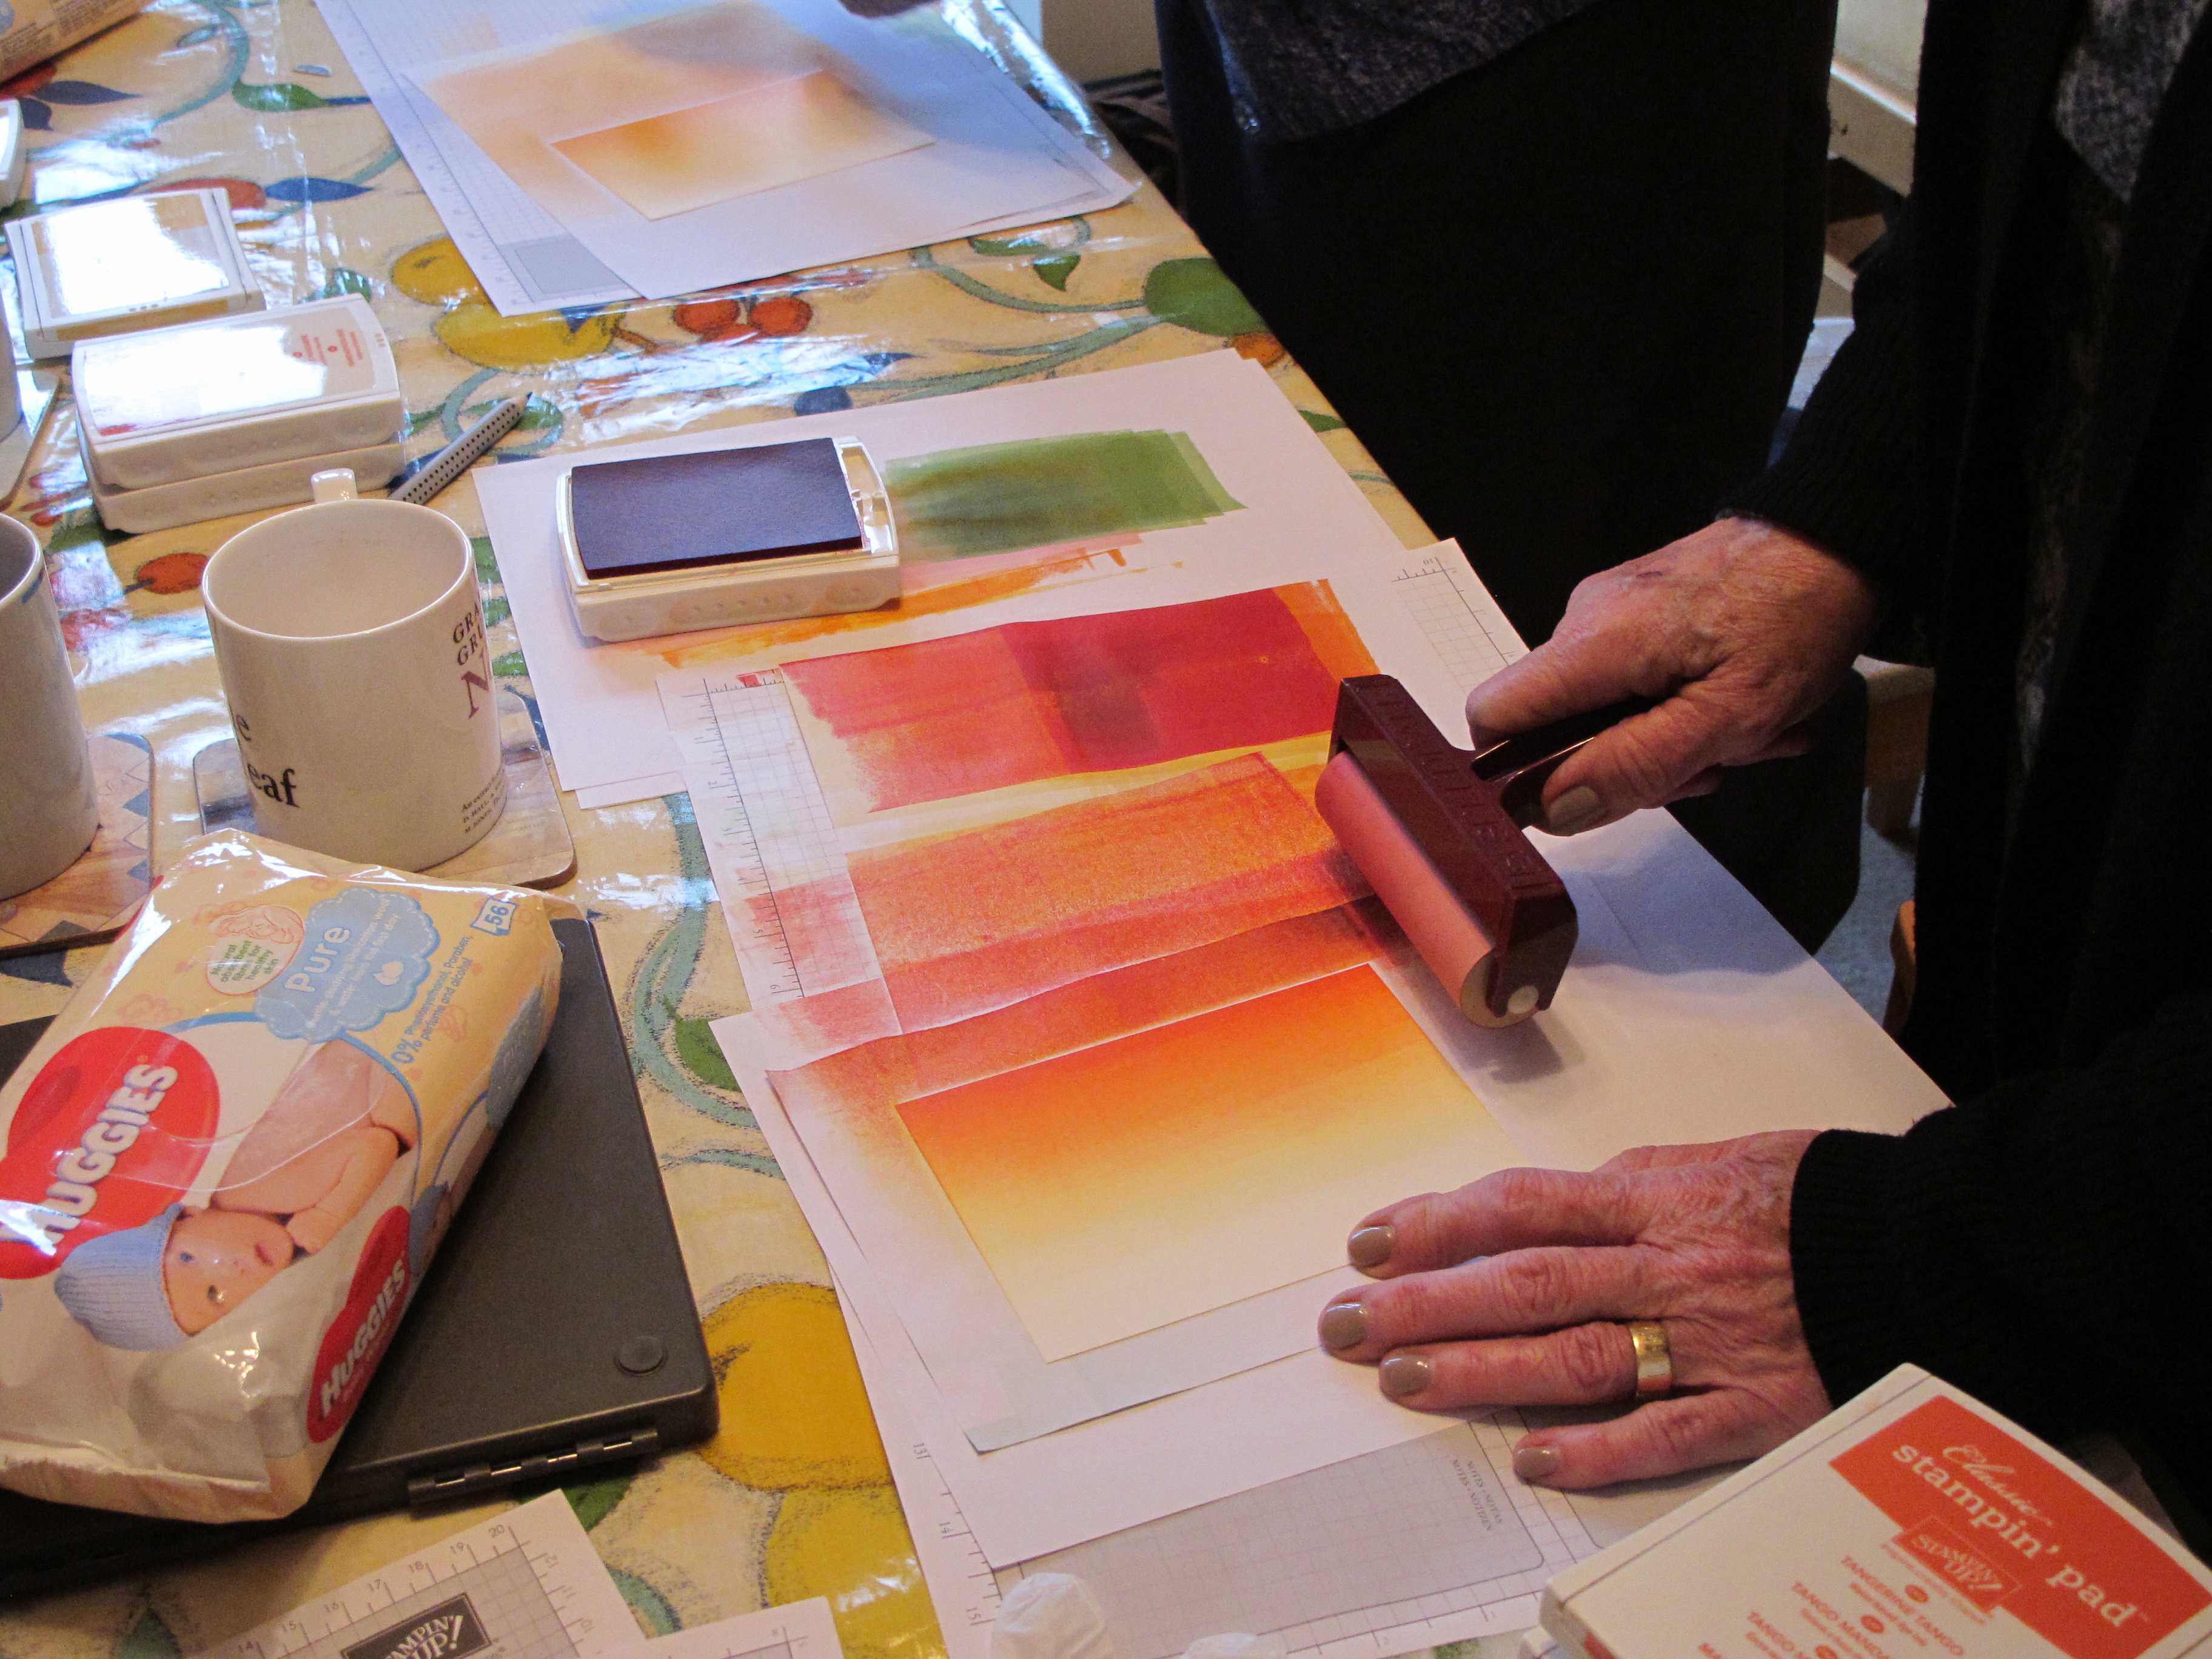
Very messy, but well worth it!
If you would like to join one of my classes, please do get in touch for details of upcoming classes or check out the listings on my web page here.
I'll be back tomorrow with another project; until then, happy stampin'!
Stampin' Up! Supplies Used:
by Joanne James25. January 2016 22:39
The weekend is over and it's Monday again - where does the time go?! I'm finally finding the time today to share a card that I featured in part on my Facebook Page last week. This particular card was a commission for a client - a bride and groom with a romantic sunset of pinks and purples:
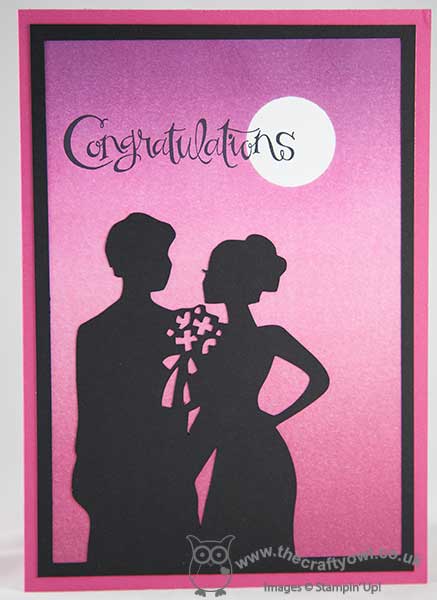
This card doesn't have a great deal of stamping, apart from the sentiment from the ever-popular 'Sassy Salutations' stamp set. The bride and groom were cut using my e-cutter having set them into a frame, but the real star of the show for this card I think is the beautiful brayered background. I masked the moon using a piece of post-it note punched with a 1 1/4" circle punch, then brayered the entire background using a combination of Perfect Plum, Rose Red, Melon Mambo and Rich Razzleberry. So very pretty!
I am entering today's card into this week's challenge over at Less Is More where this week the recipe is 'Silhouettes'. I was thrilled to be the LIM winner in December and so far I haven't managed an entry in January due to other commitments. This week I am going to make up for this though with not just one, but (at least!) two entries; I've been making samples for an all-day brayering technique class that I'm holding tomorrow so have lots of silhouettes to share!
Back tomorrow with one of my basic brayer class cards that is perfect for the 'Less Is More' theme!
Until then, happy stampin!
Stampin' Up! Supplies Used:
by Joanne James24. January 2016 09:00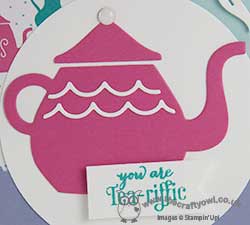
It's Sunday and time for a new challenge over at The Paper Players! This week it is the turn of the lovely Nance to host and she has my favourite type of challenge, a sketch, for you to play along with:
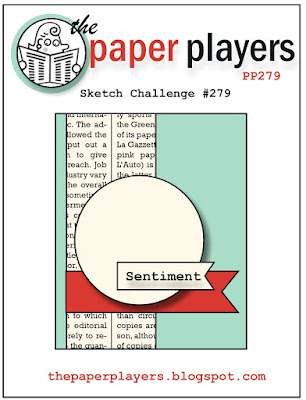
For my card this week I was inspired to use my Cups and Kettle Framelits Dies and co-ordinating 'Have A Cuppa' Designer Series Paper Stack for a fun card:
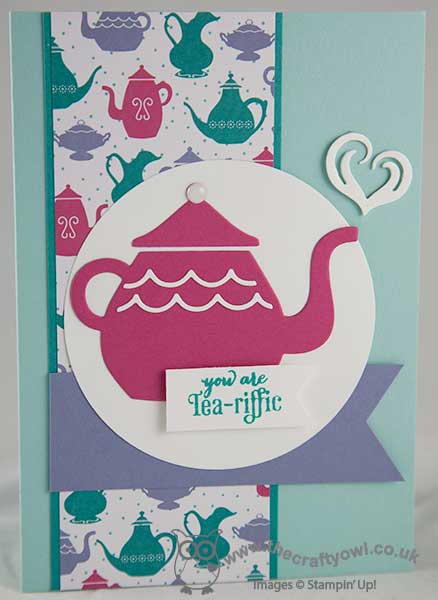
My colour scheme was taken directly from the paper stack and my card is otherwise really quite self explanatory. I added a White Perfect Accent to my teapot lid and some clear Wink of Stella to the steam heart above the spout for added shimmer. I love the bright colours in these papers and the many little elements in the framelit set - endless creative possibilities!
Before you reach for your ink and papers, check out what our amazing team has created to inspire you this week:
The Paper Players Design Team
Here's a quick recap of our challenge rules:
1. Create a new paper project
2. Upload your creation to your blog with a link back to us and provide a direct link to the post featuring your challenge submission.
3. Please link your card to no more than four challenges, TOTAL.
4. Have FUN!
I look forward to seeing what you create with this week's theme. We have a an important day of sport today: Ben is playing basketball this morning and no hockey this week as Rebecca has an afternoon of swimming with County trials today - wish us luck!
Back tomorrow with another project; until then, happy stampin'!
Stampin' Up! Supplies Used:
by Joanne James23. January 2016 21:51
I've had a busy day today with housework and homework, but fortunately a little crafting time too! I made a clean and simple Valentine's card for the following challenges:


Global Design Project, TGIF Challenges and SUO Challenges all have a Love-Valentine's theme and this week's sketch over at CAS(E) This Sketch provided me with the perfect layout for what I had in mind:
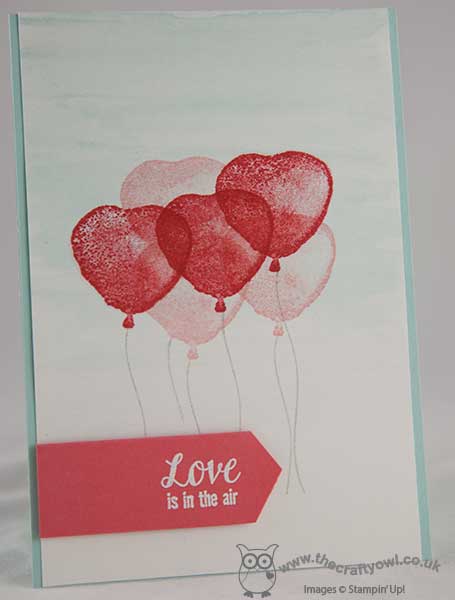
Using a Pool Party base, I took a piece of Shimmery White cardstock and washed it lightly from top to bottom with my Aquapainter and some Pool Party ink. then stamped a cluster of heart-shaped balloons in Blushing Bride and Watermelon Wonder, with Smoky Slate strings, using the 'Balloon Builders' stamp set. I heat embossed my sentiment in White on a popped up banner of Watermelon Wonder. This card has a wonderful lustre and sparkle in real life as a result of the shimmery white cardstock that is difficult to see in the photo and I just love the soft, almost watercoloured stamp effect of the balloons. One stamp set, one card - what's not to love?!
That's my card for today; come back tomorrow for a new challenge over at The Paper Players when I will be sharing another new set for the first time with you. Until then, happy stampin'!
Stampin' Up! Supplies Used:
by Joanne James22. January 2016 08:00
It's Friday - who doesn't love a Friday?! Today I have a rather special birthday card to share that is rather appropriate for this week's Can You Case It? Challenge where they too are celebrating their third birthday anniversary:


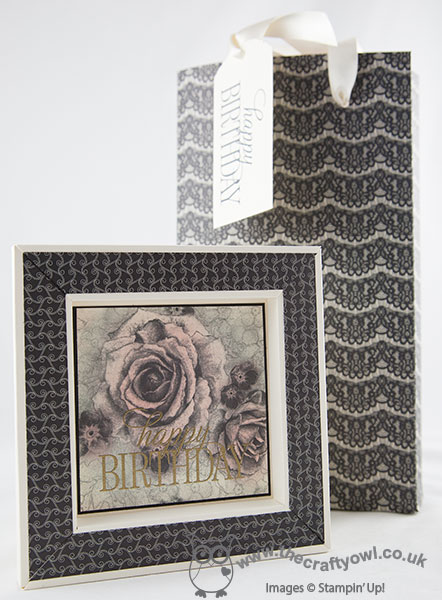
We have a choice of 'black, white and elegant' or 'black, white and fun': my project today is definitely the former - a lovely 6" shadow box frame birthday card featuring the Timeless Elegance Designer Series Paper. My papers are black and vanilla rather than black and white, but I'm hoping the CYCI team will allow this! Here's the card:
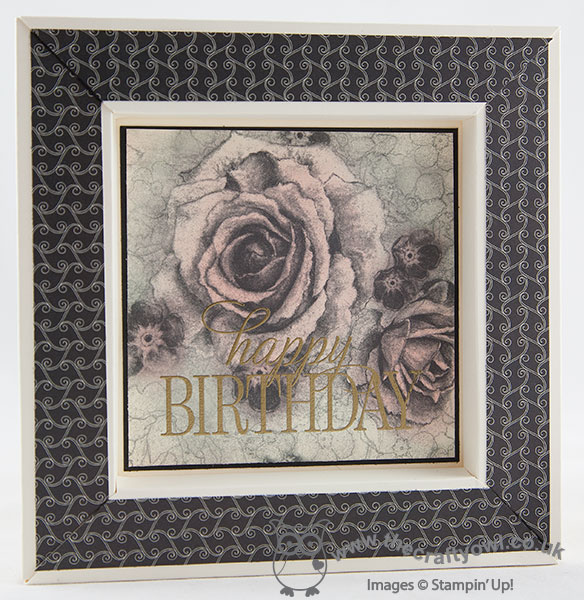
To make the card itself, I followed this tutorial by the talented Amanda Bates. For the central panel, I used one of the patterned papers and added just a hint of sponged colour in Blushing Bride and I heat embossed my greeting in gold over the top. I then used a co-ordinating pattern for my frame decoration. Isn't that just lovely? I made this card for my mother-in-law who loves a black and white colour combination; I also made a co-ordinating gift bag and tag for her present using my Gift Bag Punch Board and a box to present my card in:
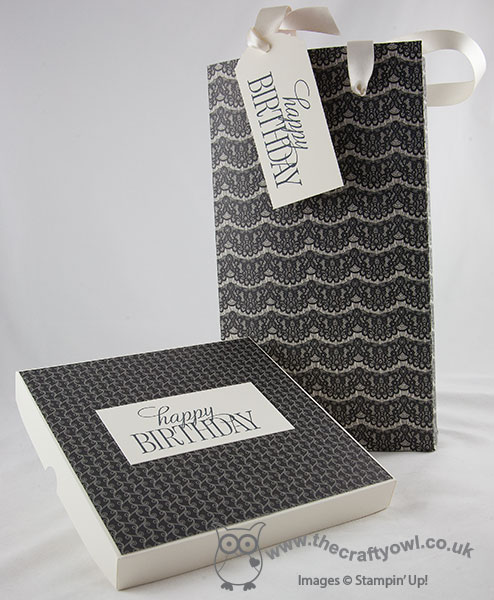
Whilst I'm not a massive fan of black and white as a colour combination, I do love the patterns in these papers and I think the colour combination can indeed look very elegant. More importantly, this card was made more with the recipient in mind rather than the creator and, since she loved it, I guess that's all that counts!
That's all from me today; I'll be back tomorrow with another project; until then, happy stampin'!
Stampin' Up! Supplies Used:
by Joanne James21. January 2016 08:05
Today it's time for a new challenge over at Create With Connie and Mary and this week we have an interesting colour combination for you:
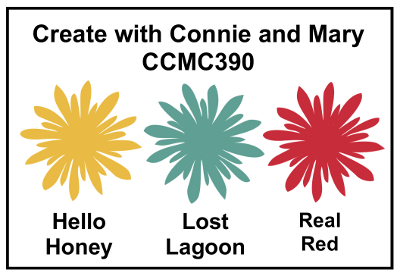
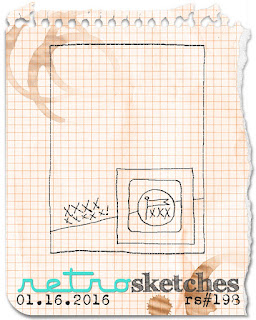
I struggled a little with this colour combo - having seen Lisa Martz, one of the other Design Team members, adorable chick card I couldn't see how to use these colours for anything else (does that ever happen to you when you see something that was in your mind's eye all along?!) Finally this week's sketch over at Retrosketches helped me out and I came up with this:
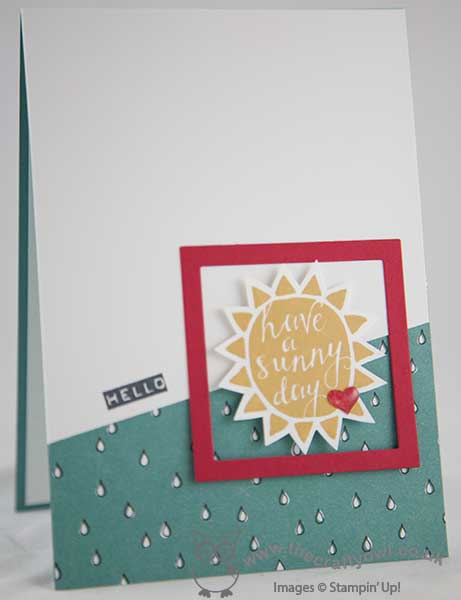
I used Lost Lagoon for my card base then covered this with a piece of the raindrop patterned paper from the Sale-A-Bration 'Wildflower Fields' designer series paper pack and a top layer of Whisper White, stamped with my 'hello' greeting in Memento Black. I added a bright red frame cut with my Big Shot and square framelits and a Hello Honey sun, also from the Silhouettes and Script' hostess stamp set, which I fussy cut and popped up on dimensionals. I added an epoxy heart, adhered to Real Red cardstock, as a little embellishment.
A super clean and simple card that brings these colours together in a slightly unconventional way; it might not be that chick, but I like it!
Do visit the other Design Team members to see what they did with this week's colours; there's lots of inspiration over on their blogs too!
Enjoy your day and I'll be back tomorrow with another project; until then, happy stampin'!
Stampin' Up! Supplies Used:
- Silhouettes & Script Clear-Mount Stamp Set
- Wildflower Fields Designer Series Paper
- Squares Collection Framelits Dies
- Big Shot
- Whisper White A4 Cardstock
- Tuxedo Black Memento Ink Pad
- Lost Lagoon A4 Cardstock
- Hello Honey Classic Stampin' Pad
- Real Red A4 Cardstock
- Itty Bitty Accents Epoxy Stickers
0a9ecd6f-738e-4aa6-93dd-acf1a15525bd|0|.0|96d5b379-7e1d-4dac-a6ba-1e50db561b04
Tags: Create With Connie And Mary, Stampin' Up, Stampin' Up Card, Stampin' Up Card ideas, Stampin' Up Supplies, Sale-A-Bration 2016, Silhouettes and Script, Host a Party, Square Framelits, Wildflower Fields, Big Shot
Cards | Shop Online | Stamping
by Joanne James20. January 2016 09:00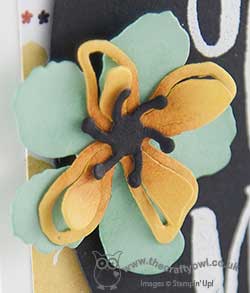
It's Wednesday - hurrah! Today I have a card for this week's challenge over at CAS Colours and Sketches where they have the following sketch to work with:

I turned the sketch through 90 degrees for my card today and used the large sentiment from the 'Botanicals For You' Sale-A-Bration set, paired with some Botanical Gardens Designer Series Paper and yes, another of those flowers made using the Botanical Builder Framelits Dies - I just can't get enough of them! Here's my card:
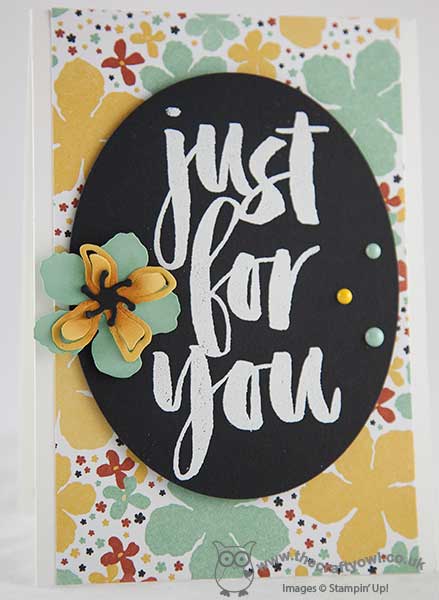
I just love the different flower combinations you can make with these framelit dies! Whilst I do have something different to share with you tomorrow, rest assured you haven't seen the last of these yet!
That's all from me today; I'll be spending the day in my office - I'm hoping for a productive one! I'll be back tomorrow with a card for this week's new challenge over at Create With Connie and Mary. Until then, happy stampin'!
Stampin' Up! Supplies Used:
29185673-2446-416e-bc28-299726c4359c|0|.0|96d5b379-7e1d-4dac-a6ba-1e50db561b04
Tags: Botanical Builder Framelits Dies, Botanicals For You, Botanical Gardens, Big Shot, Big Shot Die Brush, Shop online, Shop Stampin' Up online, Stampin' Up, Stampin' Up Card, Stampin' Up Card ideas, Stampin' Up Supplies, Sale-A-Bration 2016, Ovals Framelits
Cards | Shop Online | Stamping
by Joanne James19. January 2016 07:00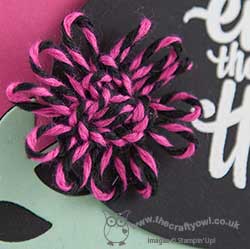
Good morning lovely readers! Today I am sharing a card for this week's challenge over at Pals Paper Arts:

I'm not usually one to gravitate towards colour challenges (I'm more of a sketch gal as you well know!) but I thought this was a great colour combo chosen by the equally great Brian King and so that, combined with the fact that he finds my English spelling of the word 'colour' in and of itself rather quirky, I just had to play along! Here's my card:
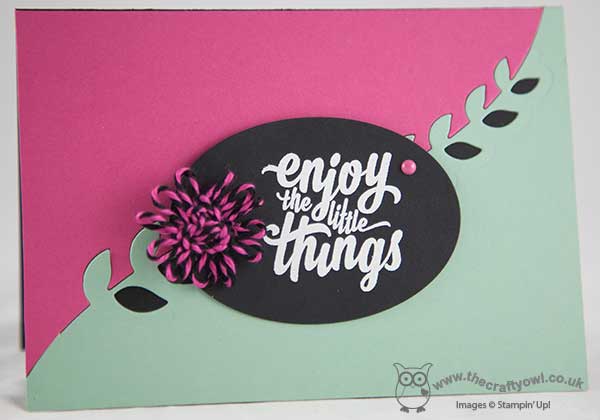
I decided to make a bold statement using blocks of colour, with Basic Black as my base and each of the other colours cut with both the positive and negative pieces of the intricate leaf framelit from the Botanical Builder Framelits Dies and pieced together for my base. I stamped my sentiment in Versamark and heat embossed it in white on an oval of Basic Black, which I then popped up on dimensionals in the centre of my card. What to use to tie the whole thing together though? I decide to have a go at making a loopy flower out of the new thick baker's twine that comes in the challenge colours; I made a few but decided one was enough to ground my sentiment and bring the whole thing together. If you've never made one of these before, they are really not that tricky when you know how. With that in mind, I made another short technique tutorial to show you how it's done - I haven't yet had time to edit it though, so will share with you later in the week.
That's all from me today; I have a private class this morning with a wonderful group of seniors at a local residential care home and then a few jobs this afternoon before taking the James Juniors for their music lessons. Another busy day!
Back tomorrow with another project; until then, happy stampin'!
Stampin' Up! Supplies Used:
eba1cfe0-07e7-451c-a5ad-b38fa96bb7e7|0|.0|96d5b379-7e1d-4dac-a6ba-1e50db561b04
Tags: Big Shot, Enjoy The Little Things, Botanical Builder Framelits Dies, Ovals Framelits, video tutorial, Stampin' Up, Stampin' Up Card, Stampin' Up Card ideas, Stampin' Up Supplies, Shop online, Shop Stampin' Up online
Cards | Shop Online | Stamping | Video Tutorials
by Joanne James18. January 2016 07:00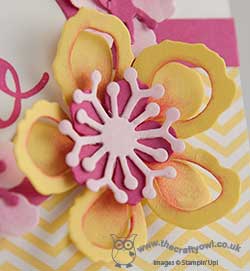
Hello to you from James Towers this morning! It's cold outside but we haven't had any more snow, much to the disappointment of my James juniors who were so hoping for a snow day today!
Today's card is for the current 2 year anniversary challenge over at Fusion where they have this wonderful summery photo inspiration and optional sketch to play along with:

I used the photo and the sketch for my card today, albeit I used the sketch in a landscape rather than portrait orientation as it suited my embellishments a little better. Here is my card:
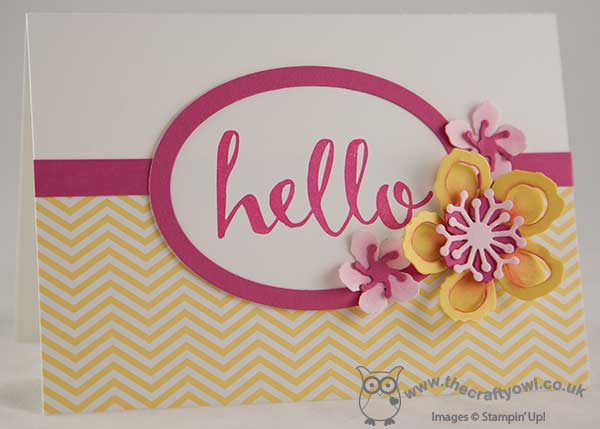
I used a base of extra thick Whisper White cardstock and covered the lower part with a piece of chevron designer series paper from last year's Brights dsp stack. I added a strip of Melon Mambo cardstock and also used it to frame my 'Hello' sentiment, from the Sale-A-Bration stamp set of the same name. I added a trio of layered flowers in pinks and yellow, for my embellishment. I cut each of them using the Botanical Builder Framelits Dies, adding some sponging for added depth. These framelits make gorgeous flowers with so much layering and interest and if you run them through your Big Shot with the Precision Base Plate and use the new Big Shot Die Brush to remove the cuts from the dies, they are incredibly easy to make.
I just love the breath of summer that the colours and flowers of today's card evoke - makes me forget the freezing temperatures outside, even if just for a little while! That's all from me today; I have a busy day with a piano lesson, some final preparation for a private class tomorrow and I'm off to watch Rebecca's first netball match of the season this afternoon - thankfully, indoors! Back tomorrow with another project; until then, happy stampin'!
Stampin' Up! Supplies Used: