by Joanne James20. October 2015 22:27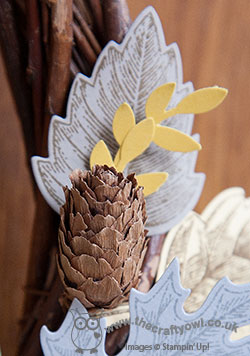
I've had a busy day today with my 'Shake It Up!' Children's Craft Class making the shaker cards featured in the 'To You And Yours Shaker Cards Project Kit'. We all had tremendous fun and made lots of great cards. I'll share a picture from our class at the end of today's post, however in the meantime my blog project to share with you today is the one that my Facebook followers had a sneak peek of last week that I made with a lovely group of ladies - our Autumn leaf wreaths. We based our design on this one created by Stampin' Up! Artisan Designer Alison Okamitsu; I made a large wreath like Alison's to hang on my front door and the ladies liked it so much they wanted to create a similar, smaller version - here is ours:
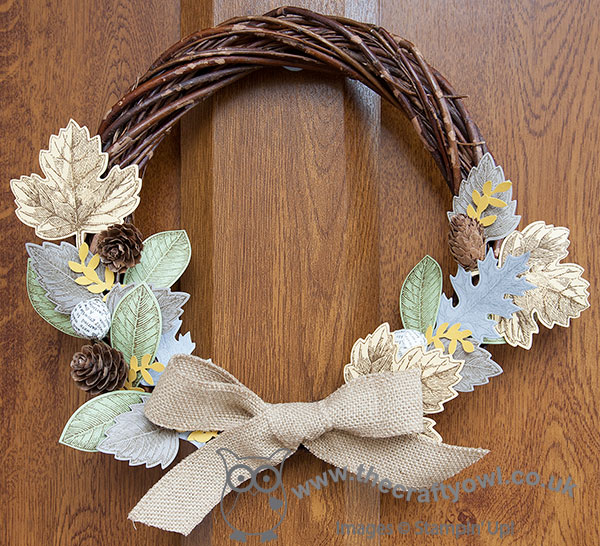
We used a selection of muted colours and the wonderful Vintage Leaves stamp set and cut out the leaves using our Big Shot and co-ordinating Leaflets Framelits (one of the catalogue 15% off bundles if you are a bargain-hunter!), some pinecones, a few leaves punched with the bird builder punch and a burlap bow to finish. Isn't that pretty? The ladies were all so very pleased with their wreaths and their stamping as this is something of a first for them!
This was a private class that I held for a group of like-minded friends who often invite me to run a class just for them. If you have a group of friends that you would like to arrange a crafty get-together with, or would simply like to join in with one of my existing scheduled classes, then do get in touch - I would love to hear from you! Don't forget the offer of additional Stampin' rewards is also still valid until the 9th November - party sales of £200 or more will earn an extra 3% of Stampin' Rewards (formerly known as Hostess Credits) so if you have a long wish list, I've still a few slots left so contact me to book your party today!
Before I go, let me share a photo of the James Juniors proudly displaying their handiwork from this morning's class:
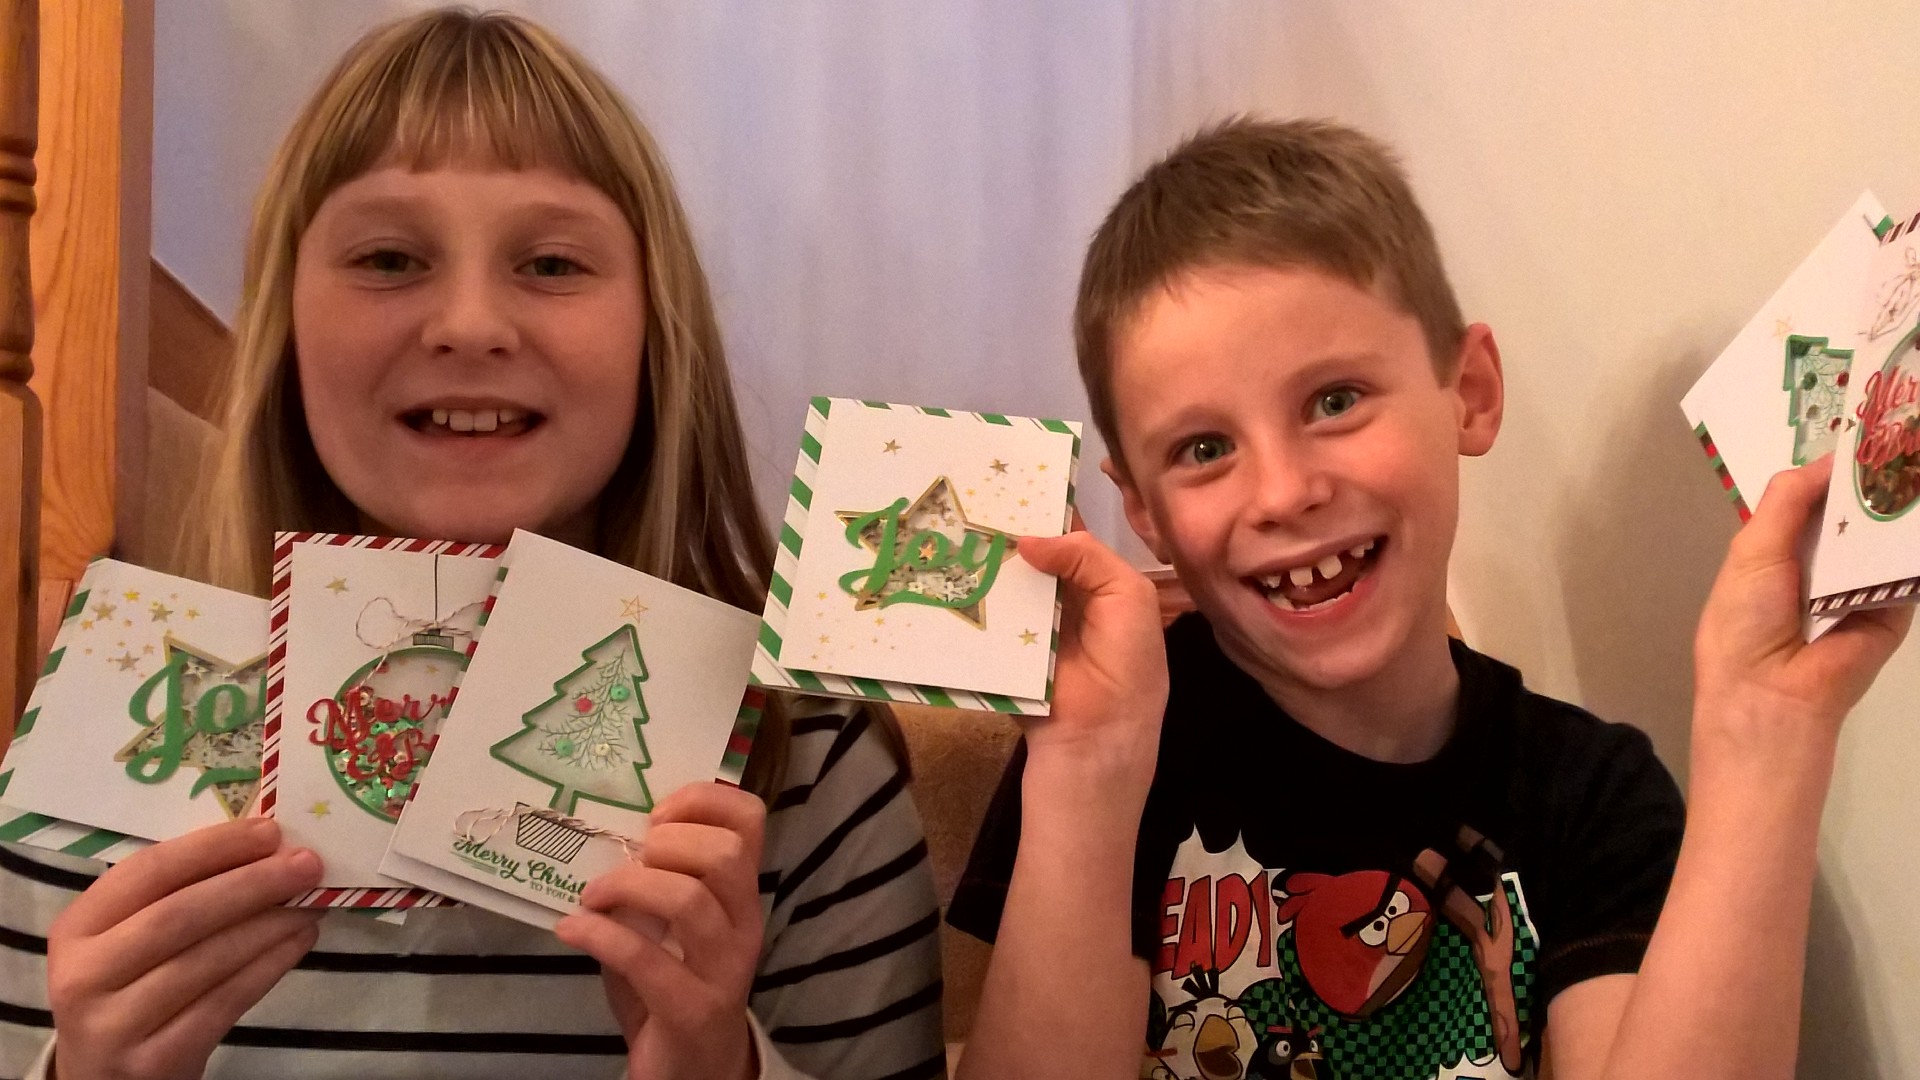
Like mother, like daughter (and son!) as the saying goes - what else can I possibly add?!
Back tomorrow with another project; until then, happy stampin'!
Stampin' Up! Supplies Used:
2b67097e-46e3-44ed-acb4-608b6cab4e8c|0|.0|96d5b379-7e1d-4dac-a6ba-1e50db561b04
Tags: 3D Projects, Wreaths, Vintage Leaves, Leaflets Framelits, Big Shot, Autumn, bird builder punch, Shop online, Shop Stampin' Up online, Stampin' Up, Stampin' Up Card, Stampin' Up Card ideas, Stampin' Up Supplies, To You And Yours Shaker Cards Project Kit, Children's Craft Groups, Children's parties, Christmas
3D Projects | Cards | Children's Parties | Classes | Shop Online | Stamping
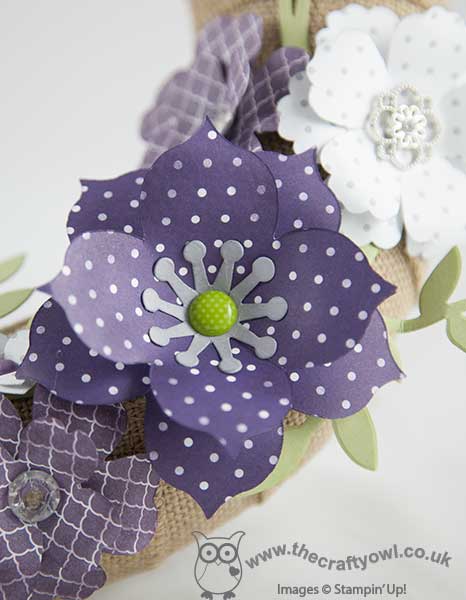
by Joanne James6. May 2015 09:37Good morning everyone - today I have something a little different for you! I ran a very successful class a little while ago to make a beautiful home decor Spring flower wreath. I am demonstrating how to make this wreath at a Spring Open Evening at Bell Of Northampton this evening so thought this was a good opportunity to share it with you too:
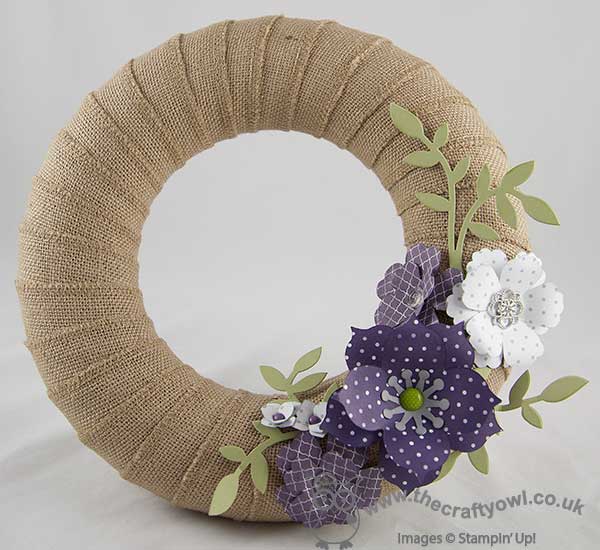
We started with a polystyrene wreath base and covered it with a roll of burlap, then decorated it with a selection of flowers made with a variety of dies and punches. The largest flower, leaves and the bases for the medium flowers were made using the Big Shot and Flower Frenzy Bigz L Die; the remaining flowers were made using a combination of the retiring Blossom punch, the Pansy punch and the Petite Petals punch. The Blossom punch and Flower Frenzy Bigz die are now out of stock, as is the patterend paper that I used, but you could make something similar with other punches and dies. We used a variety of buttons, brads and embellishments to decorate our flowers: I used Vintage Faceted Buttons, Something Borrowed Embellishments and some retired brads from my stash to decorate mine. I chose Elegant Eggplant, Smoky Slate and Pear Pizzazz as my colourway but each of the ladies tailored their colour choices and embellishments to their personal preferences. Here's a closeup of my flowers - I think they are gorgeous:
I created an album with pictures of their finished wreaths on my Facebook page here - you really should go and check them out as there are some amazing pieces and they all look so very different in the various colourways. If you haven't already, perhaps you could give me a 'like' whilst you're there - I'm only 10 away from my next milestone!
If you live in or around Northampton and would like to see me demonstrate how to make these flowers, do pop along to Bell's between 6-9pm this evening:
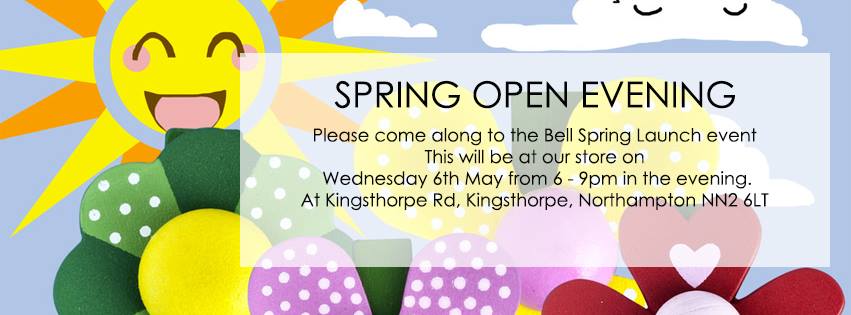
I hope you like today's project - it's one of my favourites! Back tomorrow with a card for this week's new challenge over at Create With Connie and Mary. Until then, happy stampin'!Full details via the link above and on my Facebook Page. There are lots of other demonstrations taking place - there will be someone fabulous chefs in residence cooking up delicious treats, a little pampering as well as other in-store delights that will all make for a pleasant browsing experience.
Stampin' Up! Supplies Used:
4946a4b9-930f-4216-b7d6-268e638019dd|0|.0|96d5b379-7e1d-4dac-a6ba-1e50db561b04
Tags: 3D Projects, Wreaths, Blossom Punch, Pansy punch, Petite Petals Punch, Big Shot, Flower Frenzy Bigz Die, Shop online, Stampin' Up! Demonstration, Stampin' Up, Stampin' Up Supplies, Something Borrowed
3D Projects | Classes | Promotions | Stampin' Up! Events
by Joanne James21. December 2014 20:33Sunday already?! Where are the days going??! I have been busy with my Christmas preparations and my focus has been on gift packaging these last few days, along with a few special Christmas cards. Most are going out of the door before they are even photographed though! Today I wanted to do a quick post to share a snowflake paper wreath that I made recently for a friend of mine:
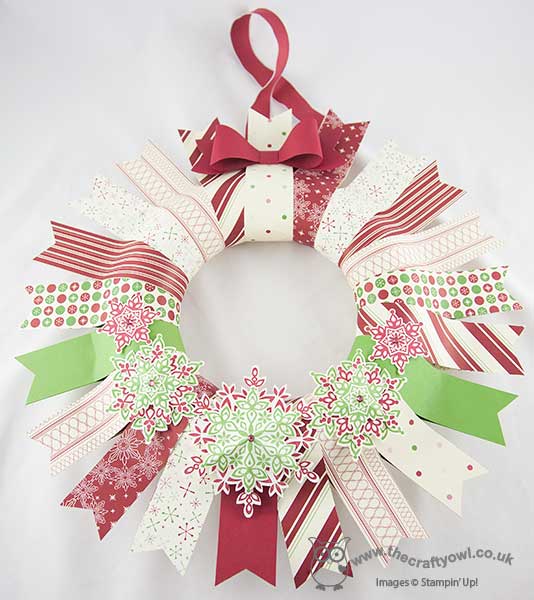
It uses a whole bunch of retired product - the paper is from a couple of years ago (I can't even remember what it was called) and is decorated with snowflakes made from stamping Cherry Cobbler and Gumball Green on Very Vanilla carstock using the Festive Flurry stamp set, that I then cut out using the Big Shot and co-ordinating framelits and finished with a paper bow made using my Gift Bow Bigz Die.
My friend specifically wanted this paper pattern as she wanted her wreath to co-ordinate with other festive pieces she had - as such I had to include a few pieces of solid colour cardstock just to enable me to get all the way around the wreath base; I am now officially out of this DSP pattern! I am going to make another of these wreath types at some point as I think it's really effective, although will probably choose a more traditional blue/silver colour scheme with my snowflakes. It was also quite easy to achieve: about 22 strips of DSP measuring 12" x 1 1/4", adhered to a styrofoam wreath and then the ends flagged.
That's all from me today - back soon with another project when time allows. Until then, happy stampin!
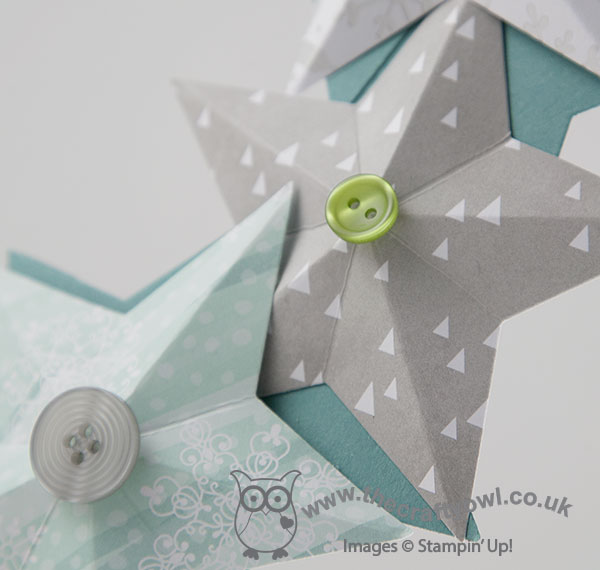
by Joanne James14. November 2014 21:36Today I thought I would share with you the Christmas star wreath I made at my class yesterday. I used the All is Calm Speciality Designer Series Paper for my version, which looks like this:
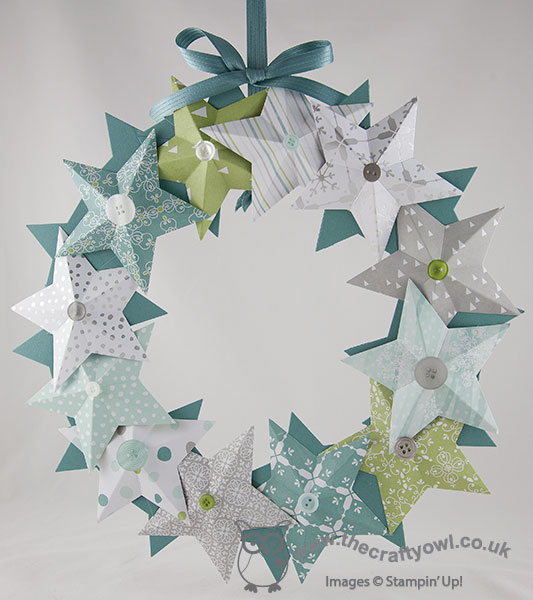
I layered a circle of Lost Lagoon flat stars, cut out with my Stars framelits, onto my wreath base, then cut 12 stars out of the All Is Calm Speciality DSP for the 3D stars. Each of these stars was scored from the point to the opposite side then pinched together to create the dimension and once glued to the wreath base, finished with a selction of Brights, Neutrals, Subtles and silver buttons:
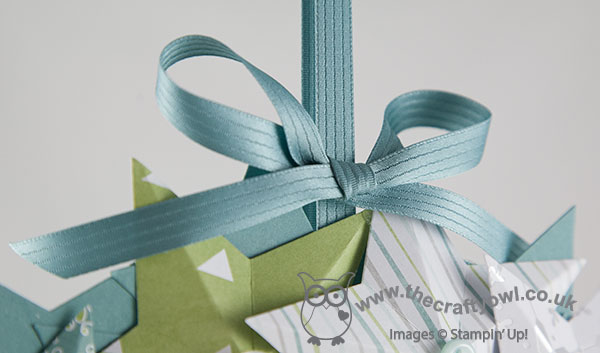
To finish, a length of the luxurious In-Colour Lost Lagoon satin ribbon to create a bow and hanging loop:
You can see another example of this wreath made with the Under The Tree Speciality DSP over on my Facebook page - it looks lovely in the kraft and more traditional, red, greens and browns, so do check it out. I have another of these classes next week where the ladies will be making them using other papers of their choice.
I hope you like today's project; this is going to be my indoor wreath as it matches my dining room colours perfectly; I have another two wreaths to share with you in coming weeks, so if home decor is your thing, keep an eye out for the other versions!
Back tomorrow with another project; until then, happy stampin'!
Stampin' Up! Supplies Used:
5659ab48-c840-43d3-b738-3ab09bab83d3|0|.0|96d5b379-7e1d-4dac-a6ba-1e50db561b04
Tags: 3D Projects, All Is Calm, Big Shot, Christmas, Shop online, Stampin' Up, Stampin' Up Card ideas, Stampin' Up Supplies, Star Framelits, Wreaths, In Colours
3D Projects | Classes
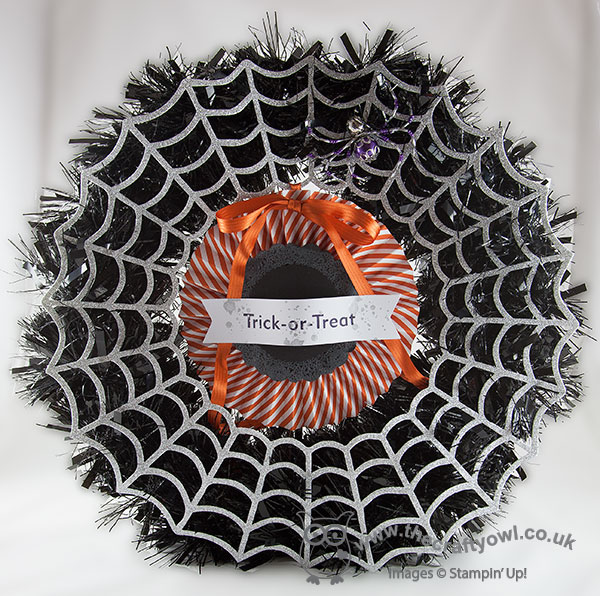
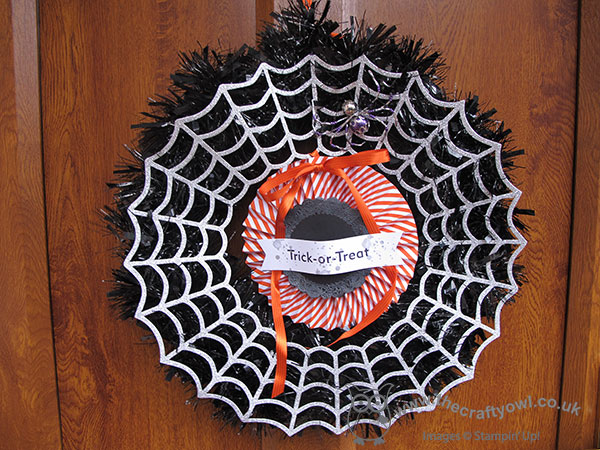
by Joanne James23. October 2014 21:06A late post from me today as I've spent the day today in London with Jason and the children at the Tower of London on a family day out. We were keen to see the amazing artwork of the poppies in the moat at the Tower of London, laid to commemorate the centenary of World War One and boy we weren't disappointed - it really is an amazing sight. I'll share some pictures another day, but for now I wanted to show you my Halloween Frightful Wreath that is currently adorning my front door, in readiness for Halloween at the end of next week. This kit is so easy to put together - everything is included except for the ink and stamp for the banner and a hot glue gun to put it all together. The result is so impressive - here's my finished wreath:
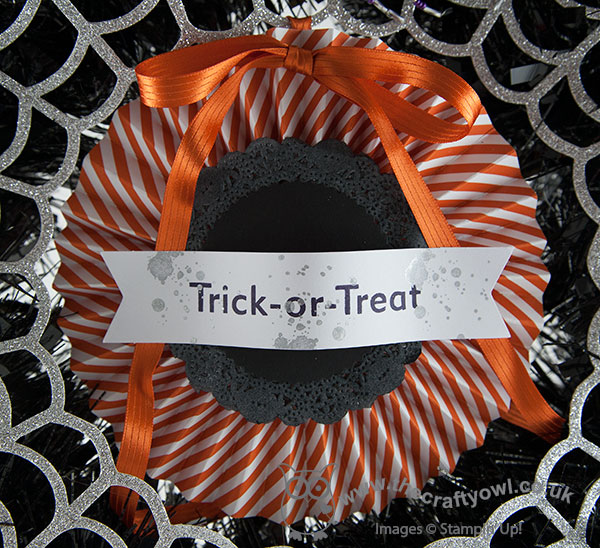
Here's a close up of the centrepiece, a suspended rosette stamped with a 'Trick or Treat' sentiment - I used the co-ordinating stamp set, but you could use any similar set or even leave your wreath sentiment-free:
My favourite element of all is the beautiful purple and silver beaded spider that sits on the glimmer wreath - here's a close up:
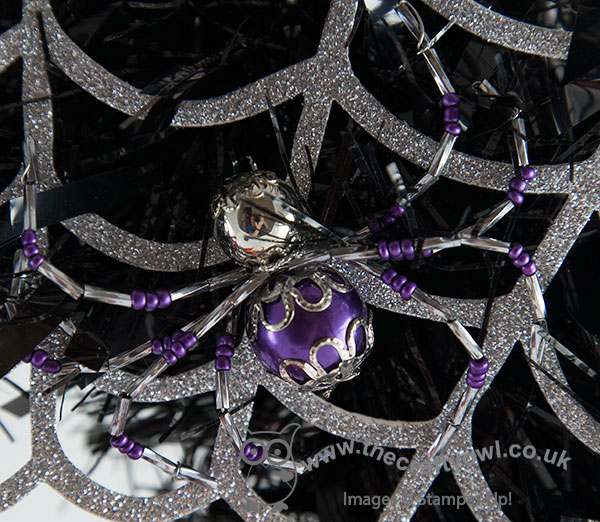
How gorgeous is that?! A little more fiddly to put together than I'm used to, but so worth the effort - it's so eyecatching. Lastly, here is my finished wreath 'in situ' adorning my front door:
What a great project - and it took only about 90 minutes to put together. There's still time for you to get hold of one of these kits and put it together in time to add it to your Halloween home décor; just click on the links below to go straight to my online store to order yours!
Back tomorrow with another project; until then, happy stampin'!
Stampin' Up! Supplies Used: