
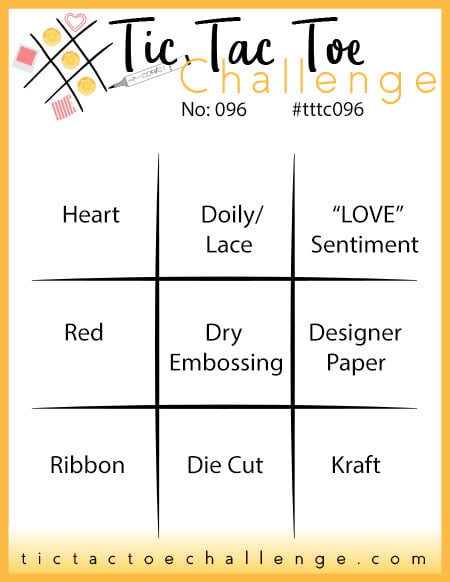
It's Thursday and time for a new challenge over at TicTacToe! It's the turn of Team X to host this week and the lovely LeAnne is our featured designer this week. This is the fun board that we are playing along with:
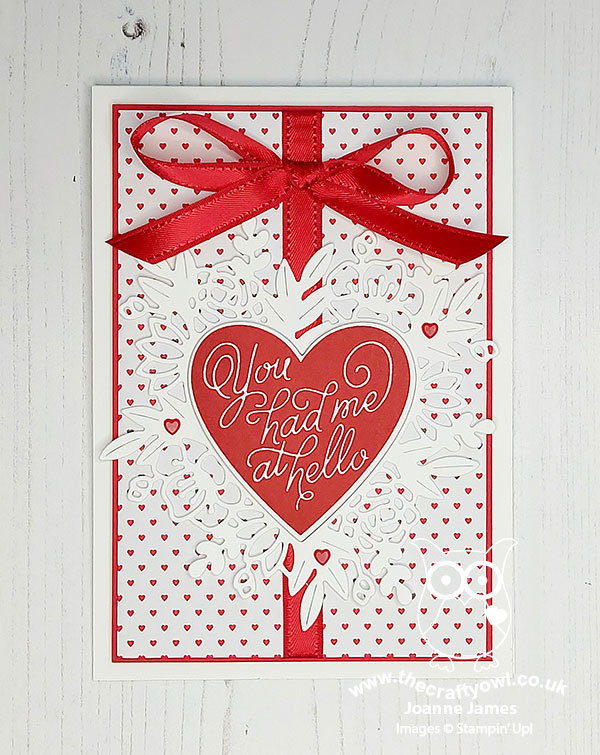
Lots of love-related elements on this week's board, but you are by no means restricted to creating a Valentines/wedding/anniversary card - this is your opportunity to get creative! I couldn't resist another card using my Floral Heart Dies and the sentiment that made me buy the accompanying stamp set - take a look:
Here's the low-down on today's card:
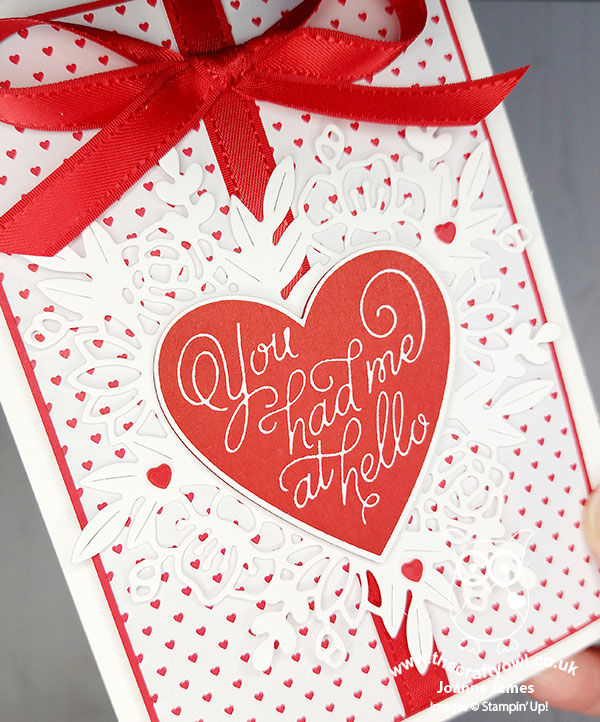
You Had Me At Hello - Any of my regular readers will know that the sentiment that features on the central heart that features on today's card is a line from one of my most favourite movies of all time - Jerry Maguire. If you'd like to read the back story to this, check out this previous post where I explained all. The Floral Hearts Dies were definitely on my wish list, but it was this stamp that sold me on the bundle. What can I say - I am an old romantic at heart!
Hearts and Flowers - Having stamped my sentiment in Real Red so that the wording would appear in white (I definitely recommend using your Stamparatus for this to give good, solid ink coverage), I decided to border it with the main die from the Floral Hearts Dies in white. This card is unashamedly made with Valentines in mind, with its red and white colour combination and showy red satin ribbon and bow detail, but sometimes it just has to be done!
And More Hearts - The background designer paper is now retired, but there is a similar design in the Snail Mail pack or you could even stamp a similar design with the tiny heart stamps in the Always in my Heart stamp set. I also added a trio of bright red resin hearts to my card to finish; these are actually from the Snail Mail Suite, but work perfectly for a Valentine's card and blend easily with other sets too.
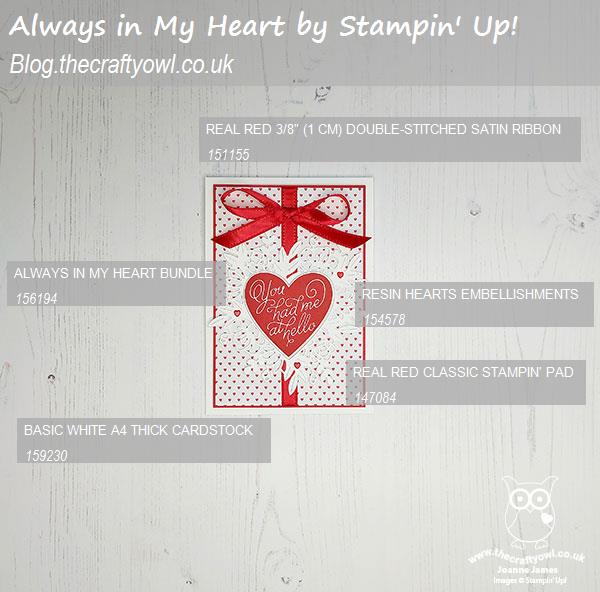
Here is the visual summary of the key products used on today's project for you to pin for easy reference:
You can see all of my Product and 'How To' summaries on my 'How To - Tips and Techniques' Pinterest board in case you've missed any.
I might keep this card for the DH, as he would certainly appreciate the sentiment, if not the fancy heart and showy bow. We don't generally send each other Valentine's cards since we got married, as our wedding anniversary is the following week, but it sometimes serves as a useful reminder to him to get a card for the following week - it is fair to say Mr James is not known for either remembering or celebrating memorable dates without a little help, much preferring spontaneous romantic gestures. Unexpected flowers are always lovely though, so I'm not complaining!
A tictactoe board offers so many creative possibilities - how does this week's board inspire you? Why not have a go? We would love to see you in the gallery and who knows - you might be selected for Designer's Choice and be eligible to be a guest designer on a future challenge.
Enjoy your day; I'll be back tomorrow with another project. Until then, happy stampin'!
Stampin' Up! Supplies Used: