Today I'm sharing my design team card for our new challenge over at As you See It where it's time for an interesting 'fill in the blank' challenge from the lovely Heather H:
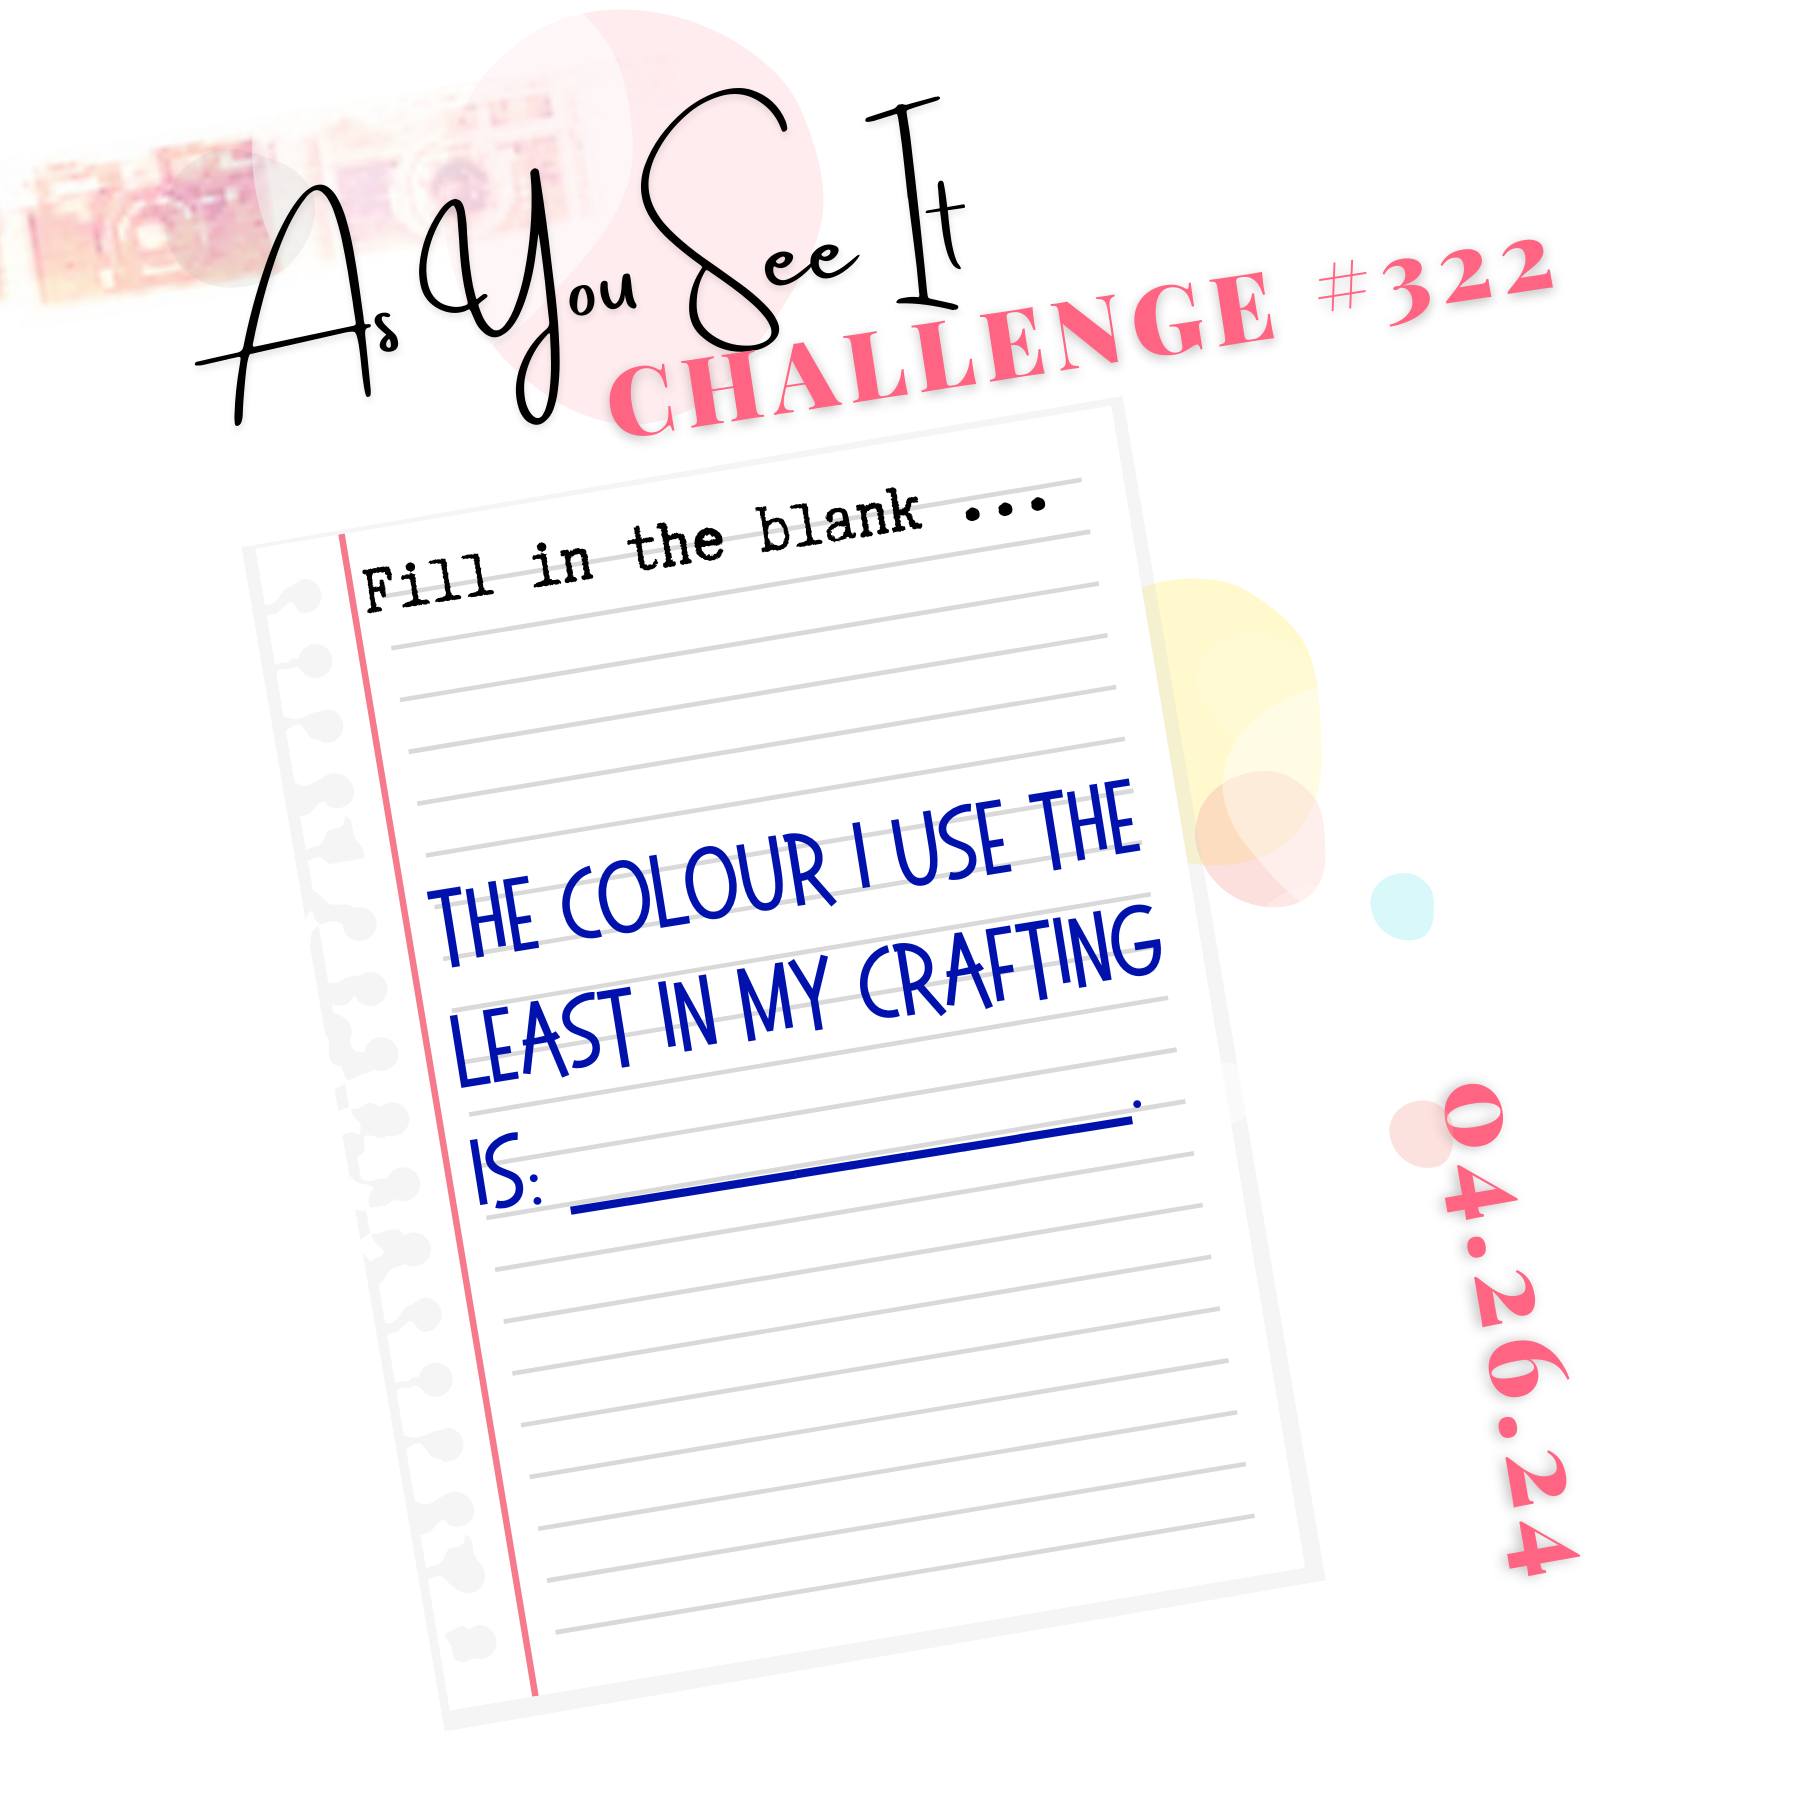

The colour I use least in my crafting - intriguing! I used the sketch over at Global Design Project #GDP442 for my layout this week and I made a card that features only two colours; can you guess which one I don't use very often?

Here's the low-down on today's card:
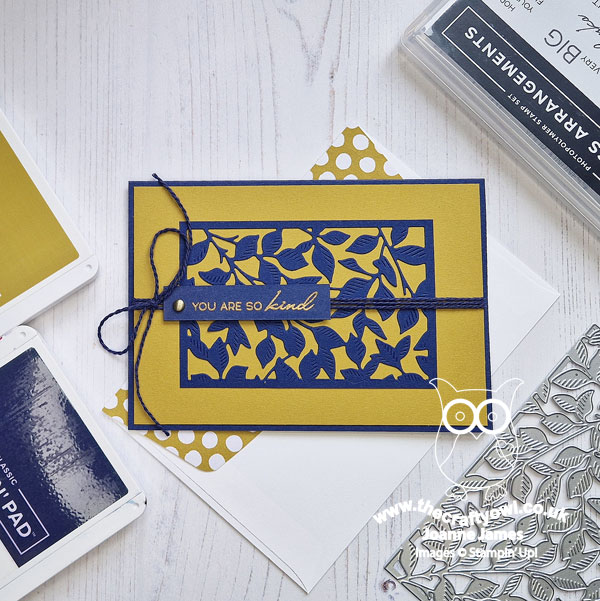
Yes - it's Wild Wheat! I must confess I am not a fan of this one of last year's in-colours and actually don't use it very often at all so for today's card I decided that I would try something different and pair it with one of my most-used colours and all-time favourite, Night of Navy, to see if the colour combo would make Wild Wheat more appealing.
I used a Night of Navy card base and covered it with an entire panel of Wild Wheat - brave! I decided to add a diecut panel using the leaf die from the Gorgeous Garden Dies to the centre of my card. I've used these dies many times before and the eagle-eyed amongst you will realise that the whole die covers an entire card front, so you may be wondering how I managed to halve it to create my panel. It actually wasn't that tricky: I cut my Night of Navy Panel to size then aligned my die at the outside edge and partially diecut it towards the other end. I then removed the die and using a craft knife, I used a metal ruler and carefully cut away the edge of the loose pieces to create a narrow border on the other side of the panel. Yet another way to use these fabulous dies!
I added some Night of Navy twine and a simple gold heat-embossed sentiment from the 'Timeless Arrangements' stamp set, accented with a brass metallic dot to finish:

A piece of co-ordinating Wild Wheat in-colour DSP to decorate the flap of the envelope completes my card. Whilst I'm still not a fan of Wild Wheat, I must confess I do rather like this colour combo!
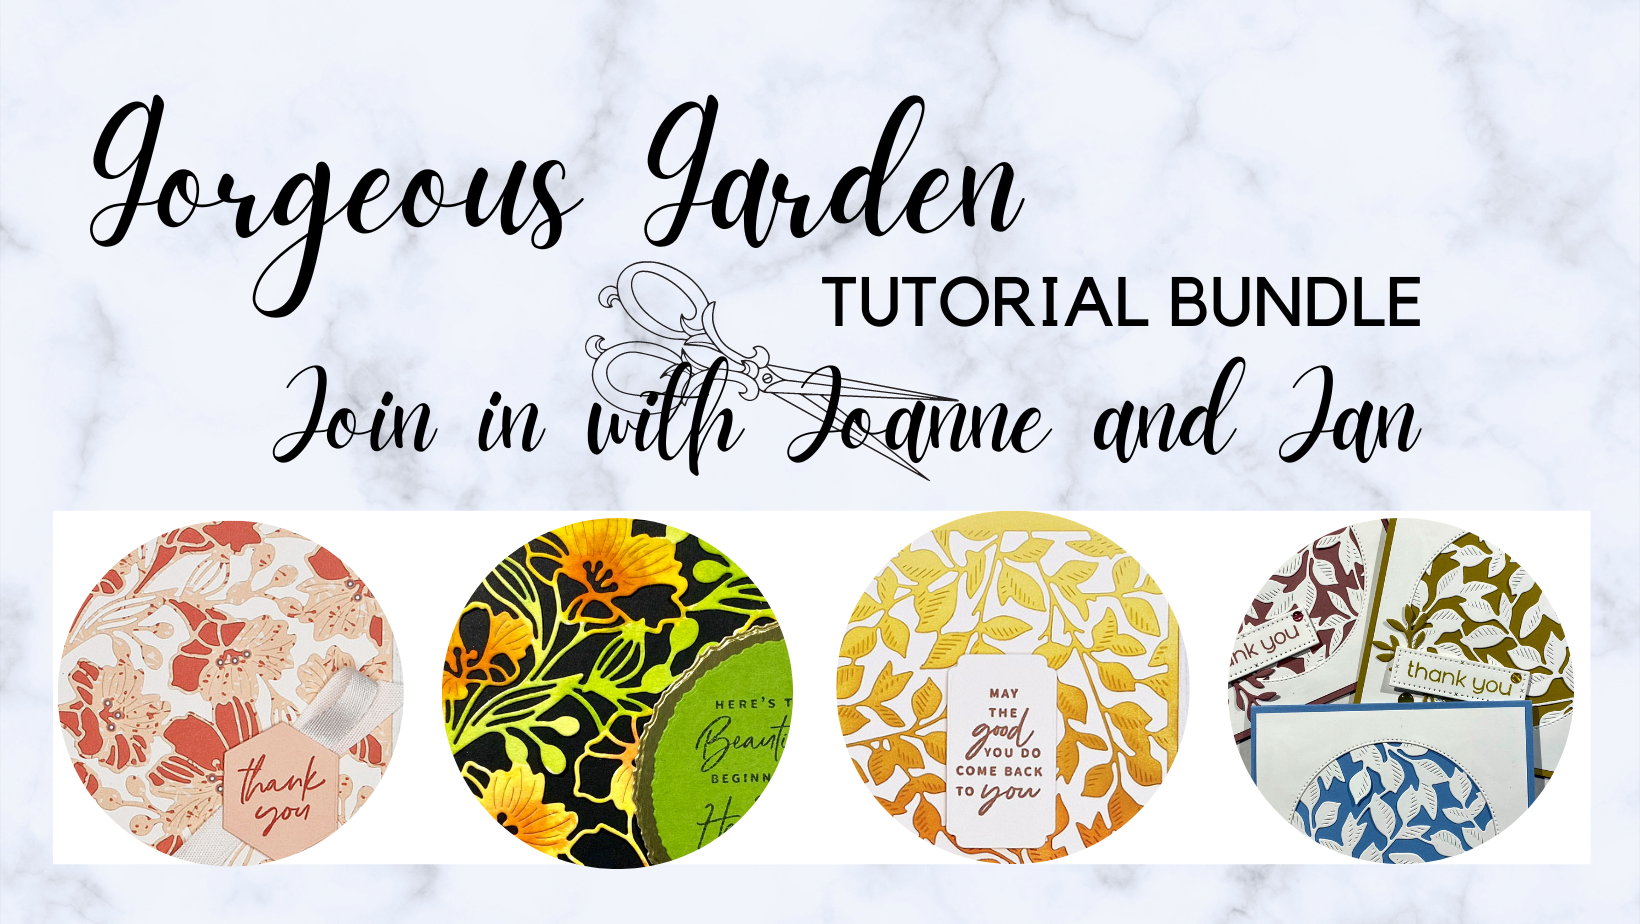
This is a great opportunity to remind you that the Gorgeous Garden bundle is just one of those featured in the monthly tutorials I create with my AYSI teamie, good friend and fellow demonstrator Jan Clothier. This tutorial contains lots more ideas and ways to use the Gorgeous Garden Dies and is yours for FREE when you purchase the Gorgeous Garden Dies from either Jan or myself. These dies are only available until the end of the month before they retire; they are currently almost half price at £24 for the pair - bargain!
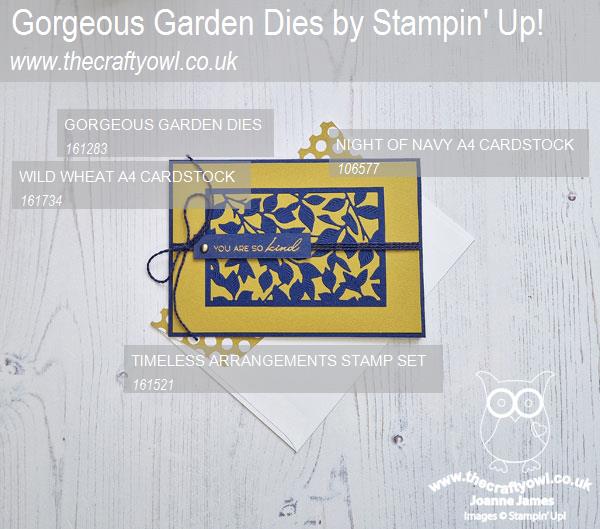
Here is the visual summary of the key products used on today's project for you to pin for easy reference:
You can see all of my 'How To' summaries on my 'How To - Tips and Techniques' Pinterest board in case you've missed any.
Here's a summary of our challenge rules:
- Create any card, scrapbooking page, 3D project or packaging project that fits the challenge.
- Please include the challenge graphic and link back to the challenge in your blog post. Turn off word verification so we can leave you lots of lovely comments. Make sure you link the post not the whole blog to the Linky. Use #AYSIXXX when uploading to a public gallery.
- If you’re unsure about ‘the rules’, check the details under the Challenge Guidelines tab on the As You See It Challenge homepage.
- In a colour challenge, black or other neutral can be used in outlines and sentiments but no other colours should be included. Stampin’ Up colours are used for reference but colours that are a close match are welcome.
We look forward to seeing your creations in the AYSI gallery.
Enjoy your day and I'll be back tomorrow with another project. Until then, happy stampin'!
Stampin' Up! Supplies Used: