
Good morning everyone! I hope you all had wonderful weekends and if you're in the UK are enjoying the glorious weather we are experiencing right now. I have a big news post for you today as it's all happening here at Stampin' Up! during the month of July. First things first - a fabulous recruitment offer, the best we've had for a while:
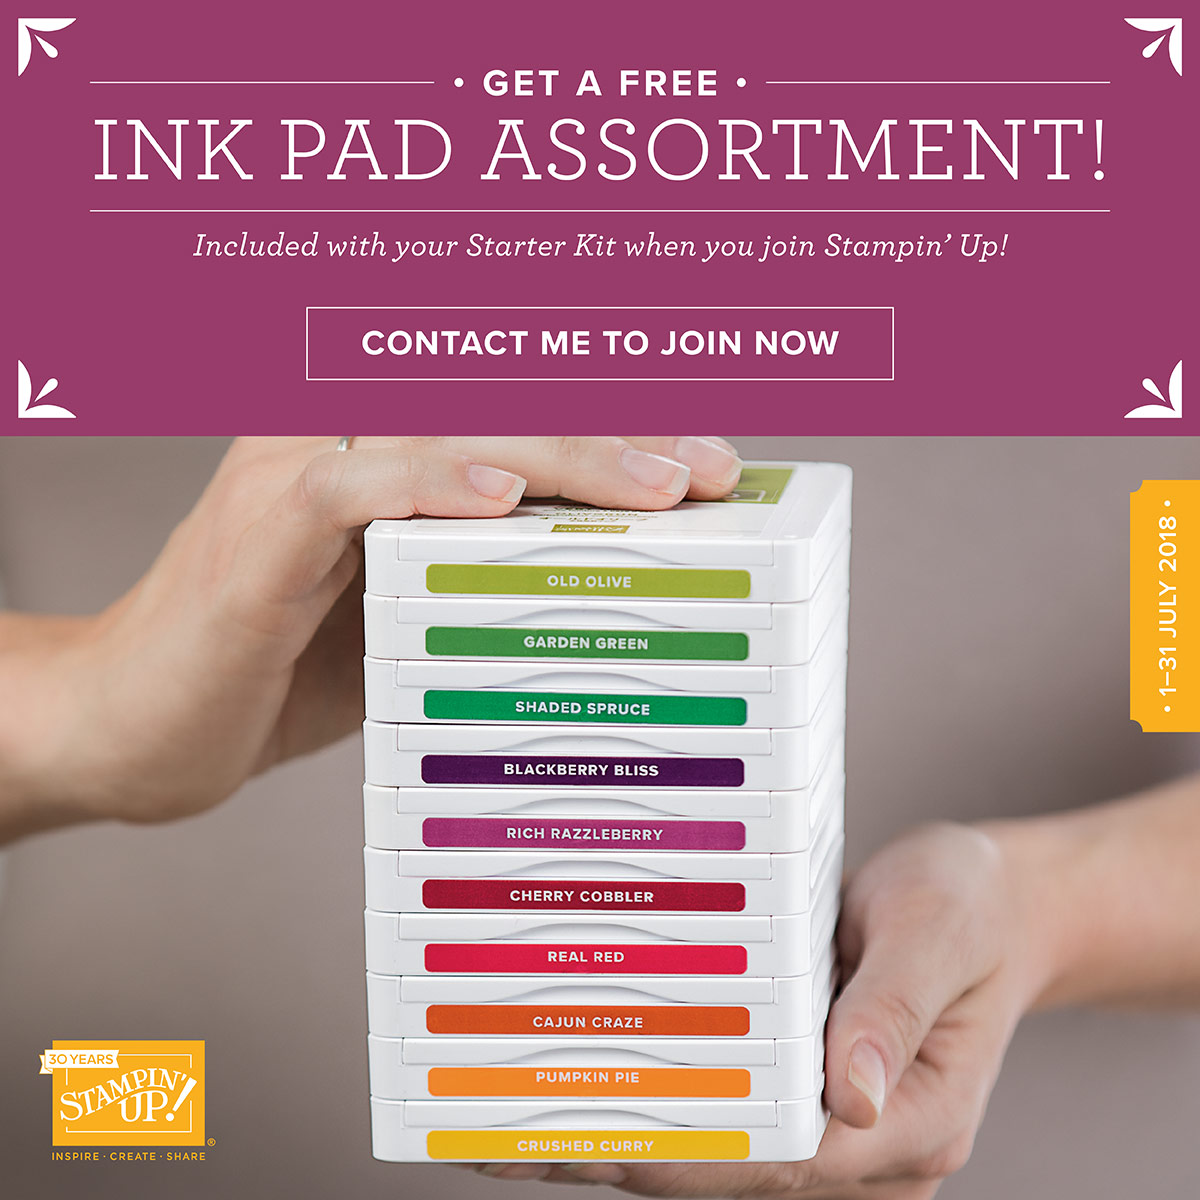
Yes - in addition to your standard £130 of products of your choice you can receive a whole family of ink pads, absolutely FREE! You can choose from any of the collections below (please note the 2017-20 in-colour collection will only be available as a bundle as part of this promotion):

If you are a customer who has a long wish list, or are building your collection of Stampin' Up! inks, this is a great opportunity to add to your collection whilst benefiting from an overall saving of £94 (£31 free product of your choice and £63 ink pad collection) - and free shipping - along with an ongoing discount on the Stampin' Up! products that you love. Equally if you are thinking of starting your own Stampin' Up! business, this offer would enable you to get a fantastic bundle of products to get you off to a flying start.
There has never been a better time to join Stampin' Up!: we are at the beginning of a new quarter, so you will have a full 6 months before you need to meet your first quarterly minimum. Every sale from the time you join until the end of December counts towards it, so the sooner you join the sooner you will be earning. The run up to Christmas is a great time to build a business if you're looking to earn or boost your income doing something that you love. I am always keen to hear from people thinking about joining my team - why not give me a call to discuss what it could mean for you? Alternatively if you've made up your mind already and want to start choosing your kit, click here to complete the online form. There is also the prospect of joining my team and I for Stampin' Up!'s Onstage event in Birmingham in November, which promises to be an even more fantastic event than usual since we will be celebrating our Stampin' Up! 30th anniversary - this is a demonstrator-only event that you are not going to want to miss!
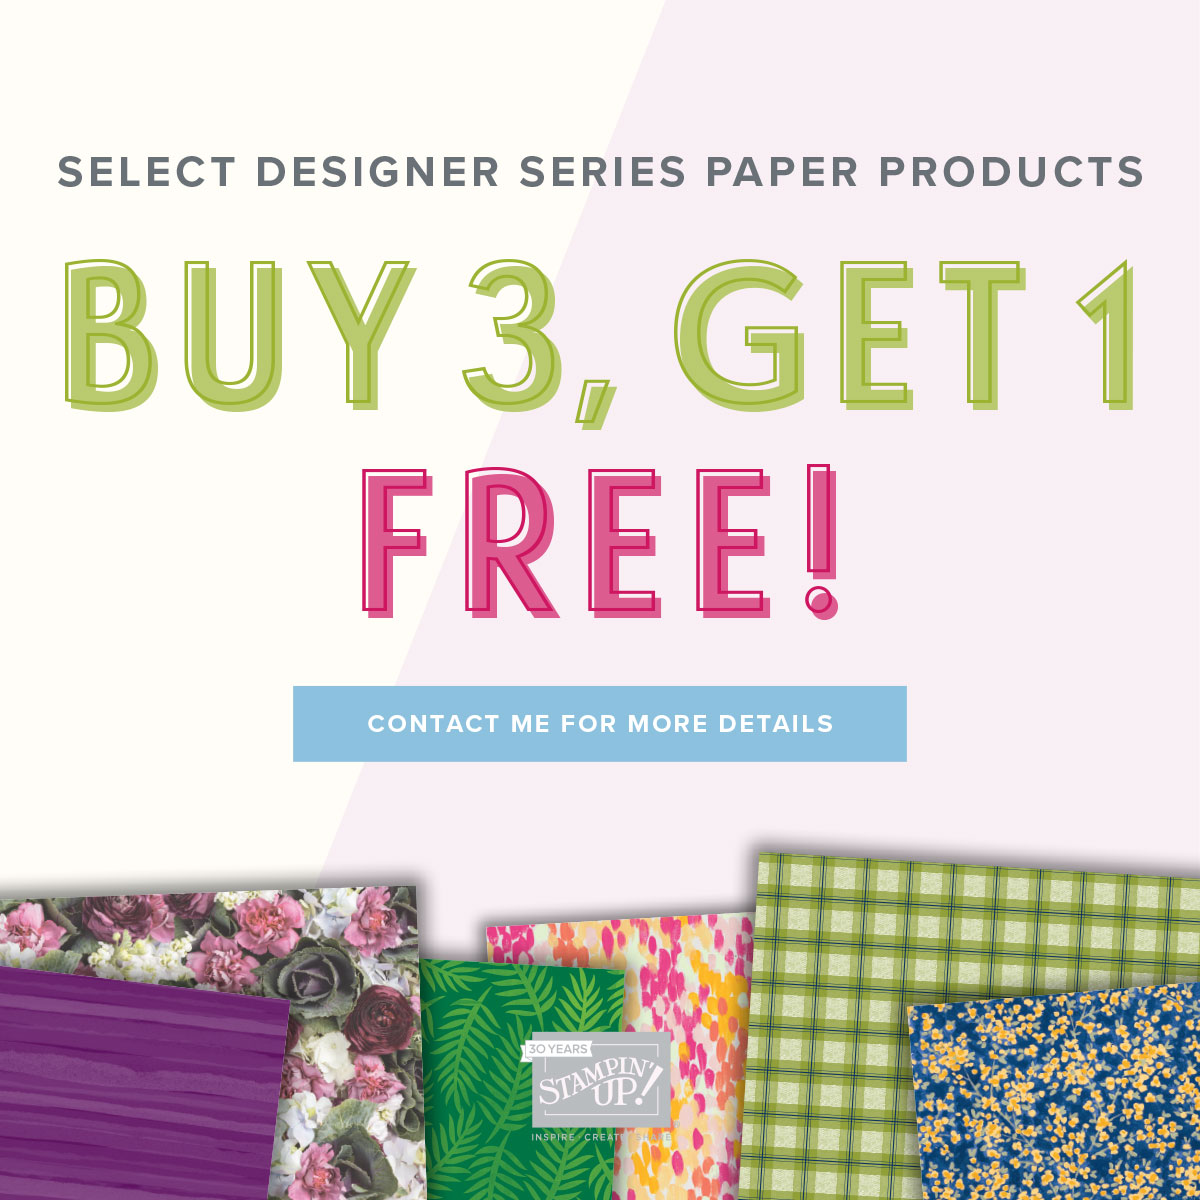
As if the recruitment offer along wasn't enough, there is also a fabulous customer offer on during July where for every 3 packs of designer series paper you buy from the following selection, you can choose another one absolutely FREE! The papers included in the promotion are listed below:
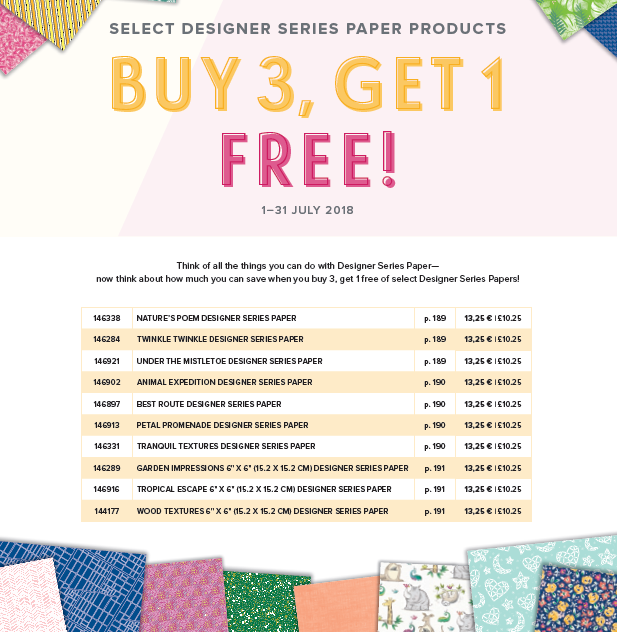
Whilst there really is no substitute for seeing the papers up close in order to truly appreciate how beautiful they are, rather than show you a collection of stills, it's worth watching this short video from the lovely people at the Stampin' Up! home office who go through each of the papers above and show a full sheet of each pattern:
This offer is a great opportunity to stock up on some of the new papers and decide which ones you love - if you stock up early, it might even give you the opportunity to pick up another few packs of your favourites before the month is out - just sayin'!
I will be back later with news of a designer series paper share that will include a full range of papers from the current catalogue; with so many papers on offer this month, it's the perfect time for a share; not only do you get a little of everything, but the overall price will be cheaper too! For now though, I have a date with the youngest of the james Juniors for my second and final sports day of the year - and I need to go put on some suncream! Until then, happy stampin'!