Mingle All The Way - Snowflakes 'au naturel'

by Joanne James1. November 2014 22:26

A quick post from me with today's card which is for this week's Merry Monday and Freshly Made Sketches challenges:


Snowflakes, naturals and dry embossing - and here is my card:

When I saw the challenge over at Merry Monday, I knew immediately that I was going to use the lovely Early Espresso/kraft paper in the DSP Under The Tree Speciality DSP pack; I teamed it with the Mingle All the Way stamp, stamped in Early Espresso on kraft, which also has little snowflakes on it and punched this out using a 2" circle punch and layered it using a couple of additional circles. I used the Perfect Polka Dots embossing folder for my embossed panel and had to finish with one of the little wooden snowflake embellishments from the Merry Many Stars kit - I love these and with I could buy them just one their own, I could find so many uses for them!!

I usually find monochromatic colour schemes so tricky, but this card came together so well and I love the natural look that this card has.

That's me for today; back tomorrow with my Design team card for The Paper Players; until then, happy stampin'!


Stampin' Up! Supplies Used:

Table built using Product Table Builder by The Crafty Owl - Independent Stampin' Up! Demonstrator.


Gift Bow Bigz Die Christmas Pudding Ornament and Video Tutorial

by Joanne James9. December 2013 21:00

So today is the start of the last week of school for the James' juniors, so there are lots of daily activities with Christmas in mind. I've just returned from watching my youngest in his Christmas school production, having given a stellar performance as the 'Bethlehem Census Man' (imagine town crier!) and delivered his one line with true dramatic style: "Hear ye, hear ye - census in Bethlehem! Your country needs you !" There's nothing like a Christmas production to make you feel like the festive season is upon us.

And so to today's creation with the Gift Bow Bigz Die: hot on the heels of yesterday's gift bow angel, a Christmas pudding tree ornament! Now, for my non-UK readers, you may not know that Christmas or plum puddings are a peculiarly British fayre, traditionally eaten after Christmas lunch on Christmas Day. They are eaten with either white sauce or brandy butter and are something of an acquired taste, or so my American friends told me after I sent them one for Christmas one year! So without further ado, here's a picture of the finished pudding: 

I made a few of these a while ago (tomorrow's post will explain all!) and I think they make another cute ornament for Christmas time. You could just follow the instructions to make a plain sphere out of patterned paper, but I decided mine needed dressing up, hence the Christmas pudding. I made a video showing you how easy they are to create using the Gift Bow Bigz Die from Stampin' Up!; the video also shares a handy technique for colouring your glimmer paper to match your product - did you know you can colour Stampin' Up!'s Glimmer Paper using your Stampin' Write markers? If not, watch the video to find out how:


I hope you like today's project - back tomorrow with something a little different, but still bow-related!

Until then, happy stampin'!


Stampin' Up! Supplies Used:

Table built using Stampin' Up! Product Table Builder from The Crafty Owl.


Gift Bow Bigz Die Angel Christmas Tree Ornament and Video Tutorial

by Joanne James8. December 2013 16:00

Another weekend of James family busy, busy. Yesterday: hairdressers, mad science parties and swimming gala on top of the usual homework and household chores. Today: swimming lessons, family lunch and decorating the house ready for Christmas. Finally I'm able to share today's post with a cute project: this adorable angel Christmas tree ornament made using the Stampin' Up! Gift Bow Bigz Die:

I've seen a few different examples of these angels on the internet; the first one I saw was on Tanya Bell's blog here which also included a great tip for getting even eyes. I'm not sure where the original idea came from, but as they are all a little different I thought I would share with you my version; I've been making lots of these to decorate the house this year and love that I can use my Gift Bow Die for so many more things than making bows. I made a video tutorial for you to show how I put these together; here it is:


The supplies and equipment you need to make an angel are listed below and the key measurements for the cardstock to make the main part which is the angel dress body are:

2 pieces cardstock: 10.5cm x 5cm

1 piece cardstock: 1.5cm x 8cm

These card sizes enable you to get three angels out of one sheet of A4 cardstock. Come back tomorrow for another project using the Gift Bow Bigz Die; until then, happy stampin'!


Stampin' Up! Supplies Used:

Table built using Stampin' Up! Product Table Builder from The Crafty Owl.


Afternoon Picnic Birthday Card PP169

by Joanne James31. October 2013 23:15

A late post from me today and it was supposed to be all about Halloween, but as I'm behind this week and the current Paper Players challenge ends tomorrow, I need to have a switch around so that I can link up today's card. This week's challenge over at The Paper Players is a sketch by the lovely Ann Marie - here it is:

I love sketch challenges as you know and I've actually used this layout for several card designs this week (still in the making and not blogged yet, in case you're thinking you haven't seen them!) The card that I'm going to link up though is the one that is most 'true to sketch' and is actually the birthday card I designed for my Mum - here it is:
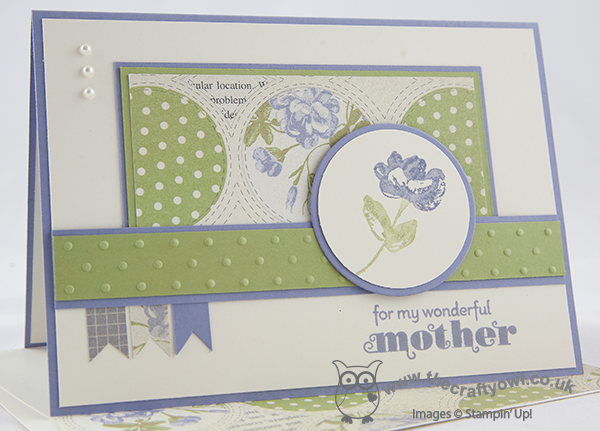
Now it's not my Mum's birthday until Saturday, so I'm taking a chance here, but as she rarely looks at my blog I think I'm safe! I took the inspiration for my colour scheme from some of the papers in the Afternoon Picnic DSP stack and it was an opportunity to use a colour that I rarely do: Wisteria Wonder. I actually had some out on my desk as I've been using it for another project recently, but must confess it's a colour I don't find myself drawn to. I love the idea of lilac, but I find too much Wisteria Wonder rather overpowering. Here I've tried to temper that by using a Very Vanilla background and making good use of Pear Pizzazz, the other main colour in the patterned paper. I used my Stampin' Write markers to colour the flower from the 'Oh Hello' stamp set, which so looks like the flowers that you see in this paper stack and I used an embossed strip across the centre of my card because whilst I think it would have looked nice with a strip of chevron ribbon, I wanted it to be post-friendly and I like the way the embossed dots again echo the pattern of the paper.

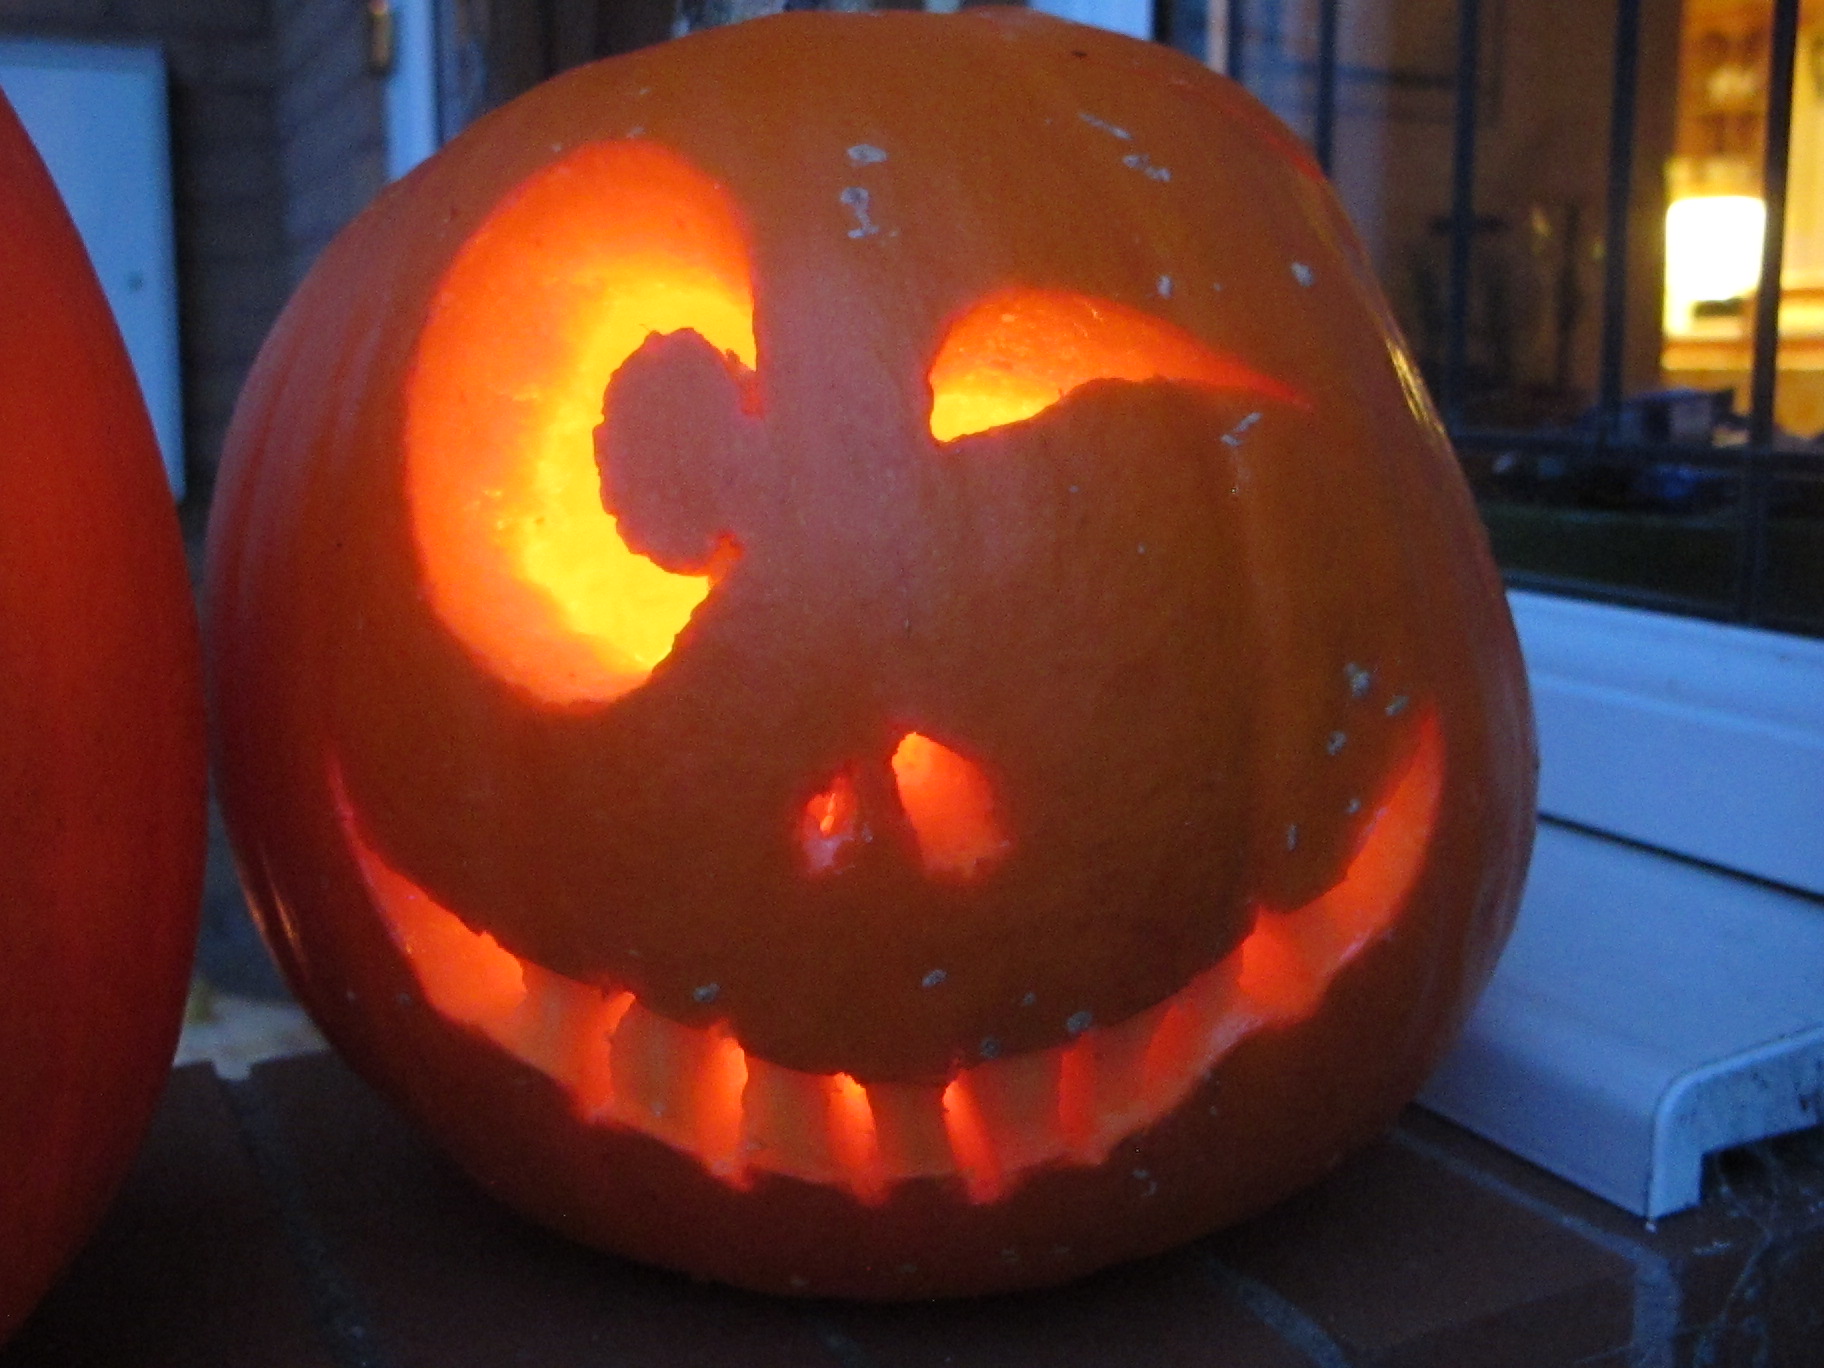
So that's my card. I may well share some of today's Halloween makes with you tomorrow (call it early planning for next year!) Whilst I don't tend to go in for Halloween cards and as my regular readers will know, I haven't featured a single Halloween project, one of the things that is really big in the James household is pumpkin carving. Each year we try to grow our own pumpkins in the garden and this year we managed to grow four, two of which were the biggest ever! Our record breaking pumpkin was 1.38m in circumference and weighed 17.9kg - only 2kg lighter than my 6 year old son!!! The children and I spent the happiest of days today carving all four of our pumpkins, so I thought I should share some pictures with you:

 This is Rebecca's pumpkin, that she carved herself:
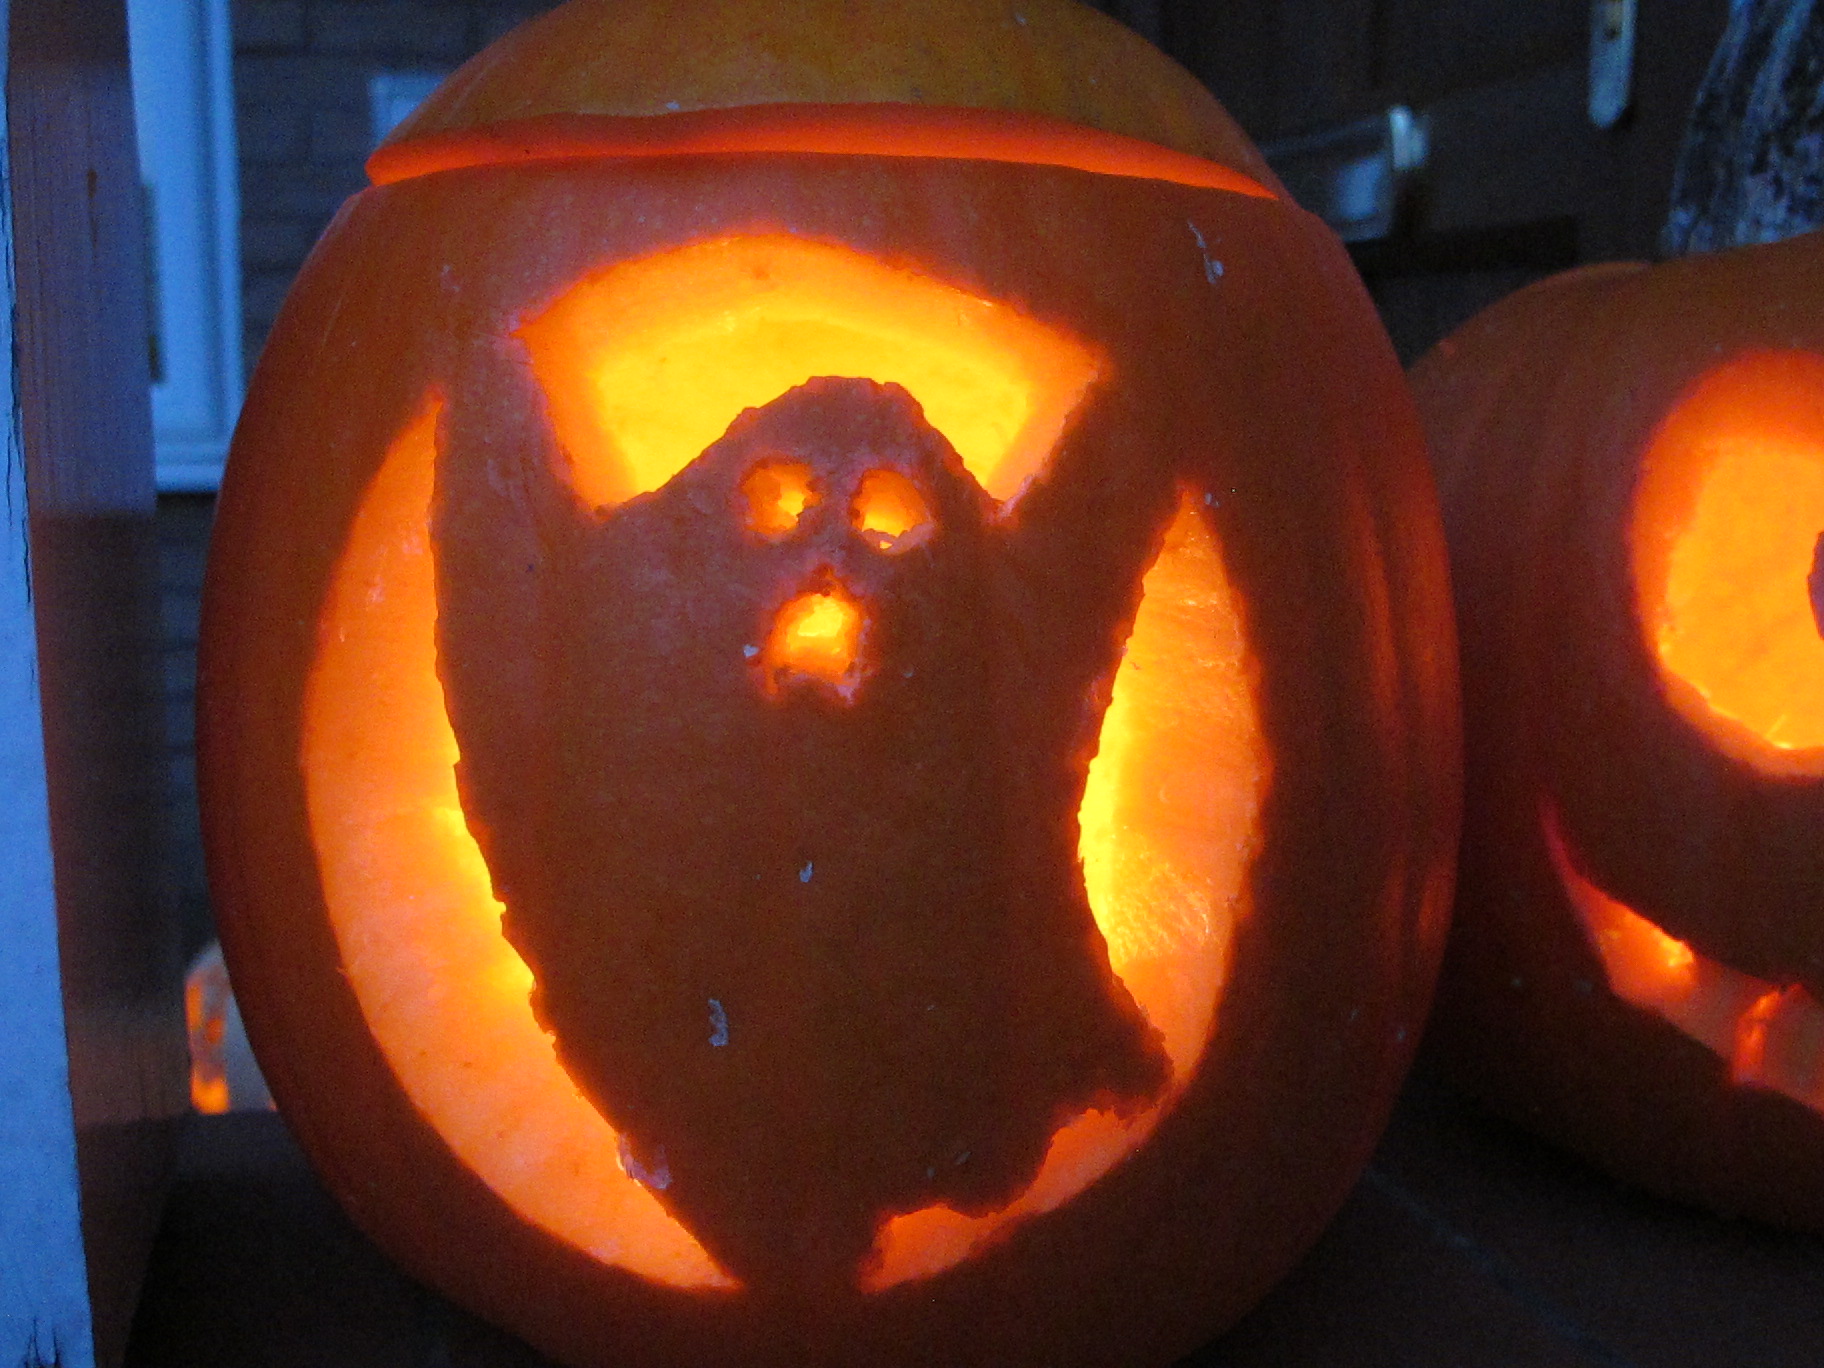
This is Ben's pumpkin, that he too managed himself for the first time this year:
 

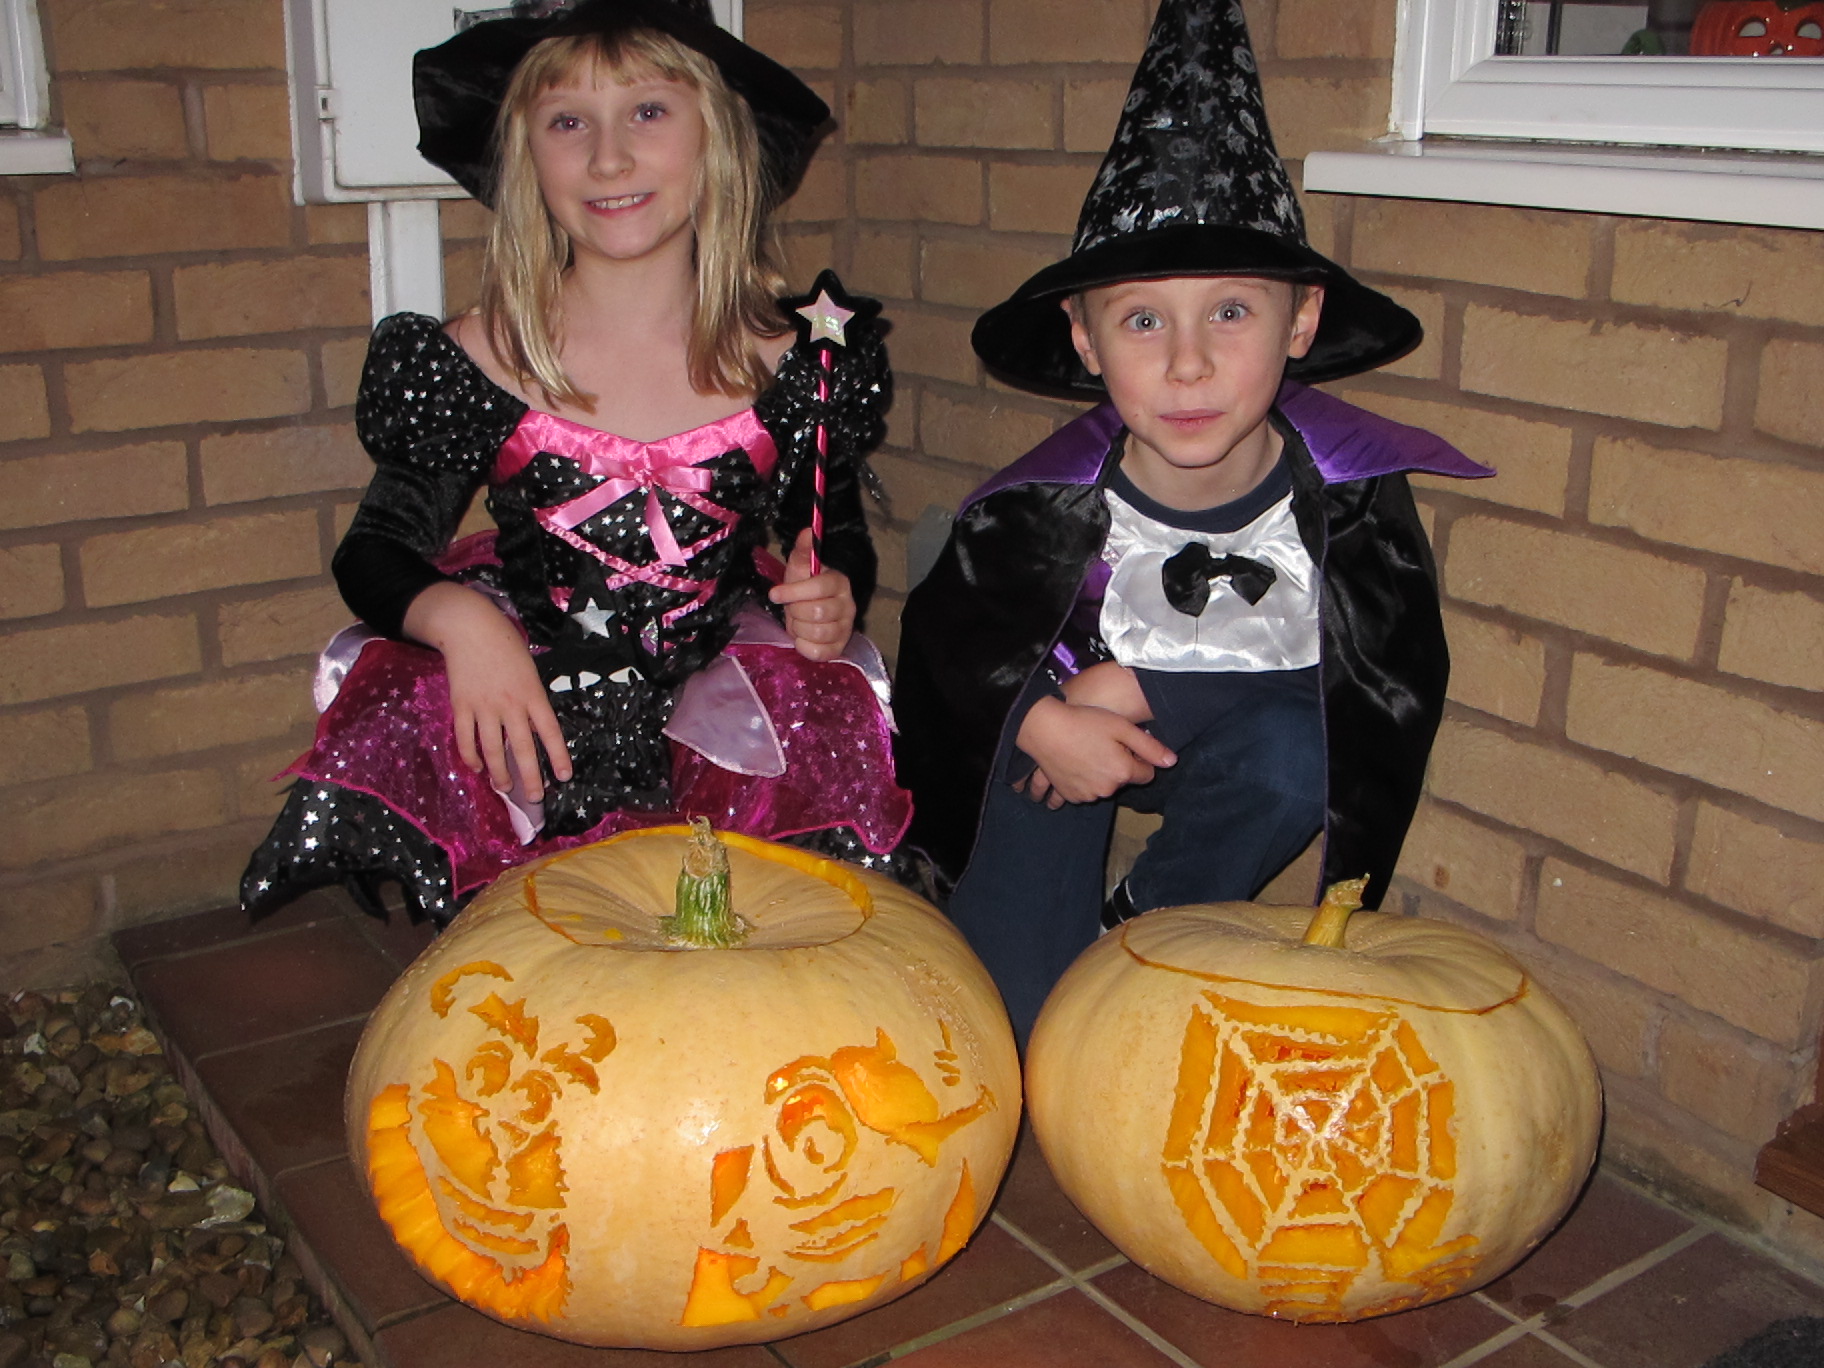
And lastly here are both Ben and Rebecca, with our two 'monster' pumpkins, the largest of which was big enough for a double Monsters University-inspired carving:
 

Not a piece of cardstock in sight, but very creative, nonetheless! I'll be back tomorrow with another project, meanwhile why not pop over to The Paper Players and see what the designers and other participants have done with the above sketch? Until tomorrow, happy stampin'!


Stampin' Up Supplies Used:

Best of Flowers - Double Embossed Vintage Class Card

by Joanne James21. July 2013 20:07

So I have a confession: I don't like all the stamps that Stampin' Up! has to offer! I like modern, clean and unfussy design and don't really go in much for the vintage, distressed look. So whilst I loved three of the four stamps in June's 'Best of Flowers' set, I struggled with the fourth one. The bouquet of roses had a real 'old fashioned' look I thought and I would probably have left it in the box uninked. I could happily spend endless hours creating things with the other three stamps in the set, each of which I love, but for the fact that I had decided to use this set for this month's card class and therefore felt I should use each of the stamps equally. After much huffing and puffing, I came up with a couple of cards and this is one, of them:

This is something of a departure from my usual style, but I quite like the way it turned out. It was also a great opportunity to teach the ladies in my class the double embossing technique, which enabled me to make the stamp the focal point, without creating an overly fussy design. Some sponging of Crumb Cake ink over the surface and some ruched seam binding ribbon were all that I needed to finish it off.

I think maybe it's the kind of card that grows on you; the more you look at it, the more appeal it has - some 'olde worlde' charm, perhaps! if you would like to own the 'Best of Flowers' set, it is still available to purchase for £13.95 until 31st March 2014. Equally, if you would like to join one of my card classes, do get in touch for more details - our September class will feature the new 'Mosaic Madness' stamp set, along with the coordinating punch and embossing folder.

Back tomorrow with another card I made using this stamp; until then, happy stampin'!


Stampin' Up Supplies:

Stamps: Best of Flowers

Cardstock: Crumb Cake, Very Vanilla

Ink/Stampin' Write Markers: Crumb Cake

Tools: Stamp-a-ma-jig, Perfect Polka Dots Embossing Folder, Designer Frames Embossing Folder, Sponge Dauber

Finishing Touches: Crumb Cake `1/2" Seam Binding Ribbon


Tiptoe Through the Tulips

by Joanne James18. May 2013 20:19

A busy week this week! I was partying last night - will share the card later this week - with an old and dear friend of mine who was celebrating a milestone birthday, so no blog post, I'm afraid. I've so much ready to share though - so keep checking back for lots of card and crafting inspiration as I should be back to daily posts now. Today I thought I would share a card inspired by a Wendy Weixler card (you can see her original card here) but I changed a few things, including the colourway to reflect the tulips in my garden, which finally bloomed a couple of weeks ago:

Tulips are one of my favourite flowers and there's nothing like a bunch of spring blooms to brighten your day. I love the dimension and depth of this card; the tulips are made using a heart punched with the Small Heart Punch, then the hearts are cut in half down the centre and three halves layered to achieve the petal effect. The leaves were made using the smallest of the oval framelits, just cutting away the edges. Here's a couple of photos of the tulips on my garden, which inspired my choice of pink and purple colours:

 These are really blousy and frilly and open out into huge blooms, whereas the ones below are much more traditional in their shape and style:

I'll leave you with one last picture that shows a close up of the tulip punch art on my card today; back tomorrow with another project, until then happy stampin'!

Stampin' Up Supplies:

Stamps: Itty Bitty Banners

Cardstock: Whisper White, Rich Razzleberry, Melon Mambo, Pink Pirouette, Gumball Green, Polka Dot Parade DSP

Ink/Stampin' Write Markers: Rich Razzleberry

Tools: Small Heart Punch, Ovals Framelits, Windows Framelits, Bitty Banners Framelits, Perfect Polka Dots Embossing Folder

Blossom Punch Layered Card

by Joanne James25. April 2013 20:52

Today I thought I'd share another card with you from my recent 'Mixed Bunch' class. I created it after seeing something similar on Pinterest and it made it into the class because I think it's a good example of how you can use a punched shape to create the illusion of a flower without having used the co-ordinating stamp:

I cut a layer of Sycamore Street DSP and scalloped the edge and adhered it to the Island Indigo card base, then cut a further smaller layer out of Pool Party, embossed with the Perfect Polka Dots Embossing Folder and punched out a flower shape from the edge of the cardstock and adhered with dimensionals to reveal the patterned paper underneath. I then used a 7/8" scallop circle with a co-ordinating brad to create the flower centre. A banner sentiment and a bright orange butterfly completed the card.

Back with another card tomorrow - until then, happy stampin'!


Stampin' Up Supplies:

Stamps: Happiest Birthday Wishes (hostess - retired)

Cardstock: Island Indigo, Pool Party, Tangerine Tango, Sycamore Street DSP

Tools: Blossom Punch, Bitty Butterfly Punch, Perfect Polka Dots Embossing Folder, 7/8" Scallop Circle Punch

Finishing Touches: Basics Rhinestones, Designer Printed Brad

Current Promotions

Stampin Cut and Emboss

Save up to 30% off on all your favourite kits from 1 to 31 October! 

Click here to see the current kits available and order yours online today.

Join My Team

It's always a great time to join Stampin’ Up! During October you can get even more in your starter kit! New team members can get £160 worth of products for only £99 + free business supplies + free shipping + all the fun being a part of Stampin’ Up! Stampin' Up! has something for everyone: join my growing team and benefit from my support to enjoy Stampin' Up! however you choose.

If you're interested, call me for a chat to understand how I can help you realise your goals. Alternatively, if you have already decided to sign up and you just can't wait, please click here for the link to the online form where you can sign up and order your starter kit right away! 

Shop Online

Access my online shop 24 x 7, 365 days of the year:

Current October hostess code:

4XPEYCB9

Shop Online

Scrapbooking

Stampin' Up! has introduced a new range of 12x12" scrapbooking product and kit - the full range is now available to purchase online. To download a copy of the new digital Scrapbooking Catalogue click here.

Mini Catalogue

BROWSE THE CATALOGUE

'Tis The Season - the new Stampin' Up! Mini Catalogue is here! For more details and to download your copy click here

2024-25 Annual Catalogue

BROWSE THE CATALOGUE

Click on the image to download your copy of the 2024-25 annual catalogue. For a full list of current SU! supplies, go to my online store. If you would like any help or advice, please drop me a line at joanne@thecraftyowl.co.uk or give me a call on 07773 421446 - I'd be happy to help.

Latest Kits!

Stampin Cut and Emboss

The Christmas Ornaments Kit and Card Keeper Kit are the latest kits in the online store - get yours here!

New Online Exclusives

There are new products available exclusively in the online store from 5 November - check them out here.

About Me

Hi I'm Joanne and live in Northampton and when I'm not looking after my husband and two beautiful children, am an avid crafter with a passion for all things Stampin' Up!

I must confess that I have never been a big rubber stamper - until I discovered Stampin' Up! that is. I love the fact that I can get such great results with co-ordinating stamps, inks, papers and punches - the possibilities are endless! Join me on my stamping journey as I share the things I love and be inspired to create amazing things yourself!

Follow Me

Monthly Newsletter

Box Builder

Click the button above to use Box Buster to create your custom box design using the Envelope Punch Board!

Kits Collection Now Available!

Stampin Cut and Emboss

The new Kits Collection from Stampin' Up! is now available!

Click here to see the current kits available and order yours online today.

I Design For


Stampin' Up Stuff

This is my personal blog and is not endorsed by Stampin’ Up! I hope you find it a plentiful source of ideas and personal inspiration but please don't copy my designs for contest submission or use for classes, publication or sale without express permission.