Today I'm sharing my design team card for our new challenge over at As you See It where it's time for a sketch challenge chosen by Heather H:
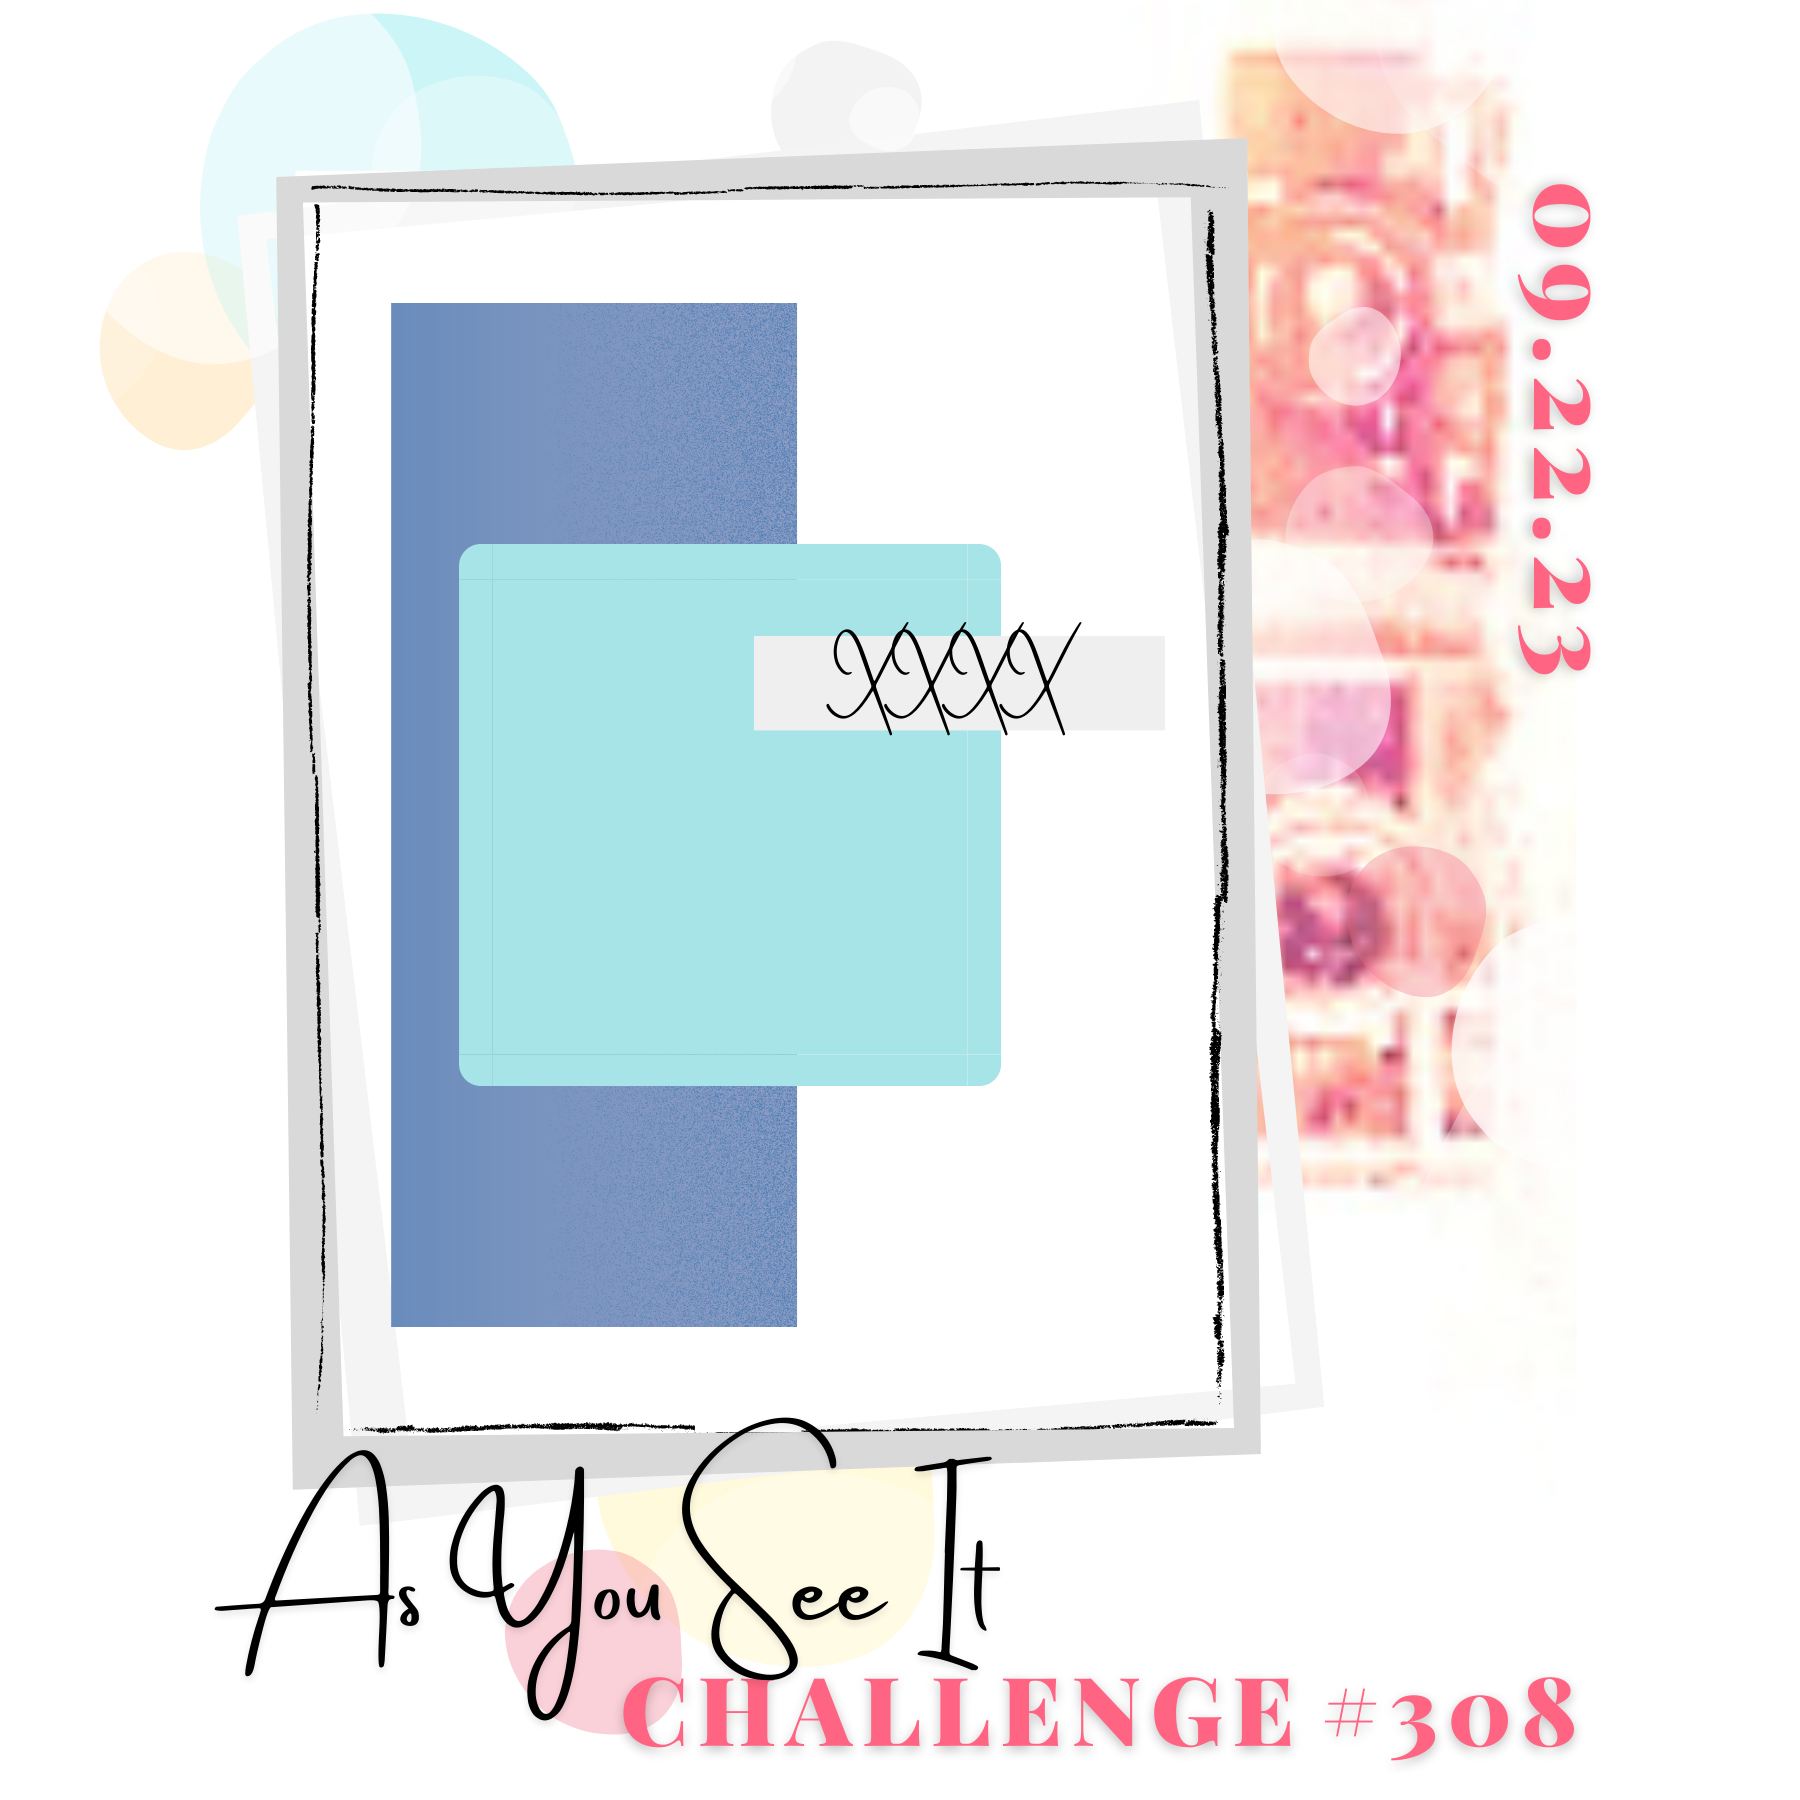
I love a good sketch and since I've been playing with my 'Joy of Noel' set this week putting the finishing touches to projects for next month's 'Create With Joanne & Jan' tutorial set, which I collaborate on with my AYSI teamie Jan Clothier, I thought this sketch lent itself to another Christmas card featuring this versatile bundle - take a look:
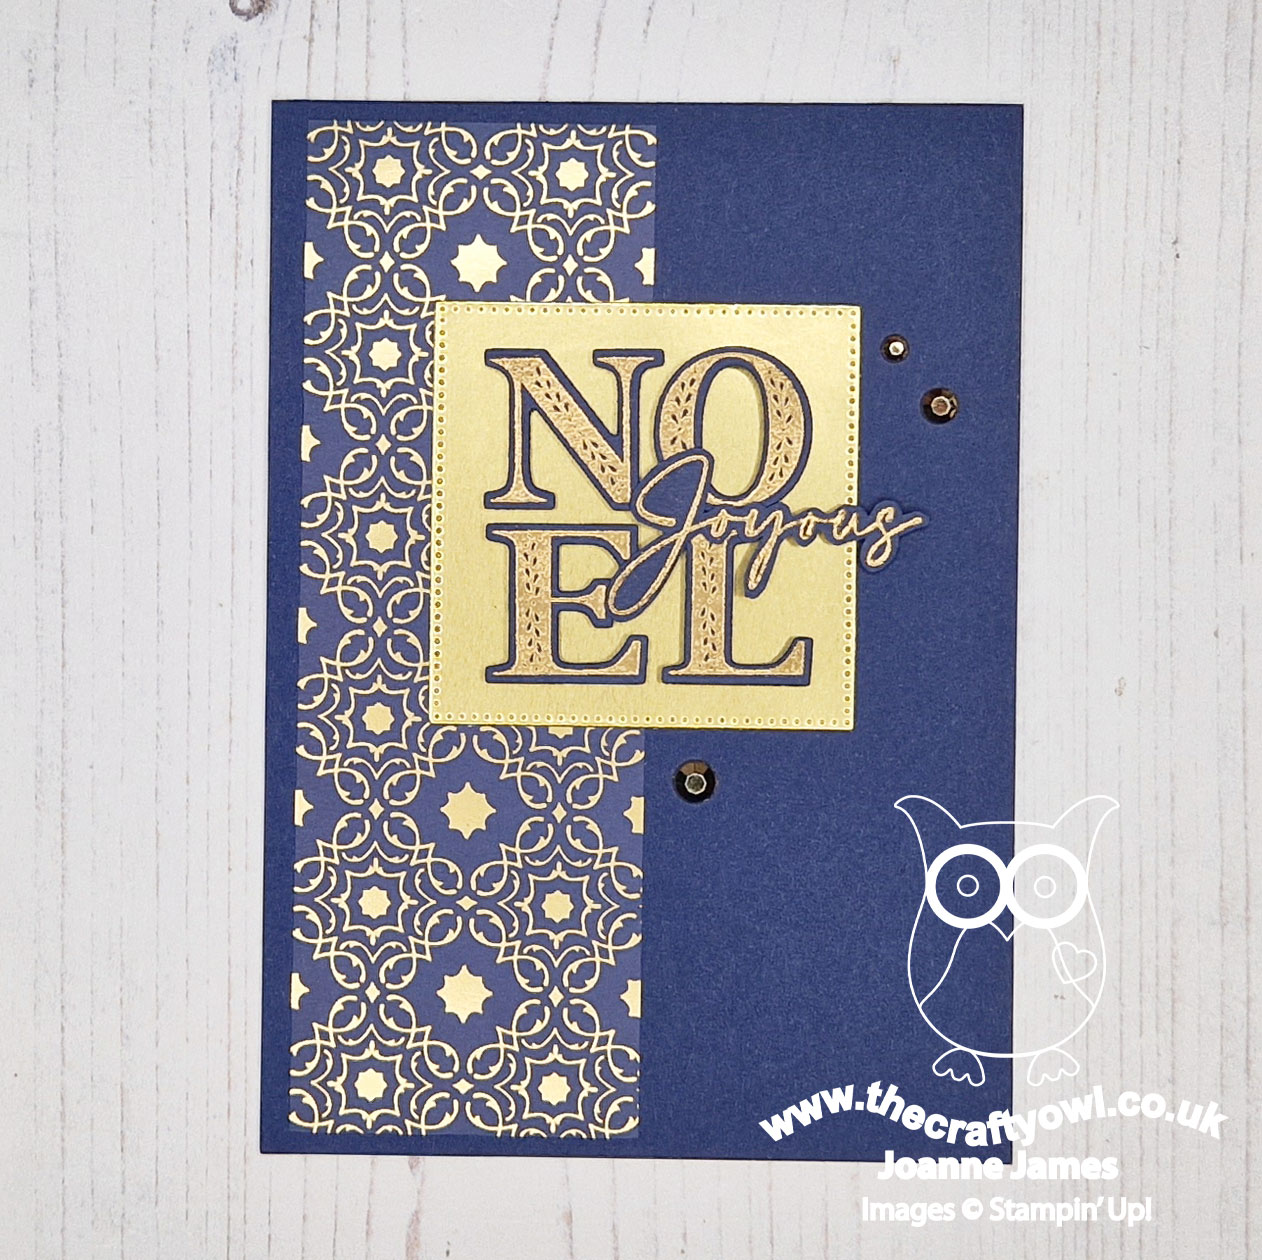
Here's the low-down on today's card:
Shining Brightly - Instead of pairing the bundle with the papers in the suite, I decided to use one of the navy and gold patterns in the 'Shining Brightly' Specialty paper pack for the vertical panel. Along with the gold and vanilla patterns in the pack, these papers are truly stunning - and popular! They have been out of stock for a few weeks, but are due back in sometime next week. I will be ordering another pack for sure so if you are also wanting to add these papers to your collection, be sure to let me know so that I can notify you as soon as they come in - I have a growing list!
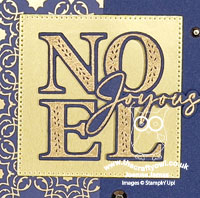
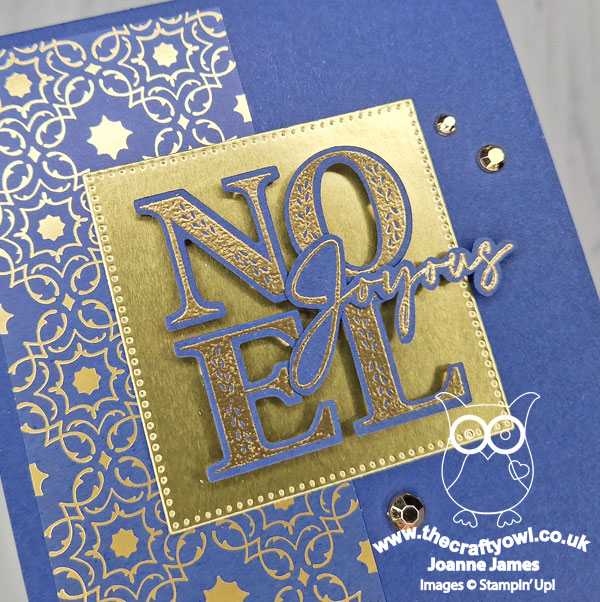
Joyous Noel - I just love the sentiments in the 'Joy of Noel' set, especially the NOEL letters. Each one is individual, but since they stamp and diecut in this square pattern, I decided to use them backed with a square of gold foil for my next layer and overlay them with 'Joyous' for the last bit of my sentiment, which I fussy cut by hand.
Going For Gold - I stamped and heat-embossed the letters in gold onto Night of Navy cardstock before diecutting them, to create a seamless look. This card is quite shiny but you can see the detailing on the stamped image below:
A trio of (retired) gold gems complete my card. This card is actually quite simple to recreate, although I did spend ages procrastinating first time around! I just love the simple elegance - this is most definitely a 'me' card!
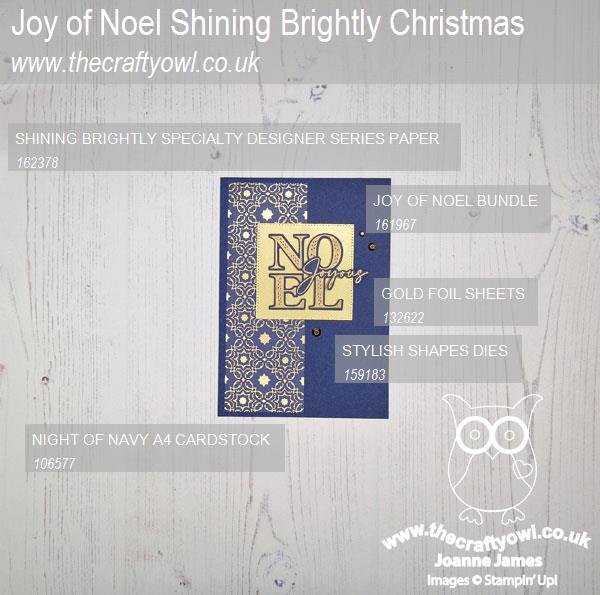
Here is the visual summary of the key products used on today's project for you to pin for easy reference:
You can see all of my 'How To' summaries on my 'How To - Tips and Techniques' Pinterest board in case you've missed any.
Here's a summary of our challenge rules:
- Create any card, scrapbooking page, 3D project or packaging project that fits the challenge.
- Please include the challenge graphic and link back to the challenge in your blog post. Turn off word verification so we can leave you lots of lovely comments. Make sure you link the post not the whole blog to the Linky. Use #AYSIXXX when uploading to a public gallery.
- If you’re unsure about ‘the rules’, check the details under the Challenge Guidelines tab on the As You See It Challenge homepage.
- In a sketch challenge, you are welcome to rotate or flip a sketch. You can replace shapes used such as substituting a circle panel for a square panel. However, we must be able to still see the basis of the original sketch in your finished product.
We look forward to seeing your creations in the AYSI gallery.
Enjoy your day; I am hoping to get a little extra crafting done this weekend so will hopefully be back tomorrow with another project. Until then, happy stampin'!
Stampin' Up! Supplies Used:
