New Season Paper and Accessory Shares are here!
The new Stampin' Up! Seasonal Autumn/Winter Catalogue goes live tomorrow so it's time to announce my new Product Shares!
You know that feeling - you want it all, but your budget just doesn't stretch that far? Well shares are the perfect answer! You get a little bit of everything, without having to purchase a full pack. A share can also act as a 'try before you buy' - you get to see papers, ribbons, buttons and accessories 'up close and personal' before deciding which ones you like the most and would like to purchase as a full pack.
Shares work really easily: you decide which shares and how many you would like to take part in. You place your order by clicking on the button below, which takes you to my Paypal page to enable payment. Once the closing date for the first round of shares is reached, I collate the orders, place an order with Stampin' Up! for the product, then once I receive it, I package the papers and embellishments and send them out to you. Simple!
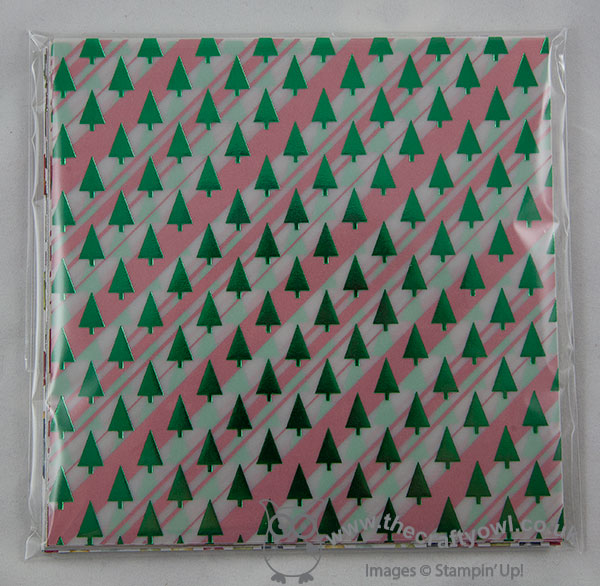
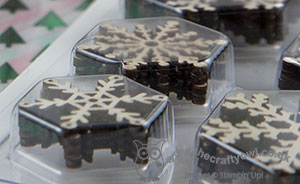
I have been running paper, ribbon and accessory shares with my local customers for a while and starting with the new seasonal Autumn-Winter Holiday catalogue I am going to be offering them to all my online customers too. Your paper, ribbon and embellishments will come beautifully packaged like this:
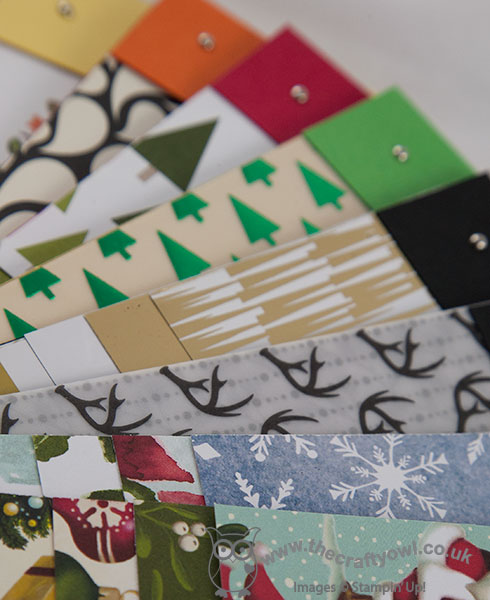
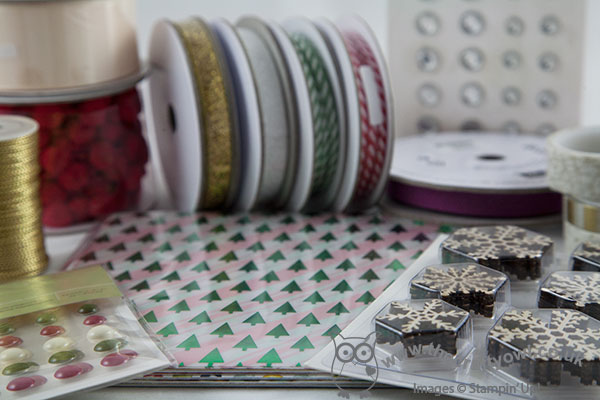
Here are my swatchbooks with a glimpse of all of the patterns included in the various shares:
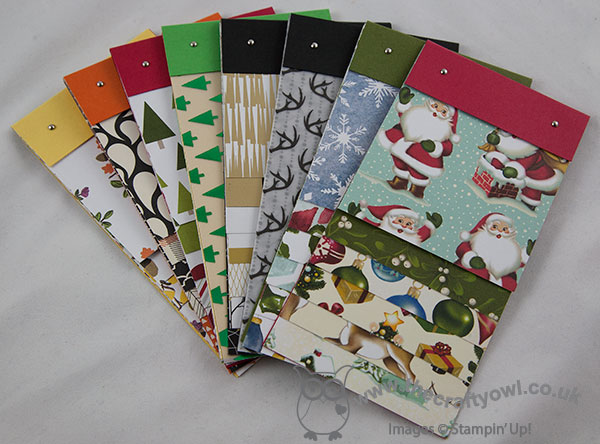
So much to choose from! Here are the details of the various shares on offer:
New Christmas Designer Series Paper Share - all sheets measure 6" x 6" - £12 plus £3.90 P&P:
- Home for Christmas – 6 (one of each double-sided design)
- Winter Wonderland Specialty – 12 (two of each of 5 double-sided designs and one each of 2 single-sided designs)
- Winter Wonderland Designer Vellum Stack – 12
- Red Foil Sheets – 1
- Silver Foil Sheets - 1
- Gold Foil Sheets - 1
- Real Red Envelope Paper – 4
- Merry Moments Designer Series Paper Stack – 8 (4 of each design)
- Season of Cheer – 6
- Holiday Fancy Foil Designer Vellum – 6 (2 of each design)

In all you'll receive 57 6"x6" sheets of festive Designer Series Paper!
New Christmas Ribbon and Embellishment Share – £13 plus £3.90 P&P:
You will receive:
- Real Red Pompom Trim – approximately 50cm
- Home for Christmas Enamel Dots – 18 Dots (3 of each color and size)
- Very Vanilla 1-1/4” Subtle Stripes Satin Ribbon – approximately 1 metre
- Home for Christmas Designer Buttons – 6 (2 of each design)
- Snowflake Elements – 6 (2 of each design)
- Winter Wonderland Embellishments – 4
- Cording Trim - approximately 5.5m each of gold and silver
- Iced Rhinestone Embellishments – 6 (3 of each size)
- Reindeer Paper Clips – 3
- Gold & White 3/8” Glitter Ribbon – approximately 1.1m of each color
- 1/8” Striped Ribbon – approximately 1 metre of each color
With the Christmas Ribbon and Embellishment share you will receive approximately 16.7 metres of ribbon/trim and 43 new embellishments - everything you need to decorate your Christmas cards, tags and packaging!
Autumn Share - £3.60 plus £3.15 P&P:
- Into the Woods Designer Series Paper – 6
- Into the Woods 3/8” Cotton Ribbon – approximately 1 metre
- Into the Woods Elements – 6 (2 of each design)
Halloween Share - £3.40 plus £3.15 P&P:
- Happy Haunting Designer Series Paper – 6
- Black Glimmer Paper – 2
- Spider Web Doilies - 6
There are a number of bundles for further savings:
£22.50 Double Christmas Bundle for both the Christmas Designer Series Paper and Christmas Ribbon and Embellishment share - plus £3.90 postage and packaging
£6.50 Double Season Bundle for both Autumn and Halloween shares - plus £3.90 postage and packaging
Want It All? £32 - and you'll get shares of all the new Designer Series Papers, Designer Series Paper Stacks, ribbons and embellishments, and that includes postage & packaging!
If you would like double or more shares of any particular thing, then that's fine too. I will cut your paper shares into 6" x 12" sheets where possible to give you more crafting flexibility (for the DSP stacks you will simply get double the number of sheets since they are already pre-cut to 6" x 6").
All postage & packaging quoted is for UK only - if you would like a cost for shipping to Europe, then please email me for a separate quotation.
The deadline to sign up to the first round of shares is Monday 14th September at 8pm GMT.
If you live local to me and would like to save on postage and packaging costs, please email me with your requirements and I will happily place your order, to be collected on delivery. If you have any questions, just email me at joanne@thecraftyowl.co.uk or give me a call!