by Joanne James19. July 2015 11:00It's Sunday and time for a new challenge over at The Paper Players and this week the queen of die cuts, the lovely Laurie, has a fun CAS challenge for us:
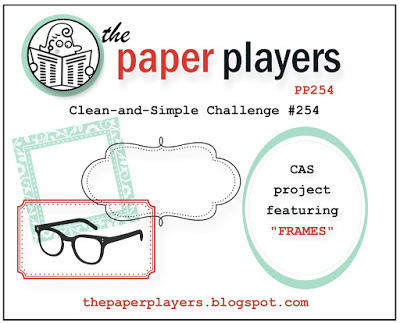
I started out thinking of frames in the more traditional sense, but having seen some of the other Design Team cards I decided to change direction and use today's challenge to make a card for a specific purpose - here's my card:
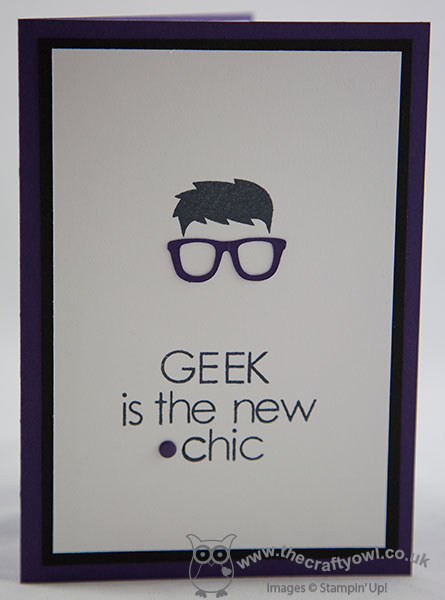
A simple black, white and purple combo that doesn't require a huge amount of explanation. The hair for the young man that features on my card is from the 'Calling All Heroes' photopolymer set that I used earlier this week (only available to US customers - thank you LeAnne ;-)) and the sentiment is stamped in Memento Black using the 'Back to Basics' alphabet with the addition of an Elegant Eggplant candy dot and some very cook 'geek' spectacles in purple cut with my e-cutter and adhered to the front of my card.
This card is headed to my daughter's best friend Finley; he has recently joined the ranks of spectacle wearers, but is rather reluctant to wear his glasses at school, for fear of being labelled the 'class geek'. As a fellow specs wearer for over 30 years, I can empathise. Whilst his own specs aren't purple, it is his favourite colour and we are hoping this card will help him see that with his perfectly coiffed hair and charming good looks, he should wear his specs and be proud - geek, after all, is the new chic!
Before you reach for your ink and papers, check out what our amazing team has created to inspire you this week:
The Paper Players Design Team
Here's a quick recap of our challenge rules:
1. Create a new paper project
2. Upload your creation to your blog with a link back to us and provide a direct link to the post featuring your challenge submission.
3. Please link your card to no more than three challenges, TOTAL.
4. Have FUN!
Whether you go with frames of the spectacles or picture variety, I look forward to seeing how you interpret Laurie's fun challenge in the gallery this week.As you read this I am on my way for a well-earned rest to sunnier climes with my family for a couple of weeks; rest assured there are lots of creative posts scheduled in my absence, so do continue to stop by as there will be plenty of paper crafting inspiration for you to see.
Back tomorrow with another project; until then, happy stampin'!
Stampin' Up! Supplies Used:
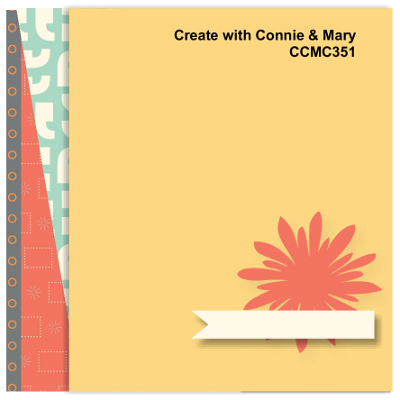
by Joanne James16. April 2015 08:05It's Thursday and time for another challenge over at Create With Connie and Mary, where this week we have a new sketch challenge for you:
I took quite an unusual approach with this card and decided to try out a new technique that was highlighted on a recent Splitcoast Stampers newsletter - paper tole, where you cut elements of your one layer card using a craft knife to create a raised almost 3D effect. Take a look at my card and then I'll share with you some tips:
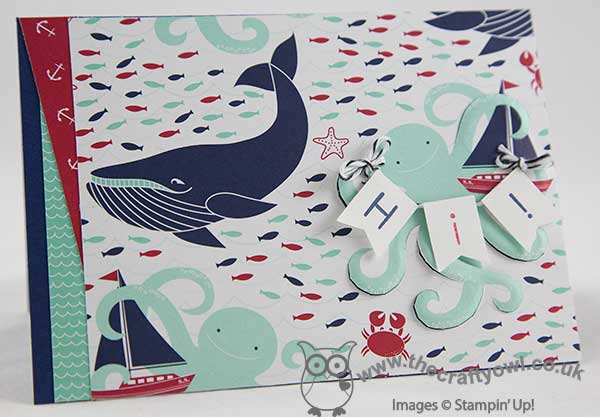
I decided to use a sheet of highly patterned Maritime Designer Series Paper for my card front; I haven't used this paper in a while and it is one of my favourites, so thought it opportune to give it some love again for a change! It also has lots of great co-ordinating patterns that made it easy to add my angled layers on the left hand side.
I decided to use the octopus as the focal point for my card, and based my cutting line around that. To create the paper tole effect, I cut some of the upper 'layers' of his legs and rubbed the reverse side with the rounded end of my pokey tool to create a raised cardfront, that is accentuated by placing dimensional behind the cut pieces. You can see that better in the photo below:
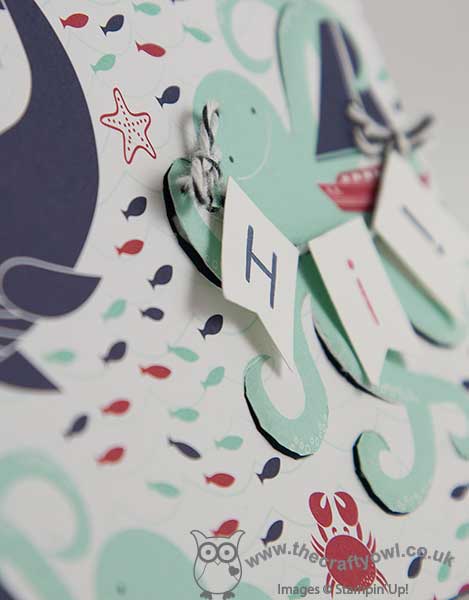
I wasn't sure this would work with DSP as the technique suits a thicker cardstock or watercolour paper, but it actually worked quite well and I'm pleased with the overall result. I included some minimal stamping, in the little banner that the octopus is holding, but otherwise, this card is all about the paper!
I was having an interesting discussion with one of my customers yesterday about sketch challenges and I thought I would just take the opportunity in my post to just mention a few of the things that we were talking about - if you've ever considered having a go at one, but were holding back because you weren't sure, you may find the following useful:
- The sketch is for inspiration - it should be used as a guide.
- You don't have to interpret the sketch literally, but your challenge card should bear a resemblance to it and share key elements. So for example, with the sketch above, I would expect to see a focal image, but it can usually be any shape and doesn't have to be exactly the same as the one in the sketch (I used the octopus) some form of flag/embellisment/sentiment banner (I used my Hi! banner garland) and some form of treatment on the left (I layered my DSP).
- The number of mats and layers isn't prescriptive; I did choose to go edge-to-edge with my DSP for this card, largely to fit everything in and because I didn't want a border to distract, however had I been using a punched image for my focal point, I might have created a bordered mat - that would have been ok too.
- You should take note of the challenge rules; all challenges are different, e.g. the Create With Connie and Mary Challenge requires you to use Stampin' Up! products only, others may restrict the number of challenge entries you can combine or have other guidelines to be adhered to.
You will notice that all of the design team have interpreted this week's sketch challenge differently, yet all of them bear a resemblance to the sketch - hence you get lots of additional creative inspiration on how to interpret the sketch and use your SU! products. So enough from me - go get your inks, stamps and paper and see what you can make of this week's sketch - we look forward to seeing your creations in the gallery.
That's all from me - back tomorrow with another project. Until then, happy stampin'!
Stampin' Up! Supplies Used:
- Maritime Designer Series Paper
- Back To Basics Alphabet Photopolymer Stamp Set
- Banner Punch
- Paper-Piercing Tool
- Stampin' Pierce Mat
- Basic Black Baker's Twine
- Night Of Navy Classic Stampin' Pad
- Night Of Navy A4 Card Stock
- Real Red Classic Stampin' Pad
- Whisper White A4 Card Stock
by Joanne James1. February 2015 07:30It's Sunday and time for a new challenge over at The Paper Players, where this week Claire has the following challenge for us:
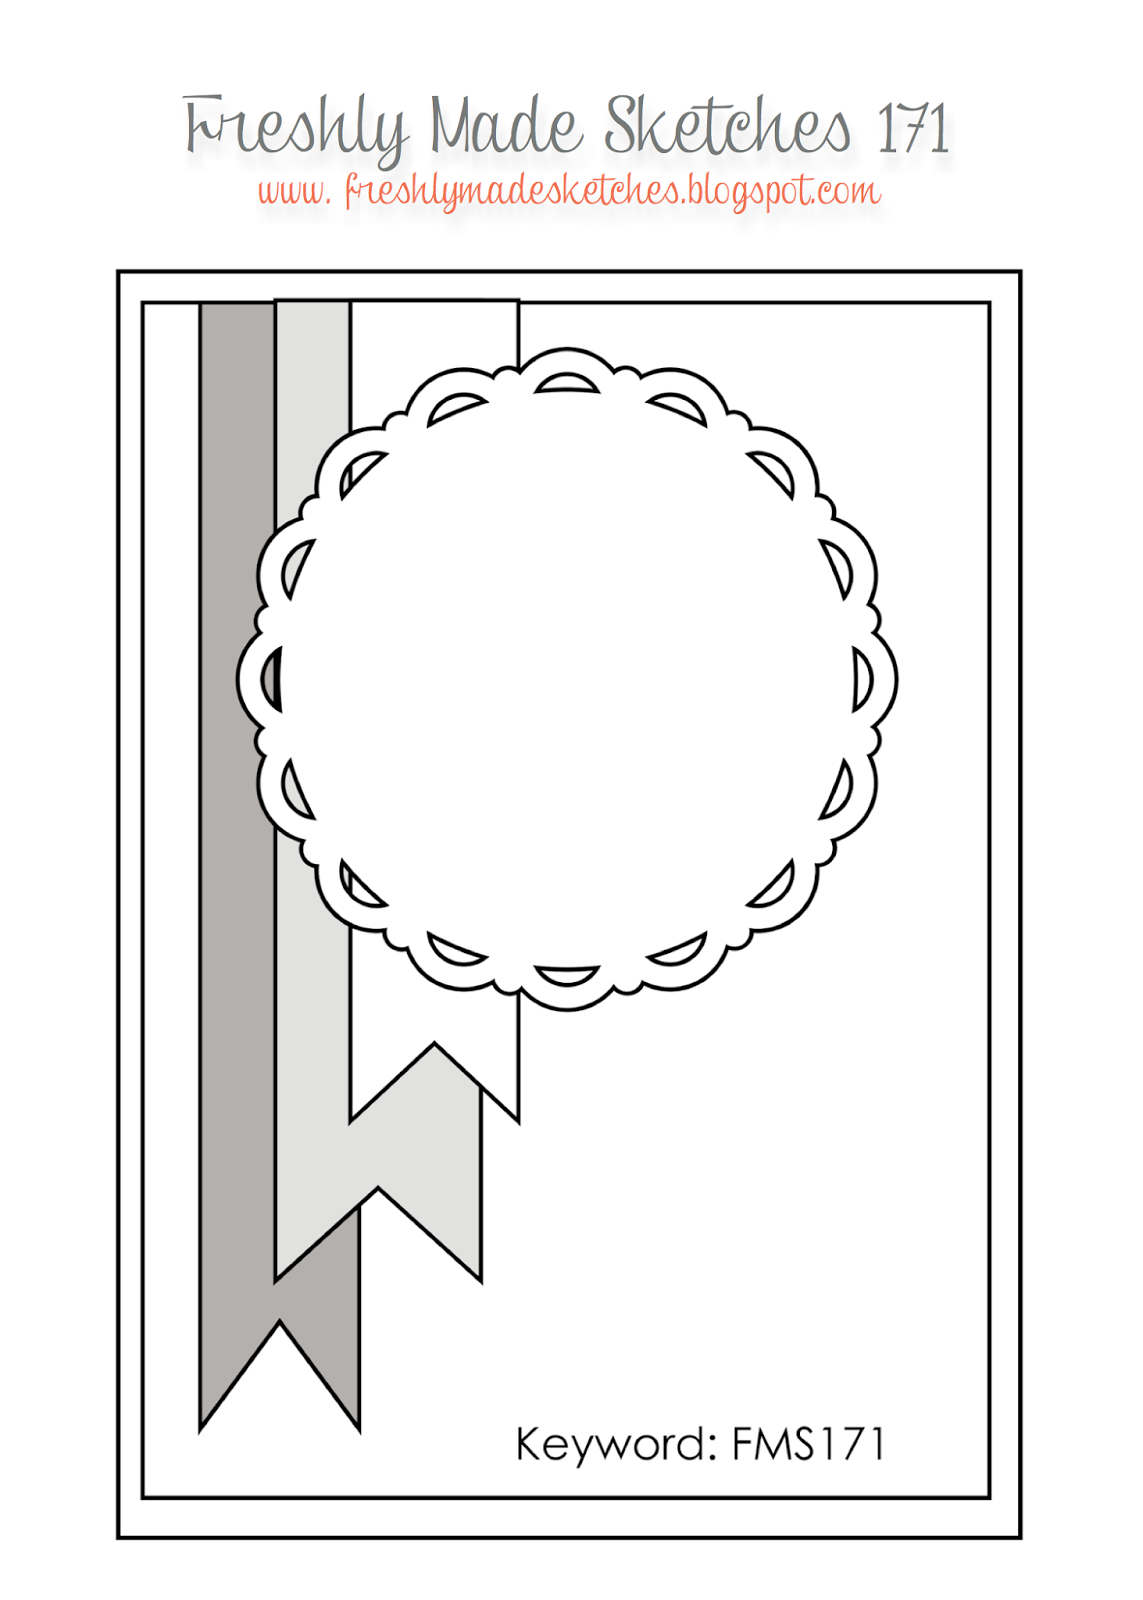
I also used Rita's sketch layout over at Freshly Made Sketches for my card this week. Now this week's card caused me some mild consternation, as anyone who knows me knows that I've never really had a pet and so I have been known to get myself into all kinds of trouble with friends for under-estimating the depth of their feelings towards their two-and four-legged friends. I am not intentionally insensitive, it's just that I don't 'get it' - so the idea of creating a Valentine's card for or from a pet sent me into quite a spin! Both James Juniors have had goldfish as pets previously, but since I used fish on my card last week I thought today's card needed an alternative, altogether more fluffy friend - so this is what I came up with:
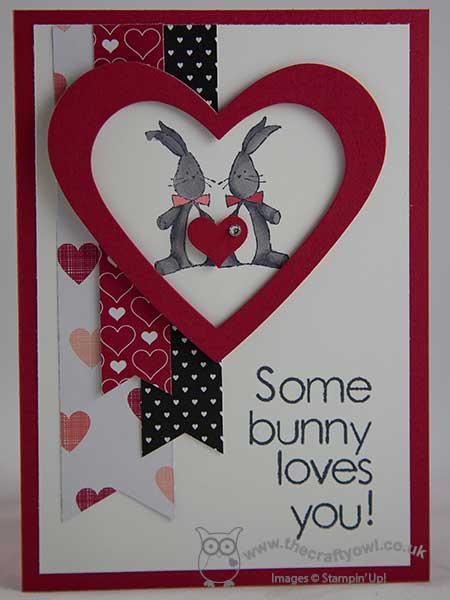
I created a custom sentiment using my 'Back to Basics' alphabet stamps and added a selection of banners using patterns from the 'Stacked with Love' DSP stack. For the heart-shaped centrepiece, I stamped a pair of adorable bunnies and coloured them in with my Smoky Slate Blendabilities. Do you recognise the bunnies, or should I say, bunny? The bunny on the right is from the 'Baby We've Grown' stamp set. I stamped him once, then having masked him off with a post-it note, I then stamped him again onto a piece of window sheet and using the reflection technique transferred this image onto my cardstock, overlapping the legs slightly. The tiniest drag line on the ear resulted in a cute fold-over look, so I left it, as it made the bunnies a little less symmetrical. Don't they make such a cute pair? I finished this centre piece by framing the bunnies in a Real Red heart-shaped frame cut using my Big Shot and Hearts Framelits and added a tiny punched heart with a rhinestone to the centre. If I had a bunny rabbit, I would be happy to send him this Valentine - job done! I'm also linking up with SUO Challenges today too, where the theme is 'Valentine's Wishes' - very appropriate.
Before you reach for your ink pads, do visit the other design team members to see what interesting ideas they've had this week:
The Paper Players Design Team
Here's a quick recap of our challenge rules:
1. Create a new paper project
2. Upload your creation to your blog with a link back to us and provide a direct link to the post featuring your challenge submission.
3. Please link your card to no more than three challenges, TOTAL.
4. Have FUN!
I look forward to seeing your projects in the gallery this week.
I'm looking forward to a quiet day today: the hockey pitch is frozen as a result of the sub-zero temperatures we've been having this past week and poor Ben is struggling to shake his cough and cold that he's had for weeks now, so he is going to have a rugby-free week too, as running around a freezing pitch for a couple of hours is certainly not going to improve things. Rebecca and I will be completing the masterpiece that is her ancient Greek theatrical mask, the result of two weeks of paper mache and modelling clay - all being well it should be dry enough to paint. We may even manage to squeeze in another family movie afternoon; last week we watched Malificent for the first time, which was hugely enjoyable and an interesting alternative take on a classic.
Back tomorrow with another project; until then, happy stampin'!
Stampin' Up! Supplies Used:
690f7e23-c4fa-4c6d-87ae-962e70b0dff7|0|.0|96d5b379-7e1d-4dac-a6ba-1e50db561b04
Tags: Baby We've Grown, Back To Basics Alphabet, Big Shot, Hearts Framelits, Shop online, Stampin' Up, Stampin' Up Card, Stampin' Up Card ideas, Stampin' Up Supplies, Valentine's, Valentines, Anniversary, The Paper Players
Cards | Stamping