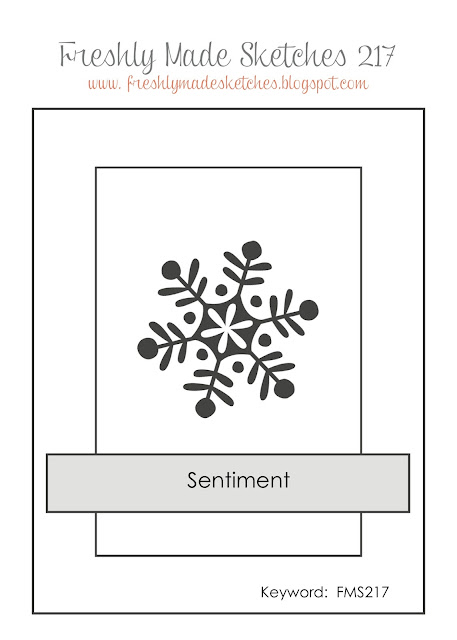
Today I have another 'sneak peek' card for you, featuring some beautiful new designer series paper and a most beautiful die. I used the sketch over at Freshly Made Sketches for the layout for today's card:

I'm also linking up with the team over at Stamps Ink Paper who are asking for anything so long as it's not Christmas! The 'Love Blossoms' suite on the new Spring-Summer catalogue includes a stamp set, papers, thinlit die, pink glimmer paper and an accessory kit and my card today uses each of the first three:
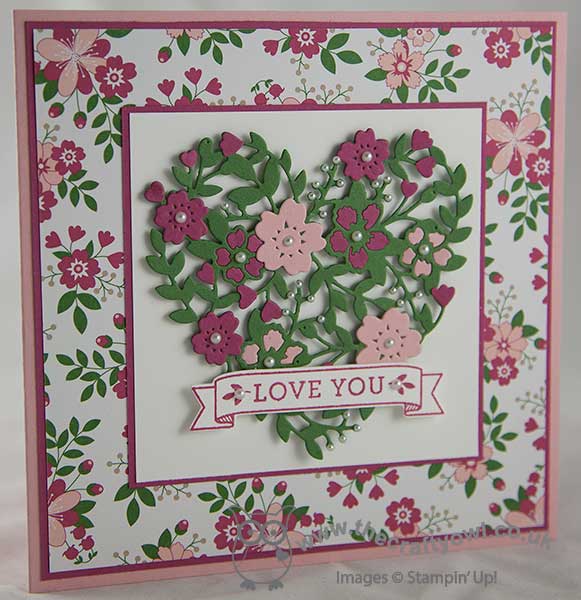
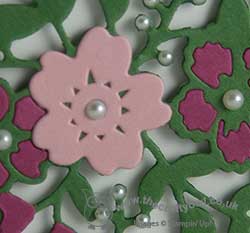
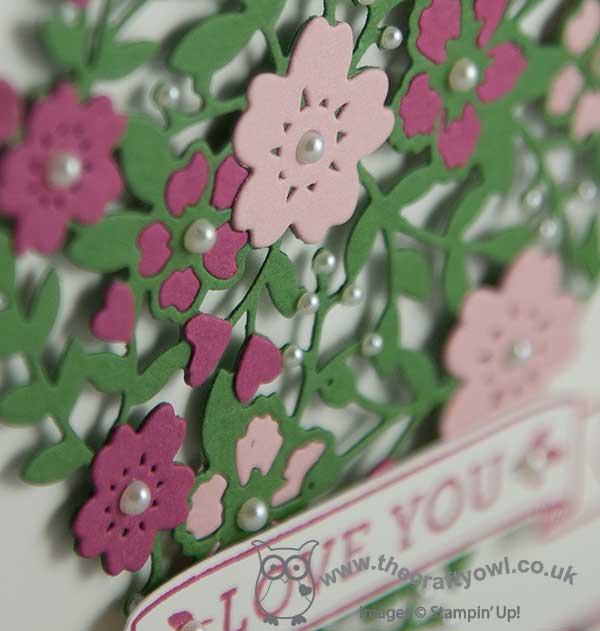
The thinlit die looks great in a single colour with or without the flowers highlighted, but for my card today I chose to cut out my heart in Garden Green, adding additional flowers in Rose Red and Blushing Bride that I cut with the other thinlits in the set and also paper-piecing some flowers into the negative spaces of the die. I highlighted the hearts in pink and added some tiny pearls to break up the green further.
You can see the detail of the subtle layering and finish on the close-ups below:
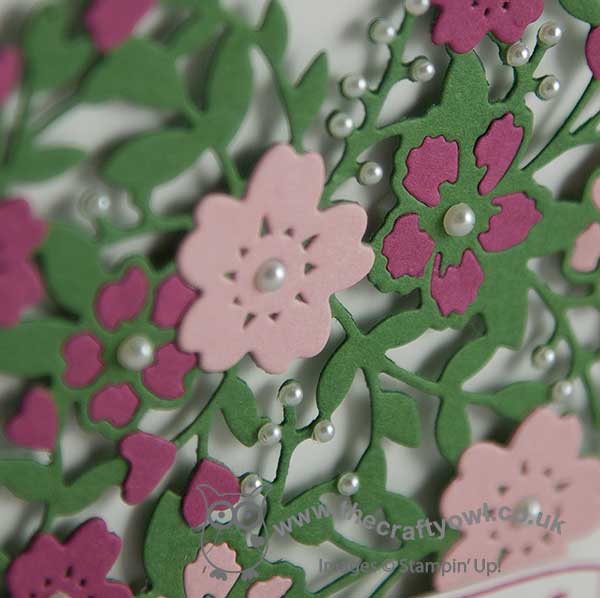
The die itself is so intricate, yet with another new tool available with the new catalogue, the Big Shot Die Brush, it is really easy to separate into its various parts - just look at the detail on the flowers themselves:
The sentiment is from the 'Bloomin' Love' set and the banner cut out with the co-ordinating framelit from the 'Large Numbers' framelits dies, also available in the new catalogue.
Whilst the Love Blossoms set and in particular the Bloomin' Heart thinlit die makes for beautiful Valentine's Day cards, it is versatile enough to be used for anniversaries, weddings, birthdays or even Mother's Day too. I paired my outer sentiment with one from another set, 'First Sight', on the inside of my card to make a very fitting tribute to a Mum - take a look:
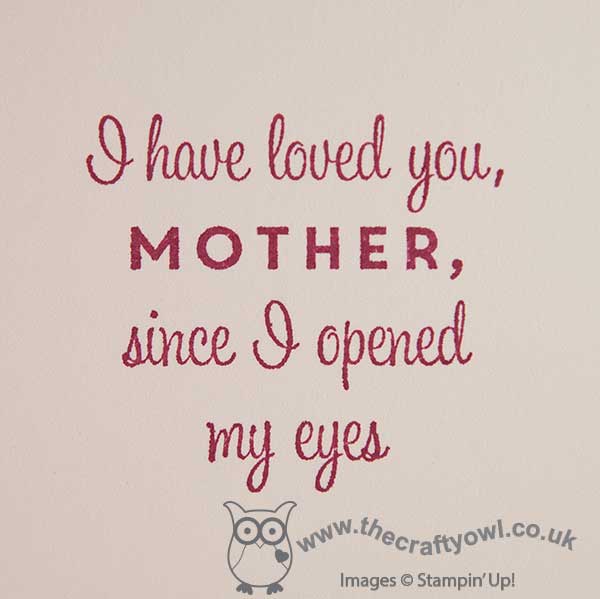
A beautiful sentiment for the prettiest of cards!
That's all from me today; I'll be back tomorrow with my card for this week's challenge over at The Paper Players. I am the hostess for our first challenge of the new year, so do pop back to see what I've chosen as the challenge this week. Until then, I have a few jobs to do today and we are back to the pool for our first swimming following the Christmas break. I'm almost envious that it's only the James Juniors getting in the water; I could do with losing a few post-Christmas pounds and this seems like it could be a good place to start! Happy stampin'!
Stampin' Up! Supplies Used:
Available 5th January:
140818 Bloom' Love Stamp Set and Bloomin' Hearts Thinlits Dies Bundle
140548 Love Blossoms Designer Series Paper Stack
140685 First Sight (clear mount)
140603 Big Shot Die Brush